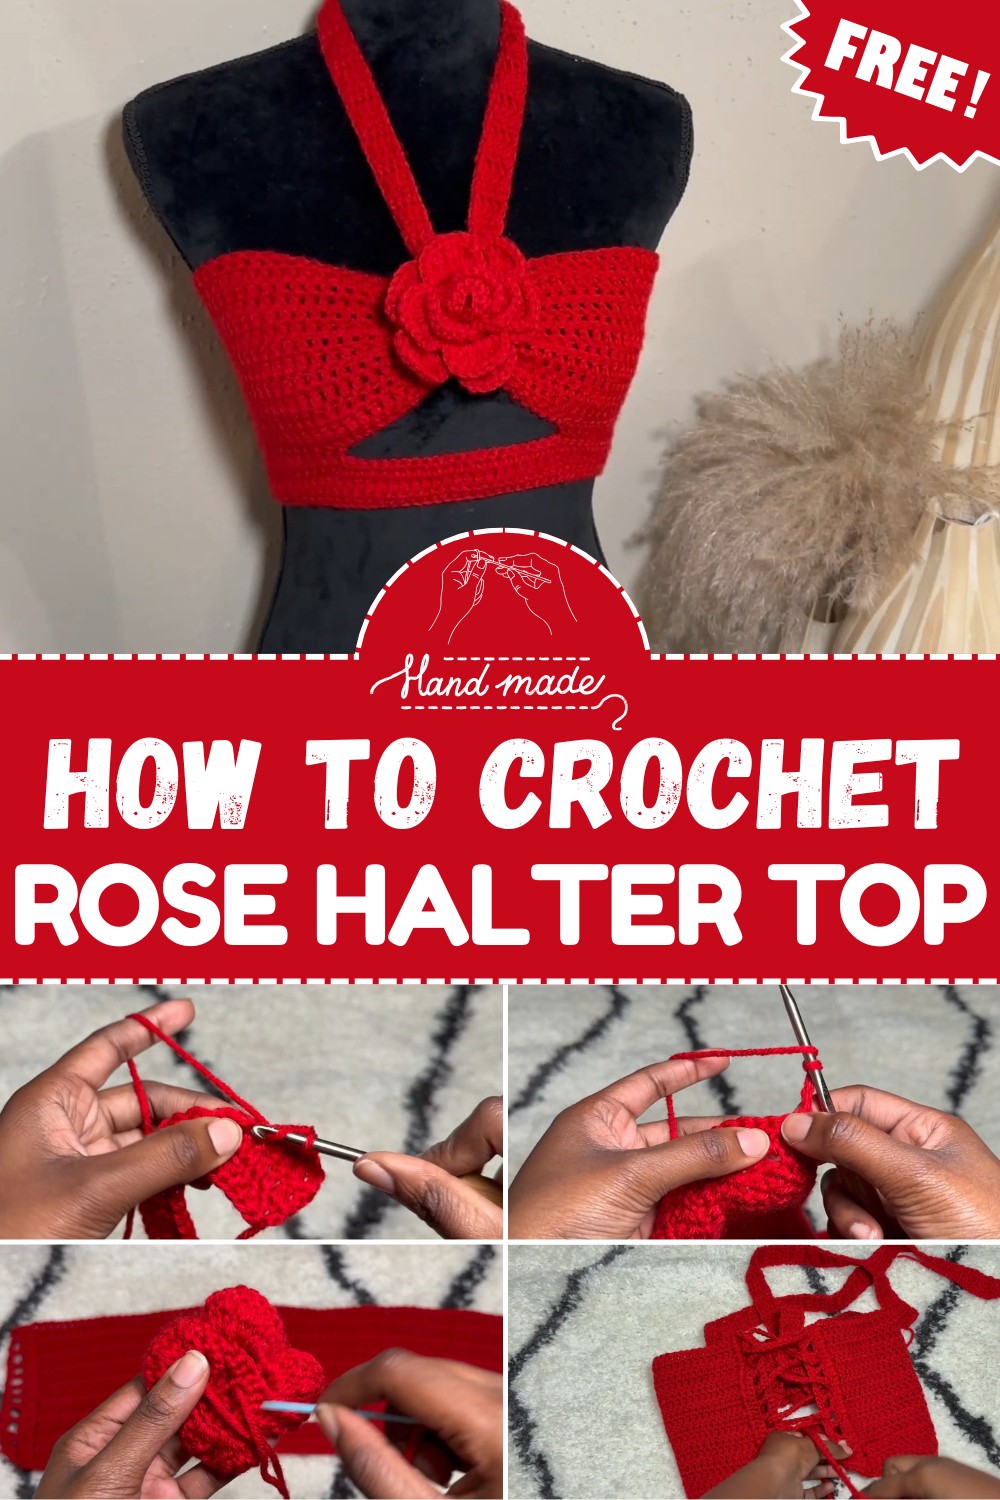
Stylish Crochet Rose Halter Top To Highlight Your Shoulders
Radiate summer charm with the Free Crochet Rose Halter Top Pattern, perfect for a breathable, stylish piece that highlights your feminine flair effortlessly.
Floral designs have always been a symbol of beauty, and the Free Crochet Rose Halter Top Pattern turns them into stylish, wearable art. The detailed stitches mimic the soft petals of a rose, while the halter style creates a flattering look that highlights the shoulders and neck. Made with lightweight yarn, it’s comfortable and breathable, perfect for warm days. The feminine floral details add charm without being over the top. Easy to pair with skirts, shorts, or jeans, this top works for casual daytime outings or dressed-up evening events.
Unique Crochet Rose Halter Top Pattern with Floral Appeal
Its breathable construction allows for ease of movement, making it as practical as it is beautiful. Suitable for crocheters with some experience, the Free Crochet Rose Halter Top Pattern balances skillful technique with wearable appeal, promising both a rewarding project and a standout piece.
This garment celebrates the timeless allure of flowers in a fresh, modern way, offering endless styling options that suit a variety of occasions and moods, proving that handcrafted clothing can be both functional and artful.
Step-by-Step Instructions
Materials Needed
- Yarn: “I Love This Yarn” in the color red.
- Crochet Hook: Size 5.5 mm.
- Tapestry needle: For securing ends and assembling pieces.
- Stitch markers: To mark key sections while crocheting.
- Accessories: Optional items like decorative flowers.
Steps to Create the Halter Top
- Start with a Slip Knot and Foundation Chain
- Begin by making a slip knot.
- Create a foundation chain long enough to span from one armpit to the other (74 chains or as per your sizing).
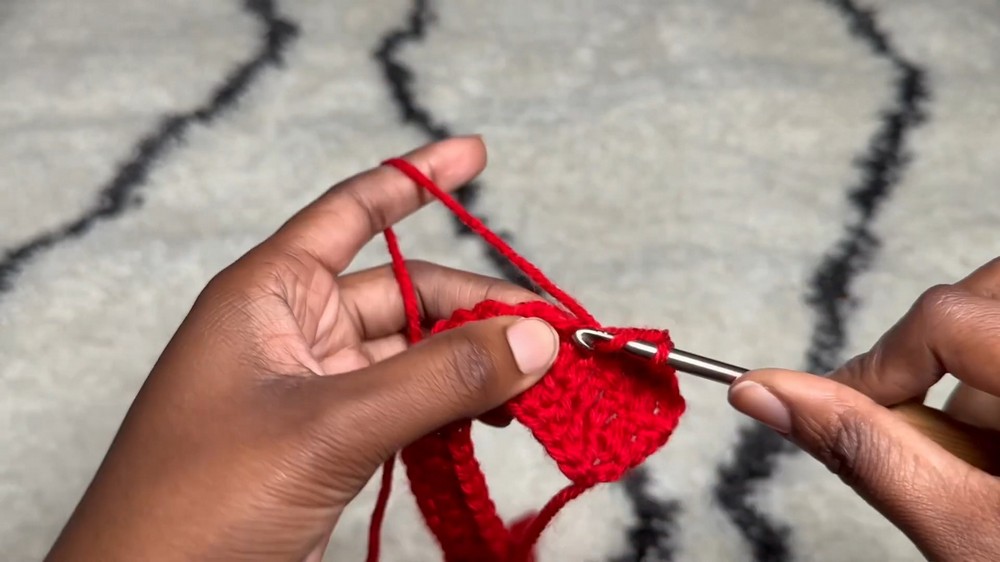
- Row 1 – Double Crochet
- Chain 2, turn your work, and skip the first stitch.
- Place a double crochet in the next stitch and continue across the row until the end.
- Row 2 & 3 – Repetition
- Chain 2, turn your work, and repeat the double crochet process.
- Continue until you complete three rows of double crochet.
- Row 4 – Alteration for Armholes
- Count 25 stitches from one side and crochet to the marked spot, leaving 24 stitches in the middle.
- Chain 27 to create an armhole, ensuring the chain isn’t twisted.
- Start double crocheting across and repeat evenly for consistency.
- Additional Rows for Top Length
- Crochet back and forth until you reach your desired top length.
- The tutor completed 13 rows of double crochet.
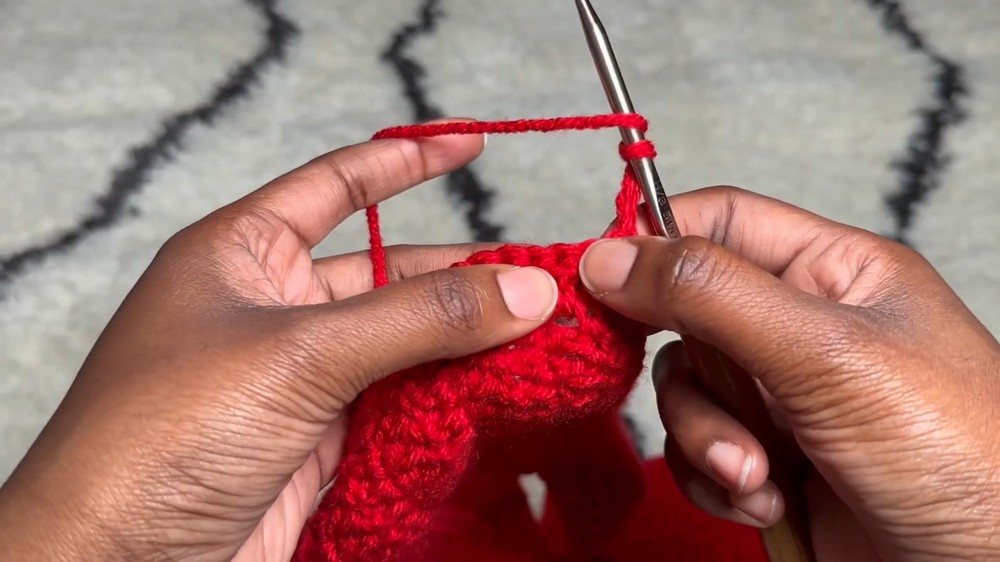
- Back Corset
- Chain 2, turn, and crochet two double crochets in every stitch to create shell-like spacing.
- Chain 4, skip 2 stitches, and work into the third stitch.
- Repeat this pattern to create the corset gaps.
- Tie Edges with Single Crochet
- Chain 1, turn, and use single crochet (two in every chain space and one in each double crochet) to finish the edge neatly.
- Fasten off yarn.
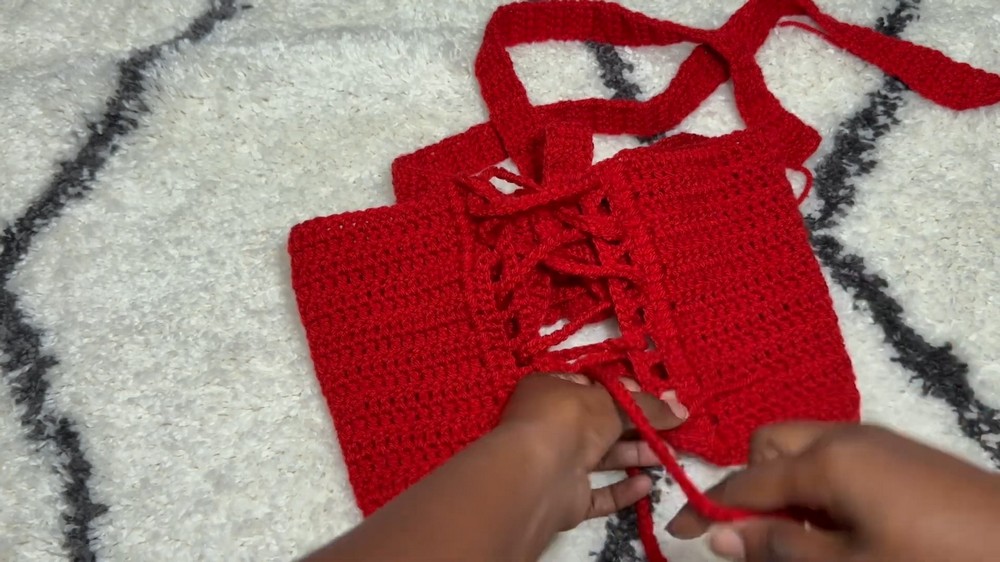
- Making the Back Tie
- Create a foundation chain of approximately 200 stitches to use as the corset tie.
- Feed this tie through every alternate loop in the back corset to lace the top together.
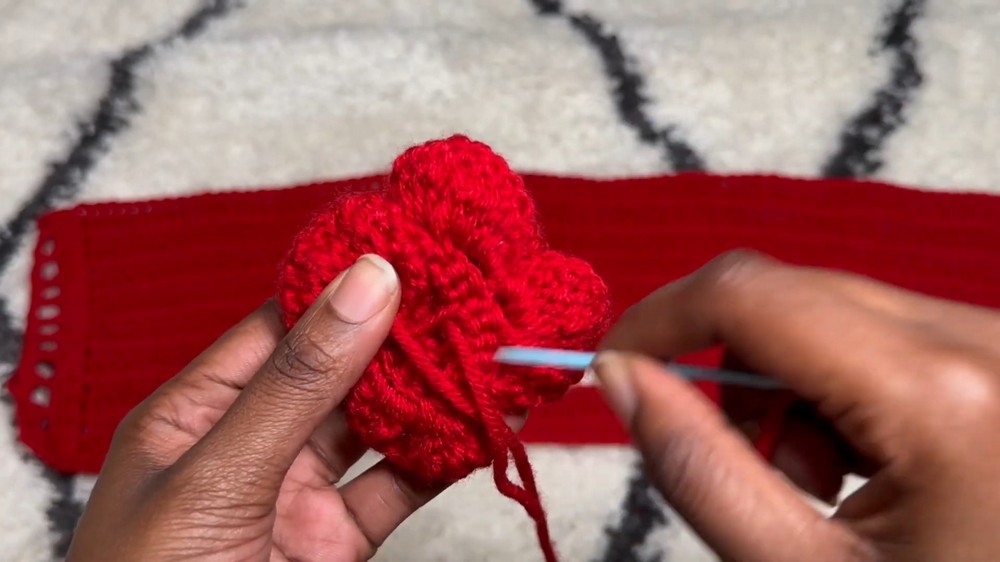
- Decorative Flower Creation (Optional)
- Use a foundation single crochet chain (45 for smaller flowers, 85 for larger).
- Chain 5 and single crochet into every fifth stitch to create loops.
- Form petals in each loop using single, half double, double, and treble crochet stitches.
- Curl and sew the flower together using a tapestry needle.
- Attach Flower
- Position the flower at the center top or halter strap and tie securely.
- Leave it detachable if desired for flexibility in styling.

Special Features
- Customizable Design: Choose your own yarn color, adjust the flower size, and control the overall length of the top.
- Unique Corset Back: Creates a trendy adjustable feature for a perfect fit.
- Optional Flower Decoration: Adds a bold, statement aesthetic.
Level of Difficulty
Intermediate: While some aspects, such as foundation single crochet and petal shaping, may challenge beginners, the tutorial is detailed enough for anyone to follow with patience.
Tutor’s Suggestions
- Chain Lengths: The tutor suggests using appropriate chain lengths based on your body measurements.
- Optional Decorations: Adding detachable flowers allows versatility—you can wear the top with or without them.
- Practice: For beginners, she recommends practicing foundation single crochet before working on the flower petals.
Uses
This halter top is ideal for:
- Summer Wear: Perfect for casual days, beach outings, or festivals.
- Gifting: A thoughtful handmade gift for friends or family.
- Style Statement: Pair with skirts, shorts, or formal pants to create a unique look.
Conclusion
Through this pattern, you’ll gain hands-on experience with basic crochet skills and decorative techniques to create a modern halter top. Whether for personal use or gifting, this handmade piece delivers style and functionality, allowing for customization and versatility.
Bonus Tip
Before starting, ensure you understand crochet tension for even stitches. For smooth execution, test a small swatch and adjust your grip if needed.