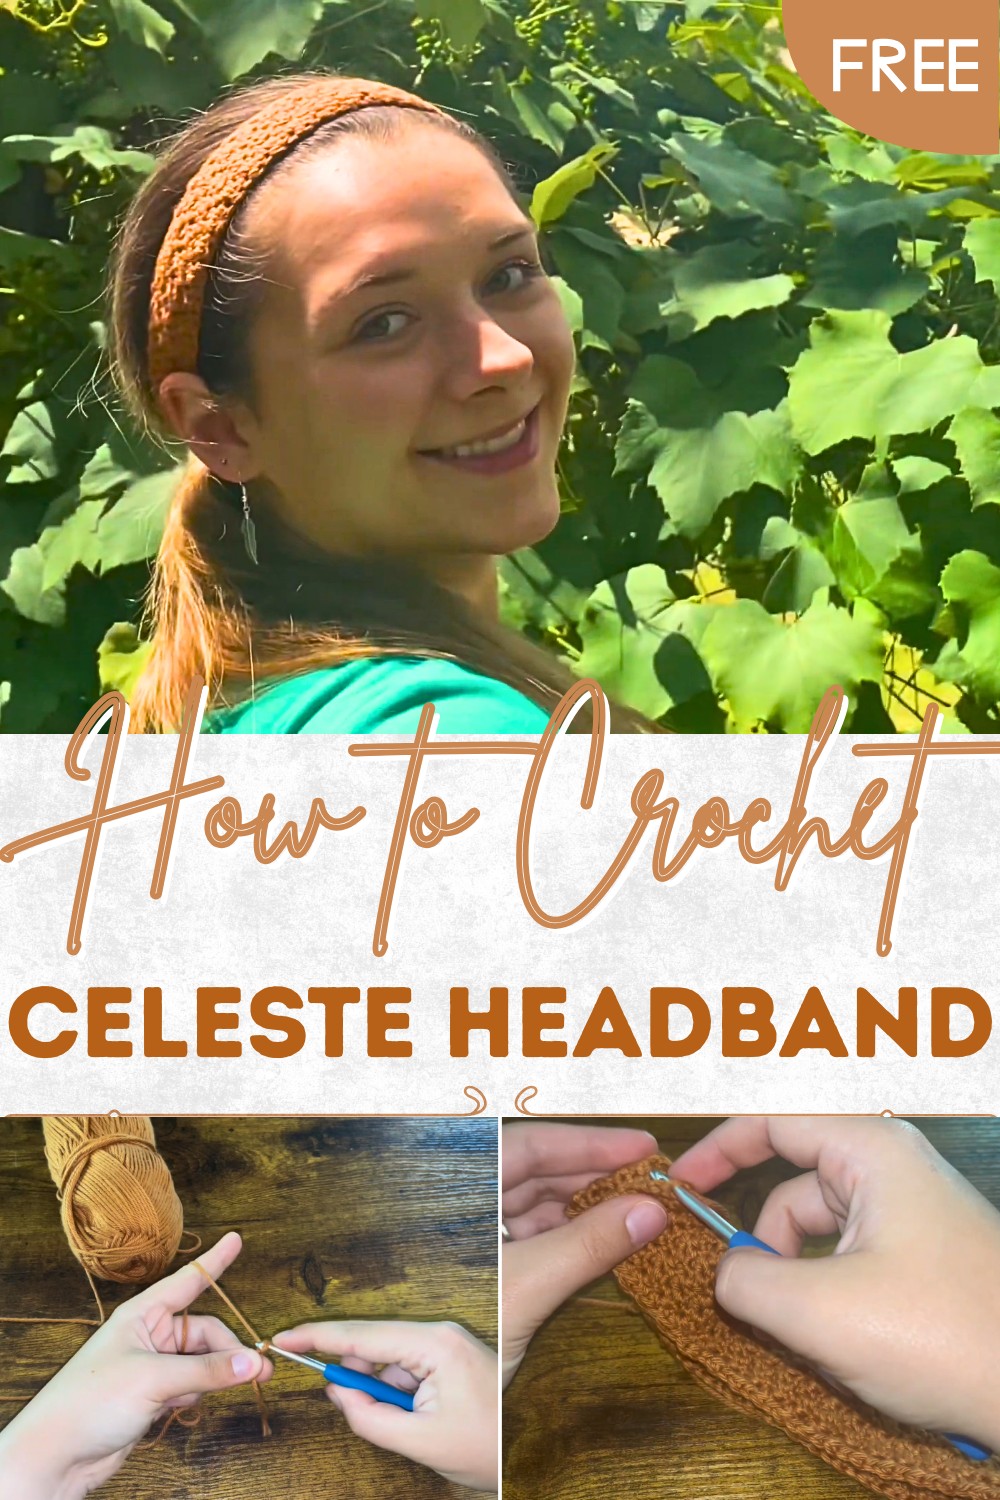
Stylish Crochet Celeste Headband Pattern to Keep You Cozy
Shine with style and comfort through the Free Crochet Celeste Headband Pattern, a perfect mix of elegance, warmth, and everyday versatility.
On chilly mornings or breezy afternoons, an accessory that offers both warmth and elegance becomes more than just practical—it becomes a statement of style. The Free Crochet Celeste Headband Pattern captures that balance perfectly, providing a comfortable fit while showcasing soft textures and subtle charm. With its simple structure and timeless appeal, this headband can be worn with casual outfits, layered with winter coats, or gifted to friends who appreciate thoughtful handmade pieces. Its versatility makes it suitable for everyday use, seasonal wear, or even as a fashionable accent at outdoor gatherings.
Beautiful Crochet Celeste Headband Pattern You’ll Adore Wearing
The pattern is explained with clear instructions, starting from the foundation stitches that set the width, moving into neat rows that form the body, and finishing with a tidy seam for a polished look. The result is a stretchy, durable headband that holds comfortably without slipping, offering both function and beauty.
One of its strongest features is its adaptability, it can be made in various colors to match wardrobes, sized for different ages, and styled for both fashion and comfort. The Free Crochet Celeste Headband Pattern is more than just an accessory; it’s a practical piece that combines elegance, warmth, and everyday usefulness in a simple yet beautiful way.
Materials Needed
- Yarn: “I Love This Cotton” yarn is recommended, but Lion Brand 24/7 Cotton is also a suitable alternative. Cotton yarn ensures durability and comfort for this project.
- Crochet Hook: A 5 mm (H-8) crochet hook.
- Needle: For weaving in ends.
- Measuring Tape (Optional): Useful for ensuring the correct size, especially if making the headband for someone else.
- Scissors: To cut the yarn.
Step-by-Step Instructions
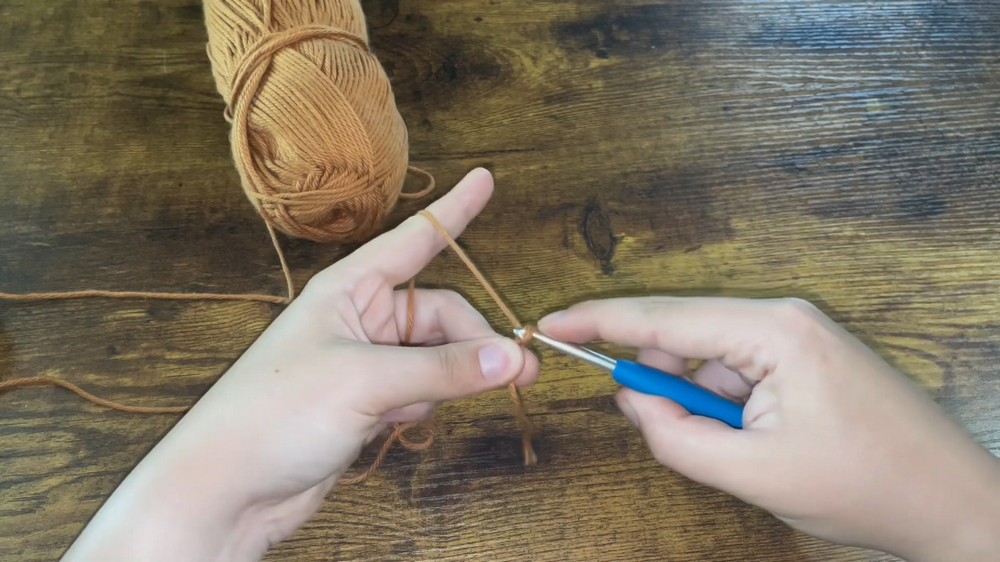
1. Chain Foundation
- Begin by making a slip knot. Wrap the yarn around your fingers to create an “X,” pull a loop through, and secure it with your hook.
- Chain an odd number of stitches to fit the circumference of your head. The tutorial uses 97 chains, but you should check the chain length against your head as you go for a snug fit.
2. First Row
- Start the first row by working into the second chain from the hook:
- Insert your hook, pull up a loop, yarn over, and pull through two to make a single crochet (SC).
- In the next stitch, make a double crochet (DC): Yarn over, insert your hook, pull up a loop, yarn over, pull through two loops, yarn over again, and pull through the last two loops.
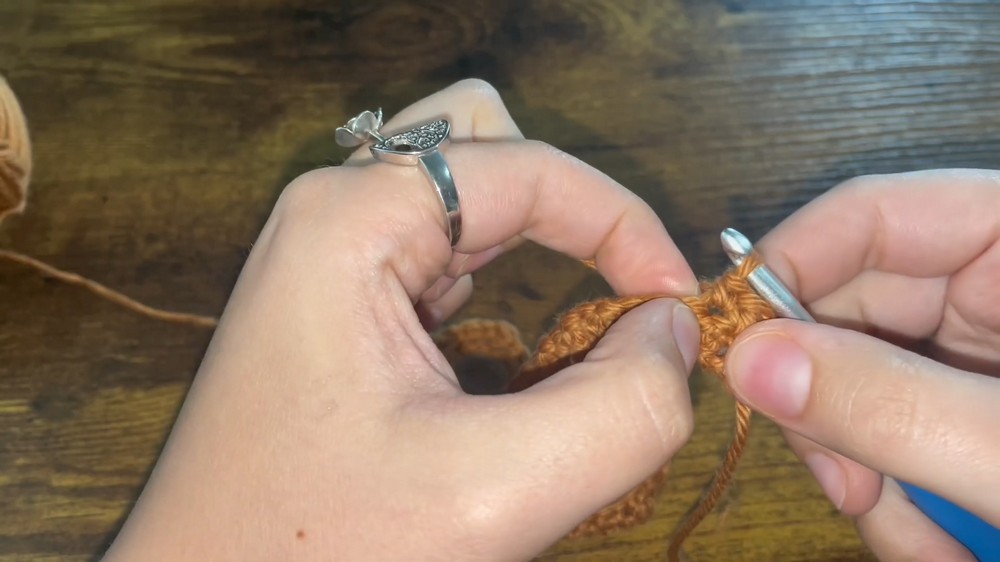
- Alternate between SCs and DCs for the entire row.
- Your row should begin with a SC and end with a DC, given that you started with an odd number of chains.
3. Second Row
- Turn your work clockwise. The second row starts with a SC.
- Continue alternating SCs and DCs throughout the row, ensuring that each stitch lines up appropriately with the previous row. (For example, SCs will typically go over DCs and vice versa.)
- End the row with a DC.
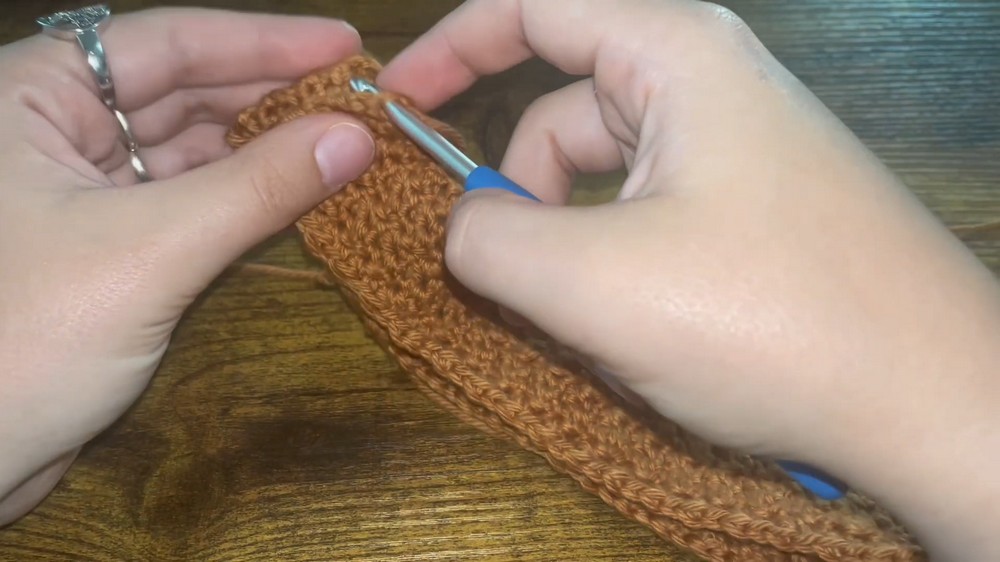
4. Repeating the Pattern
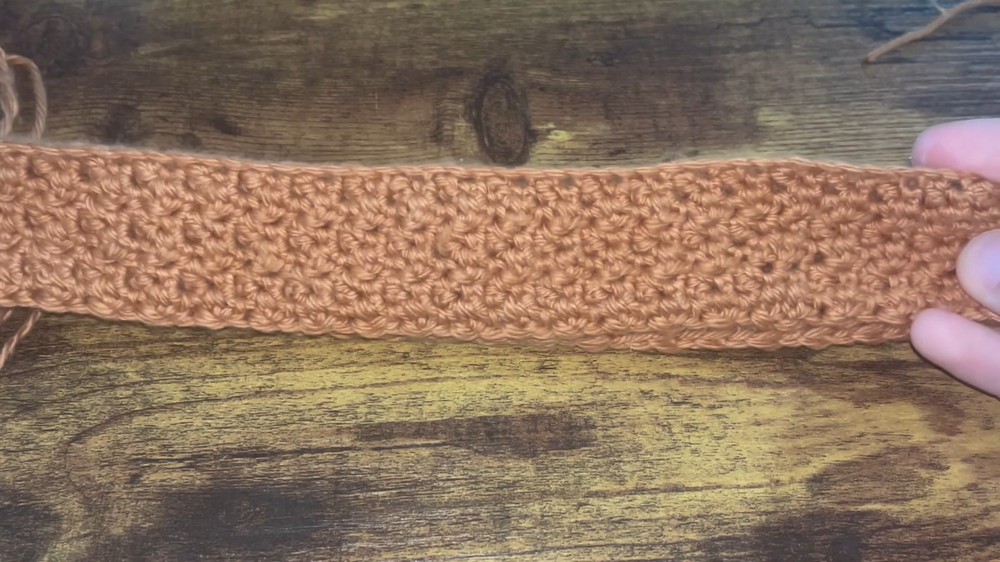
- Repeat the SC-DC pattern for as many rows as desired. The tutorial achieves about 1.5 inches of width with six rows, but you can increase or decrease the number of rows based on personal preference.
- Ensure that each row starts with a SC and ends with a DC for consistency.
5. Seaming the Band
- Once you’ve reached the desired width, fold the headband so the two raw edges meet.
- Attach a slip knot to your hook and begin single crochet stitches along the edges to close the headband.
- Insert your hook into the edges, pull up a loop, yarn over, and pull through two to secure the seam.
- Continue until the edges are fully joined.
- Insert your hook into the edges, pull up a loop, yarn over, and pull through two to secure the seam.
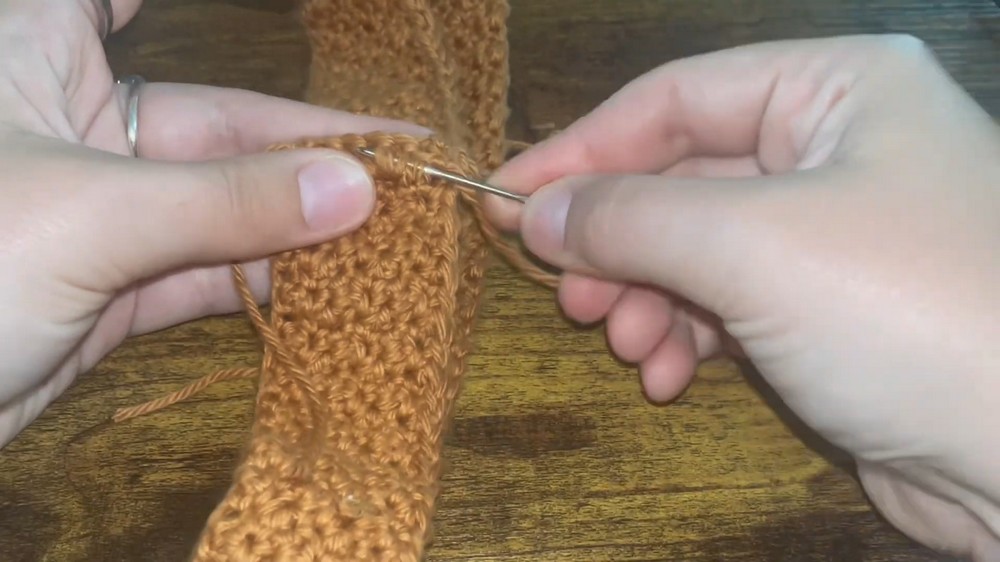
6. Finishing Touches
- Cut the yarn and secure the end by pulling the working string through the final loop.
- Weave in all loose ends using a needle:
- Insert the needle under a loop or stitch, pull the yarn through, make a knot to secure it, and then hide the tail by threading it under several stitches.
- Cut any excess yarn and flip the headband inside out to hide the seam.
Special Features
- Textured Design: The alternating SC and DC stitches create a subtle yet visually appealing textured pattern.
- Custom Fit: The tutorial emphasizes sizing the headband to fit snugly around your head, ensuring both comfort and style.
- Easy Assembly: The single crochet seaming technique keeps the construction simple and durable.
- Beginner-Friendly: With minimal materials and straightforward stitches, this project is ideal for those new to crochet.
Level of Difficulty
- Beginner to Intermediate: The stitches used are basic (SC and DC), and the tutorial includes plenty of guidance to help ensure proper construction. However, beginners may need extra attention to detail during the pattern repetition and finishing touches.
Tutor’s Suggestions
- Use a measuring tape when making the foundation chain for someone else to ensure correct sizing. Alternatively, measure the chain length against your head for a personalized fit.
- When alternating SCs and DCs, identify the stitch type by its size: SCs are smaller, while DCs are slightly larger and more defined.
- Always end your rows with a DC to maintain the pattern’s consistency.

Uses
- Cold Weather Accessory: Keeps your ears warm while adding a stylish touch to your outfit.
- Quick Gift: The project is fast and makes for a thoughtful and personalized handmade gift.
- Everyday Wear: Enhances casual or semi-formal outfits effortlessly.
Tip
To ensure a neat seam when joining the band, align the stitches evenly on both edges. Uneven stitches may cause puckering or an unpolished look. Crocheting a little slower during this step will help achieve perfect alignment.
Conclusion
The Celeste crochet headband is a delightful project that merges simplicity, elegance, and functionality. With its textured alternation of single and double crochet stitches, this accessory is both visually appealing and practical. Its customizable sizing and forgiving pattern make it a joy to work on, even for beginners. Whether you’re making it for yourself or as a heartfelt gift, this headband will undoubtedly become a cherished, versatile addition to anyone’s wardrobe.