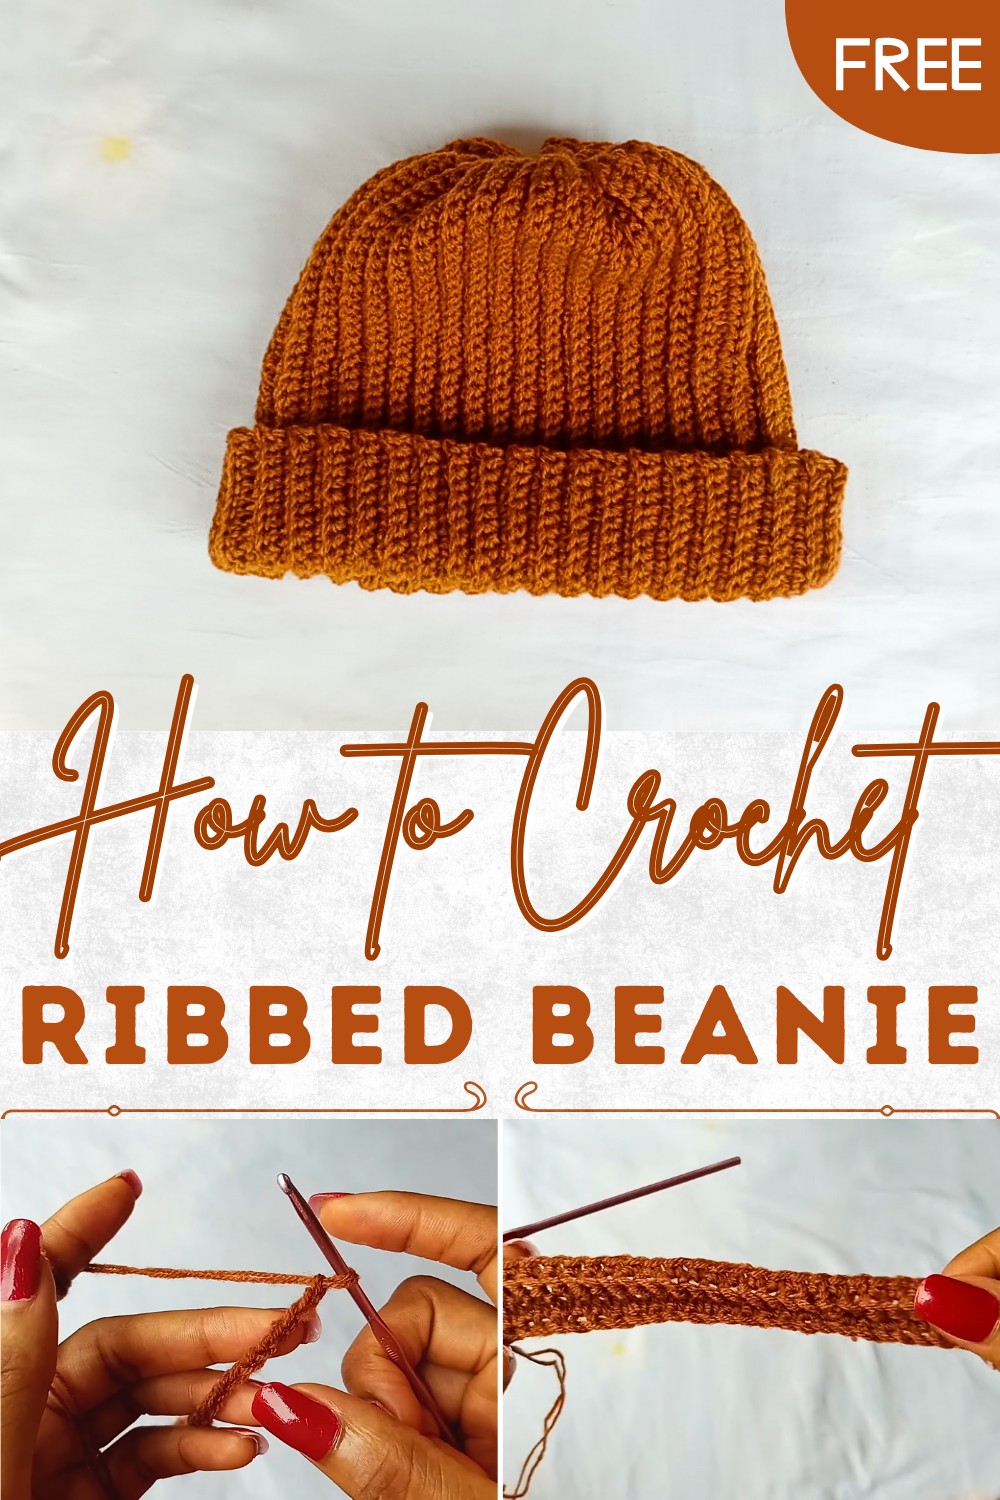
Learn How to Crochet Ribbed Beanie Pattern for Cozy Winter Vibes
Easy Crochet Ribbed Beanie Pattern for Beginners
Materials Needed
- Yarn: A yarn of your choice appropriate for crochet hats (bulky or worsted weight yarn).
- Crochet Hook: 3.5 mm.
- Tapestry Needle: Used to sew and finish edges and close openings.
- Measuring Tape: To ensure your panel fits the desired dimensions.
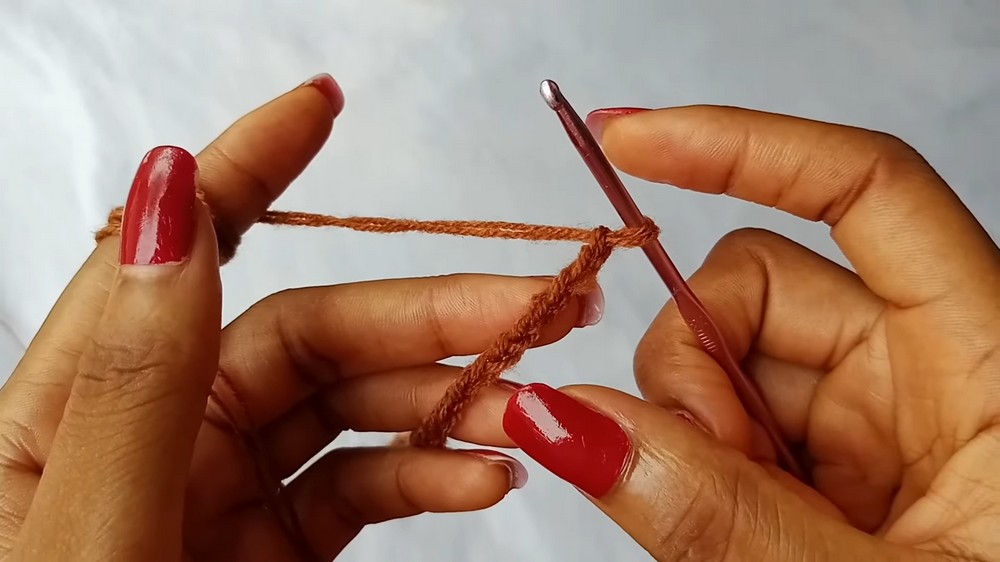
The project starts with a slip knot followed by chains measuring the desired height of the finished beanie—approximately 11 to 11.5 inches, depending on your preference.
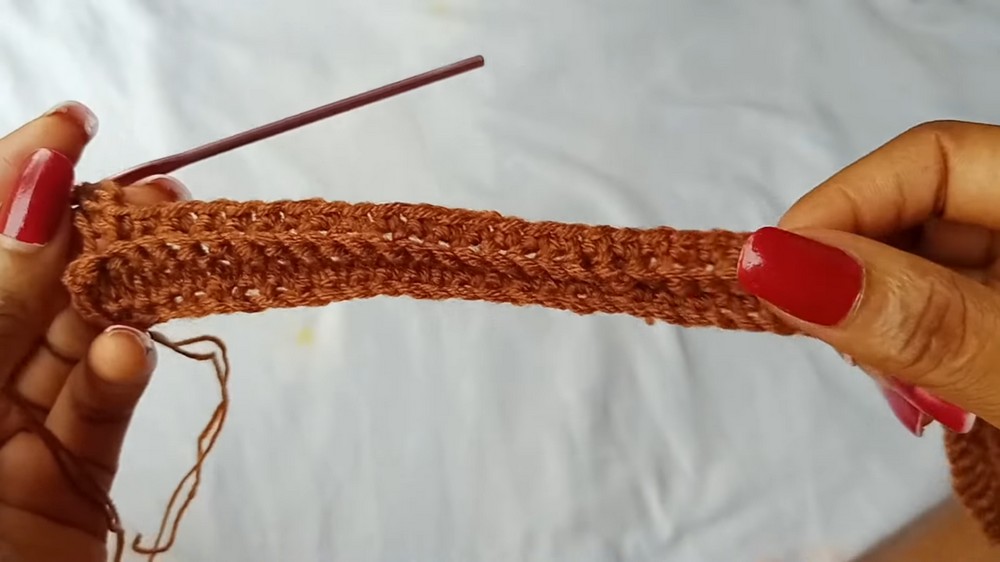
Once your foundation chains are complete, you’ll place single crochets into the second chain from the hook, continuing across the row until the last chain. Subsequent rows introduce the key feature of this design: back loop stitching. This technique ensures the ribbed appearance by skipping the front loop of each stitch and working only into the back loop. 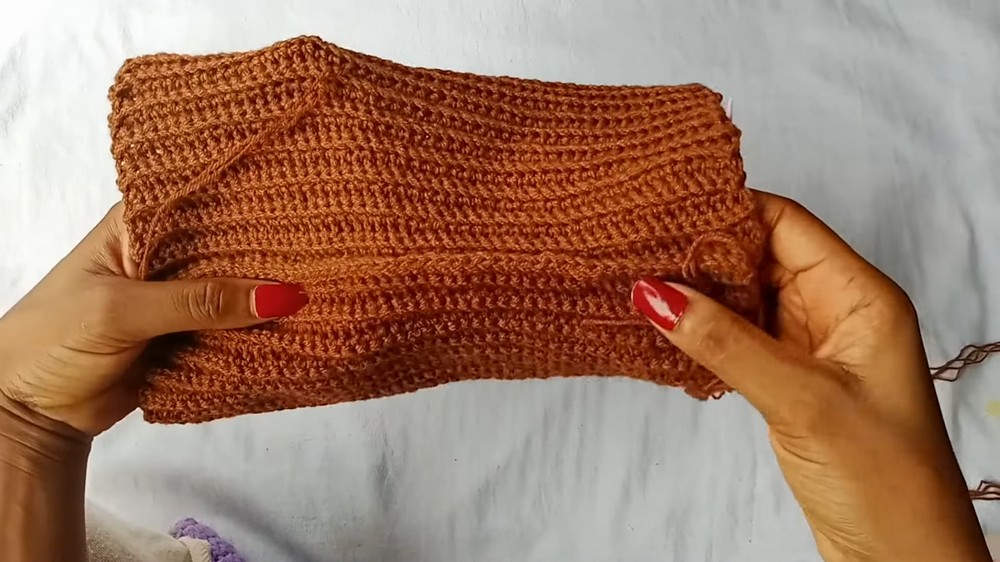
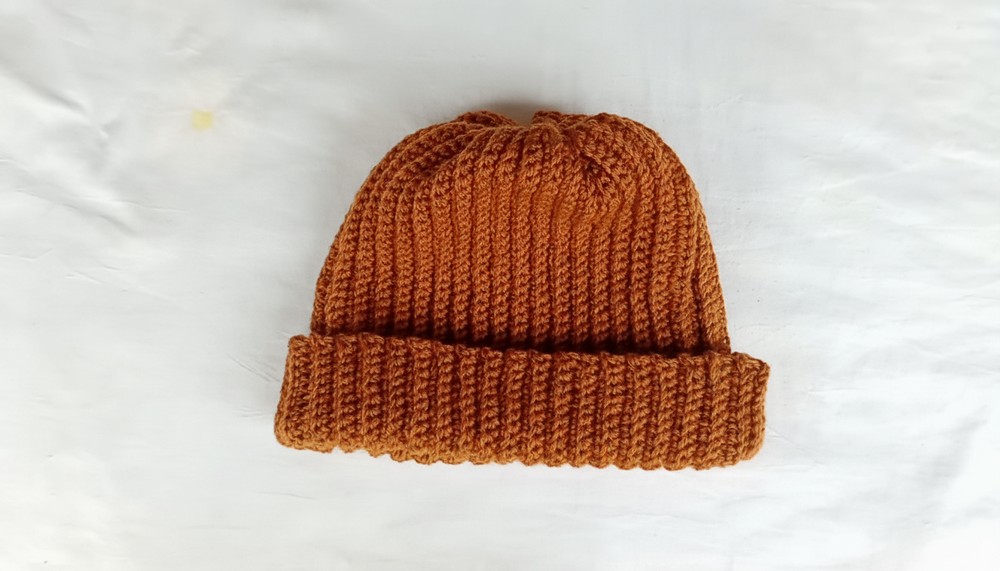
By repeating this method for multiple rows, the panel grows steadily with visible ridged rows that add stretch and texture to the design. The number of rows will depend on the circumference you need for your beanie, as the panel should comfortably stretch to fit your head. For example, 79 rows worked in the tutorial produced a panel measuring 18 inches wide that stretched easily to a head size of 23 inches.
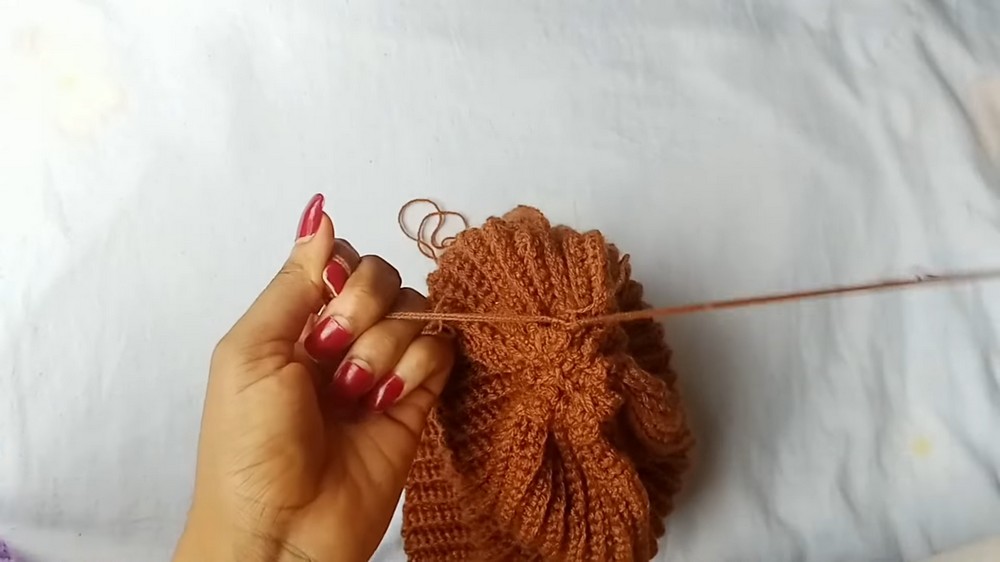
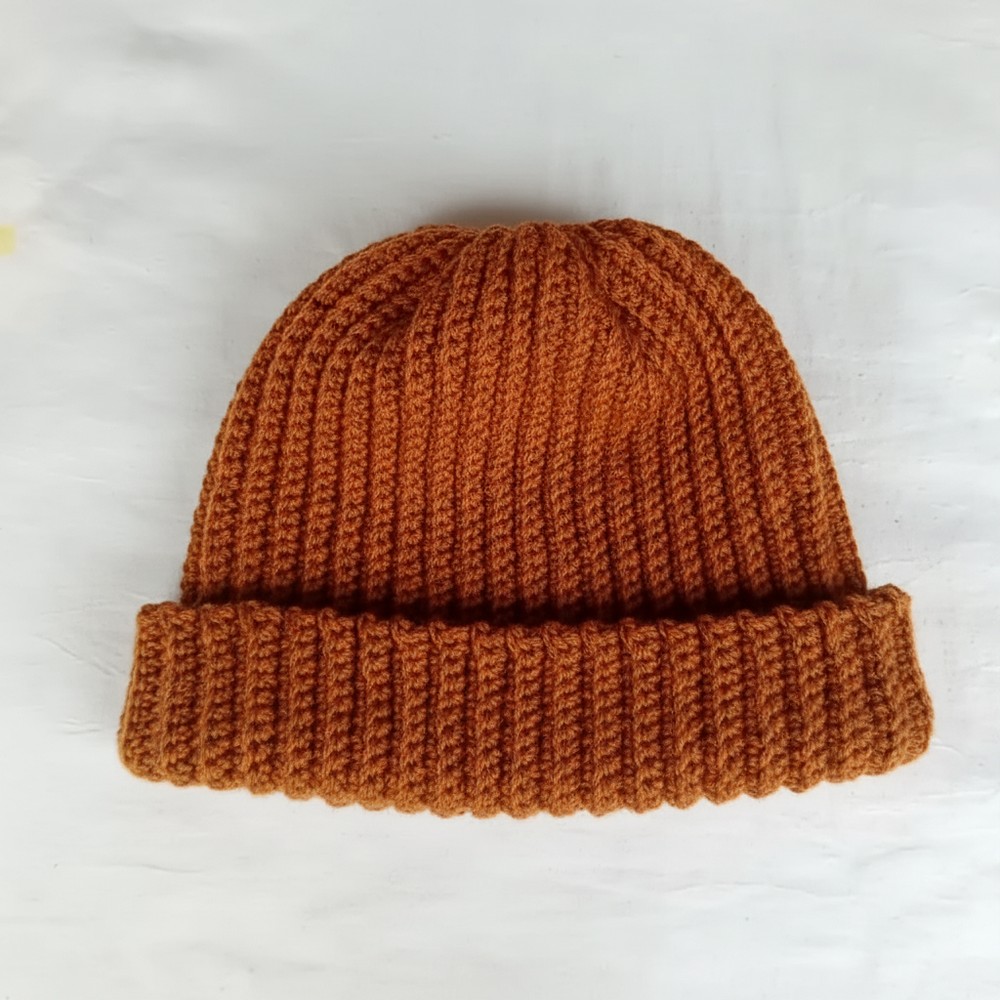
Once the panel is complete, the sides of the beanie are joined using slip stitches, while the top opening is closed with a tapestry needle and a weaving method. For added durability, reinforced stitching secures the top, followed by flipping the beanie inside out and folding up the edge to form a neat brim.

Special Features
- Features a ribbed texture created by working only in the back loops of single crochet stitches.
- Designed to be stretchy, ensuring a snug and comfortable fit around the head.
Level of Difficulty
This ribbed beanie tutorial is categorized as a beginner-friendly project, making it ideal for those just starting to crochet. The skills required include working single crochet stitches, chaining, slip stitching, and using a tapestry needle.
Tutor’s Suggestions
- Customize the Size: The width and height of the panel should be adjusted to fit your head circumference and style preference.
- Work Neatly: While closing the top, ensure your stitches stay near the edge for a clean finish.
- Test Stretch: The tutor emphasizes stretching the panel and ensuring it stretches comfortably to the required circumference before sewing it closed.
Uses of the Ribbed Beanie
- Everyday Wear: Perfect for keeping warm during colder seasons.
- Gifts: A handmade ribbed beanie makes a thoughtful and personalized gift.
- Customization: Adjust the pattern by adding stripes or pompoms for unique styles.
Materials Recap
- Crochet hook.
- Yarn (thickness matching desired style and seasons).
- Tapestry needle.
- Measuring tape.
Helpful Tip
When working in the back loops, be consistent with your tension to maintain an even and neat ribbed texture. Also, measure periodically to ensure the correct dimensions as you progress.
Step-by-Step Instructions
The ribbed beanie is a classic and versatile piece that suits different styles and occasions. In this tutorial, you will learn how to crochet a ribbed beanie using simple single crochet techniques. The step-by-step process ensures a low level of difficulty, making it beginner-friendly, while still producing a stylish result.
Conclusion
Crocheting a ribbed beanie is a fun and easy project that results in a stylish, stretchy, and customizable hat. Using single crochet and back loop stitches, you can easily create a textured, stylish, and functional piece. Follow the steps carefully, enjoy the process, and consider experimenting with your own creative touches as colors, embellishments.