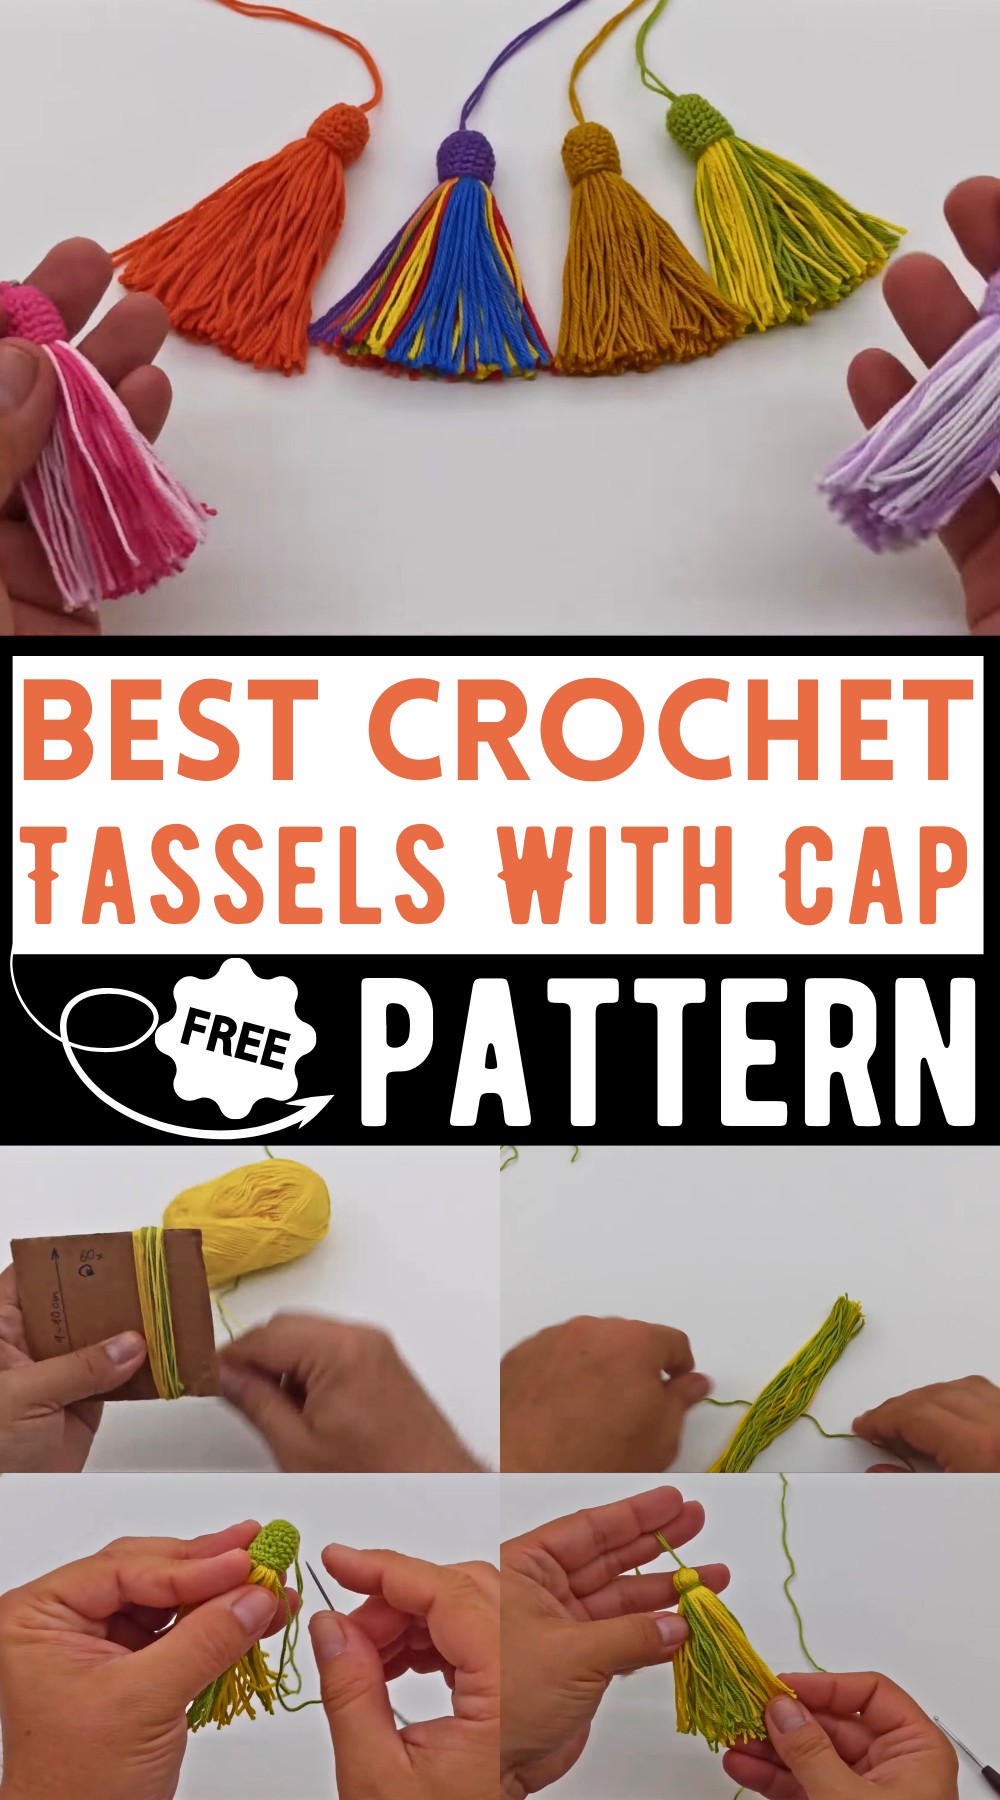
How To Make A Tassels With Crocheted Cap (Free Guide)
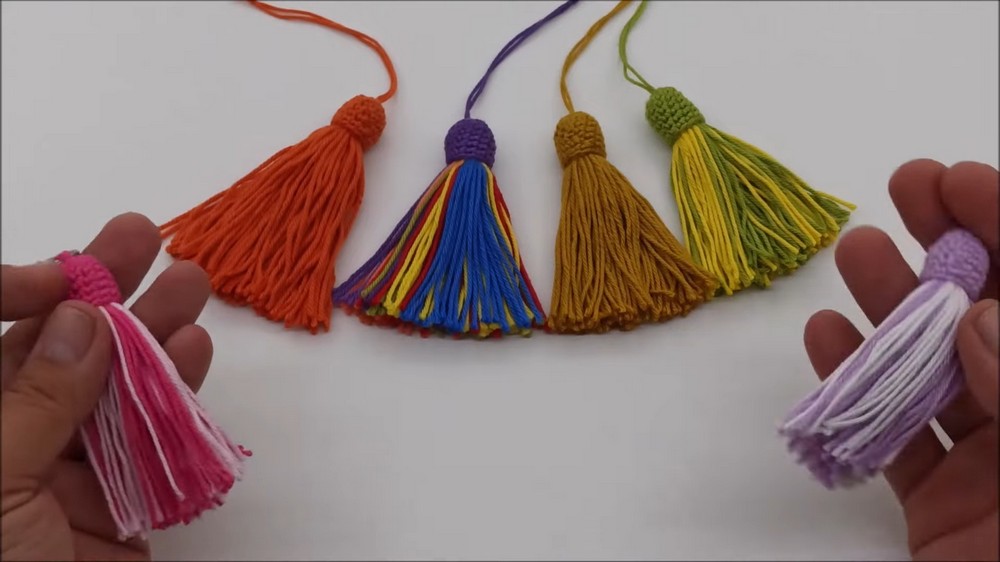
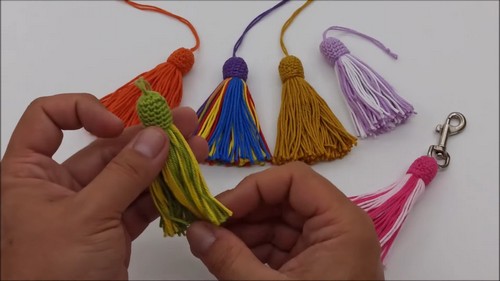
Colorful and versatile, the Tassels With Crocheted Cap are a must-try for any crochet lover! These tassels, featuring a simple yet attractive design, can be made in one or multiple colors, providing room for creativity. They serve as excellent keychains or decorative pieces. The tassels have a cylindrical crocheted cap, adding a charming touch. With easy-to-follow steps, wrapping yarn around the cardboard, and some crochet magic, you’ll create these delightful tassels in no time!
Why Love This Pattern?
- Simplicity: The pattern is described as very simple and easy to follow, making it accessible for both beginners and experienced crocheters.
- Versatility: The tassels can be used in various ways such as keychains, decorations, or accessories, which adds versatility to the project.
- Color Customization: You can crochet the tassels in one color, two colors, or multiple colors, allowing for creative expression and personalization.
- Clear Instructions: The video provides step-by-step instructions, including detailed guidance on how to wrap the yarn, make the tassel, and crochet the cap, ensuring that the process is straightforward and easy to understand.

How To Crochet A tassels
Materials Needed:
- Two colors of cotton yarn
- Two crochet hooks (2.5 mm and 2 mm)
- Scissors
- Sewing needle
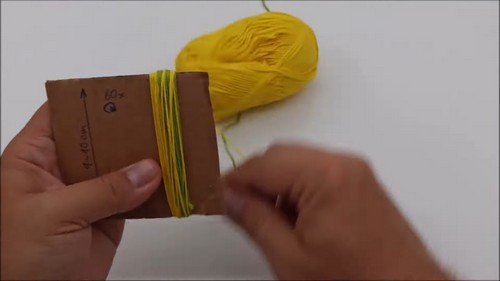
- Cardboard (9 to 10 cm wide)
Steps:
- Prepare the Yarn:
- Wrap the yarns around the cardboard 60 times if you’re using one color.
- If using two colors, wrap the yarns around the cardboard 10 times with the first color, then 10 times with the second color, alternating until you reach a total of 60 wraps.
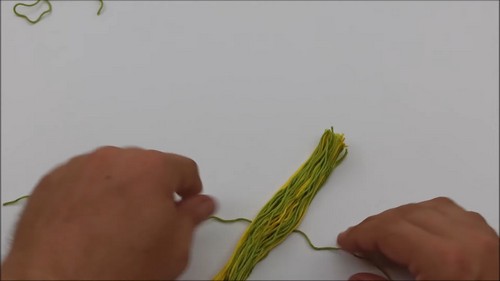
- Cut the Yarn:
- Cut the yarns on one side after wrapping.
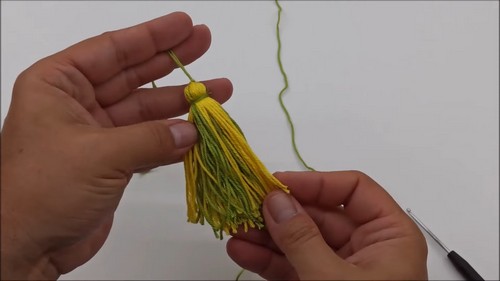
- Lay the cut yarns flat on the table and find the middle.
- Tie the Yarn:
- Knot a piece of yarn around the middle of the wrapped yarns securely.
- Leave the two ends of this yarn hanging.
- Create the Cap:
- Wrap a second piece of yarn around the top of the bundle, about three times, and knot it securely.
Crocheting the Cap:
- Start with the Thicker Crochet Hook (2.5 mm):
- Make a magic ring.
- Crochet 9 single crochets (sc) into the ring.
- Pull the yarn to close the ring.
- Finish the round with a slip stitch into the first stitch.
- Second Round:
- Chain 1 at the beginning of the round.
- Increase stitches by crocheting one sc in the first two stitches, then two sc in the next stitch. Repeat this pattern until the end of the round.
- You should have 12 stitches at the end.
- Finish with a slip stitch.
- Next Four Rounds:
- For the next four rounds, crochet one single crochet in each stitch.
- Chain 1 at the beginning and finish each round with a slip stitch.
- Final Round:
- Switch to the thinner crochet hook (2 mm).
- Chain 1 and crochet one single crochet in each stitch.
- Finish with a slip stitch and cut the yarn, leaving a long tail.
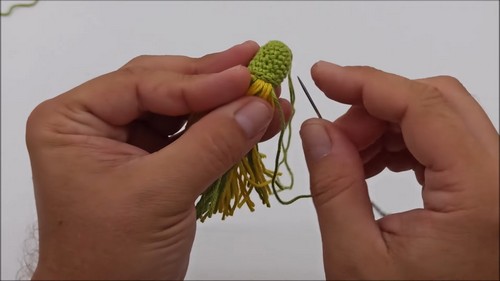
Assemble the Tassel:
- Attach the Cap to the Tassel:
- Thread the hanging yarn ends from the middle of the yarn bundle through the magic ring at the bottom of the crocheted cap.
- Pull the yarn ends through the cap and snug the cap up to the top of the tassel.
- Secure the Cap:
- Sew the last stitch through the first stitch (from front to back through both loops).
- Sew the yarn end back through the last stitch (only the back loop) from front to back.
- Finish the Tassel:
- Cut the yarn ends to your desired length for the tassel.
- Smooth and trim the tassel to make it even.
Final Touch:
- Your tassel is now ready to use!