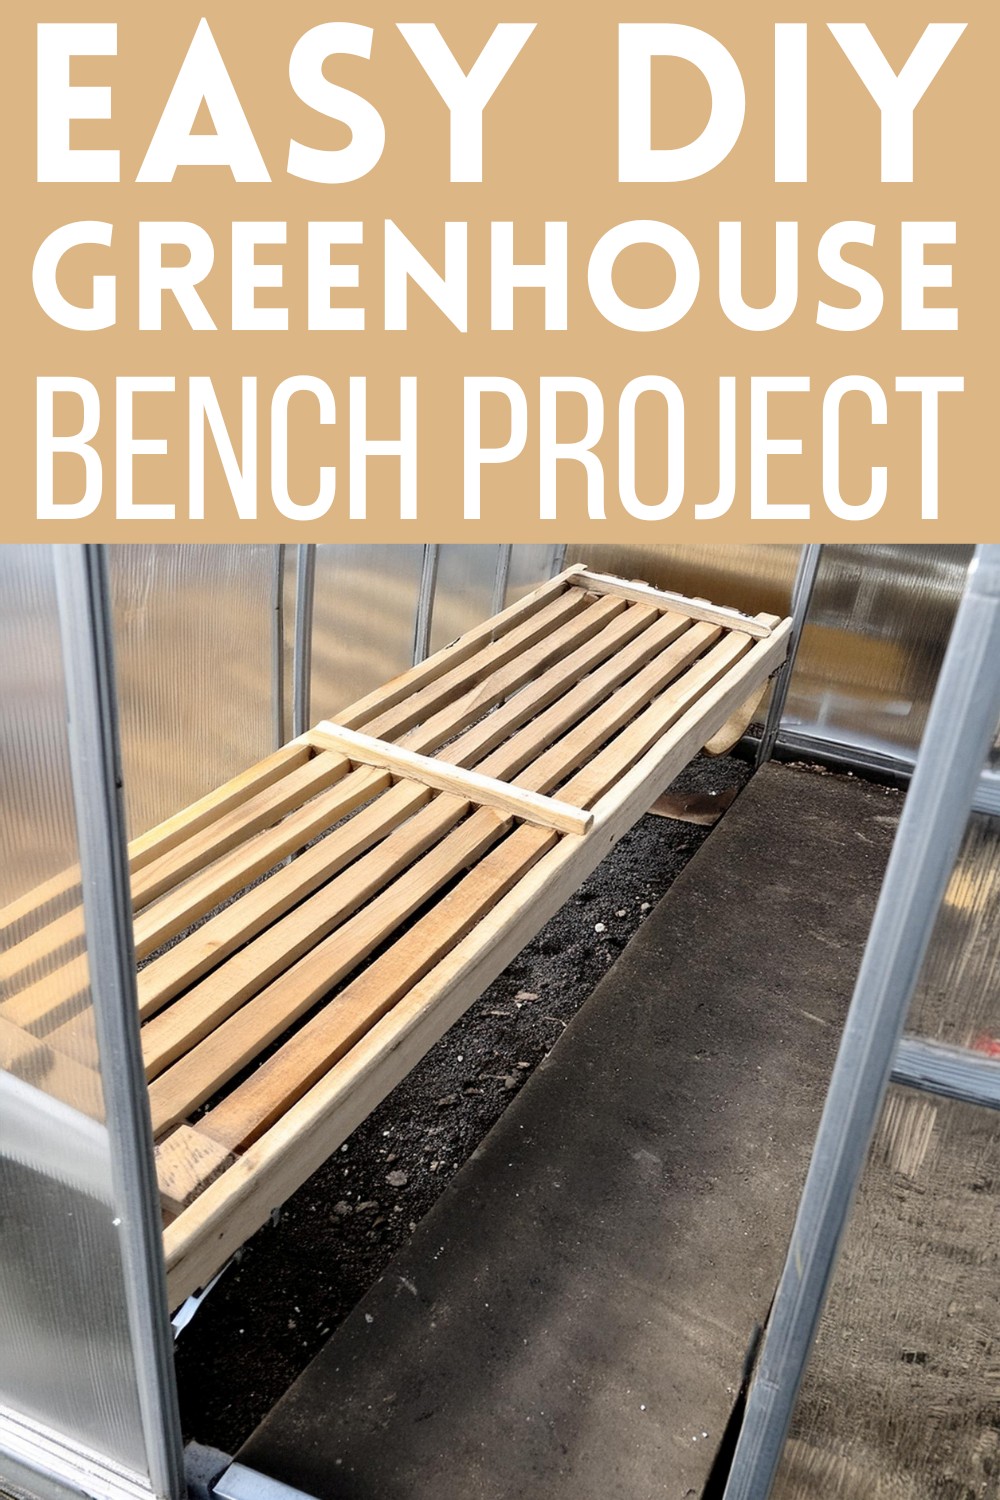
DIY Greenhouse Bench Project For Under 20 Dollars
Crafting a greenhouse bench doesn’t have to drain your wallet. Imagine building a sturdy, perfect-fit bench for your plants with less than $20 and a sprinkle of creativity. That’s what one creator of this bench did using repurposed materials and a dash of ingenuity. In under two hours, with reused 2″x4″s and some construction screws, this cost-effective DIY project came to life. Not only is this DIY wooden bench budget-friendly, but it also fits snugly in the greenhouse, ensuring a secure space for plants to thrive.

DIY Greenhouse Bench Project
Materials Needed:
- Seven 2″x4″s (used and repurposed)
- 2-1/2″ construction screws
- Large lag screws (for attaching the legs)
- A handful of re-purposed screws for assembly
Tools Required:
- Saw (for cutting wood)
- Drill (for making holes and securing screws)
- Square (for ensuring the angles are correct)
Step-by-Step Guide:
Preparing the Wood:
- Salvaging What’s Available: Start by rounding up some used 2″x4″s. This project is an excellent opportunity to repurpose wood that might otherwise go to waste.
- Cutting to Size: Remember, symmetry is key. Rip three of the 2″x4″s in half lengthwise to create the center slats and spacers. These pieces should match the top of the legs in size at 1-1/2″ x 3-1/2″.
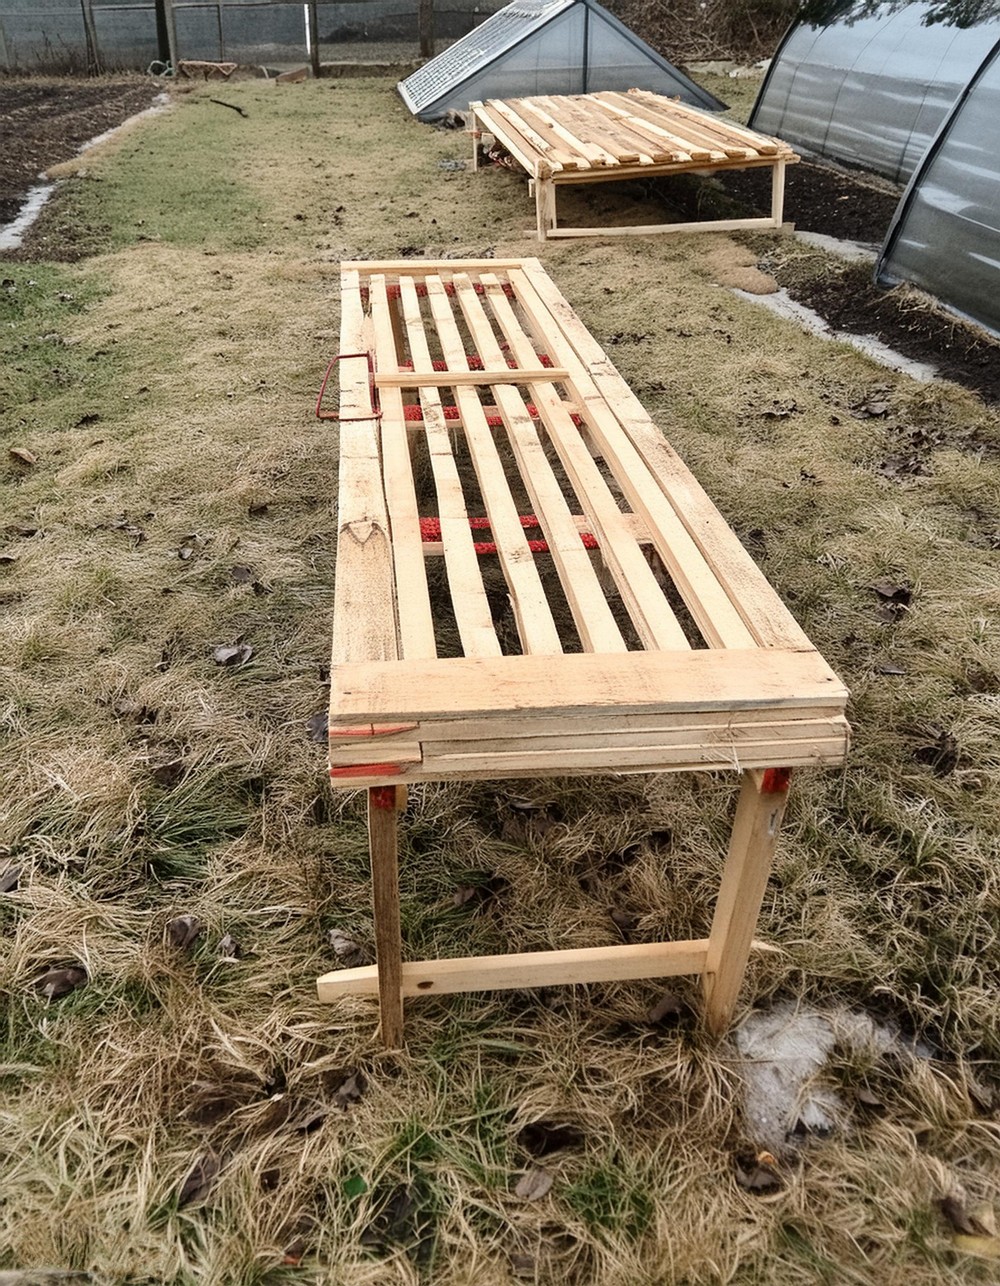
- Angling for Aesthetics: Give the bench a polished look by cutting the long outside boards with a 45-degree angle at the corners.
Assembling the Frame:
- Forming the Foundation: Begin by screwing one long side board to two short side boards at the corners with 2-1/2″ construction screws.
- Layering Slats and Spacers: Proceed to screw in the slats and spacers, stacking them carefully. Use temporary spacers at the corners to anticipate where the legs will attach later.
Attaching the Legs:
- Securing the Supporters: With all the slats in place, attach each leg with large lag screws. Utilize a square to ensure the legs are perfectly upright for a sturdy finish.
- Adding Stability: Connect the legs with stretchers made from a ripped piece of 2″x4″ for additional support.
Final Touches:
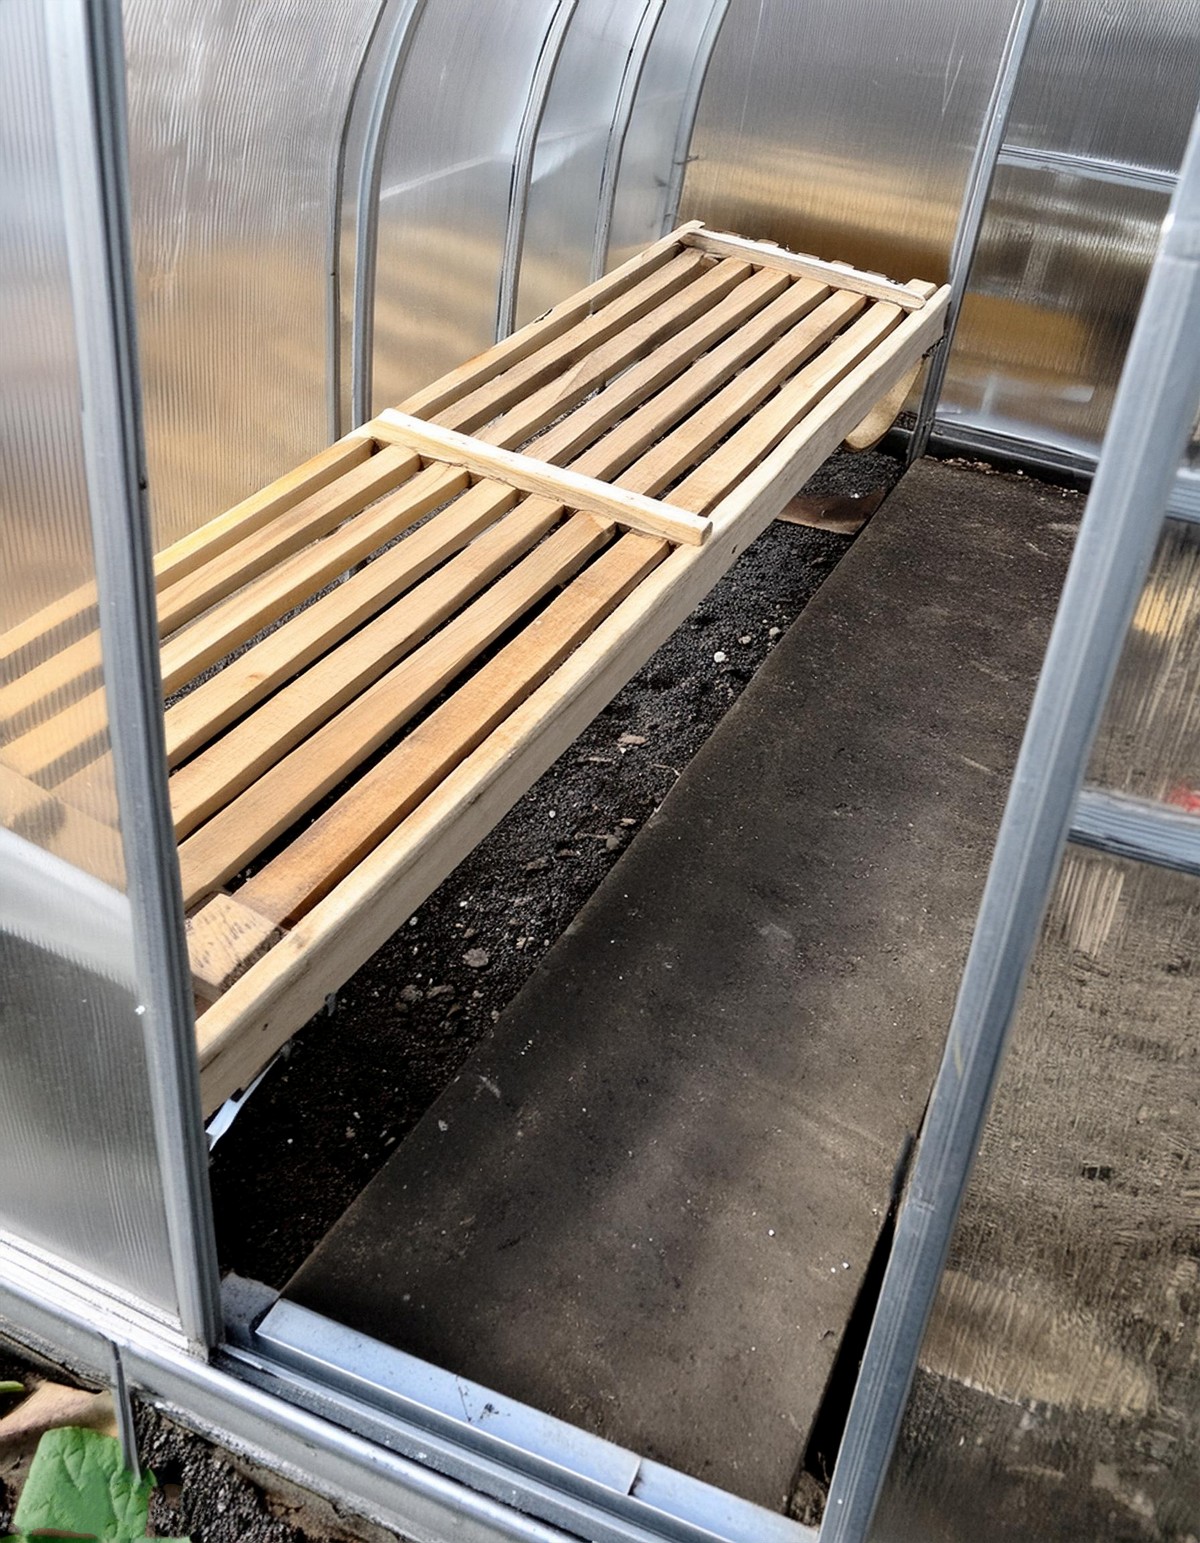
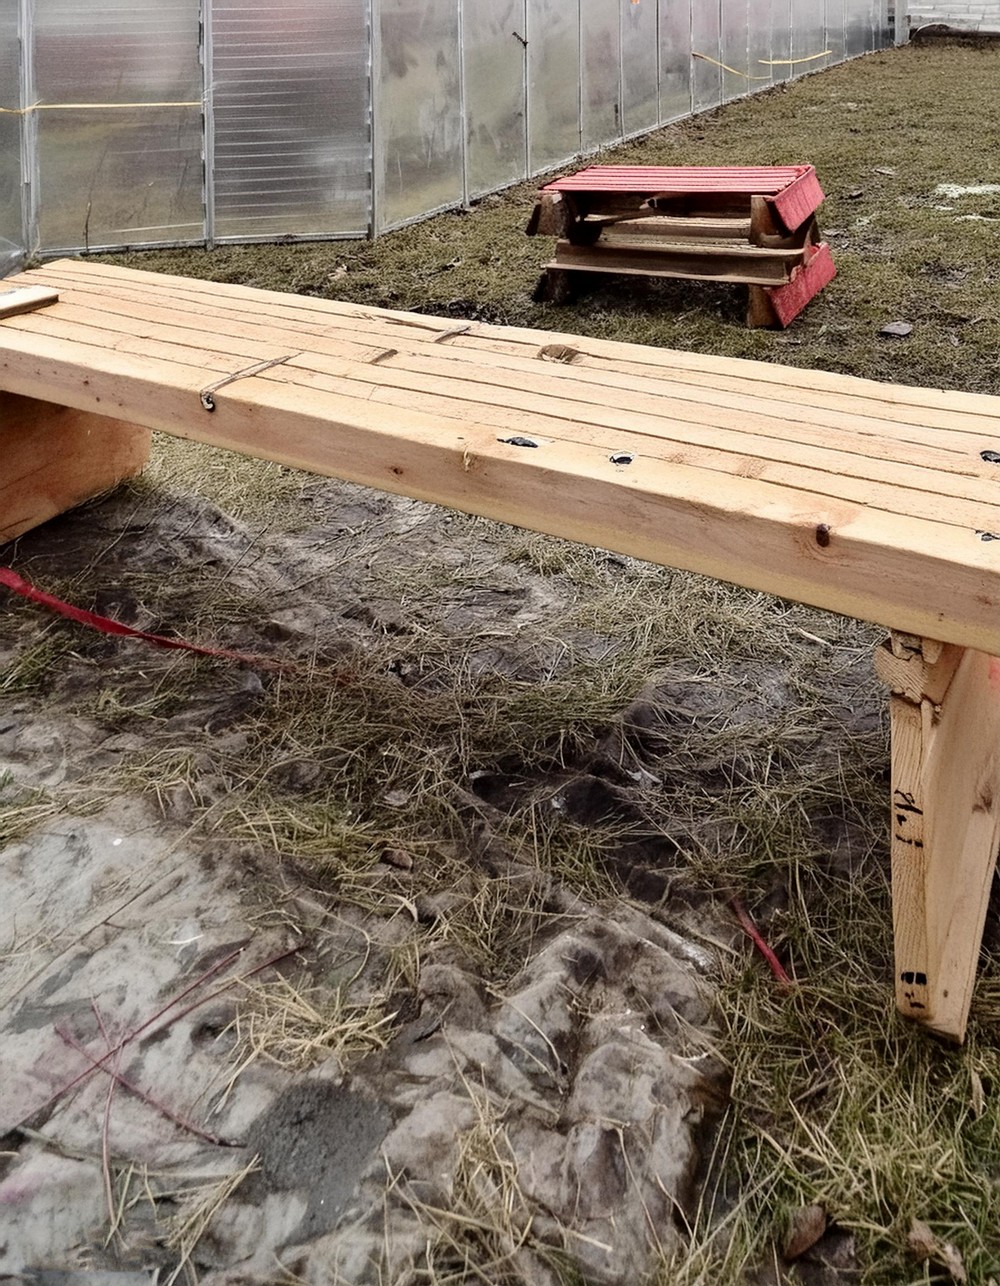
- Ensuring a Snug Fit: Design the bench dimensions so it fits within your greenhouse’s base, allowing you to secure it directly to the greenhouse walls, preventing any tipping.
- Post-Project Reflection: Admire your completed bench. This step is as much about recognizing your accomplishment as it is about reviewing your work for any necessary adjustments.
Conclusion:
In under two hours and with minimal cost, you’ve now created not just a bench, but a space within your greenhouse that will host countless starts and support the growing cycle of your garden. This bench isn’t just a piece of furniture; it’s a step towards greater self-reliance and sustainability on your homestead. Enjoy the fruits of your labour, both the literal ones that will sprout atop this bench and the sense of accomplishment that comes from crafting something so valuable with your own hands.