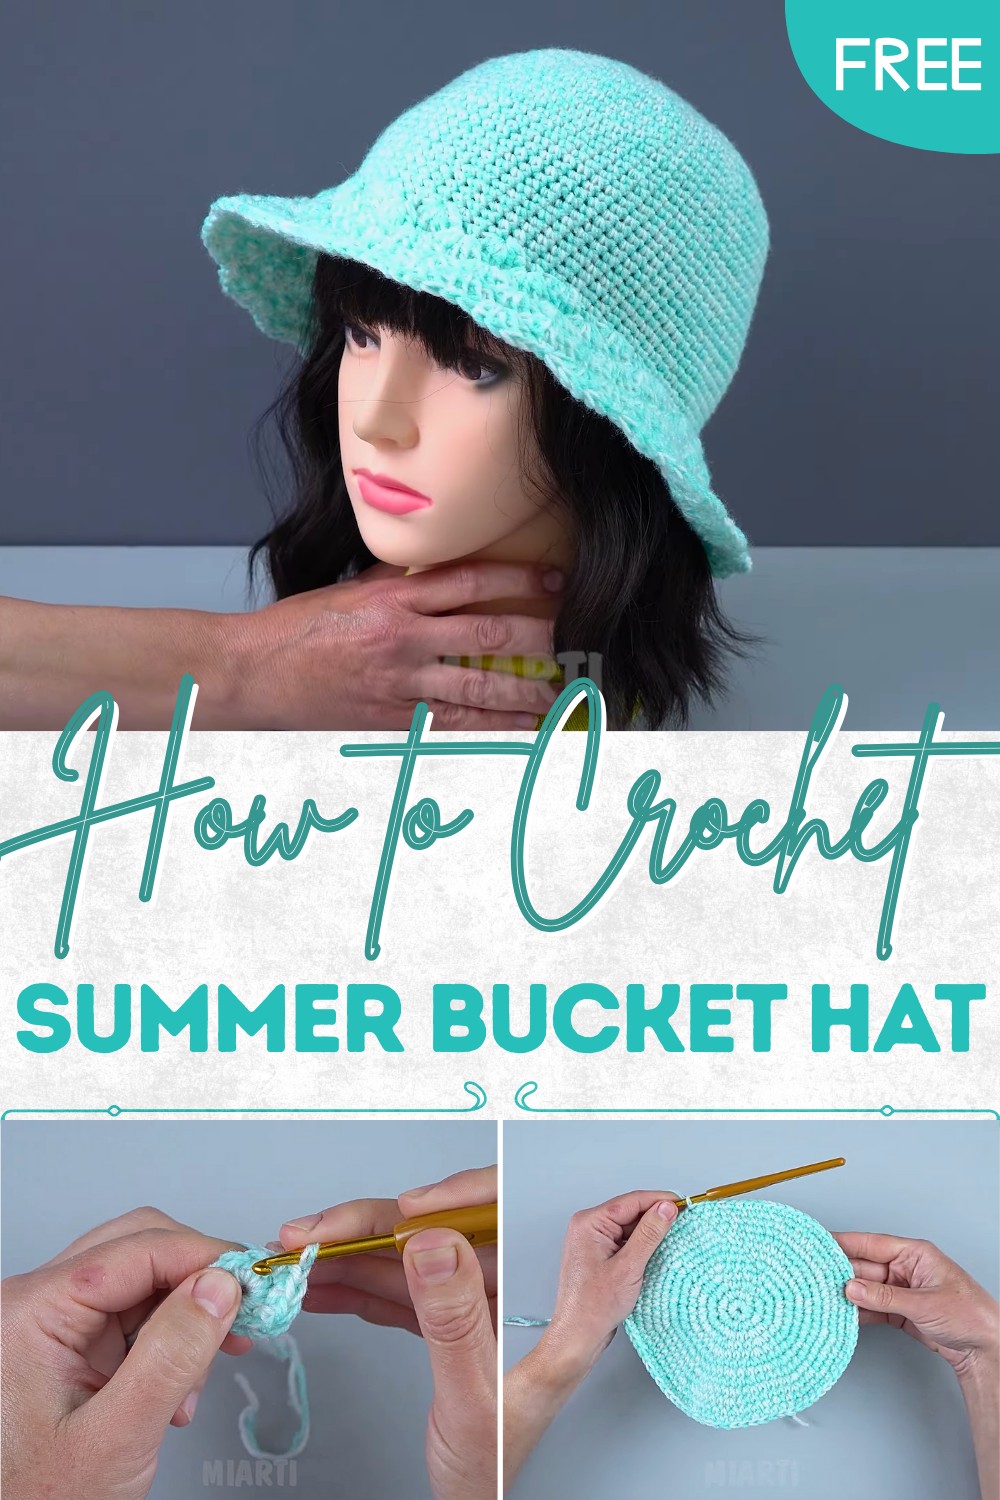
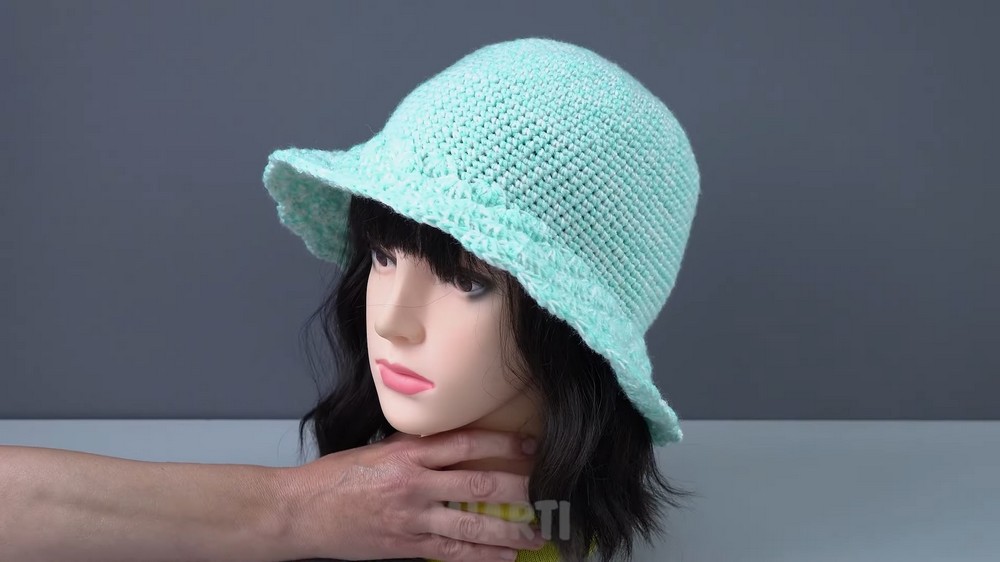
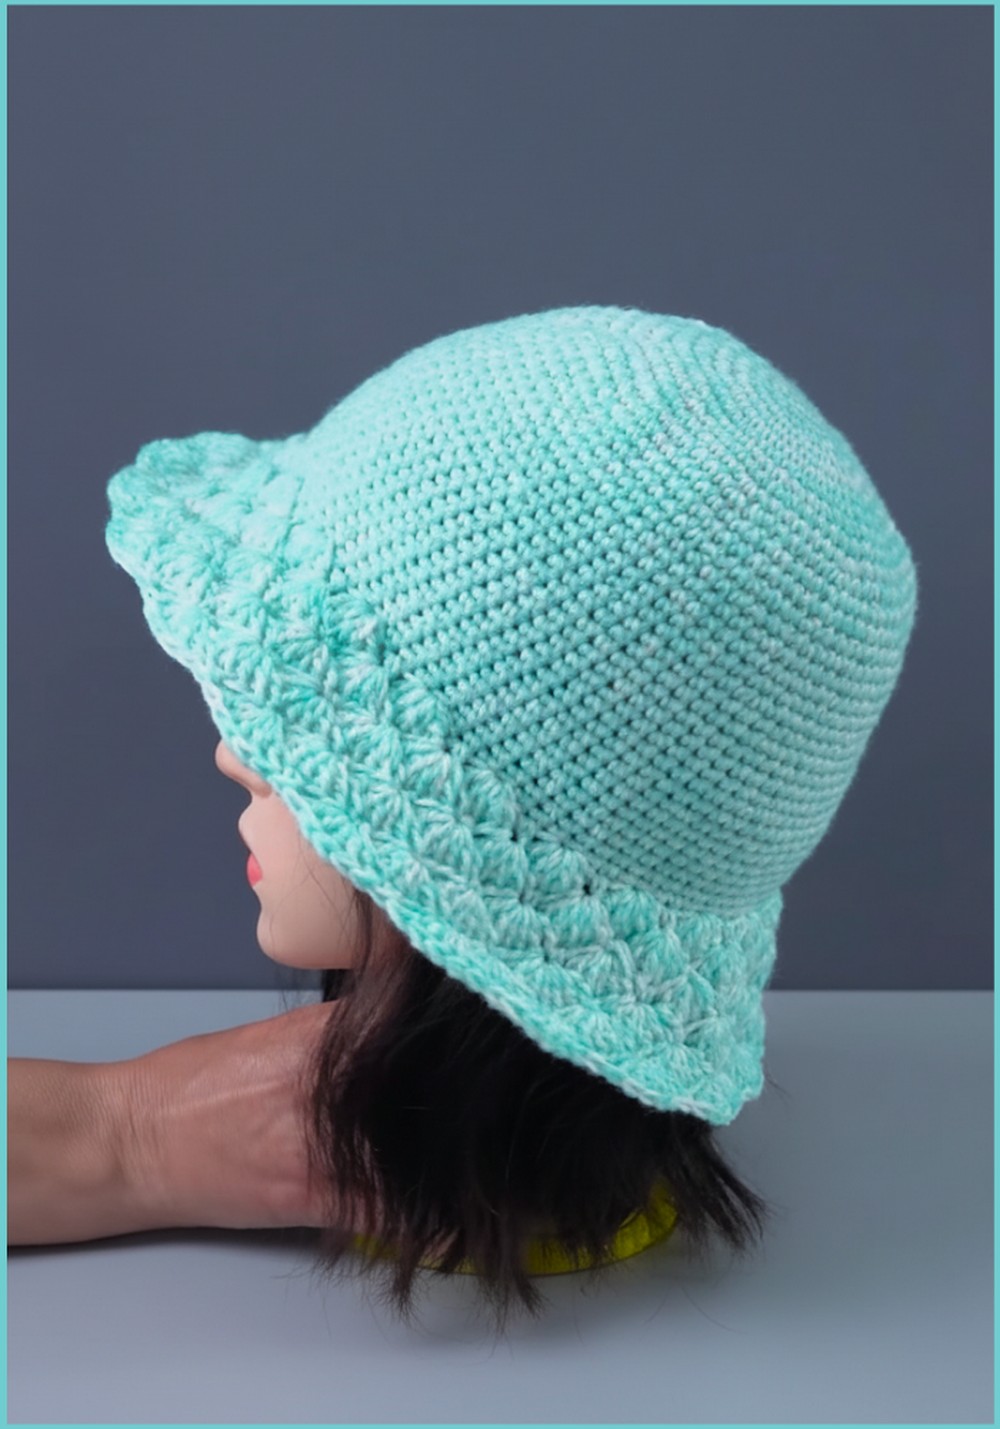
Crochet Summer Bucket Hat Pattern for Warm Weather Vibes
Step-by-Step Crochet Summer Bucket Hat for Everyday Ease
This beginner-friendly project allows plenty of room for personalization. Add decorative touches like crochet flowers, color stripes, or textured edges to make your bucket hat truly unique. Blocking the pattern by dampening it and shaping it over a bowl helps achieve the ideal curve and elegance.
Materials Required
- Yarn: Lightweight cotton or acrylic yarn (light DK weight recommended for summer designs).
- Crochet Hook: 4.5 mm.
- Scissors: For cutting edges cleanly.
- Stitch Marker: Keep track of rounds while working in spirals.
- Tapestry Needle: For weaving in ends after finishing the project.
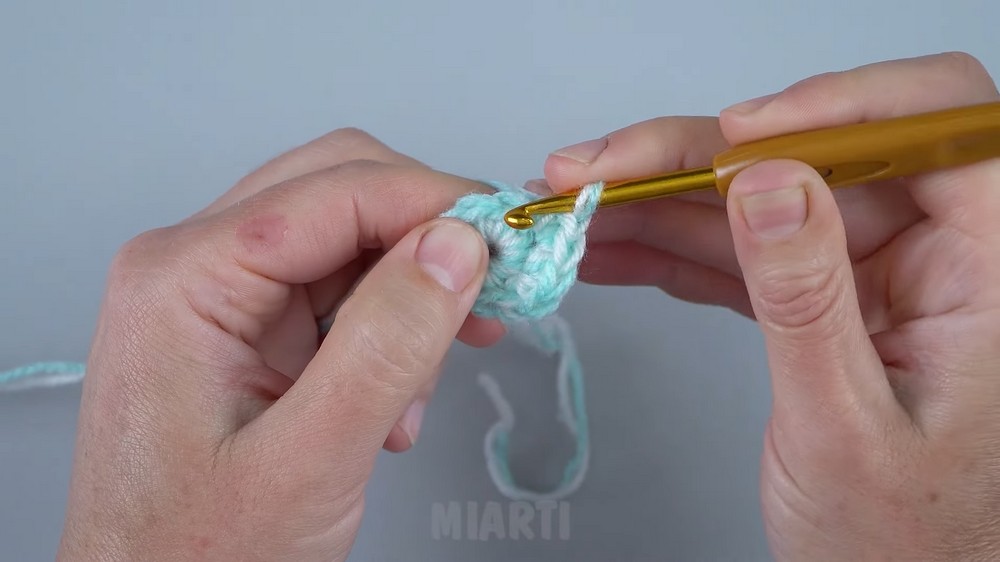
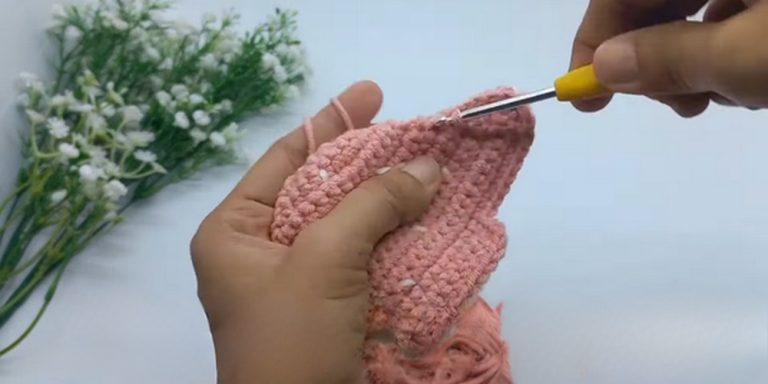
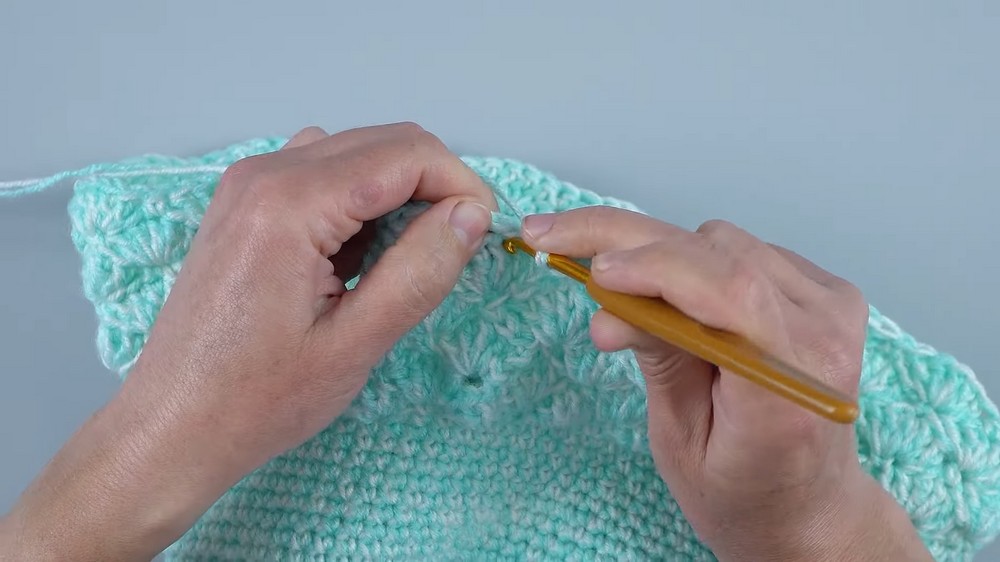
Begin your bucket hat pattern by focusing on the crown. Use increasing rounds of stitches—such as single crochet or double crochet—to form a flat circle that serves as the foundation of the hat.
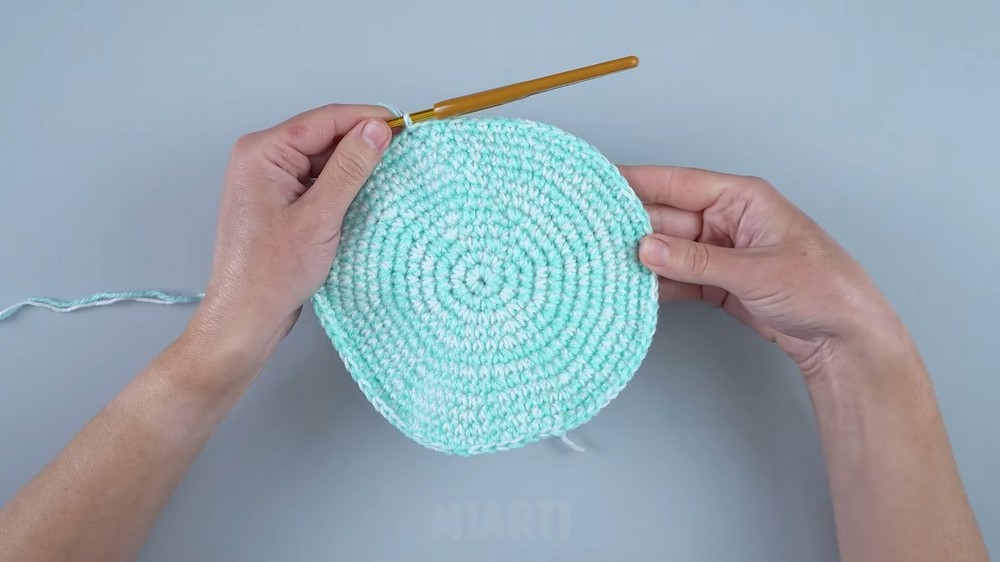
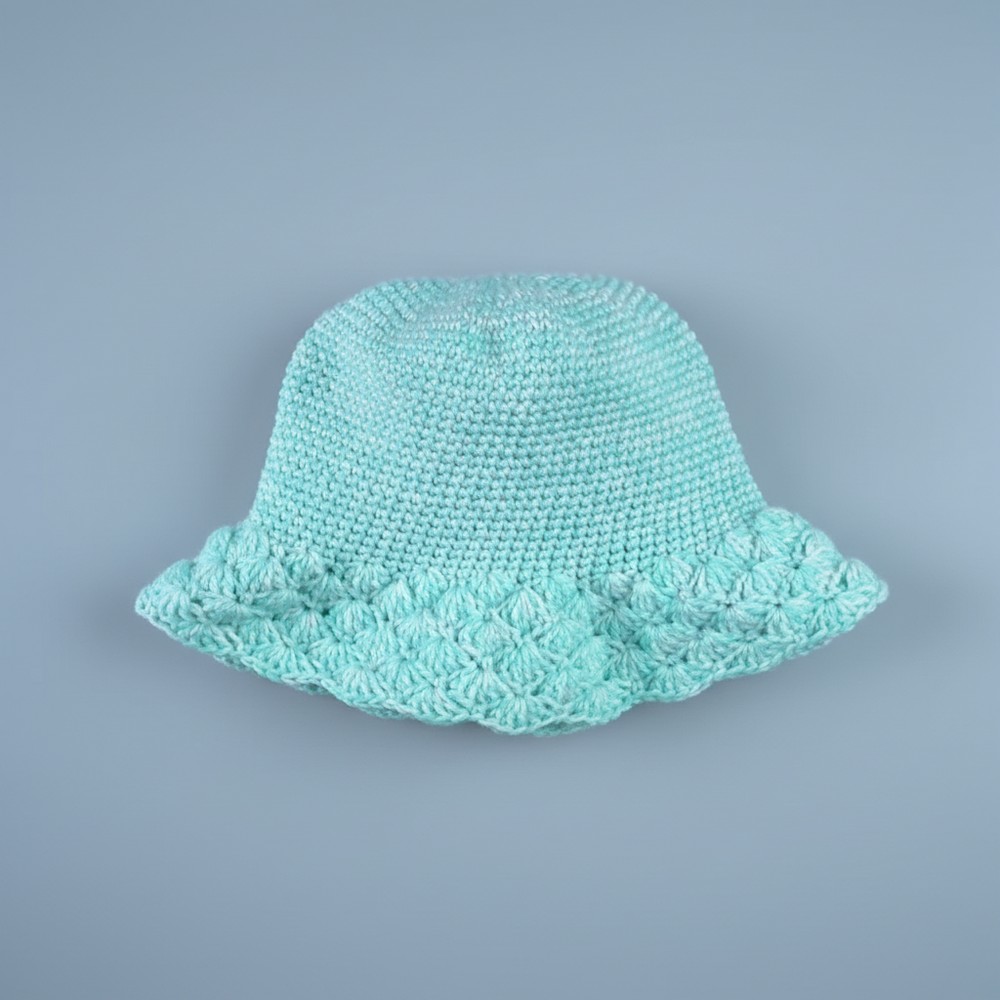
Once the right diameter is achieved for the crown, move on to the sides, stitching evenly to create the body of the hat. Keeping a consistent tension through this stage is crucial for a polished and smooth finish. The brim is the last section and typically involves strategic increases to create a slight flare.
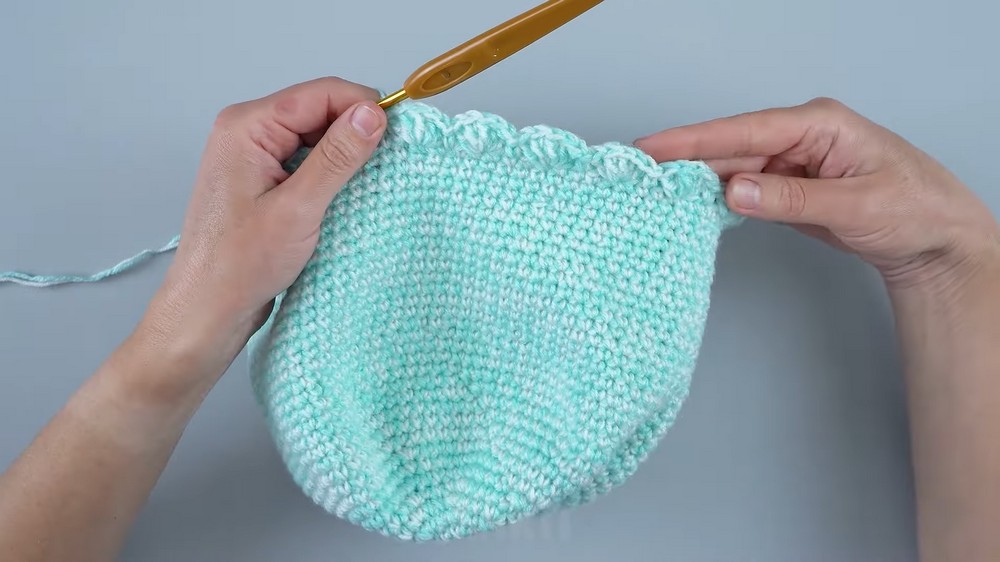
Using stitch markers around the rounds and counting carefully will save you from losing track of where you are in the pattern. To achieve precision, keep your hands relaxed and maintain easy-to-follow rows or rounds with uniformity.
Special Features
- Airy Design: The hat features a breathable structure, perfect for warm weather use without feeling too heavy.
- Customizable Size & Style: Adjust the pattern easily to create wider brims, snug-fitting crowns, or decorative features like flowers or stripes.
- Multi-Purpose Use: A great accessory for outdoor activities, beach days, picnics, and casual outings.
Level of Difficulty
The pattern is great for intermediate beginners, but can also be accomplished by total beginners with a little patience. Basic crochet stitches, such as single crochet (SC) and double crochet (DC), are the foundation of the project.
Tutor’s Suggestions
- Gauge Check: The tutor suggests checking your gauge as you go to ensure your finished hat fits well.
- Stay Relaxed: The key to achieving consistent stitches is maintaining a relaxed grip on your yarn and hook.
- Practice Basics First: If you’re new to crochet, practice stitches like single crochet or double crochet before starting this project.
Uses
- Functional Accessory: Protects your face and neck from the sun while keeping you cool.
- Fashion Statement: Elevate any outfit with a handmade crochet hat that’s stylish and unique.
- Gift Idea: A thoughtful, personal gift for friends or family.
Step-by-Step Guide
Crochet bucket hat is the ultimate summer accessory—a blend of function and fashion. Whether you’re a beginner or a seasoned crocheter, this easy-to-follow pattern includes simple instructions and thoughtful tips to ensure your finished hat is practical and stunning.
Conclusion
Crocheting a summer bucket hat is not only fun but satisfying as you watch your project come to life stitch by stitch. With the right materials, patience, and tutorial guidance, you can crochet a practical yet chic piece to wear or gift to others.
Final Tip
Blocking Your Hat: Once the hat is finished, consider blocking it to enhance its shape. Wet block or steam block using a hat mold or an upside-down bowl to bring out the best in the design!