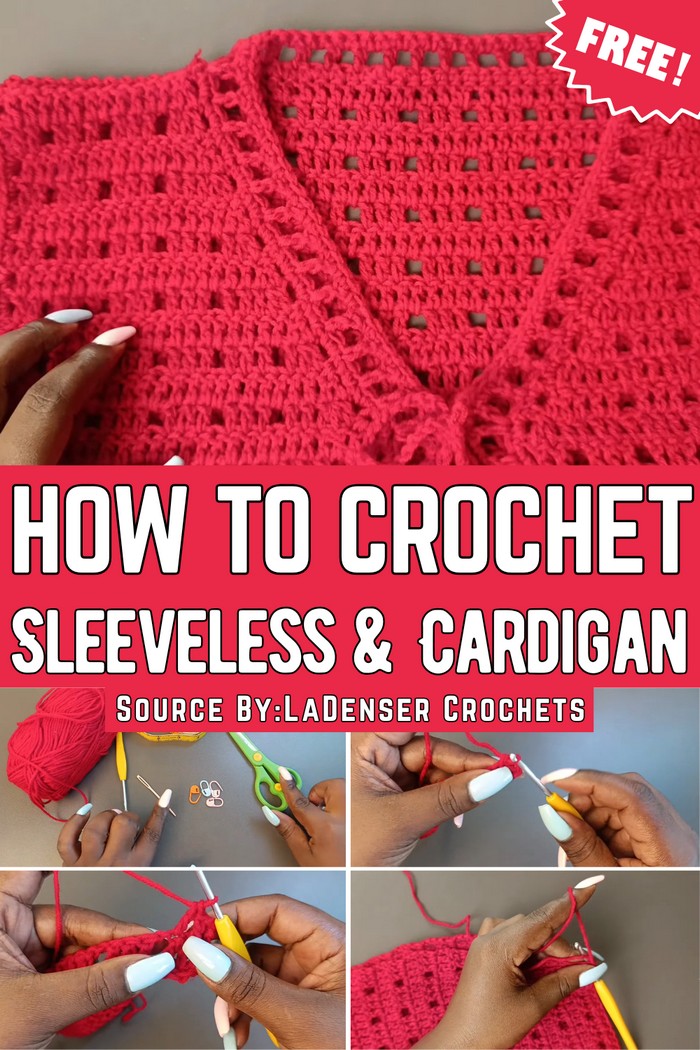
Crochet Sleeveless Cardigan That’s Soft & Stylish
Get into cozy style with the Crochet Sleeveless Cardigan, perfect for layering and adding effortless charm to any outfit.
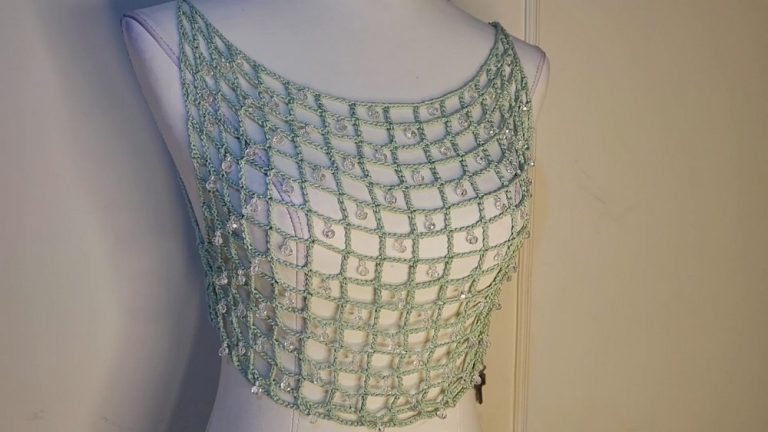
Light layers are a popular choice for adding versatility to your wardrobe, especially when you need a little warmth without feeling weighed down. This sleeveless cardigan is a perfect option, offering comfort and simple style. Its open-front design makes it easy to pair with different outfits, making it great for changing seasons or cool summer nights. The breathable stitching keeps it lightweight while adding a bit of texture. Whether you wear it with jeans or over a dress, it adds a touch of elegance that’s both practical and stylish.
How To Crochet Sleeveless Cardigan For Your Closet
The pattern begins with a straightforward foundation chain, followed by easy-to-follow rows that build a soft, flowing fabric. As the work progresses, shaping is introduced to contour the shoulders and sides, giving the piece a flattering fit without restricting movement. Finishing touches include a neat edging that frames the open front beautifully.
This cardigan’s simplicity is its charm, appealing to makers who appreciate both practicality and style. Its versatility allows it to be worn from day to night, adding a cozy layer that complements a variety of looks. Lightweight, adaptable, and chic—this sleeveless cardigan is a wardrobe essential for those seeking comfort with a modern twist.
Special Features
- Sleeveless Design
- The sleeveless cardigan is lightweight and perfect for layering.
- Its open style and elegant design cater to various seasons and occasions.
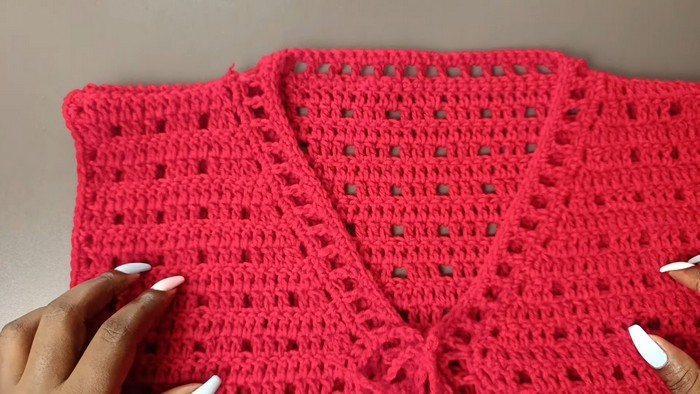
- Multi-panel Structure
- The cardigan consists of three panels: two identical front panels and one back panel.
- The front panels include slanted edges for a clean finish and closure.
- Easy Stitch Patterns
- The project alternates between rows of single crochet, double crochet mesh patterns, and solid rows of double crochet.
- Even rows involve repeated mesh patterns, while odd rows (except the first) are solid double crochet rows.
- Custom Sizing
- Measurements are tailored based on the user’s bust size, waist-to-armpit length, and armpit-to-shoulder length.
Materials Used
- Medium Weight Acrylic Yarn
- Liz uses a wine red (deep red) color.
- 3.5 mm Crochet Hook
- Additional Tools
- Measuring tape for exact dimensions.
- Scissors, stitch markers, and darning needle for finishing touches.
Step-by-Step Tutorial
1. Preparing Measurements
- Bust Measurement: Determines the width of each panel (the bust divided by 4).
- Armpit to Waist Measurement: Guides the panel’s vertical length.
- Armpit to Shoulder Measurement: Sets the top section’s length.
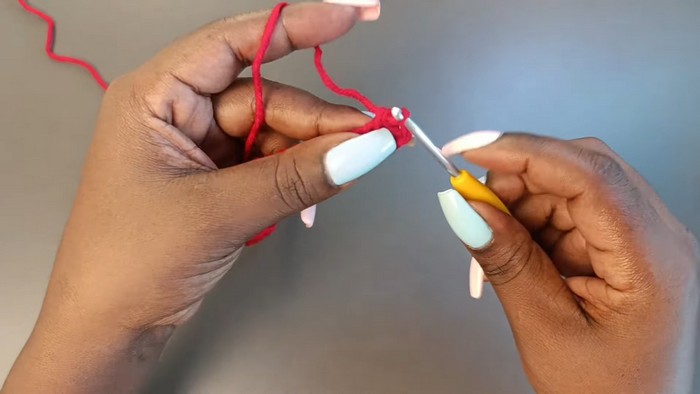
2. Front Panel Construction
- Begin with a chain that’s a multiple of 4 (e.g., chain 32 for Liz’s project).
- Row Progression:
- Row 1: Single crochet stitches into each chain.
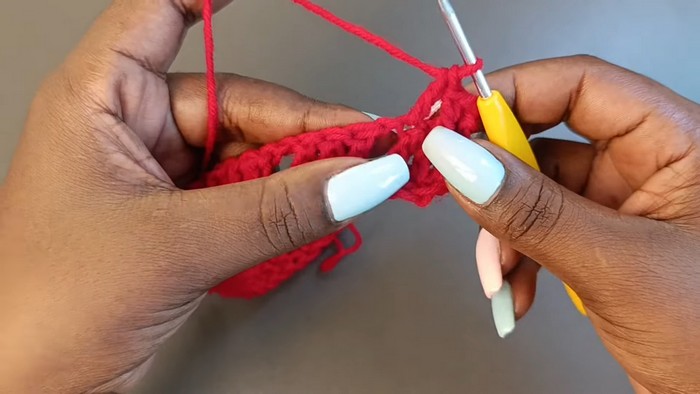
- Row 2: Alternating double crochet mesh pattern (three double crochets, chain one, skip one).
- Row 3: Solid row of double crochets.
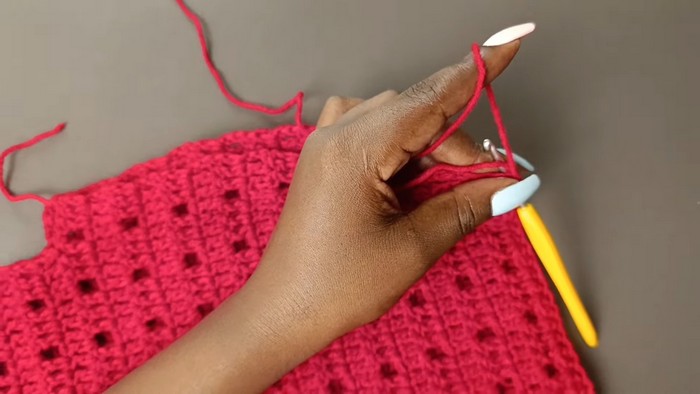
- Continue alternating rows between the mesh and solid patterns until reaching the bust-to-armpit length.
- Row 1: Single crochet stitches into each chain.
- Additional Rows (Armpit to Shoulder): Work reductions on only one end (e.g., decreasing double crochets near the stitch marker).
3. Back Panel Construction
- Begin with a chain that’s wider by four stitches (e.g., chain 68 for Liz’s tutorial).
- Rows mimic the front panel’s structure, but the top section has no reductions—work straight rows.
4. Joining the Panels
- Attach the Shoulders: Use single crochet stitches to join corresponding edges of the front and back panels.
- Seam the Sides: Repeat single crochet stitches along each side, ensuring proper alignment.
5. Adding Borders
- Sleeve Area: Use single crochet stitches to create a clean edge around the arm openings.
- Bottom Border:
- Row 1: Create a mesh pattern row (chain one, skip one, double crochet next).
- Row 2: Finish with rows of single crochet stitches for a polished look.
- Front Border and Neckline: Similar method to bottom border, ensuring smooth transitions around corners.
6. Final Steps
- Tie Closure: Crochet a chain for the tie, attach it at the V-shaped neckline, and knot the ends.
- Weaving Ends: Use a darning needle to secure leftover yarn ends.
Tutor Suggestions
- Size Adjustments: Ensure you take exact measurements for accurate fit; adjust the chain length based on your bust measurement.
- Yarn and Hook Compatibility: Use any yarn and hook size, adapting rows for the desired dimensions.
- Reduction Rows: Alternate reduction styles between three and five stitches for a smoother taper.
Level of Difficulty
- Beginner-Friendly:
- Basic stitches like single crochet, double crochet, and chain are used.
- Step-by-step instructions and visible demonstrations make it easy to follow.
Uses of the Cardigan
- Versatile Clothing: Perfect for layering over tops, dresses, or other outfits.
- Customizable: Easily adaptable to various sizes, colors, and yarn types.
- Gifting or Selling: A handcrafted garment that can be gifted or sold due to its elegant yet simple design.
Tip
To ensure neat finishing, always work into corners carefully during borders and weave in loose ends securely for a polished appearance.
Conclusion
This pattern helps you create a stylish sleeveless cardigan with simple yet intricate crochet patterns. Liz provides clear instructions and encourages viewers to adapt their designs for a perfect fit. Whether for personal use, gifting, or selling, this versatile garment is a fantastic beginner-friendly project.