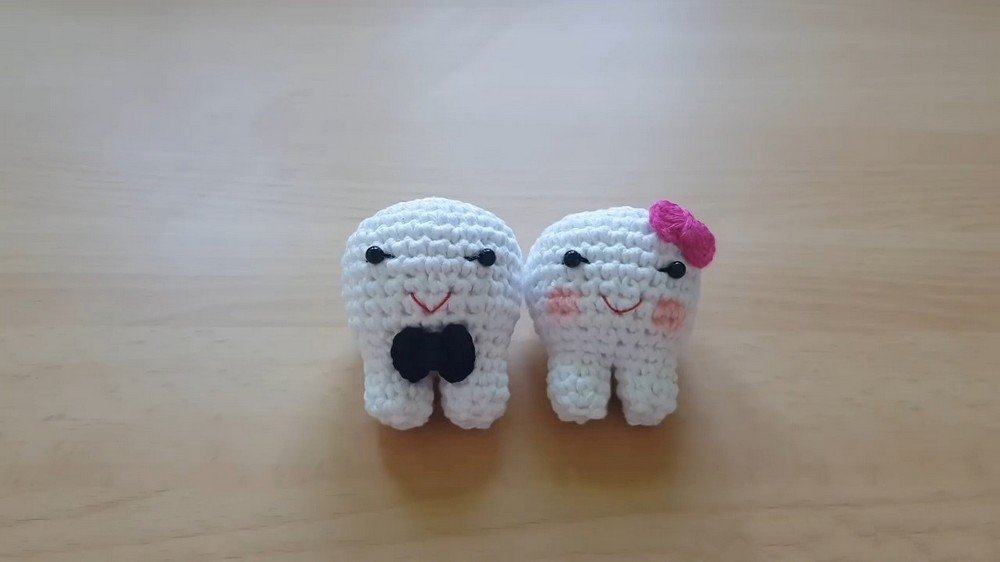
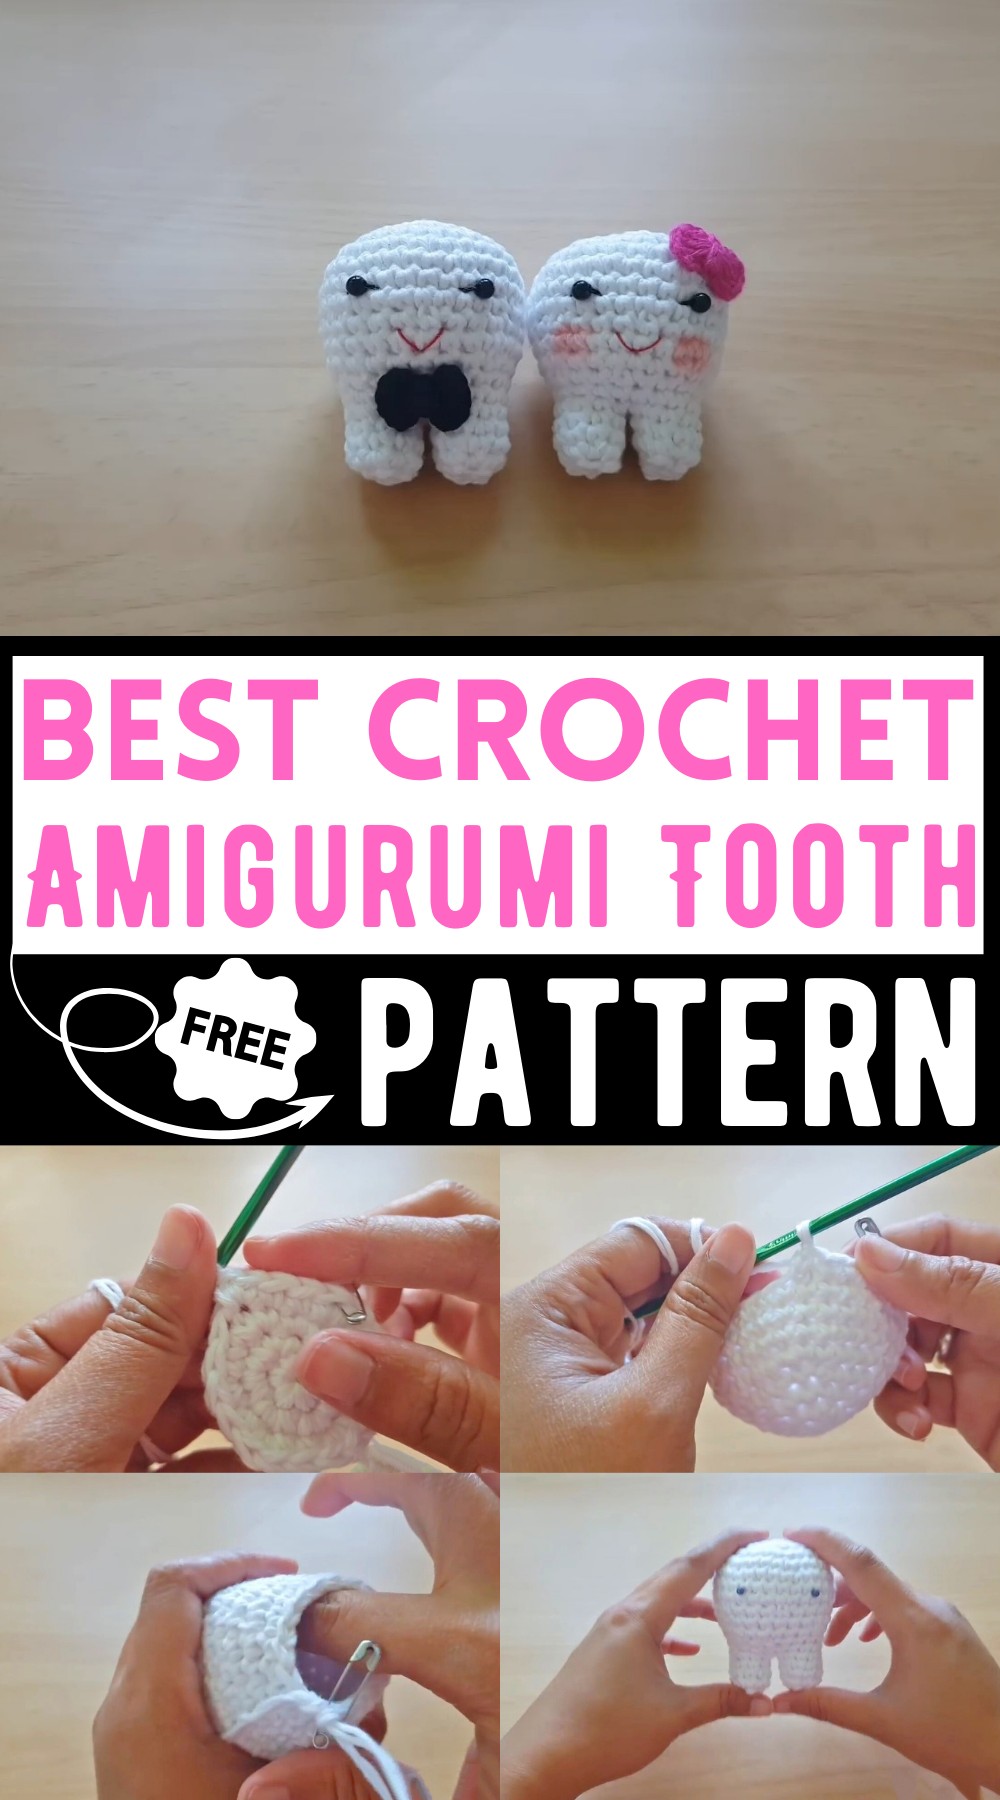
Crochet Mr And Mrs Tooth Amigurumi Pattern To Gift Dentists
Creating your very own Crochet Amigurumi Tooth Pattern is not only fun but also super rewarding! This adorable pattern lets you crochet a cute, tiny tooth that’s perfect for kid gifts, dentist offices, or just a fun decoration. The tooth takes shape through simple stitches using white yarn, with added features like beady eyes and a tiny red smile for character. The final look is an irresistibly charming tooth that anyone will love having around!
Why Love This Pattern?
- Simplicity and Clarity: The video provides a clear, step-by-step tutorial that is easy to follow, making it accessible even for beginners.
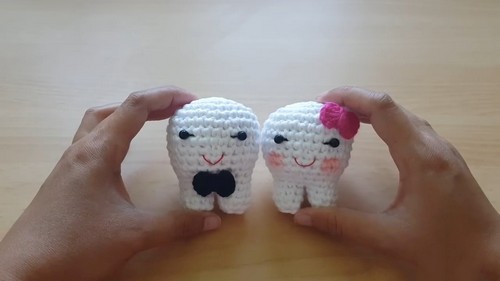
- Customization: The pattern allows for some degree of customization, such as using one or two strands of yarn to adjust the size of the amigurumi or personalizing with different facial expressions and accessories like a bow.
- Adorable Finished Product: The end result is a cute amigurumi tooth, which can be a charming gift or a decorative item for dental-themed events.
How To Crochet Amigurumi Tooth
Materials Needed:
- White cotton or acrylic yarn (using two strands)
- 4 mm crochet hook
- Stuffing
- Scissors
- Two beads for the eyes
- Black needle and safety pin (for stitch marking)
- Red thread for the lips
- Black thread for sewing the eyes

Pattern Instructions:
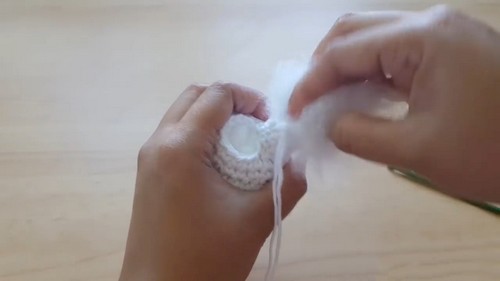
Starting Off:
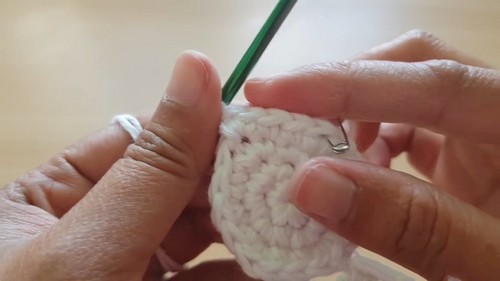
- Magic Ring: Begin with a magic ring. Chain 1.
- Round 1: Work 6 single crochet (sc) into the magic ring. Pull the tail to tighten. Place a stitch marker at the end of the round.
Increasing Rounds:
- Round 2: Increase in each stitch (2 sc in each stitch) – Total 12 sc.
- Round 3: 1 sc in the first stitch, increase in the next. Repeat all the way around – Total 18 sc.
- Round 4: 2 sc in the next two stitches, then increase. Repeat around – Total 24 sc.
- Round 5: 3 sc in the next three stitches, then increase. Repeat throughout – Total 30 sc.
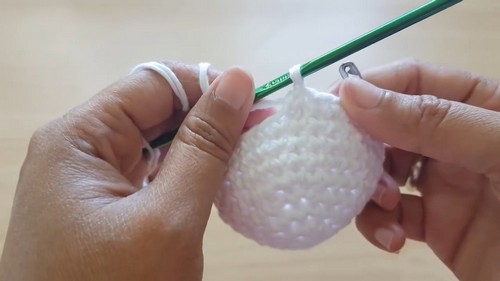
Simple Rounds:
- Rounds 6-8: Single crochet in each stitch around for 3 rounds.
Decreasing Rounds:
- Round 9: 3 sc in the next three stitches, make an invisible decrease. Repeat all around – Total 24 sc.
- Rounds 10 & 11: Single crochet in each stitch around for 2 rounds.
- Round 12: 2 sc in the next two stitches, make an invisible decrease. Repeat pattern – Total 18 sc.
- Round 13: Single crochet in each stitch around.
Partition and Final Shaping:
- Stuffing: Insert toy stuffing into the piece after Round 13.
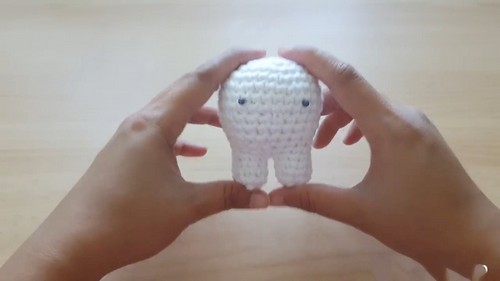
- Partitioning: Divide the 18 stitches for the tooth’s “roots”:
- First partition: Crochet 9 stitches. Join with the first stitch and continue for 3 more rounds with sc. Slip stitch, chain 1, and fasten off.
- Close the opening using a tapestry needle. Pass the needle in and out around the edge, then pull tight.
- Second Partition: Repeat the above on the remaining 9 stitches to form the second root.
Finishing Touches:
- Sew the eyes using the beads.
- Use red thread to add details like the lips.
Additional Tips:
- Optional: Use two strands of yarn to make the amigurumi larger.
- Add further personalization, such as crochet accessories, using the provided link from the tutorial for a crochet bow.
Enjoy your crafting!