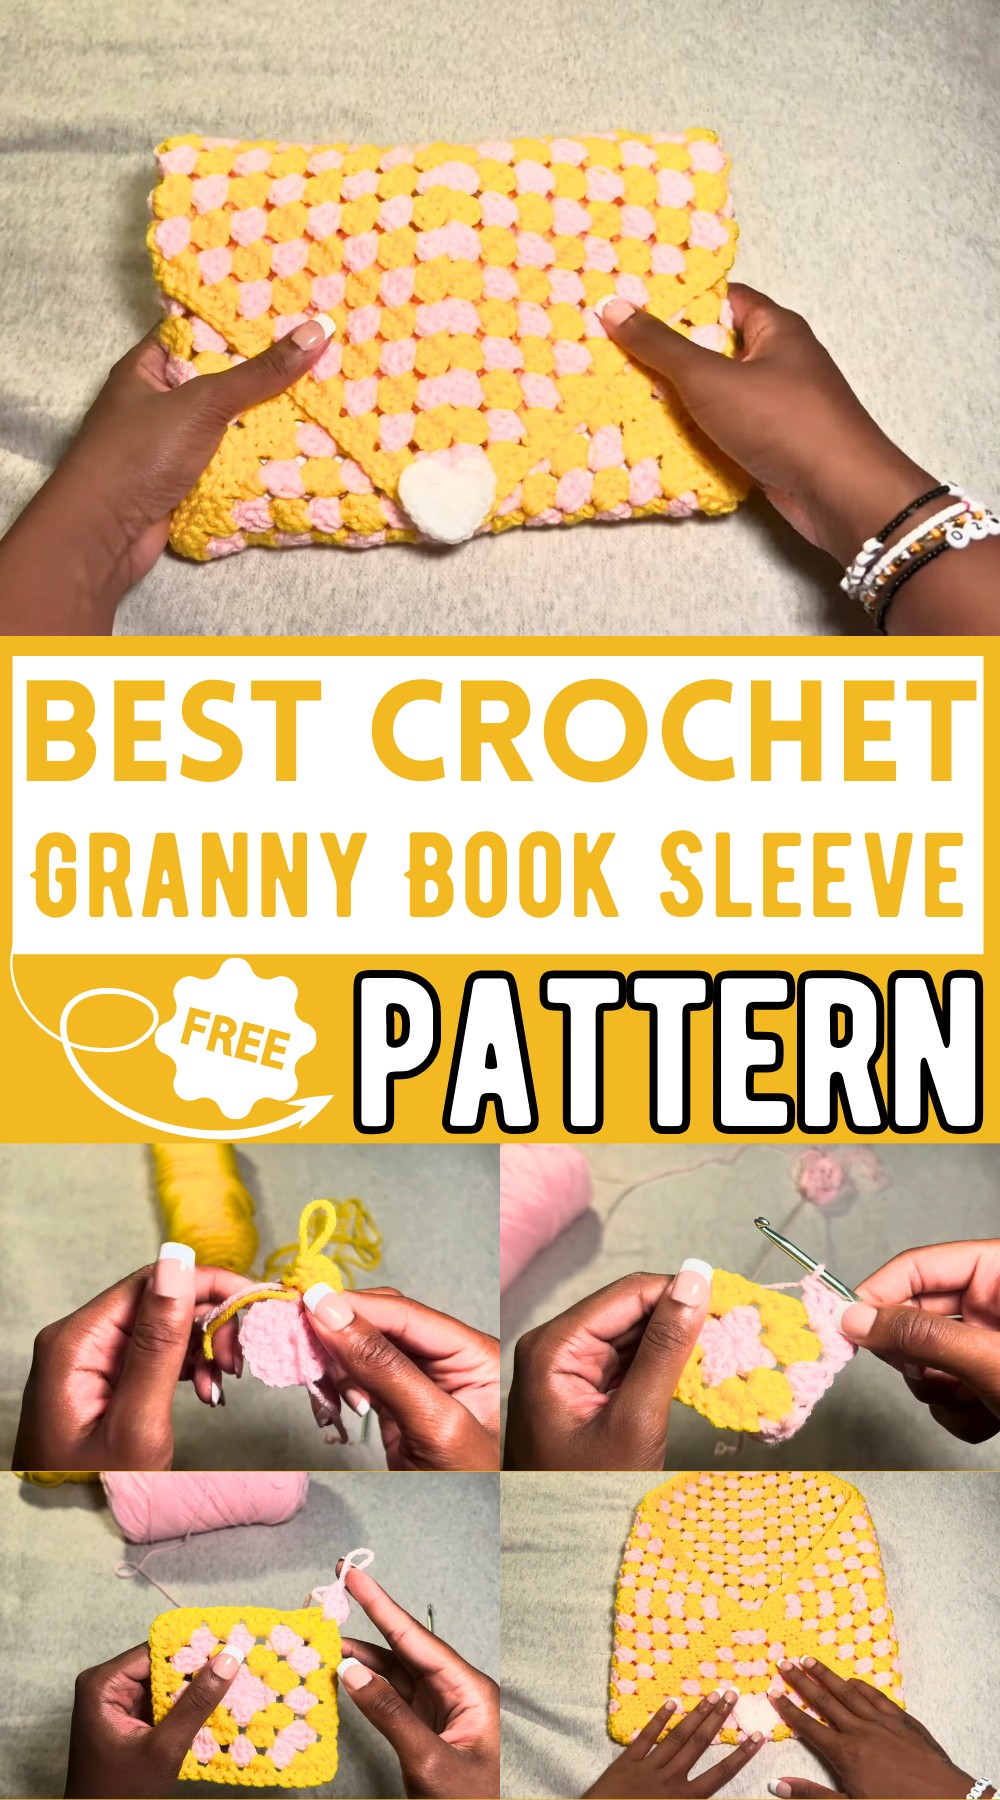
Crochet Granny Sleeve Pattern For Books, Tablets, Or Kindles
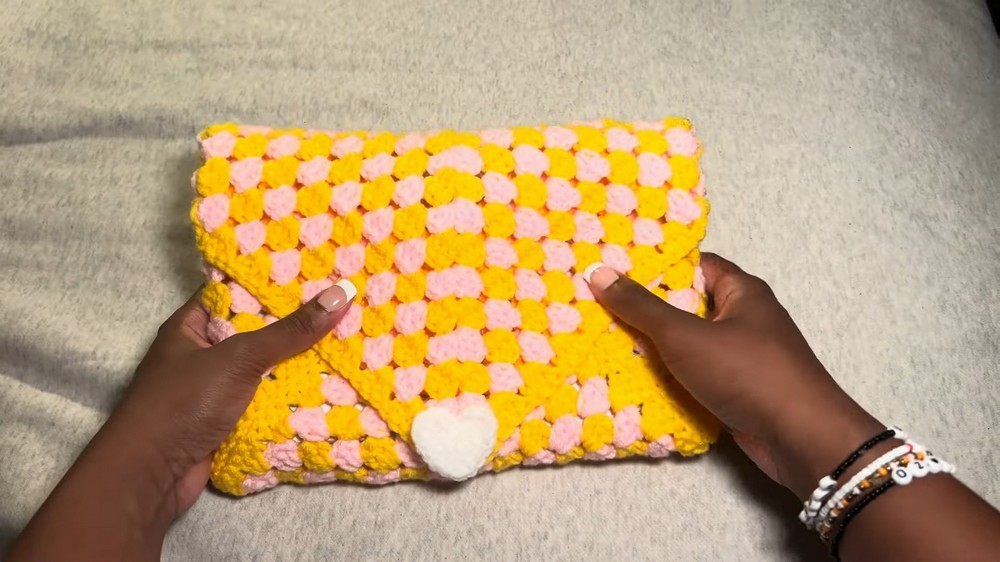
For the book reader in your life, gift this delightful Crochet Granny Book Sleeve! Using vibrant yarns, you’ll crochet a large, square-shaped sleeve that securely holds your books, tablets, or Kindles. Perfect as a thoughtful gift or a fun personal project!
Crochet Granny Book Sleeve
The easy-to-follow steps guide you through stitching lively colors and even adding a cute heart-shaped button for added charm. This handmade crochet accessory combines beauty with functionality, providing protection and style for all your reading essentials.
Step-by-Step Crochet Book Sleeve Pattern
Supplies
- Medium weight (4) yarn in two colors (e.g., highlighter and light pink from Loops and Threads Soft Classic Acrylic Yarn)
- 4.5 mm crochet hook
- Scissors
- Yarn needle
Abbreviations:
- ch – chain
- dc – double crochet
- hdc – half double crochet
- sl st – slip stitch
- tr – treble crochet
- st(s) – stitch(es)

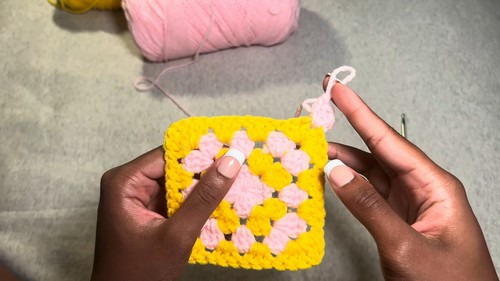
Granny Square Pattern
- Magic Circle:
- Hold the yarn tail and make an “X” over two fingers.
– Insert the hook under the first string and over the second string.
– Pull the second string under the first and twist to form a magic ring. 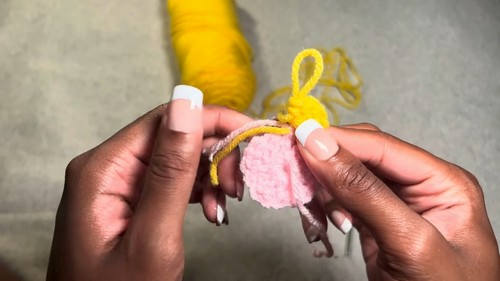
- Hold the yarn tail and make an “X” over two fingers.
- Row 1:
- Ch 2 (does not count as a stitch).
- In the magic circle, crochet 3 dc.
- Ch 1, 3 dc – repeat this 3 times.
- You should now have four groups of 3 dc with a ch 1 between each.
- Tighten the magic ring.
- Closing Row 1:
- Sl st into the first dc.
- If changing colors, pull through the new color before closing the previous stitch. Otherwise, continue with the same color.
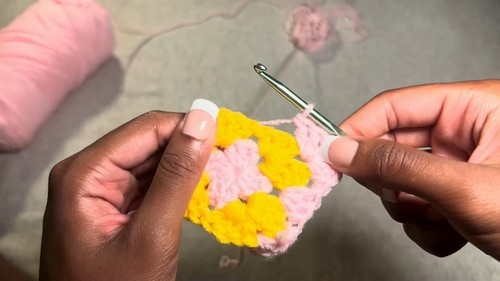
- Row 2:
- With the new color (or same color), ch 2 and turn your work.
- Crochet 3 dc into the same st as the ch 2.
- 3 dc into the next ch 1 space, ch 1, 3 dc into the same ch 1 space – repeat at every corner.
- At the end of the row, join with hdc into the first dc.
- Change colors if desired, and repeat the process from Row 2.
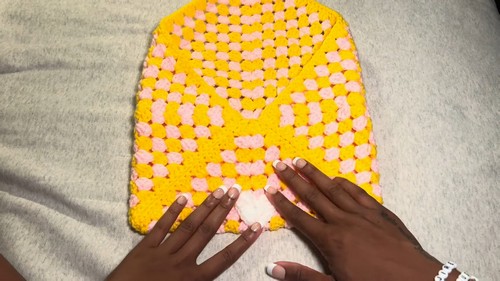
- Repeat for desired size:
- Continue to add rows by repeating the steps of Row 2 until your granny square is big enough to wrap around your book/device. For a typical book sleeve, crochet up to around 15-16 rows.
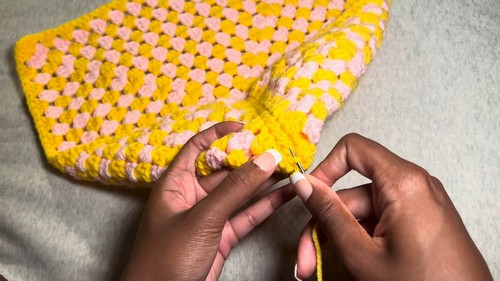
Finishing the Sleeve
- Folding and Seam:
- Fold the granny square to form the sleeve, ensuring that the last row’s tail is at the bottom.
- Use the long tail or cut a new piece of yarn.
- With the yarn needle, match the stitches and sew down one side of the folded granny square.
- Repeat on the other side to close the entire sleeve.
- Adding the Button Loop & Button:
- Crochet a small heart or use a different method to create the button.
- Heart Button Pattern:
- Start with a magic circle.
- Ch 2, then crochet 3 tr into the circle,
- Crochet 4 dc, 1 tr, 4 dc, and 3 tr back into the circle.
- Ch 2, sl st into the circle.
- Tighten and secure.
- Attach the heart to the sleeve using its tails, securing it firmly inside the sleeve.
- Ensure the heart position aligns with a hole in the granny square to function as a buttonhole.
- Trimming Ends:
- Weave in all loose ends and trim them.
- Final Steps:
- Flip the sleeve inside out, and make sure all seams and ends are hidden properly.
Tutorials and Additional Tips
- Repeat steps for each row, always chaining 1 at the end of corners, and chaining 1 before transitioning between spaces.
- Use different color sequences as per your preference.
- Practice the double crochet and treble crochet if unfamiliar, as they’re essential for this pattern.
Enjoy your newly made crochet book sleeve!