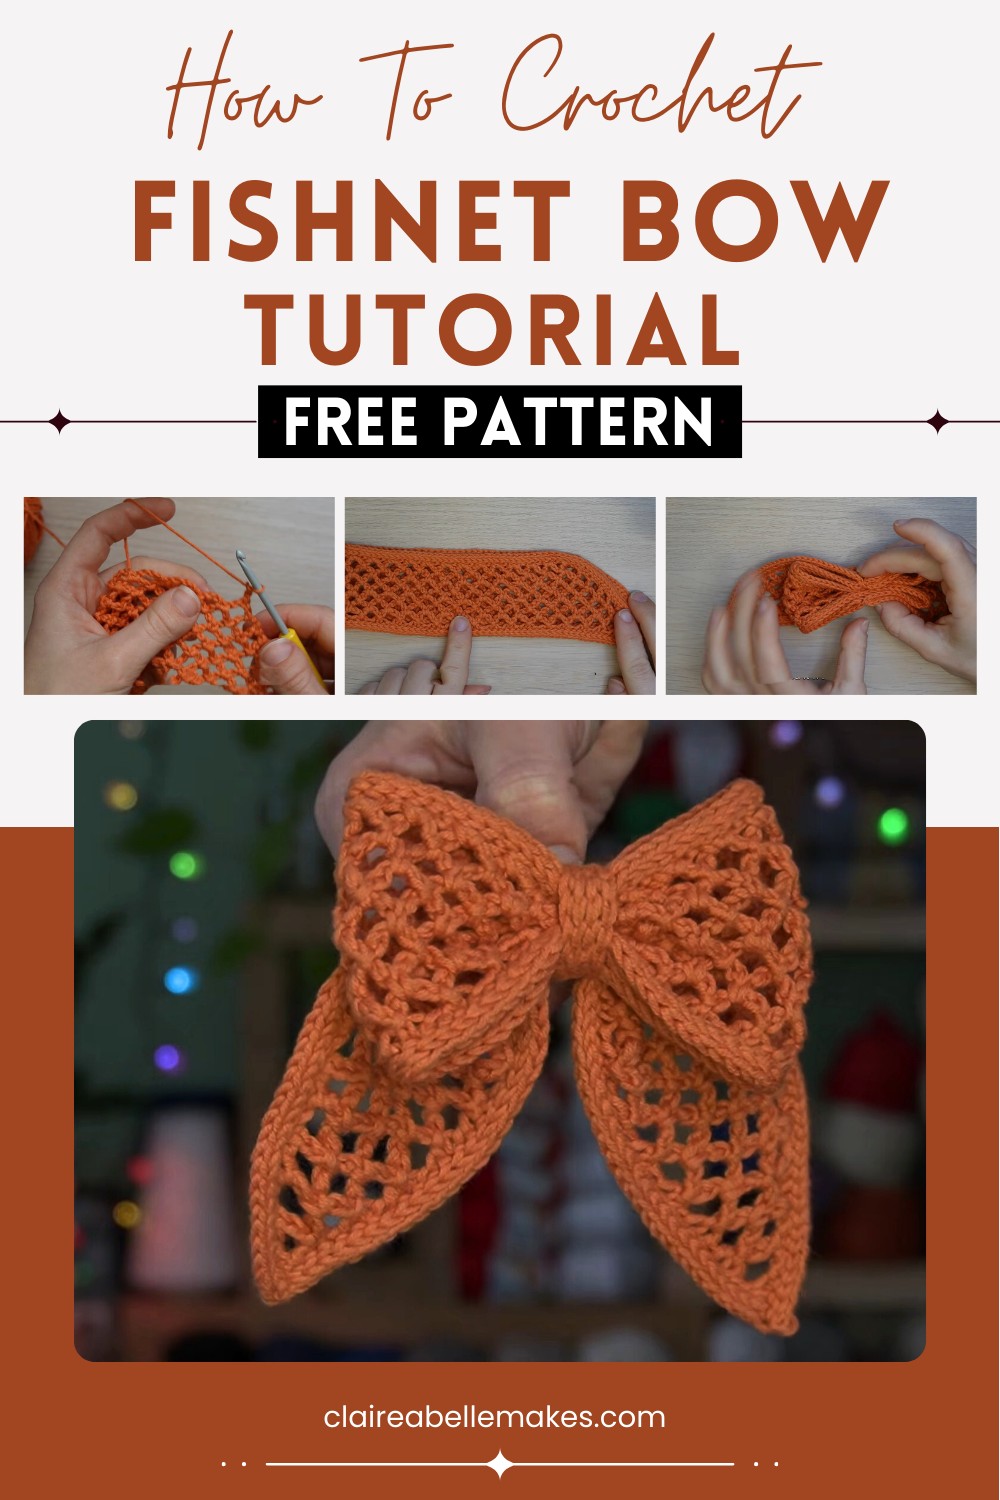
Crochet Fishnet Bow Pattern For Hair Accessories
Create charming accessories with the Crochet Fishnet Bow Pattern. Perfect for leftover yarn, this stylish bow is a must-try for crochet enthusiasts!
Crochet Fishnet Bow Pattern
Transform your crochet projects with the charming Crochet Fishnet Bow Pattern. This pattern, ideal for using leftover yarn, creates a dainty and stylish bow with intricate diamond mesh or fishnet designs. The bow can be made in two sizes, perfect for various projects like hair accessories, gift wrapping, or home decor. Its simple yet elegant design makes it a must-try for crochet enthusiasts.
Why Love This Pattern?
- Versatility and Size Options: The pattern offers instructions for multiple sizes, allowing for customization to suit different projects or preferences.
- Aesthetic Appeal: The diamond mesh offers a unique and visually interesting texture compared to a standard mesh pattern, which can add an elegant touch to any project.
- Use of Scrap Yarn: This project utilizes just a small amount of sport weight yarn, making it an excellent way to utilize leftover yarn from other projects.
- Potential for Personalization: With the flexibility in size and the option to block the finished bow for a polished look, crafters can personalize the project to their liking.
Materials Needed:
- 15 g of sport weight yarn (e.g., Drop Saffron)
- 3.5 mm crochet hook
- Sewing needle and thread (or yarn needle)
- 2 stitch markers
Instructions:
Base of the Bow
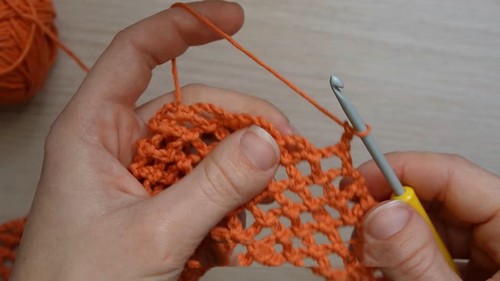
- Slip Knot and Chain: Make a slip knot and chain 100. Ensure the starting chain is a multiple of 3 plus 1 if you customize the bow size.
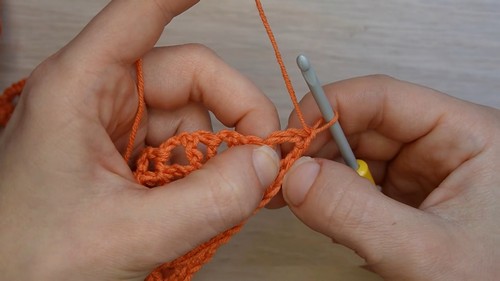
- Row 1:
- Chain 4 more (total 104) and turn your work.
- Skip the first 7 chains, then slip stitch into the next chain. This creates your first diamond mesh.
- Chain 4, skip 2 chains, and slip stitch into the next chain.
- Repeat the chain 4, skip 2, slip stitch across until 3 chains remain.
- Chain 2, skip 2, and double crochet into the last chain.
- Row 2:
- Chain 4 and turn your work.
- Slip stitch into the previous row’s chain-4 space.
- Repeat: [chain 4, slip stitch into next chain-4 space] until the last space.
- Chain 2, then double crochet into the last space.
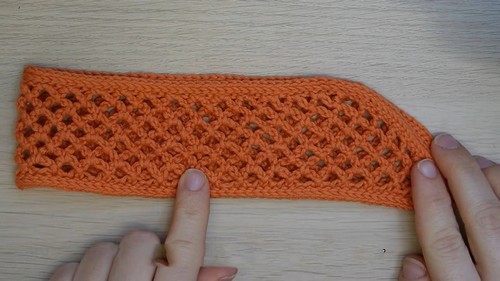
- Rows 3-6: Follow instructions for Row 2 until you complete 7 rows or the base is approximately 5 cm (2 inches) wide.
- Final Row of Base:
- Chain 2 and turn your work.
- Slip stitch into each chain-4 space until the end.
Border
Part 1 (Longest Edge):
- Attach yarn at the right corner of the longest edge.
- Row 1: Slip stitch into every stitch along this edge, excluding the chain-4 stitches from the starting chain.
- Row 2: Chain 1, turn, then slip stitch into the back loops only.
- Row 3: Repeat Row 2.
Part 2 (Remaining Edges):
- Chain 1 and slip stitch twice into the border just created.
- Slip stitch evenly along the slanted and shorter edges. For slanted edges, make two slip stitches in each mesh space and one at each mesh crossing.
- Along shorter edges, make one slip stitch in each chain or stitch.
- Ensure the same number of stitches along slanted edges.
- Chain 1, then make two rows of back loop slip stitches, as in Part 1.
- Cut yarn and fasten off.
Assemble the Bow
- Fold and Sew:
- Fold the base in half with wrong sides facing, then fold in half again.
- Mark top and bottom of the base with stitch markers through both layers.
- Sew along the marked line, ensuring stitches align between layers and do not pull too tightly.
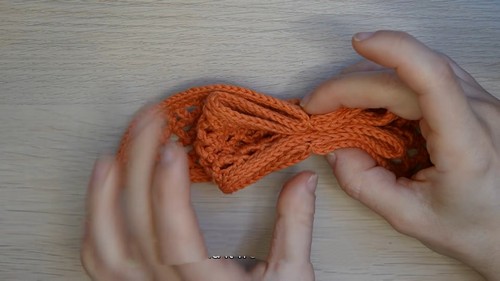
- Shape the Bow:
- Align the center of the big loop with the sewn line.
- Fold top to bottom, then tie the center with scrap yarn.
- Adjust bow to make it symmetrical.
Center of the Bow
- Chain and Slip Stitch:
- Make a slip knot, then chain 13 (adjust to fit around the bow center as needed).
- Chain 1, turn, and slip stitch in each chain until the end.
- Repeat slip stitching in the back loops only for a total of 6 rows.
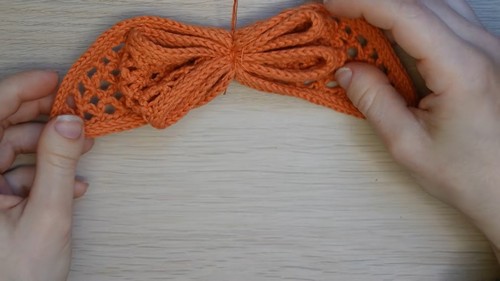
- Assemble Center:
- Cut the yarn, leaving a long tail for sewing.
- Wrap around bow center, covering sewn section.
- Sew ends together at the back, adjust as necessary.
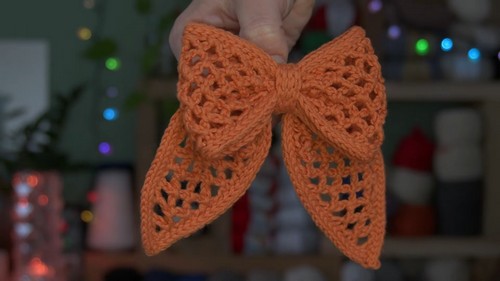
And there you go! Your diamond mesh crochet bow is now complete. Enjoy your new crochet project! If you have further questions, feel free to ask.