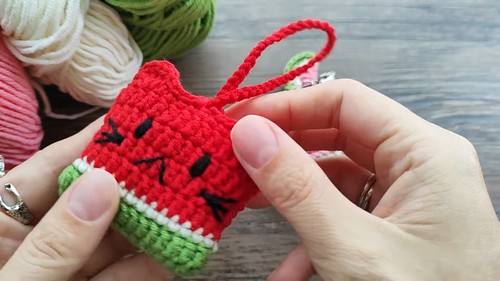
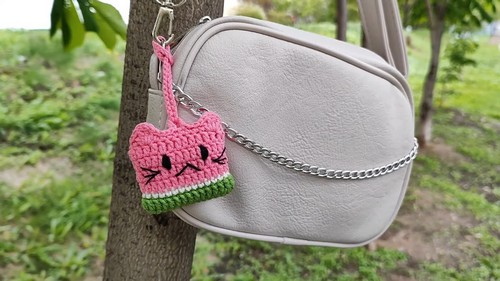
Cutest Crochet Catermelon Airpods Pouch Pattern
Cuteness meets practicality with the Crochet Catermelon AirPods Pouch! This adorable pattern features a fun blend of a caterpillar and a watermelon, making it both eye-catching and cheerful. Shaped like a cute little caterpillar, it has vibrant watermelon colors that make it stand out. Its unique design ensures that your AirPods are protected in style, with an easy-to-open flap that provides quick access. Perfect for crochet enthusiasts and AirPods owners alike, it’s a delightful pouch project that’s both fun to make and functional to use.

Why love This Pattern?
- Unique Design: The pattern is a fun and unique combination of a cat and a watermelon, creating an adorable “CATERMELON” headphone pouch.
- Summer Vibe: It’s perfect for summer, bringing a cute and fresh look to your accessories.
- Versatility: This crochet pattern is not only cute but also functional, ideal for keeping your headphones safe.
- Creativity: It’s an opportunity to get creative with your crochet skills and make something unique.
- Additional Tutorials: Along with this pattern, the channel offers a free amigurumi tutorial for a CATERMELON keychain and other patterns like a strawberry shark, adding more value.
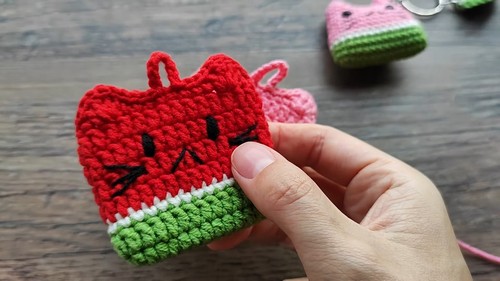
Catermelon Cat Headphone Pouch Crochet Pattern
Materials Needed
- Yarn (colors: green, white, red, black, and pink)
- Crochet hook (appropriate size for the yarn you’re using)
- Tapestry needle
- Scissors
- Stitch marker (optional)
Abbreviations
- ch: chain
- sc: single crochet
- inc: increase (2 sc in one stitch)
- dec: decrease (sc two stitches together)
- sl st: slip stitch
- st: stitch
- (..): number of stitches in a round
Instructions
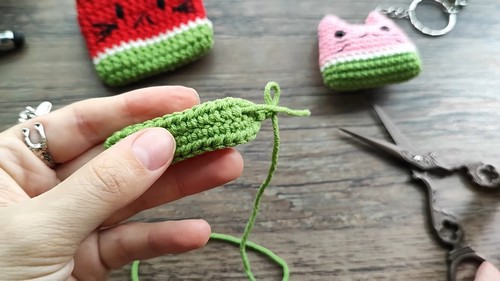
Step 1: Green Base of Watermelon (Bottom Part)
- Round 1: With green yarn, make a magic ring and work 6 sc into the ring. (6)
- Round 2: Inc in each st around. (12)
- Round 3: 1 sc, inc around. (18)
- Round 4: 2 sc, inc around. (24)
- Round 5: 3 sc, inc around. (30)
- Round 6 to 8: sc in each st around. (30)
Step 2: White Stripe
- Round 9: Change to white yarn and sc in each st around. (30)
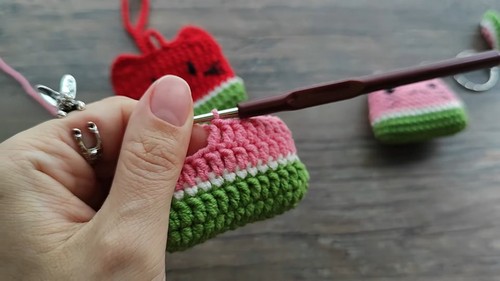
Step 3: Red Part (Body of the Pouch)
- Round 10: Change to red yarn and sc in each st around. (30)
- Round 11 to 20: sc in each st around. (30)
- Round 21: 3 sc, dec around. (24)
- Round 22: 2 sc, dec around. (18)
- Round 23: 1 sc, dec around. (12)
- Round 24: dec around. (6)
- Fasten off and weave in the ends.
Step 4: Cat’s Ears (Make 2)
- Round 1: With pink yarn, make a magic ring and work 4 sc into the ring. (4)
- Round 2: Inc in each st around. (8)
- Round 3: 1 sc, inc around. (12)
- Fasten off, leaving a long tail for sewing.

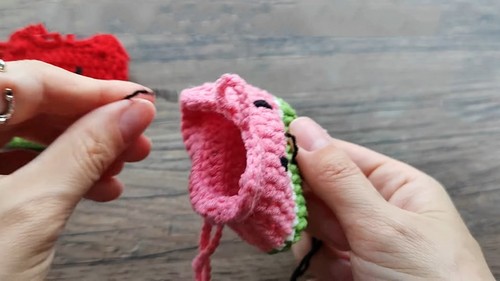
Step 5: Cat’s Face Assembly
- Sew the ears onto the top part of the red body.
- Using black yarn, embroider the eyes and mouth to form a cute cat face.
- With a little bit of pink yarn, you can add a small nose and whiskers if desired.
Step 6: Finishing Touches
- Attach a button or a snap to the top edge of the pouch to secure it closed.
- Optionally, you can add some “seeds” with small black embroidery stitches on the red part.