Boho Free Crochet Turban Pattern for Unique Style + Tutorial

Add style and comfort to your wardrobe with a Free Crochet Turban Pattern that delivers warmth, elegance, and a chic accessory for any season.
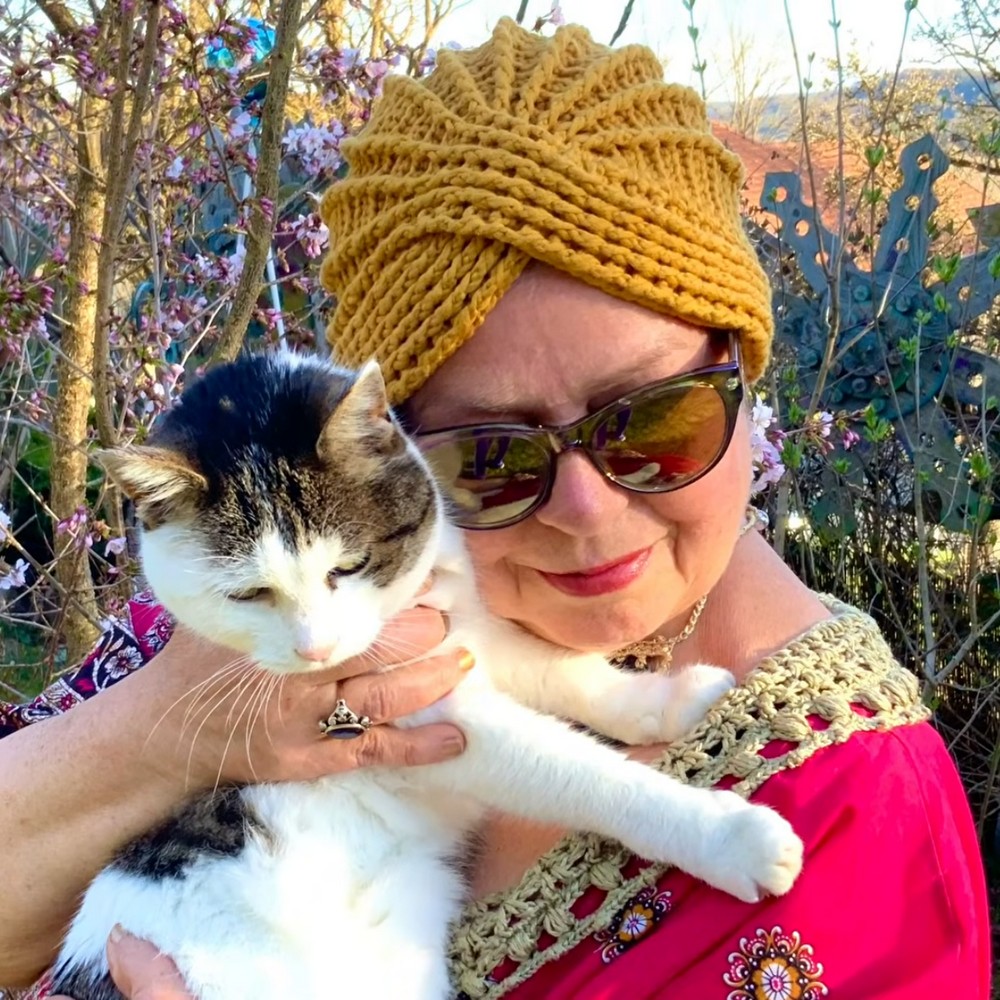
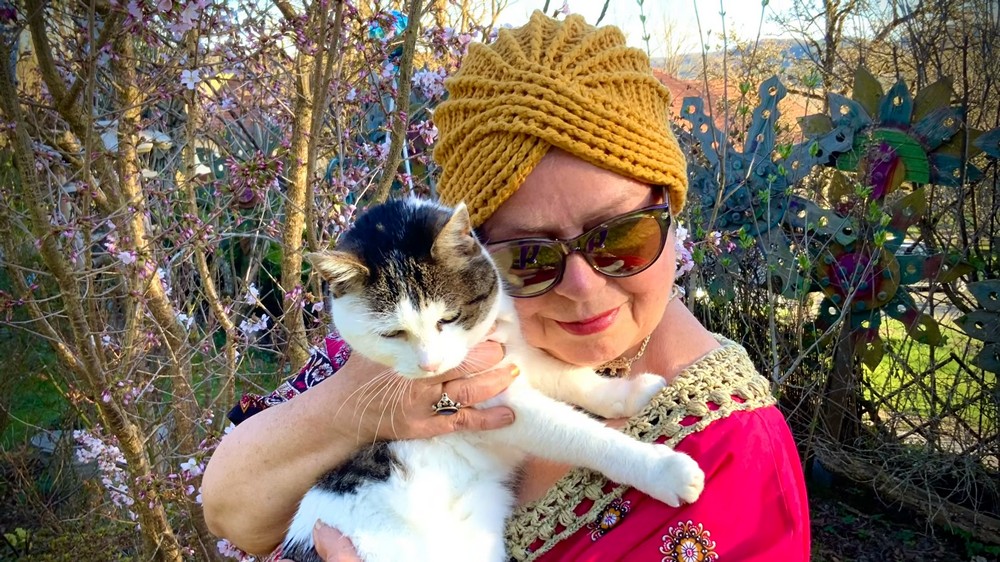
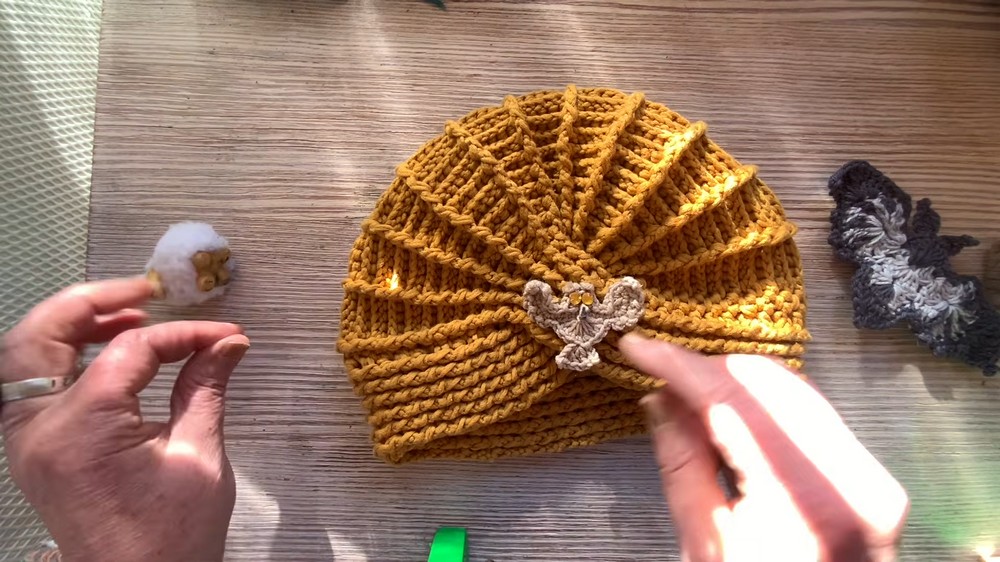
One of the most enjoyable accessories I’ve recently made is a cozy and stylish turban that’s perfect for adding both warmth and a touch of personality to any outfit. A lovely tutorial by Petra Perle, this project quickly became a favorite in my collection. The design features a charming twisted front, which brings an elegant yet casual flair to the look.
Free Crochet Turban Pattern for Cozy Winter Fashion
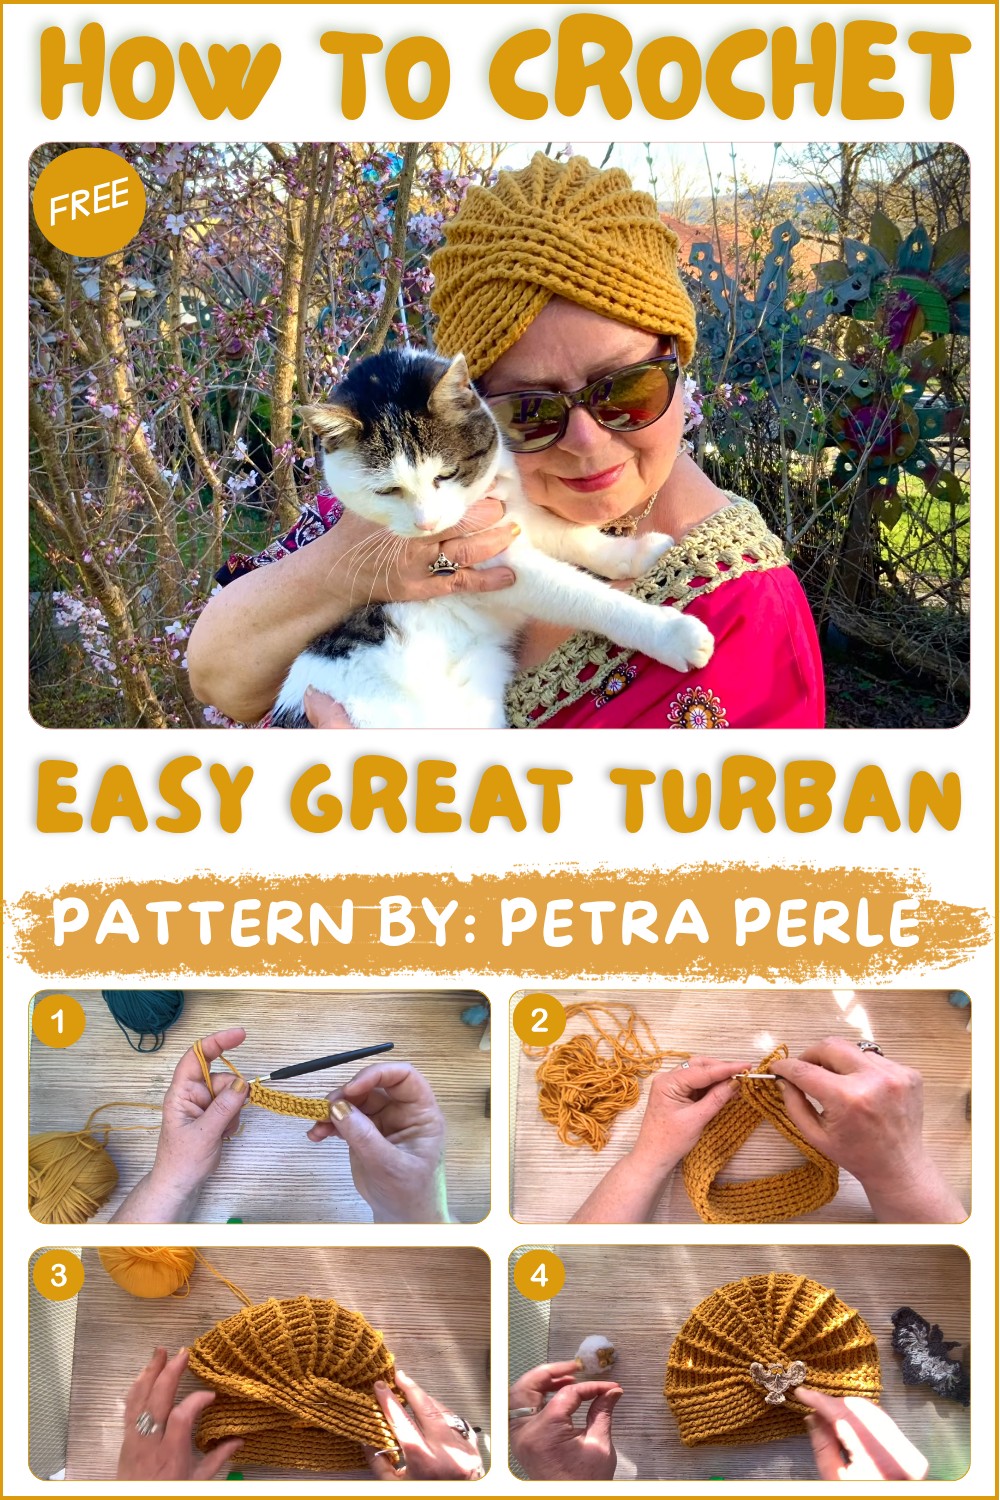
This handmade turban fits snugly and comfortably, making it ideal for all-day wear. Its textured appearance adds a subtle uniqueness, setting it apart from typical store-bought headwear. Whether you’re looking to brighten a simple outfit or keep your hair neatly styled during chilly days, this turban works wonderfully for many occasions.
Creating this piece also makes for a thoughtful gift. The combination of style and practicality means it will be appreciated by friends or family who enjoy unique, handmade accessories. With the ability to personalize it by selecting different yarn colors, you can customize this turban to suit anyone’s taste.
The video tutorial (Scrool Down for Video) by Petra Perle is easy to follow, welcoming crocheters of varying experience levels to join in. For those wanting to add a versatile and charming handmade accessory to their wardrobe, the free crochet turban pattern she shares is definitely worth a look. It’s a simple project that produces a beautiful, cozy item you’ll be proud to wear or gift.
Crochet Ribbed Turban Pattern
This pattern helps you craft a beautiful crochet turban with soft ribbing and a classical twist at the front. Special attention is given to comfort, making this ideal for sensitive scalps. The band is made with yarn held double, giving the turban extra softness—a great accessory for both fashion and warmth!
Quick Overview of Pattern
- Make a long ribbed band.
- Cross and join the band’s ends to form the twist.
- Crochet an increasing “fan” for the crown.
- Work straight rows for length.
- Decrease to shape the back of your turban.
- Seam everything together and add decorations if you like.
Notes
- Use two strands of yarn together for all steps. This makes your turban thicker and softer.
- Choose soft yarn for sensitive scalps—avoid scratchy fibers.
- All work is done in rows, not in the round.
- The pattern uses post stitches for ribbing, which add stretch and texture.
- Adjust the band and main section’s length to fit your head.
Skill Level
Advanced Beginner
You should know how to:
- Chain (ch)
- Double crochet (dc)
- Work front and back post double crochet (fpdc and bpdc)
- Seam pieces together
If you’re new to any of these, there are many video tutorials online!
Materials
- Worsted weight yarn (use two strands together)
- Crochet hook size 4 mm
- Yarn needle (for sewing and weaving in ends)
- Scissors
- Safety pin or stitch marker (optional, helps with joining)
- Measuring tape
- (Optional) Decorative pins, buttons, or appliques
Measurements / Sizing
- The ribbed band should be just a little longer than your head’s circumference.
- The turban should be at least 21 cm deep from the front twist to the back.
Tip: Try measuring your own head before you start for a perfect fit.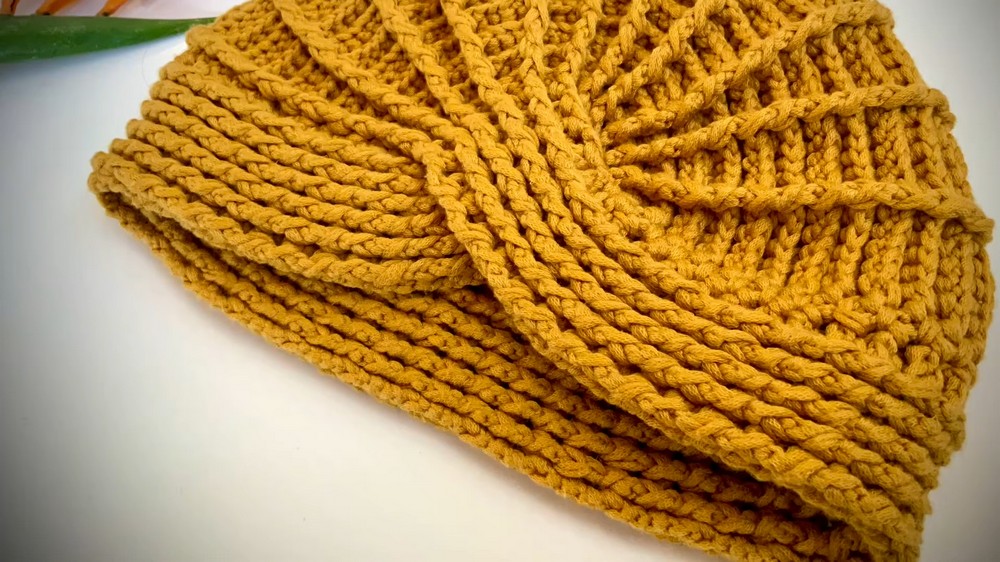
Gauge
- 12 double crochet stitches and 6 rows (with yarn held double) = 10 cm / 4 inches.
- Don’t worry if your gauge isn’t perfect; just measure your work as you go to fit your head.
Stitch Abbreviations
- ch = chain
- dc = double crochet
- fpdc = front post double crochet
- bpdc = back post double crochet
- st = stitch
- sl st = slip stitch
Special Stitches Explained
- Front Post Double Crochet (fpdc):
Yarn over, insert your hook from front to back around the post (vertical part) of the stitch below, yarn over again and pull up a loop (3 loops on hook), yarn over, pull through 2 loops, yarn over and pull through remaining 2 loops. - Back Post Double Crochet (bpdc):
Yarn over, insert your hook from back to front around the post of the stitch below, yarn over again and pull up a loop (3 loops), yarn over, pull through 2 loops, yarn over and pull through last 2 loops.
There are many video tutorials for these stitches if you need a visual.
The Crochet Pattern: Step by Step
Step 1: Make the Ribbed Band
- Using two strands of yarn together and a 4 mm hook:
- Make a slip knot and chain 13.
- Skip the last chain you made (it’s the turning chain).
- Chain 2 more to bring your hook up to the right height.
- Starting in the third chain from your hook, work 12 double crochet (dc) back across the chain.
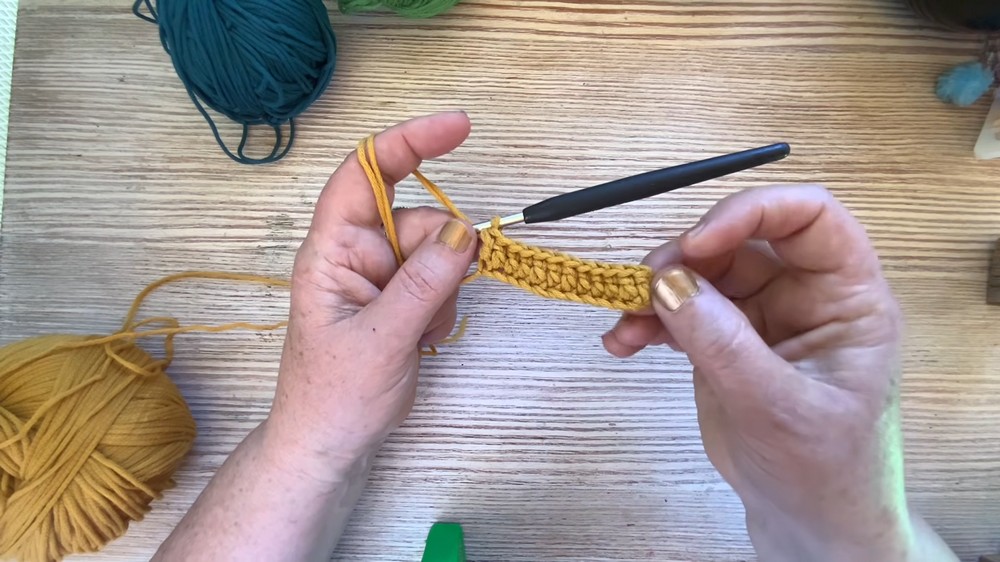 You now have a row of 12 double crochet stitches.
Step 2: Crochet the Ribbing
- Turn your work.
- Chain 3 (counts as your first double crochet for the row).
- Ribbing pattern:
Alternate “front post double crochet” (fpdc) and “back post double crochet” (bpdc) across the row.Ex: fpdc in first stitch, bpdc in next, fpdc in next, bpdc in next,… repeat across the row, finishing with a double crochet in the last stitch if needed. - Turn. Repeat Step 2 for every row, always working post stitches as they appear (if a stitch sticks out to the front, that’s fpdc; if it sticks out to the back, that’s bpdc).
- Keep crocheting rows of ribbing until your band is slightly longer than your head’s measurement around.
Step 3: Join the Band (and Make the Twist)
- Take your band and lay it out flat.
- Make the twist:
Cross the two short ends over each other, overlapping to make an “X” at the middle.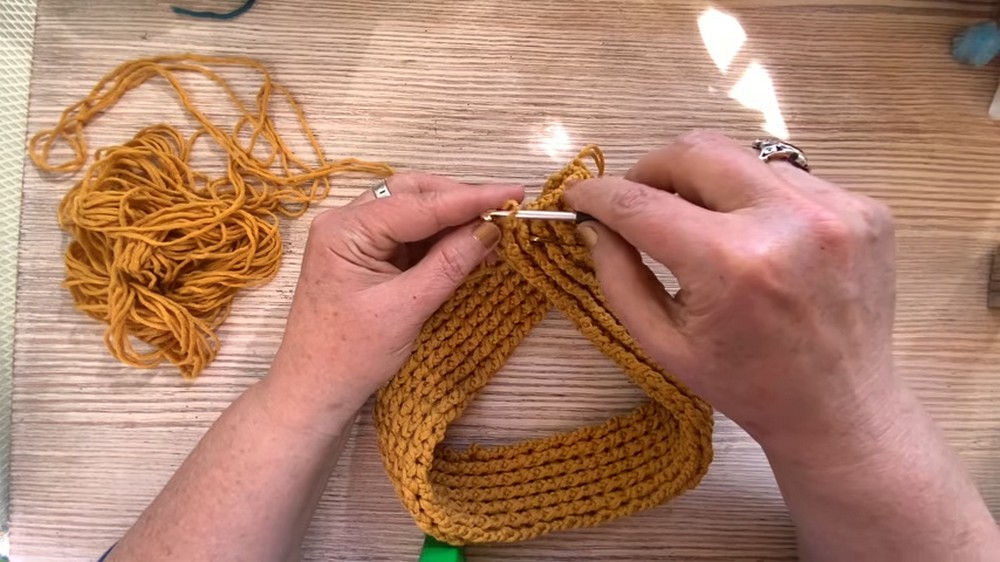
- Pin the crossed band in place using a safety pin.
- With your hook and yarn, crochet the two crossed ends together in the center using front post double crochet stitches. Only join the center few stitches so the sides stay free—this makes the turban’s classic twist look.
Step 4: Fan Increases for the Turban Top
- Attach your yarn at the joined center.
- For the first row, chain 3, then work 1 fpdc over the first post.
- Increase row: For every bpdc section you find in the row, work 2 bpdc into the same post (that means you “double” these stitches). Keep the fpdc sections the same as before.
- In every new row, continue doing this: increase by working 2 bpdc into each bpdc below, but only 1 fpdc in each fpdc below.
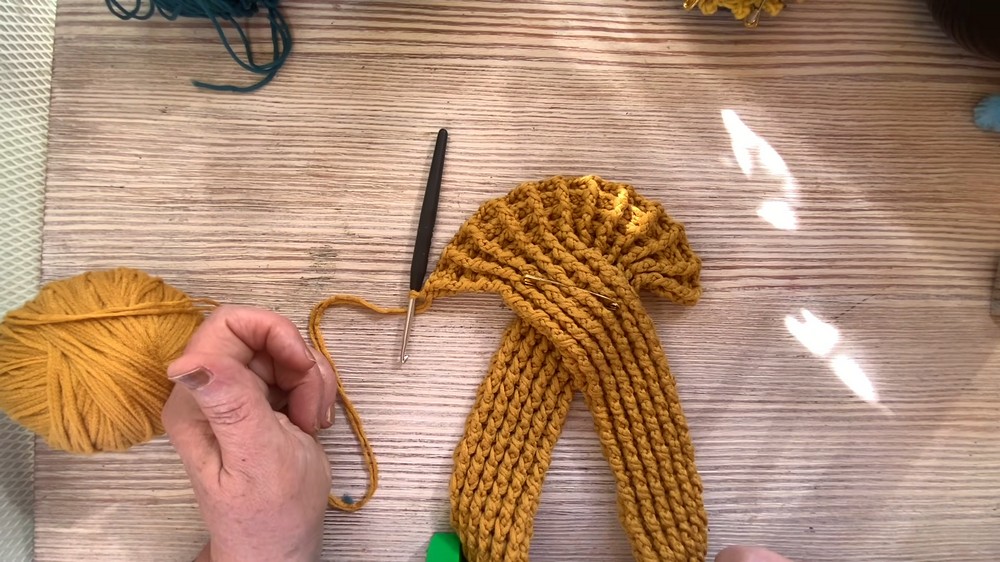
- Your work will start to widen and take on a fan shape. Do this until the top is wide enough to spread over the top of your head.
- Once it’s wide enough, alternate rows:
Work one row with increases as above, then the next row with NO increases, just regular fpdc and bpdc across.
Repeat this sequence until you have a good “fan” or crown section and it covers the top of your head.
Step 5: Main Section (Work Even in Pattern)
- From here, stop increasing.
- Work back and forth in the ribbing pattern (alternating fpdc and bpdc) with the same number of stitches for each row.
- Continue until this main part measures about 21 cm (or enough to reach the back center of your head).
Step 6: Decrease and Tighten the Back
- Begin decreasing—instead of 4 bpdc, work 3 bpdc (you may work 2 bpdc together if needed to shape).
- Alternate with fpdc as established.
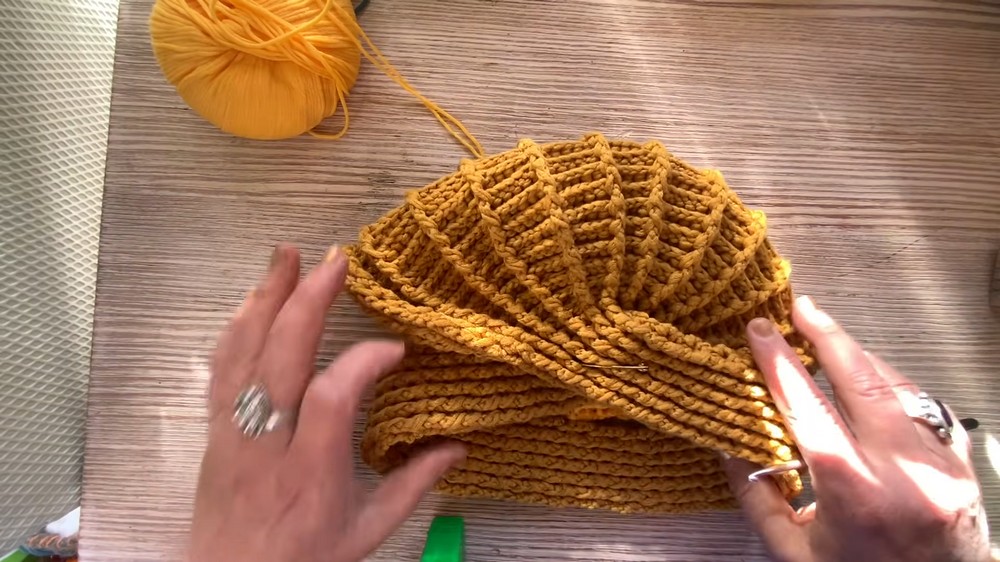
- For the final row: Chain 3, make 1 fpdc, then work only fpdc stitches across to pull the edge tighter. This will snug up the back of the turban.
Step 7: Finish and Assemble
- Fold your turban so the back edge lines up with the inside of the ribbed band at the back.
- Use your yarn needle and yarn or your hook to sew or slip stitch the final row to the inside of the band. Seam securely.
- Weave in all your yarn ends.
- Turn the turban right-side out and try it on. Adjust if needed.
- Add any decoration you like—a vintage clip or sewn applique at the front twist can add a personal touch.
Assembly & Finished Size
- Your turban should fit snugly with a neat twist and generous coverage—stretchy, soft, and cozy.
- Aim for a gathered look at the front and a tidy seam at the back.
- Adjust the number of rows as needed for your own comfort and look.
Conclusion
Congratulations! You have created a classic crochet ribbed turban. This stylish project is gentle, versatile, and customizable for any taste. Whether for warmth, comfort, or style, your handmade turban delivers both beauty and practicality.