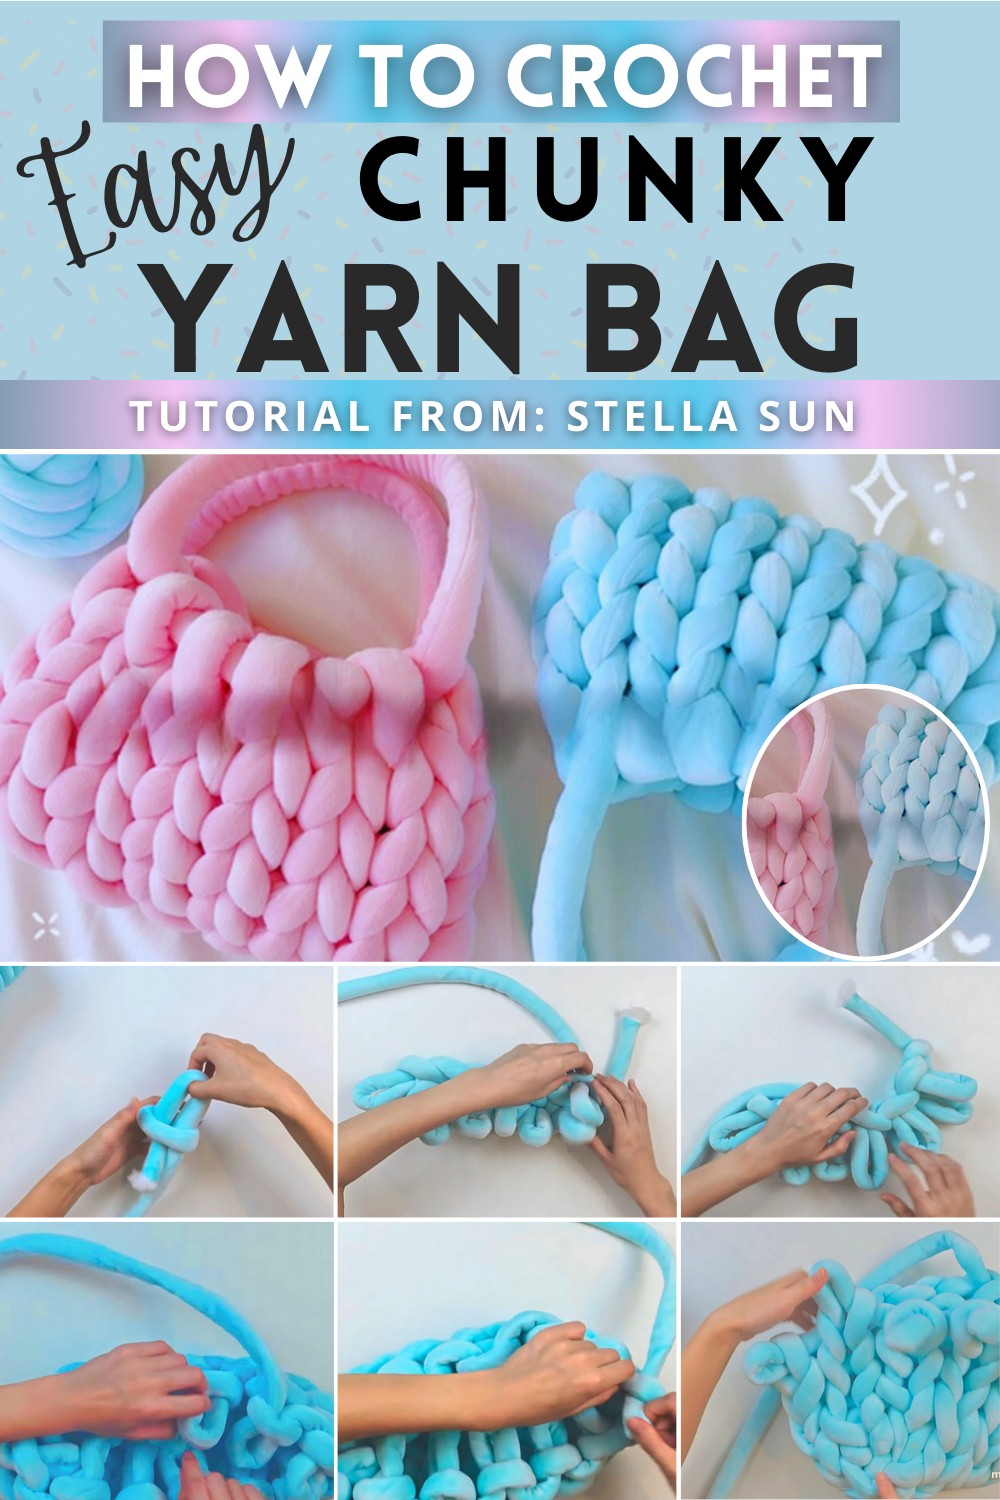
Useful Crochet Bag Pattern Made With Chunky Yarn
Creating a cozy, chunky crochet bag with your own two hands! This fun project is all about turning soft, thick yarn into a stylish bag that’s perfect for carrying your favorite things. Picture starting with a simple loop and weaving the yarn over and under, watching as it grows into a beautiful and sturdy bag.
Chunky Crochet Bag Pattern
You don’t need fancy tools, just yarn and your fingers, making it a perfect craft for a relaxing afternoon. Whether it’s for yourself or a thoughtful handmade gift for a friend, this chunky crochet bag brings a touch of homemade love to everyday life. It’s simple, enjoyable, and in the end, you have a unique bag that’s all your own creation!
Materials Needed:
- Chunky yarn
- Two hands for hand knitting
Step-by-Step Guide:
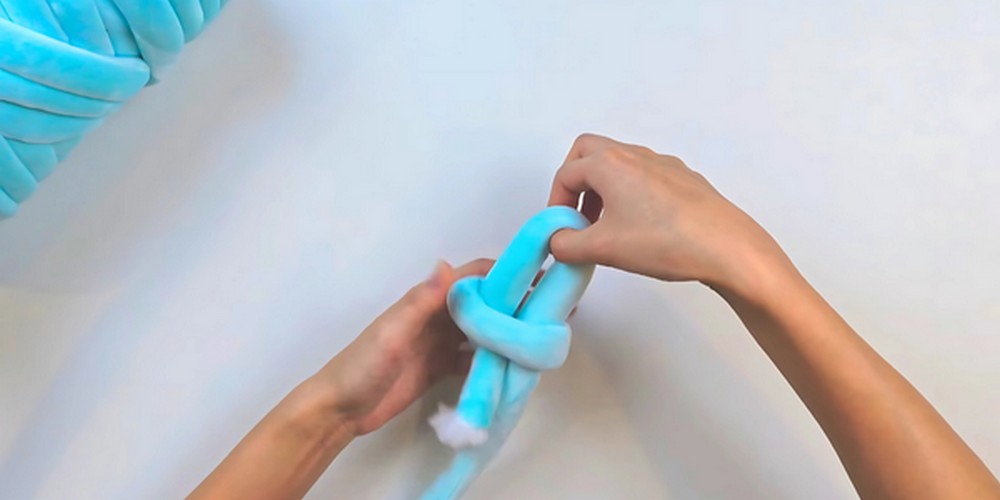
Create a Slip Knot
- Take the end of the yarn, place it underneath itself to form a loop.
- Stick two fingers through the loop, grab the long part of the yarn, and pull to tighten, forming a slip knot.
Make the First Row of Stitches
- Insert your fingers through the slip knot loop again.
- Grab the long piece of yarn from behind and pull it through to create the first stitch.
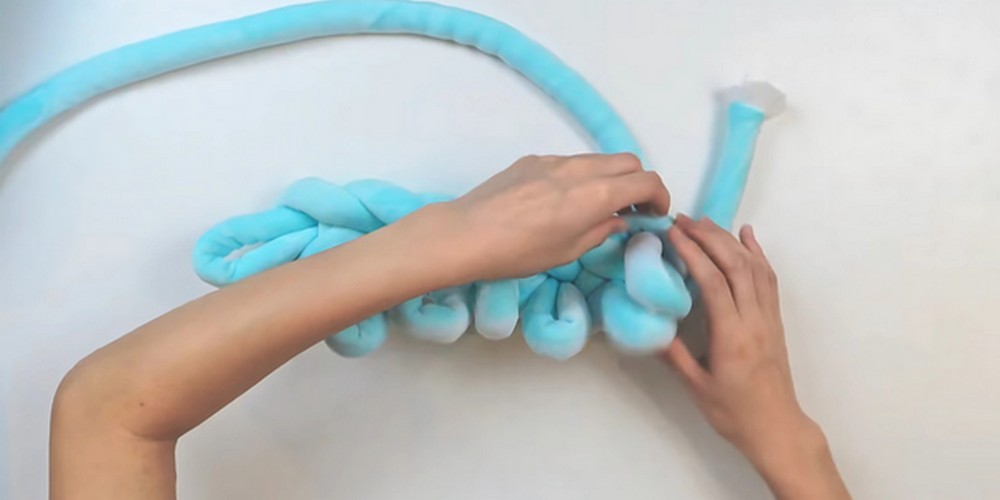
- Repeat the process until you have six stitches for the bottom row.
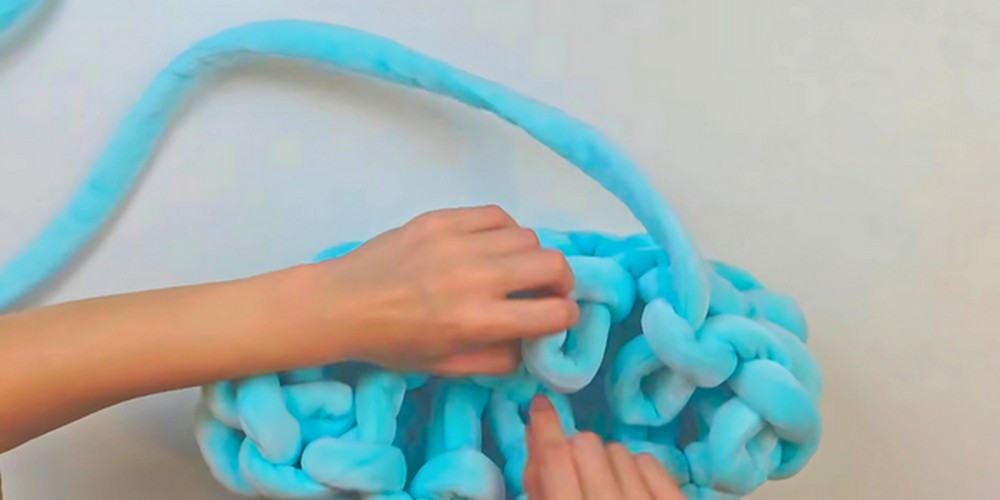
Start Building the Bag
- For each stitch, find the hole closest to the end, insert your fingers, and pull the long yarn through.
- Create six loops on one side of the bag.
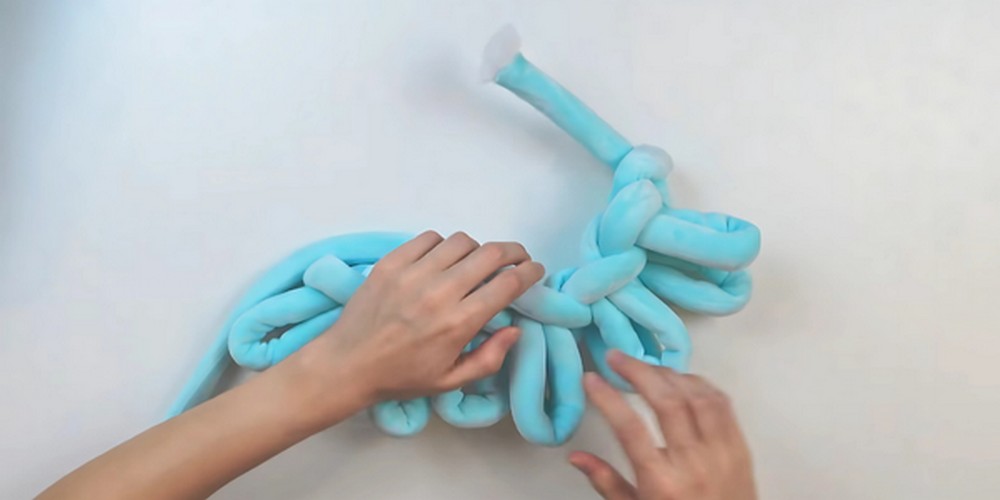
Repeat for the Opposite Side
- Instead of the extreme end loop, find the second from the end (spirally look).
- Repeat the process of inserting your fingers and pulling up the loop.
- Complete six loops for this side.
Continue Adding Height
- After finishing the rows on both sides for the base, start adding rows upward.
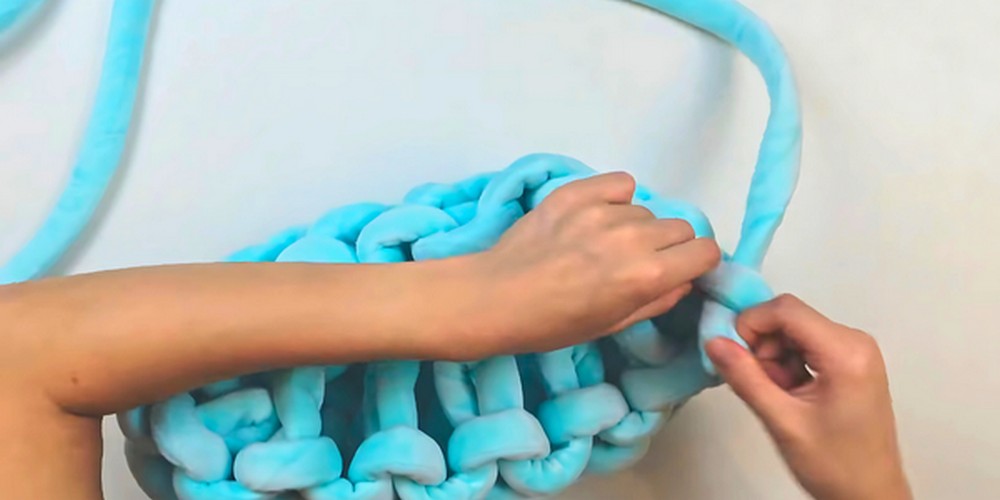
- Use the same method: insert fingers into the loops and pull yarn through.
- Keep repeating this until you’ve achieved the desired height of the bag.
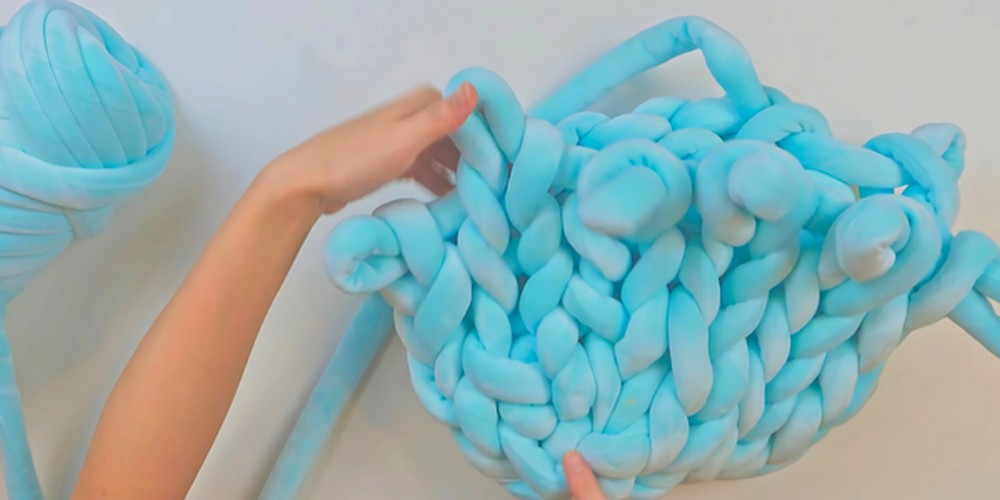
Finish the Top of the Bag
- After achieving the desired height, stop adding new rows.
- Flip the bag inside out if you prefer the V-shaped pattern outward.
Creating the Bag Strap
- Cut a length of yarn sufficient to travel around the bag’s brim and back.
- Weave this yarn through the top loops, pulling it tight to secure the top and form a bag opening.
Knit the Strap
- Attach additional yarn at one end to start knitting the strap.
- Create a chain by making loops until you reach the desired strap length.
- Secure the end of the strap by tying and cutting off the excess yarn.
Attach the Strap
- Attach each end of the strap to opposite sides of the bag by weaving the ends through the top loops and securing them.
Final Touches
- Tuck all loose ends inside the stitches or cut them off for a cleaner look.
- Adjust the tightness of the stitches if needed to prevent items from falling out through gaps.
Additional Tips:
- If you find the stitches too loose, increase the tightness by pulling the yarn harder as you form loops.
- Practice makes perfect. If the first attempt is wonky, try again with adjusted tightness and consistency of loops.