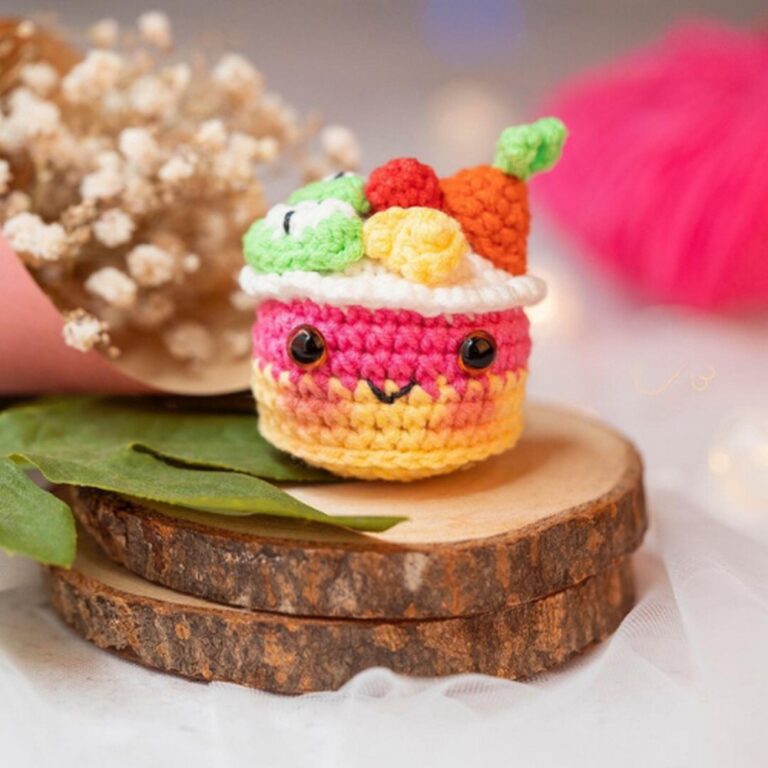
Unique Crochet Gnome with Ball for Handmade Keepsakes
Sprinkle magic with this Crochet Gnome with Ball Pattern for a whimsical, playful accessory that brightens décor and festive gifts.
Gnomes have long captured the imagination, standing as symbols of luck and charm in homes and gardens alike. The crochet gnome with ball pattern brings this whimsical figure to life in a soft, tactile form that delights both collectors and hobbyists. Its rounded body and pointed hat are carefully crocheted to balance sturdiness with softness, while the accompanying ball adds a playful touch that enhances the gnome’s personality. Perfect as a decorative accent on shelves, desks, or windowsills, this crochet creation combines visual appeal with practical usability, serving as a conversation starter or a heartwarming gift.
Whimsical Crochet Gnome with Ball Perfect for Holiday Decor

The gnome’s vibrant colors and fine stitching highlight attention to detail, making it suitable for both children and adults who appreciate artistry in miniature form. Its compact size allows for easy placement in homes, offices, or nurseries, while the plush texture invites gentle handling, adding comfort and tactile satisfaction. Collectors can mix and match gnomes to create a lively display, and its charm encourages imaginative storytelling or seasonal decorating.
Beyond decoration, this crochet gnome fosters mindfulness and appreciation for careful handiwork, offering a sense of accomplishment to those who admire or create it. The combination of playfulness, charm, and craftsmanship makes it a versatile piece that brings warmth, personality, and joy into everyday spaces.
Materials Needed
To recreate the gnome’s hat, the following materials are required:
- Yarn: Any yarn suitable for the desired size, usually a 4-ply or DK weight for small to medium gnomes.
- Crochet Hook: A size appropriate for the selected yarn (e.g., 3.0 – 4.0 mm).
- Stitch Markers: Essential for marking the first stitch of each round.
- Scissors: For cutting the yarn.
- Tapestry Needle: Useful for weaving in yarn ends.

Step-by-Step Instructions
39: Expand with Increases
- Start the round by crocheting 9 single crochets (SC) followed by 1 increase (INC) (2 SC in the same stitch).
- Repeat this sequence 4 times to complete the round, for a total of 48 stitches.
- Place a stitch marker to track the first stitch.
40: Build Up the Hat
- Begin with 11 SC, followed by 1 INC.
- Repeat the sequence 4 times, resulting in 52 stitches for this round.
- Use a stitch marker to ensure you’re starting and ending each round accurately.

41: Gradual Increases
- Start with 12 SC, followed by 1 INC.
- Repeat the pattern 4 times, increasing the total to 56 stitches.
42: Front Loop Only Single Crochet
- Work 1 single crochet in the front loop only (FLO) for all 56 stitches.
- To do this, insert the crochet hook into the loop closest to your body (the front loop) for each stitch.
- Place a marker in the first FLO crochet stitch on the inner side of the hat, as you will begin crocheting the gnome’s body from this point later.

43: Continuing the Hat Structure
- Work in 13 SC, followed by 1 INC.
- Repeat the sequence 4 times, totaling 60 stitches.

44: Final Round Covered in This Video
- Crochet 14 SC, followed by 1 INC.
- Repeat this sequence 4 times, bringing the round total to 64 stitches.
At the end of Round 44, the gnome’s hat has taken on a larger and more defined shape as the rounds continue to expand. The video explains that Round 45 will be covered in the next tutorial.

Special Features
- Front Loop Only Rows: The FLO stitches in Round 42 allow for a clean transition between the hat and the gnome’s body, adding to the overall design and structure.
- Modular Structure: The gradual increases in stitch counts make the hat’s shape proportional, conical, and neat.
- Marker Placement: The pattern emphasizes marking specific stitches to ensure accuracy and to prepare for the next phase of the project (the gnome’s body).
Tutor’s Suggestions
- Use Markers: The tutor emphasizes the importance of using stitch markers for tracking rounds and ensuring accurate increases.
- Count Each Stitch: To avoid errors, count stitches after each increase section.
- Consistent Tension: Keep your stitches uniform to maintain a smooth and well-shaped hat.
- Practice Front Loop Technique: FLO stitches are necessary for the transition, so take your time to master inserting your hook into the correct loop.
Level of Difficulty
- Intermediate Level:
- The project is suitable for crocheters who are comfortable with basic stitches (single crochet) and increases.
- The front loop only technique for Round 42 might require additional practice for beginners.
Uses
- Decorative Gnome Figures: The hat is part of a complete gnome figure that can be used for seasonal decorations or gifts.
- Amigurumi Projects: The gnome hat design is a fun addition to any amigurumi collection.
- Skill Practice: The pattern helps hone precision with increases and mastering FLO stitches, enhancing your craftsmanship.
Tip
When working on the FLO stitches (Round 42), push your hook gently into the loop to avoid splitting the yarn. This ensures clean stitches and maintains the visual integrity of the hat’s design.
Conclusion
This step-by-step pattern on rounds 39–44 of a crochet gnome’s hat is a rewarding project for intermediate crocheters. The hat’s structure builds with gradual increases, and the inclusion of FLO stitches creates a seamless transition to the gnome’s body. With a few basic materials and careful attention to counting and marking stitches, you’ll create a charming addition to your crochet collection. This project is ideal for honing skills or crafting a delightful handmade gift.