Relaxed & Stylish Crochet Men’s Sweater Pattern
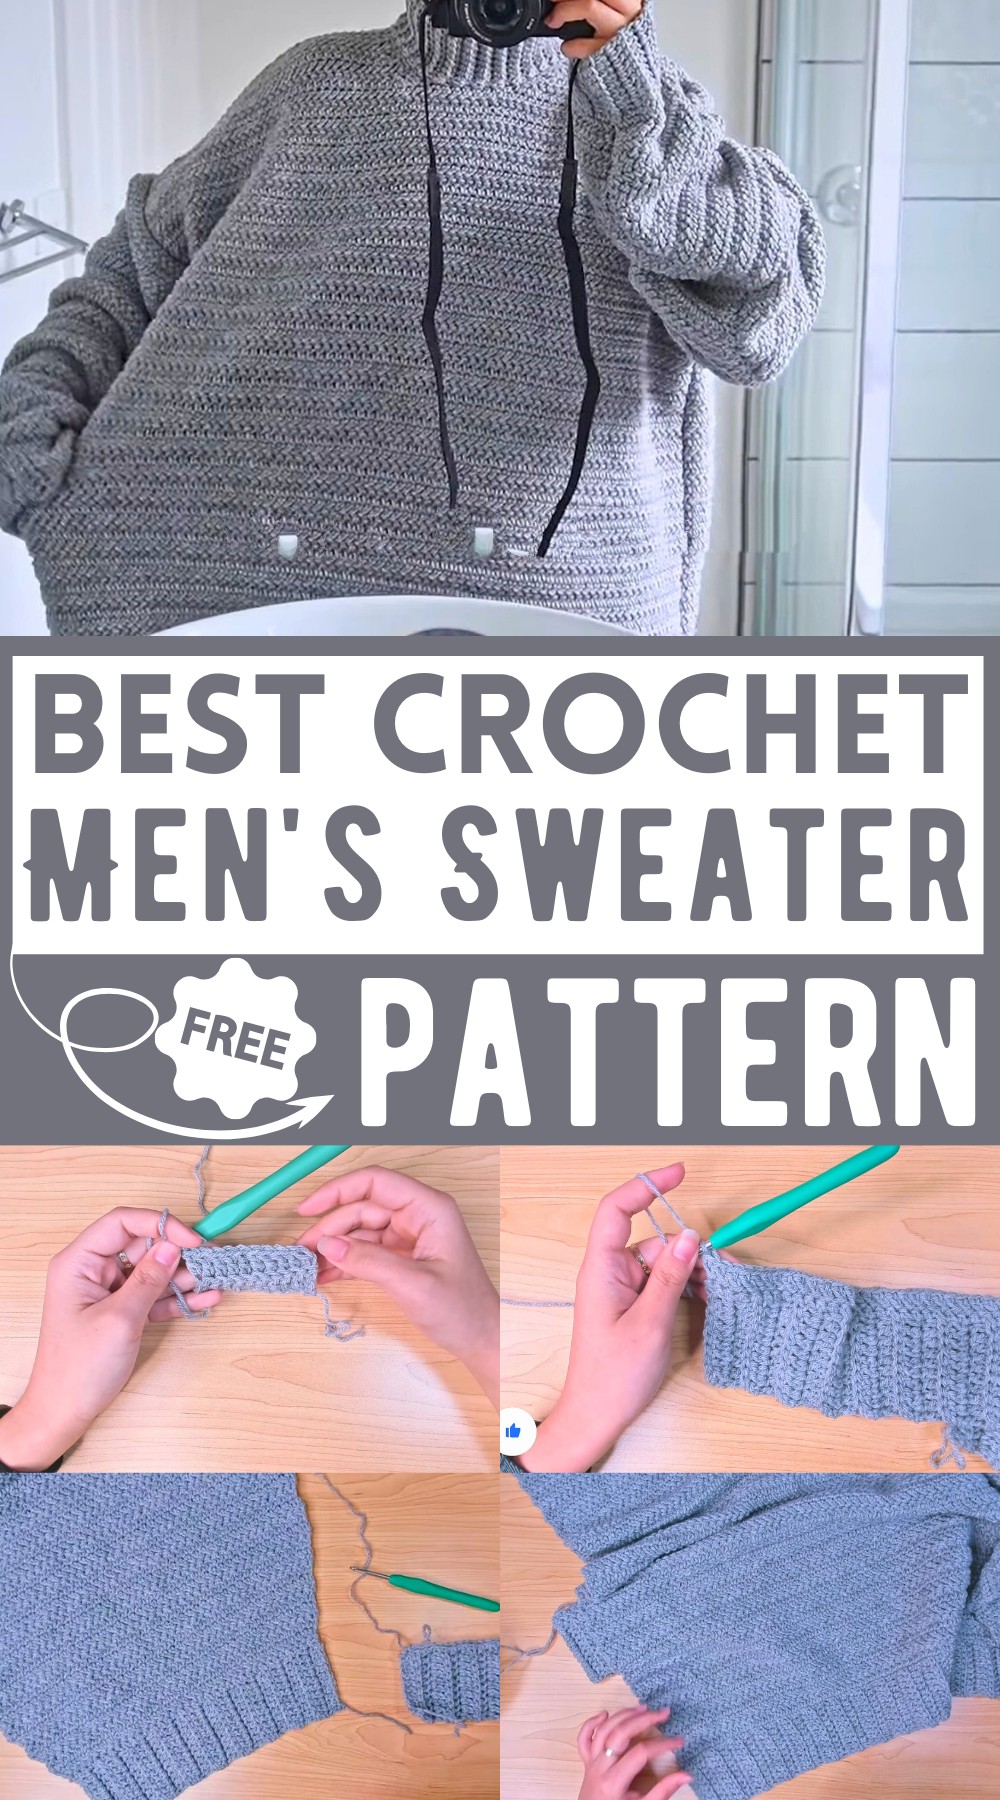
Attributes Of the Crochet Stylish Sweater:
- Design Considerations:
- Masculine stitch pattern: herringbone double crochet (alternative: regular double crochet).
- The sweater is sized for XL with adjustments made for a slightly larger size.
- Construction:
- Panels: Flat rectangular pieces with ribbing at the bottom.
- Back Panel: 56 rows of herringbone double crochet finished with ribbing.
- Front Panel: Shaped neckline with 50 rows completed and 6 for neckline shaping.
- Sleeves:
-
-
- Start with a ribbed cuff similar to the main panels.
- Gradually increase width for the sleeve.
- Each sleeve consists of 62 stitches at the widest point.
-
-
- Neckline:
- Worked with back loop single crochets.
- Ribbed neckline attached around the top edge, providing a snug finish.
- Size Reference:
- Suggest compare to an existing sweater that fits well.
- Measurements provided ensure alignment for intended fit.
- Pattern Flexibility:
- Adjustments can be made for fit by altering stitch counts and row numbers.
- Clear directions for making increments and regular rows for desired sleeve width.

How To Crochet Men’s Sweater
Materials Needed:
- Yarn: Four Seasons Marvel (100% acrylic, 8 ply)
- Crochet Hook: 4.5 mm
- Measuring Tape
- Scissors
- Yarn Needle
- Stitch Markers (optional)
Stitches Covered:
- Single Crochet (sc)
- Double Crochet (dc)
- Slip Stitch (sl st)
- Herringbone Double Crochet (hbdc)
Sweater Panels:
Ribbing:
- Chain 11.
- In the 2nd chain from the hook, sc.
- Chain 1, turn.
- In the back loop only, sc to the end (10 sc).
- Repeat for 44 rows (or until desired length approx. 25 inches).

Back Panel:
- Chain 88 single crochets along the ribbing edge.
- Start the Herringbone Double Crochet (hbdc) stitching:
- First hbdc: Insert your hook in both loops, pull through the first loop, yo, pull through 2 loops.
- From the next stitch, hbdc across.
- Continue in hbdc stitch for 56 rows (approx. 28 inches).

Front Panel:
- Chain 88 single crochets along the ribbing edge.
- Repeat the hbdc pattern as done for the back until row 50.
- Shape neckline starting from row 51:
- Row 51 (decrease row): Work hbdc until marker, hbdc2tog, continue hbdc.
- Row 52: Regular hbdc across.
- Decrease as explained (Total 6 more rows, shaping the neckline with consistent decreases).
- Leave long tail for joining.
Sleeves:
- Start with chain 11 for cuff.
- Row 1-18: sc in back loop-only (cuff of 18 rows, approx. 7 inches).
- Chain 36 single crochets along edge.
- Increase alternately within the first 8 rows:
- Even rows: Increase in first and last stitches to slowly form the shape.
- Odd rows: Regular rows without increase.
- Continue pattern for additional rows; increase one row every 4 rows until desired length is achieved (typically 62 stitches).
Assembly:
- Join shoulders: Slip-stitch front and back panels at shoulder seams.
- Join sleeves: Align center of sleeve to shoulder seam, slip stitch from center out towards sleeve edge.
- Join side seams: Join side seams of panels and sleeves in one continuous seam.
- Turn sweater inside out.

Final Touch – Neckline Ribbing:
- Attach yarn at marked stitch, chain 11, apply single crochet in back-loop only to form ribs.
- Finish neckline by slip stitching last row to the first.
- Weave in ends and secure the yarn.

Finishing:
- Weave in all loose ends using the yarn needle.
- Block your sweater to the preferred dimensions by lightly misting and shaping as needed.

Your men’s sweater is complete and ready to wear! Enjoy your new handmade creation.