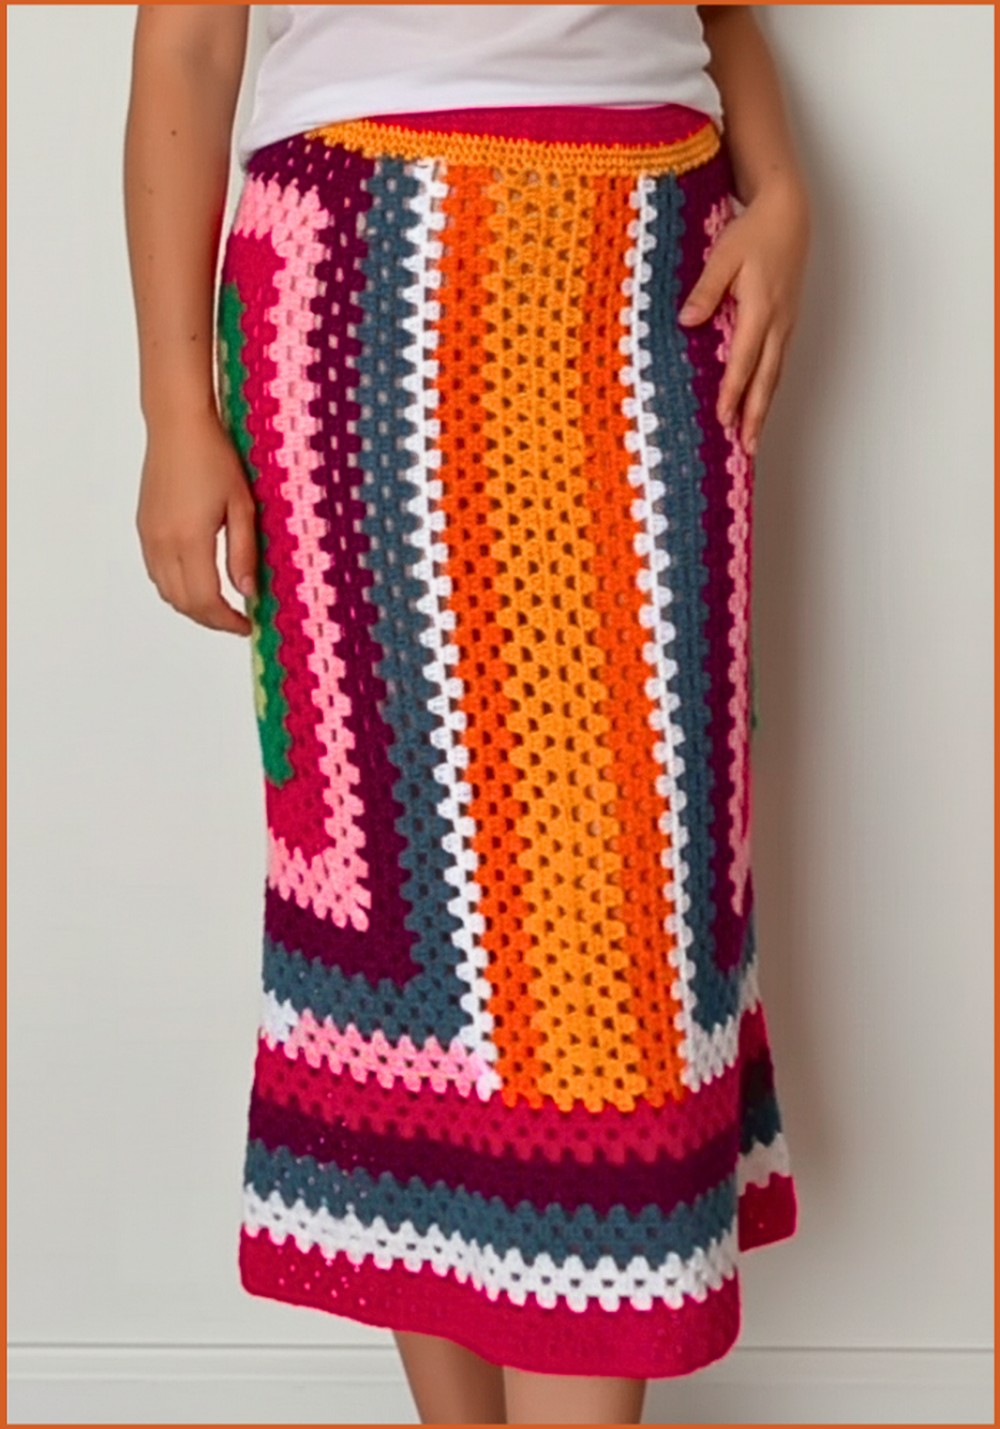
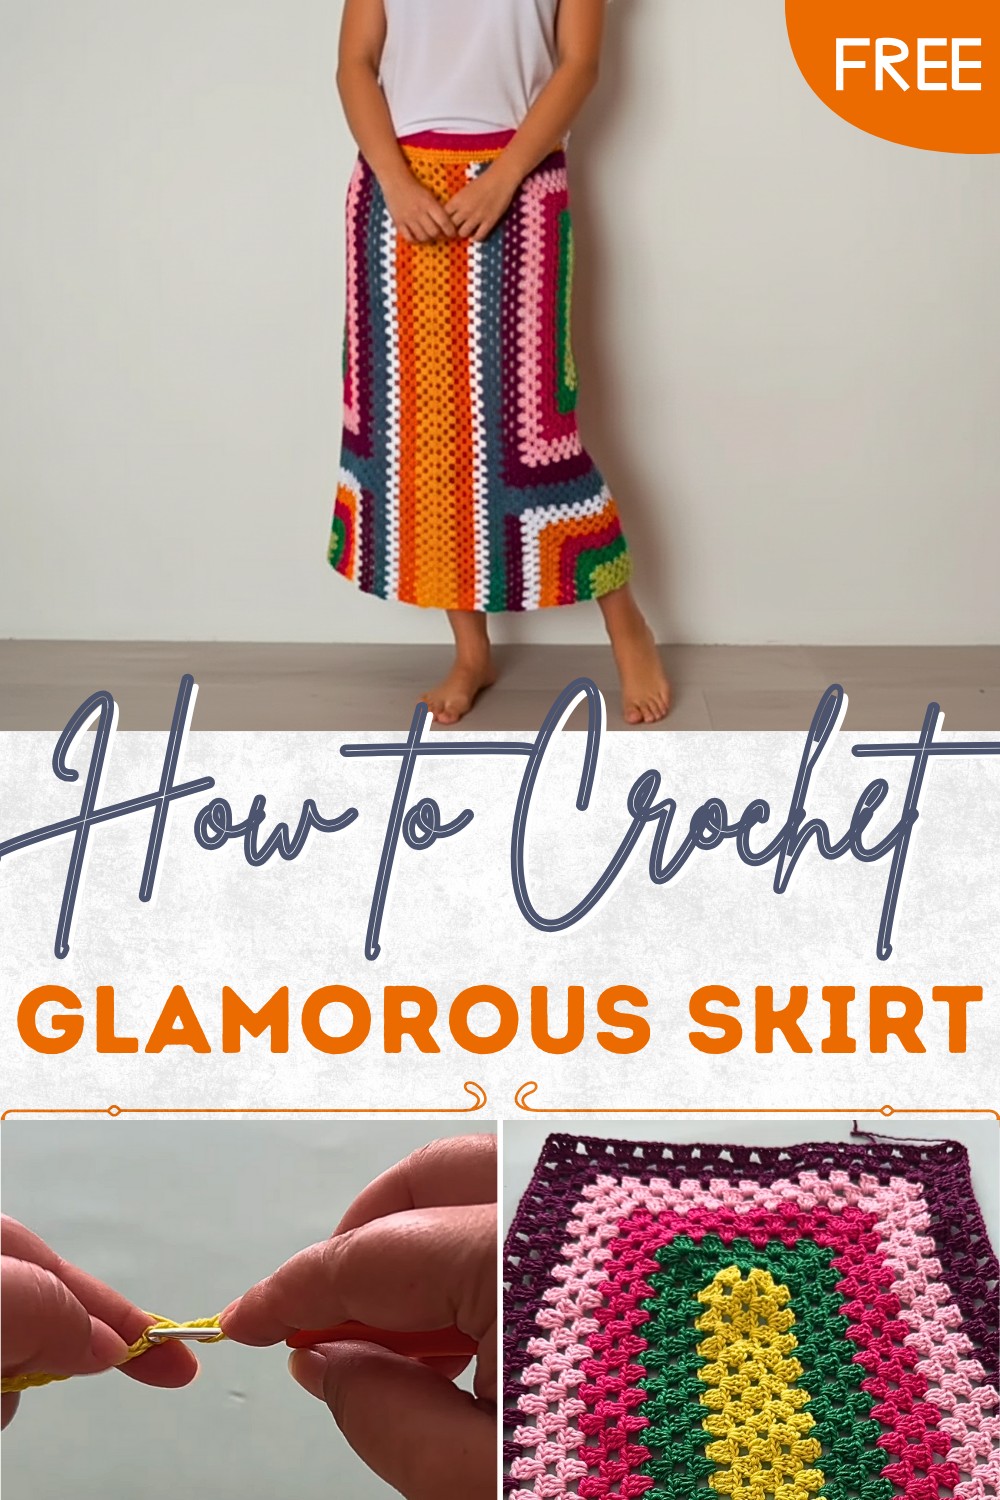
Soft Crochet Skirt Pattern That Feels Amazing to Wear
Brighten your wardrobe with Crochet Skirt Pattern that offers style comfortable fit and charming looks for everyday and special occasions.
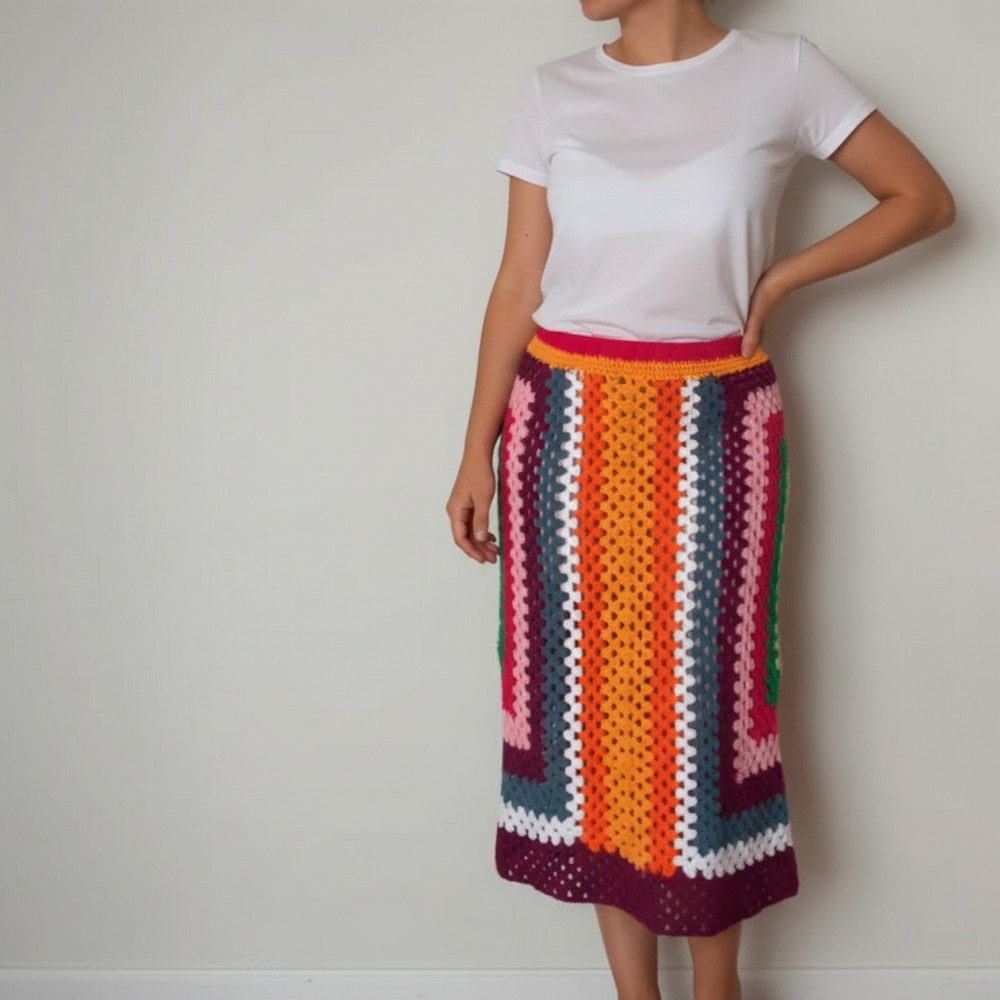
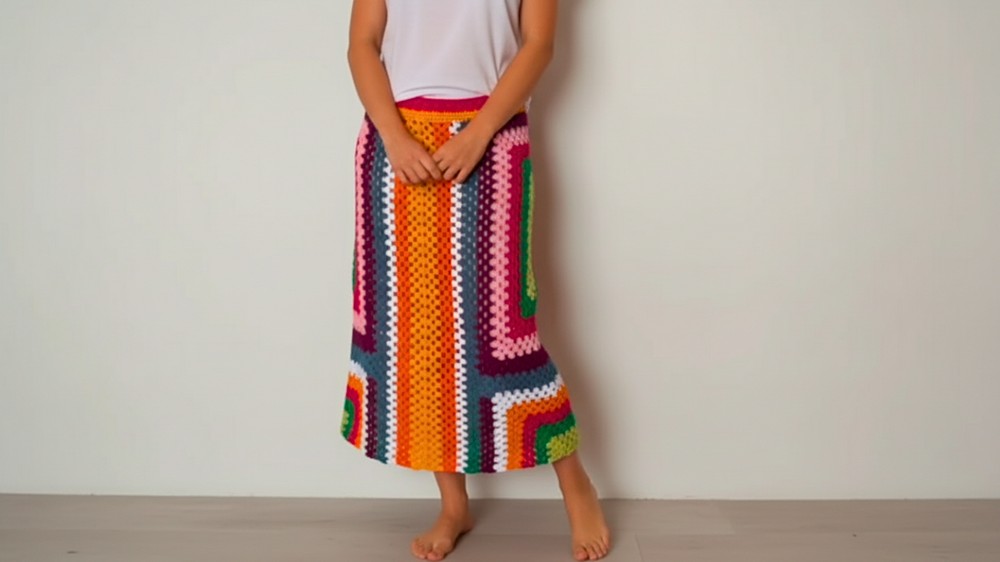
Not every skirt can make you feel special and graceful but a handmade skirt can. Its design is simple yet beautiful and brings charm to every step. Using a Crochet Skirt pattern you can make a skirt for many occasions. It can be worn to family dinners, small celebrations, walks in the park, or visits with friends. The skirt can be long and flowing for a fancy look or short and playful for casual days.
Graceful Crochet Skirt Pattern That Moves With You
It feels light and comfortable, letting you move freely all day. You can choose bright colors to feel cheerful or soft shades for a calm and gentle style. Each skirt is unique because it is carefully made by hand with love and patience. A Crochet Skirt pattern lets you create something special, simple, and beautiful that turns ordinary days into memorable moments.
Materials
- Yarn: Worsted weight yarn in multiple colors (suggested: Citrus Yellow, Green Flag, Pink Rose, Rosa Candy, Nautical, White/Champagne, Orange, Egg Yolk)
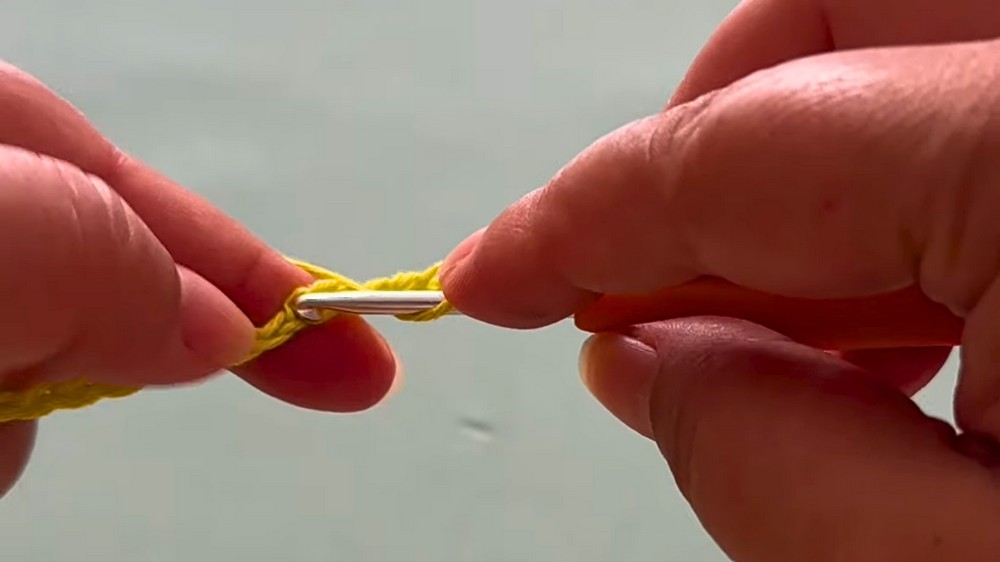
- Hook: 4.0 mm (G-6) crochet hook
- Elastic band or Lastex (thin enough to fit within waistband rows)
- Measuring tape
- Scissors
- Tapestry needle (for sewing and weaving in ends)
Key Abbreviations
- ch: chain
- st: stitch
- sc: single crochet
- hdc: half double crochet
- dc: double crochet
- sp: space
- sl st: slip stitch
- rep: repeat
Special Notes
- The skirt is constructed in rectangles, joined along the sides, and finished with a waistband using hdc rows.
- Measure your (or client’s) hip circumference; adjust the number of blocks and colors to fit.
- Pattern is written in US terminology.
Pattern Instructions
Step 1: Foundation Chains
- With Citrus Yellow (or chosen base color), ch 49.
- Add 9 additional chains, for a total of 58 ch.
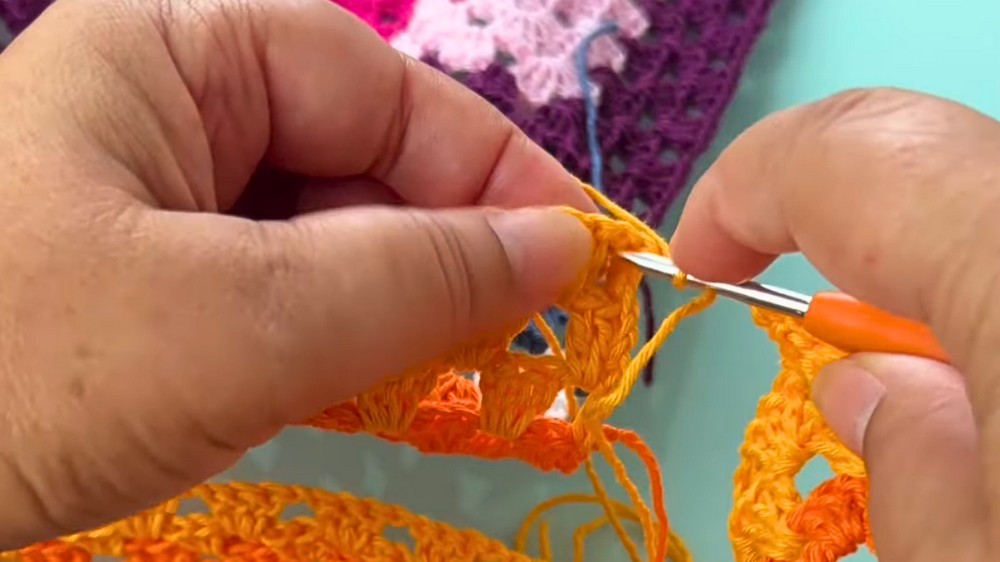
Step 2: First Row Blocks
- dc in 10th ch from hook (this forms your first block).
- Continue with 2 more dc in the next two chains—this creates a block of 3 dc.
- ch 1, skip 1 ch, dc in next 3 ch (block of 3 dc).
- Repeat: ch 1, skip 1 ch, dc in next 3 ch across the row.
- You should end with 12 blocks of 3 dc and an empty square at the beginning.
- ch 1, skip 1 ch, dc in next ch to finish the row.
Step 3: Creating Height
- ch 3, turn (counts as dc).
- dc in next 2 dc, forming a block of 3 dc.
- ch 1, move to the next “sp”, dc in next 3 dc.
- Repeat across row to the end.
- Continue for 4 rows in base color.
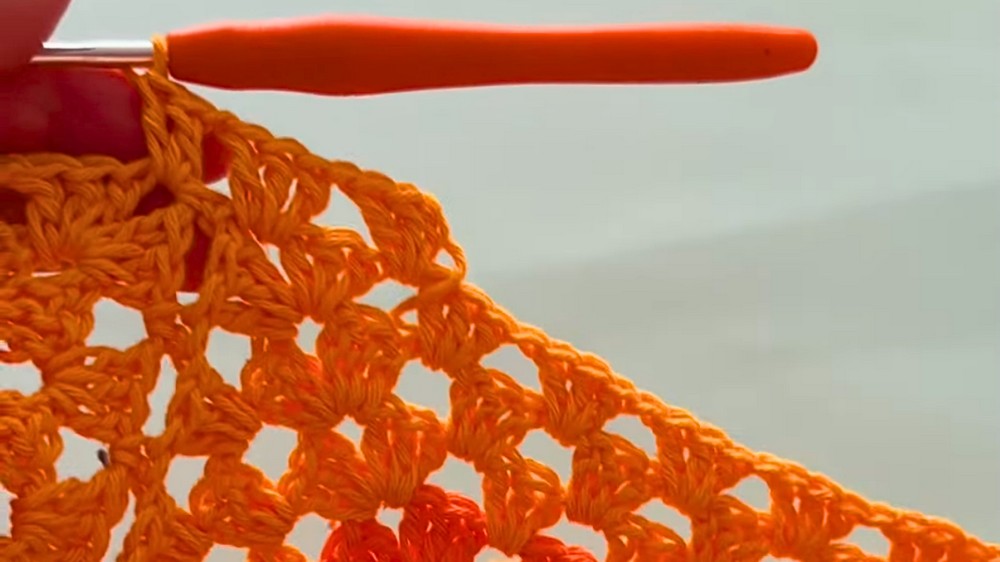
Step 4: Adding Second Color & Creating Rectangle
- Attach Green Flag color.
- Work all around the rectangle:
- In each corner: [3 dc, ch 2, 3 dc] in the same corner space (creates “fan”).
- On sides: ch 1, then 3 dc in each space between blocks.
- Continue all around, making sure each corner has a “fan”.
- Repeat for 3 rows.
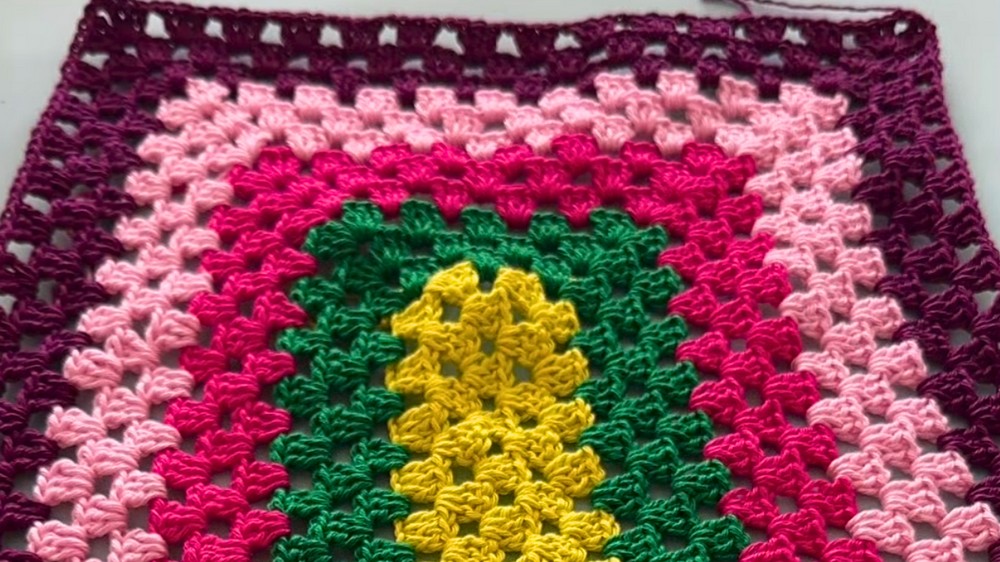
Step 5: Adding More Colors
- Add additional colors as desired:
- Attach new yarn at a corner.
- Work in blocks of 3 dc separated by ch 1, adding fans in the corners.
- Continue until your rectangle fits the measured hip circumference.
Step 6: Shaping for Waist and Height
- After the rectangle reaches the desired width (hip measurement), begin working only up and down for the height, excluding sides.
- On selected corners, work blocks of 3 dc separated by ch 1 (no fan).
- Repeat for 3 rows per color, alternating colors as you prefer.
- Adjust the number of rows according to the desired skirt length. Measure from waist down to the required height.
Step 7: Joining Skirt Panels
- Make two identical panels (front and back).
- If you prefer, you may make one large rectangle and fold.
- Join panels:
- Use either sl st or a tapestry needle to sew up sides.
- Seam up to the desired height (leave opening at top for waist).
Step 8: Waistband
- With your chosen color, join yarn at the waist opening.
- ch 2, work hdc in each space around the waist.
- Work 2 hdc in each ch-1 space, 1 hdc in each dc.
- Repeat for 2-3 rows.
- Optional: At last row, insert elastic band:
- Measure waist circumference and subtract 10-15 cm for stretch.
- Using tapestry needle, weave elastic through the last row of hdc.
- Sew elastic ends securely together.
Step 9: Finishing
- Weave in all ends using tapestry needle.
- Hide elastic and any loose yarn ends inside the waistband.
- Optional: Add decorative edging if desired.
Pattern Correction
- If length or width do not match, adjust the number of blocks or rows accordingly.
- The first chain count may be altered; always use your measured hip circumference as a guide.
- If a color is unavailable, substitute with nearest color match.
Conclusion
This farm skirt crochet pattern uses simple block construction and bold color changes to create a vibrant, easy-to-make garment. Customizable in size and style, it’s suitable for beginners and advanced crocheters alike. Measure carefully and adjust as you build; the finishing waistband and elastic ensure a perfect fit.
Tips
- Measure frequently! Adjust color rows and block numbers for your client’s precise hip and skirt height.
- When joining panels, use a smooth seam for comfort and durability.
- Hide as many ends as possible during color transitions for a clean finish.
- To prevent unraveling, knot securely and use a tapestry needle for final weave-in.