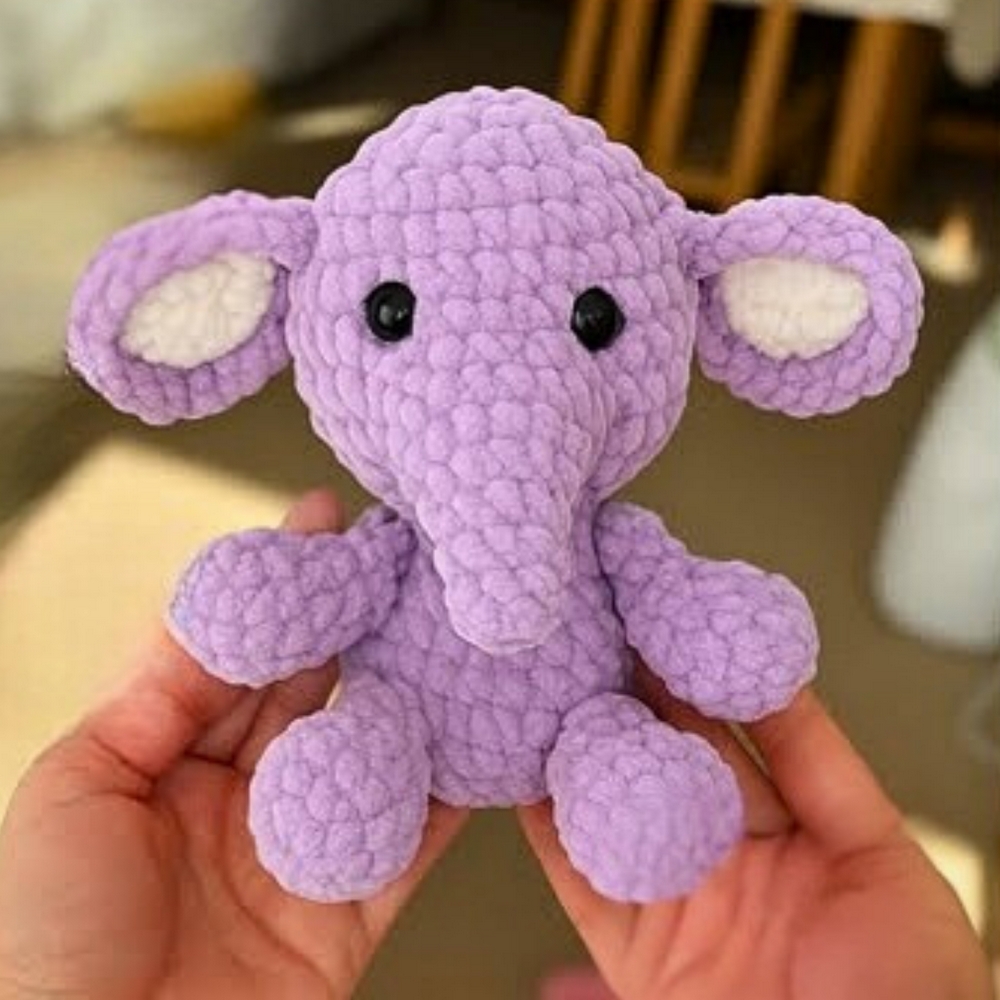
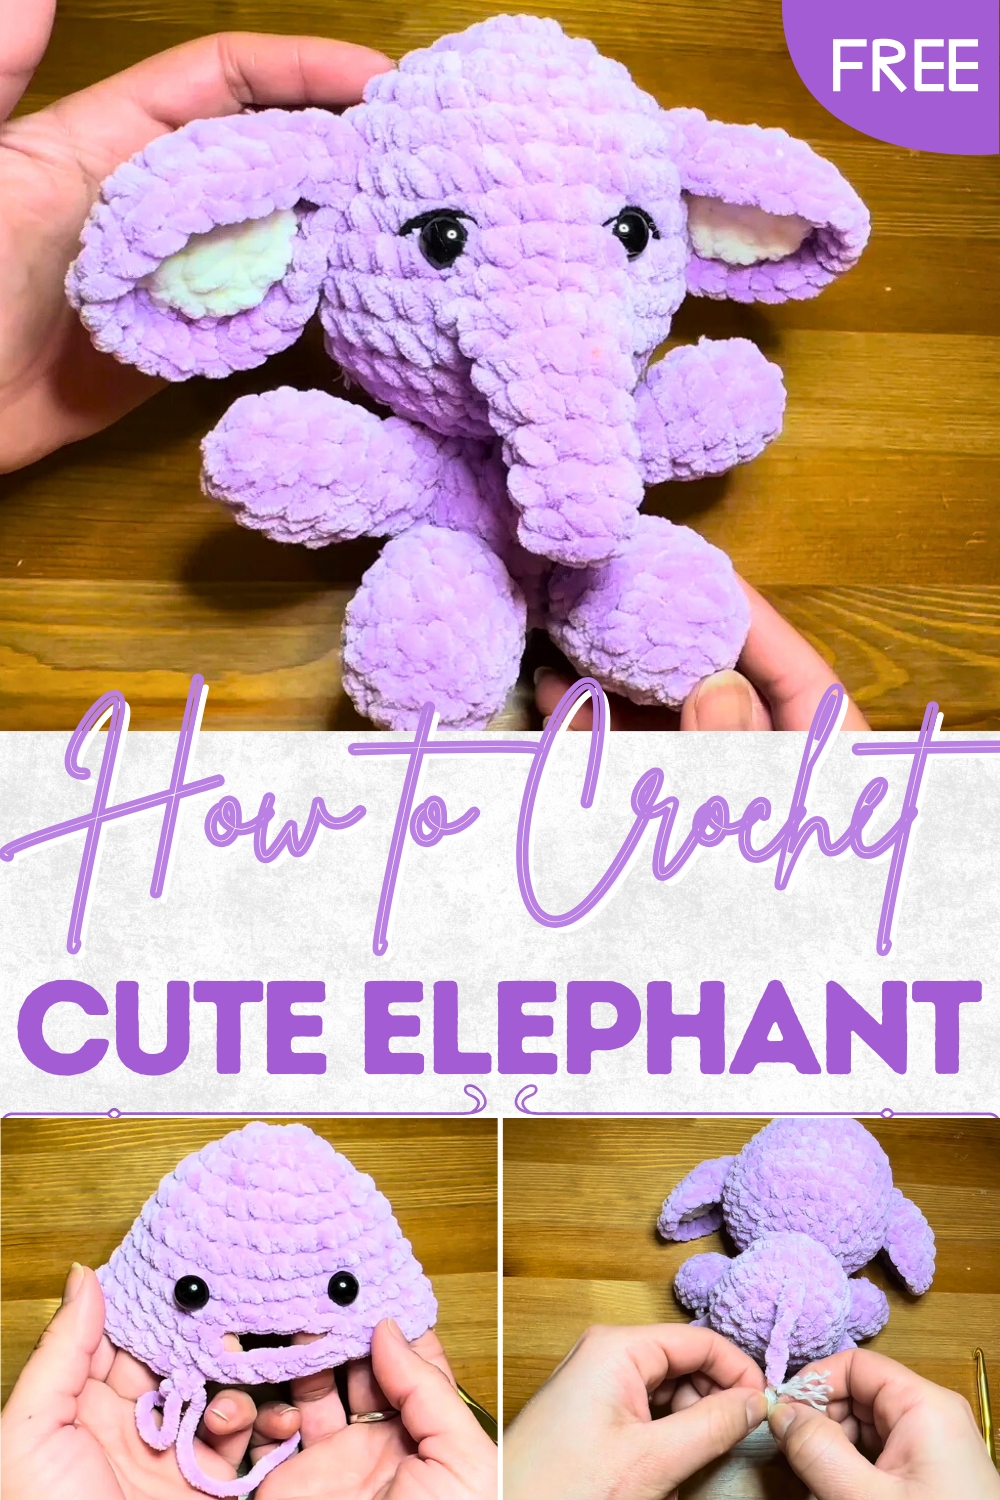
Precious Crochet Elephant for Childhood Memories
March into charm with this Crochet Elephant Pattern for a playful, lovable accessory that adds joy to gifts, décor, and collections.
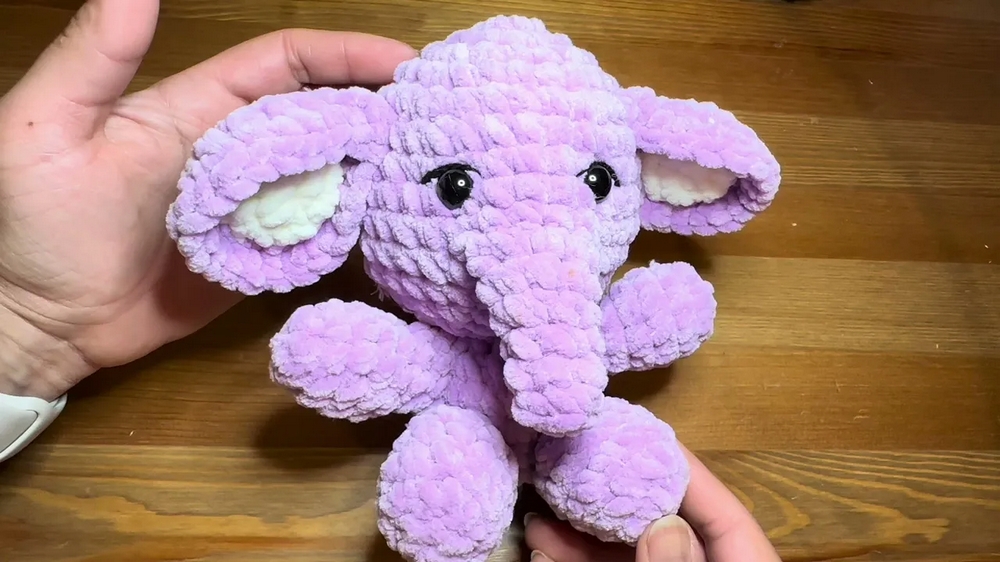
A gentle tale often told is of the elephant, admired across cultures as a symbol of wisdom, strength, and loyalty. Its presence, whether in folklore or in art, has always brought a sense of calm and joy. A crochet elephant pattern captures this beloved creature in soft, textured form, turning its grandeur into a charming companion that fits comfortably in the palm of your hand. With its expressive trunk, rounded ears, and sturdy little feet, it radiates both playfulness and tenderness.
Sweet Crochet Elephant Ideal in Baby Shower Gifts
This delightful piece can serve many purposes, whether as a thoughtful gift for children, a comforting keepsake, or a decorative element that brings character to any space. Its durability ensures it can be cherished for years, holding sentimental value as it travels through different stages of life. The beauty lies in how this handmade elephant can fit into diverse settings, from a nursery shelf to a cozy reading nook, always carrying with it a sense of warmth.
Beyond its appearance, the pattern allows space for personality through color choices and details, making each elephant unique. More than a toy or ornament, it symbolizes affection, resilience, and charm, making it a timeless addition to any collection of treasured handmade pieces.
Materials Needed
- Yarn:
- Plush yarn in a main color of your choice.
- Contrasting plush yarn for the inside of the ears.
- DK weight yarn for fine detailing (e.g., around the eyes).
- Crochet Hook: 5.5 mm.
- Stuffing: Fiber fill for shaping the elephant.
- Other Supplies:
- Stitch markers (or substitute with a paper clip or scrap yarn).
- Darning needle.
- 12mm security eyes.
- Scissors.
Special Features
- Plush Yarn: Gives the elephant a soft and huggable texture.
- Realistic Detailing: Includes eye detailing, a cute tail, and proportional limbs.
- Alternative Start: Offers a choice between using a magic ring or starting with chain stitches.
- Customizable Components: You can adjust the yarn colors and size of the elephant according to your preferences.
Level of Difficulty
The project is suitable for confident beginners or intermediate crocheters. While the stitches used are straightforward, the detailed assembly process and the use of plush yarn may require some patience and attention to detail.
Tutor’s Suggestions
- Use of Stitch Markers: Essential for keeping track of rounds while working in spirals.
- Adjustment for Beginners: If using plush yarn feels challenging, you can substitute it with regular yarn to better see your stitches.
- Secure Placement of Components: Double-check the placement of eyes and limbs before assembling to ensure symmetry.
Step-by-Step Instructions
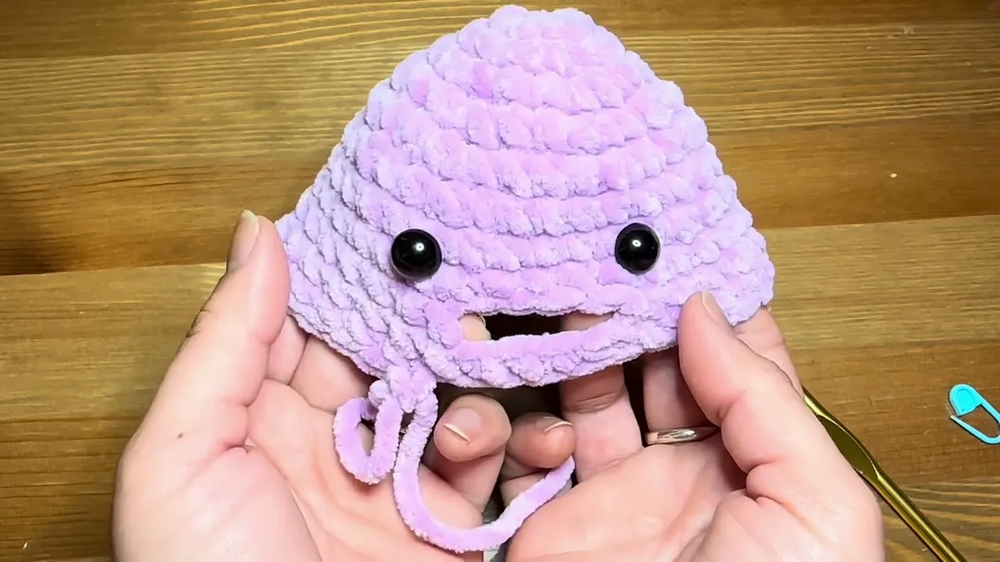
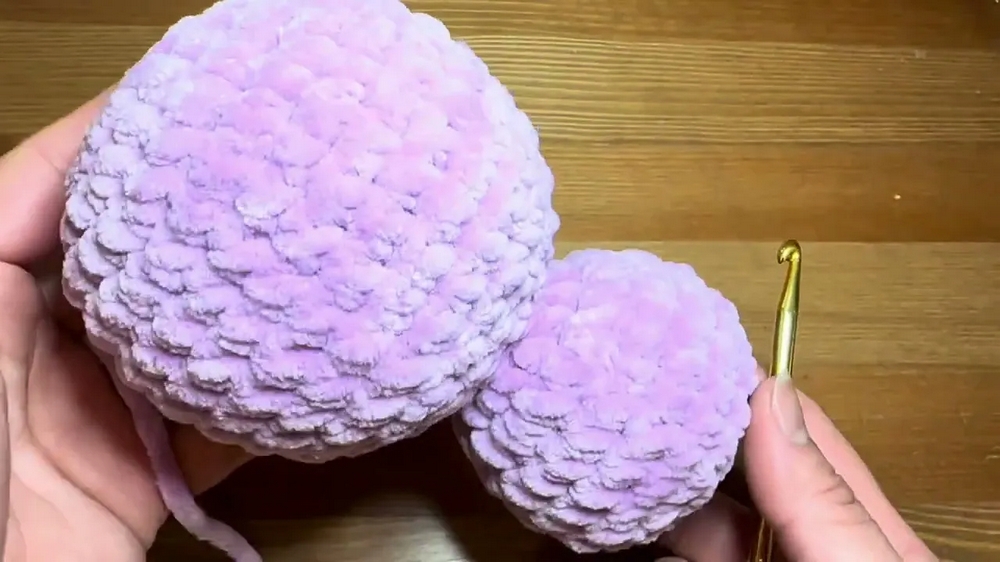
Step 1: Crocheting the Elephant’s Head
- Foundation Round:
- Create a slip knot and chain 2, or start with a magic ring.
- Work 6 single crochets (SC) into the second chain from the hook (or directly into the magic ring). Pull the starting yarn to close the gap.
- Increasing Rounds:
- Round 2: Work 2 SC in each stitch (6 increases), totaling 12 stitches. Use a stitch marker to track each round.
- Round 3: Alternate between 1 SC and 1 increase; repeat until the end (18 stitches).
- Round 4: Alternate between 2 SCs and 1 increase; repeat (24 stitches).
- Round 5: Alternate between 3 SCs and 1 increase; repeat (30 stitches).
- Lengthening the Head:
- Work 4 rounds of 30 SCs each (no increases).
- Forming the Opening:
- Chain 4, skip 4 stitches, and continue working SCs around the remaining stitches.
- Eyes Placement:
- Insert the 12mm security eyes, spacing them symmetrically on the head. The eyes should be placed one round above the chain opening. Secure the backs of the safety eyes firmly.
- Insert the 12mm security eyes, spacing them symmetrically on the head. The eyes should be placed one round above the chain opening. Secure the backs of the safety eyes firmly.
- Decreasing to Close the Head:
- Gradually decrease the stitch count by following the combination:
- 3 SCs + 1 decrease → (24 stitches).
- 2 SCs + 1 decrease → (18 stitches).
- 1 SC + 1 decrease → (12 stitches).
- Stuff the head with fiberfill before closing.
- Final round: Work decreases until the gap is closed (6 stitches total). Secure and fasten off.
- Gradually decrease the stitch count by following the combination:
2: Crocheting the Body
- Attaching the Body to the Head:
- Starting from the base of the head, work a round of single crochets to transition into the body.
- Increasing Rounds:
- Round 1: Work SC increases in each stitch (8 increases, 16 stitches total).
- Round 2: Alternate between 1 SC and 1 increase. Repeat (24 stitches).
- Lengthening the Body:
- Work 3 rounds of 24 SCs per round.
- Decreasing to Shape the Body:
- Gradually decrease the stitch count, using the following combinations:
- 2 SCs + 1 decrease → (18 stitches).
- 1 SC + 1 decrease → (12 stitches).
- Stuff the body with fiberfill before closing the final round.
- Gradually decrease the stitch count, using the following combinations:
3: Creating the Legs
- Foundation for the Legs:
- Chain 2 and work 6 SCs into the second chain from the hook.
- Shaping the Legs:
- Round 2: Work 6 increases (total 12 stitches).
- Rounds 3–5: Work 12 SCs in each round (3 rounds in total).
- Closing the Legs:
- Decrease across the round (e.g., 6 decreases), leaving a small gap.
- Leave a long tail for sewing. Repeat this to make a second leg.
4: Creating the Arms
- Shaping the Arms:
- Start with a slip knot and chain 2, then work 6 SCs into the second chain.
- Work 9 stitches per round for 3 total rounds, adding light fiberfill for shape.
- Closing the Gap:
- Use a final slip stitch at the end to close off the arm. Leave a long tail to sew it onto the body. Create a second arm using the same method.
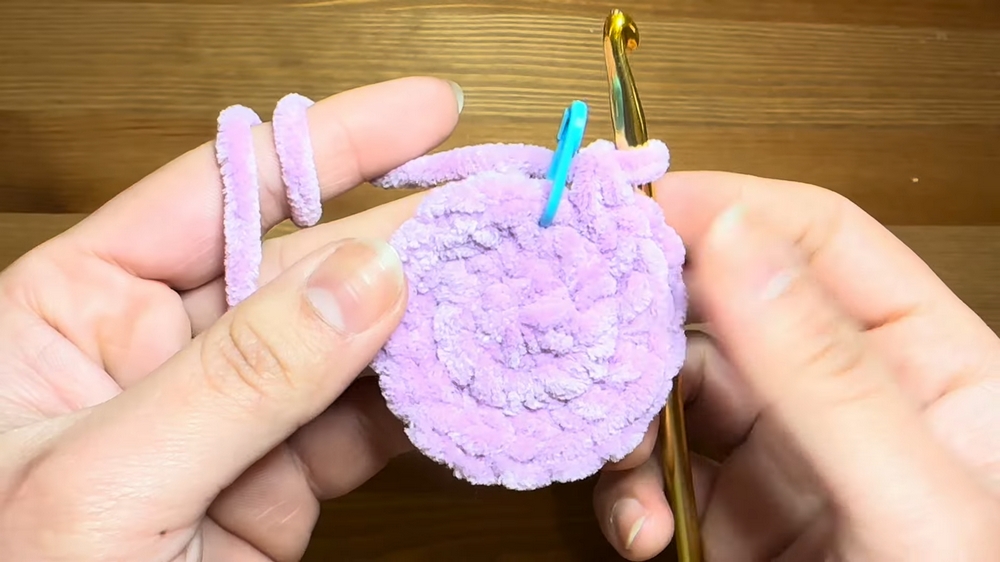
5: Creating the Ears
- Shaping the Inner and Outer Ears:
- Use your two contrasting yarn colors to crochet two ear pieces (one white, one in the body color). Work 8 SCs in the first round, followed by 8 increases (16 stitches total).
- Joining the Two Pieces:
- Place the ear pieces facing one another and crochet single crochets around the outer edge to join them.
- Folding and Shaping the Ears:
- Fold the ears slightly while attaching them to the head to give them a natural, curved shape.
6: Assembling the Elephant (Arms, Legs, Ears)
- Use a darning needle to sew each component securely in place. Ensure symmetry by aligning the legs with the eyes, and the arms slightly higher.
- Attach each ear 2 rounds above each eye.
7: Tail and Detailing
- Creating the Tail:
- Chain 7 stitches to create a thin, flexible tail. Add a tuft by attaching DK yarn strands braided or brushed out.
- Eye Detailing:
- Use DK black yarn to embroider around the eyes for added emphasis.

- Use DK black yarn to embroider around the eyes for added emphasis.
Uses
- Toys for Children: Soft and cuddly, ideal as a handmade gift.
- Home Decoration: A whimsical addition to nurseries or living spaces.
- Gifts: Perfect for baby showers, birthdays, or holidays.
Final Tip
When working with plush yarn, use good lighting to make your stitches easier to identify. If needed, substitute with simpler yarn for clarity during practice.
Conclusion
This cute crochet elephant pattern covers all the steps required to project a charming plush toy, combining basic stitches with detailed assembly. Its soft texture, adorable design, and unique detailing make it a versatile project suitable for both gifts and personal use. While slightly challenging for absolute beginners, the included instructions and tips make it achievable with some patience.