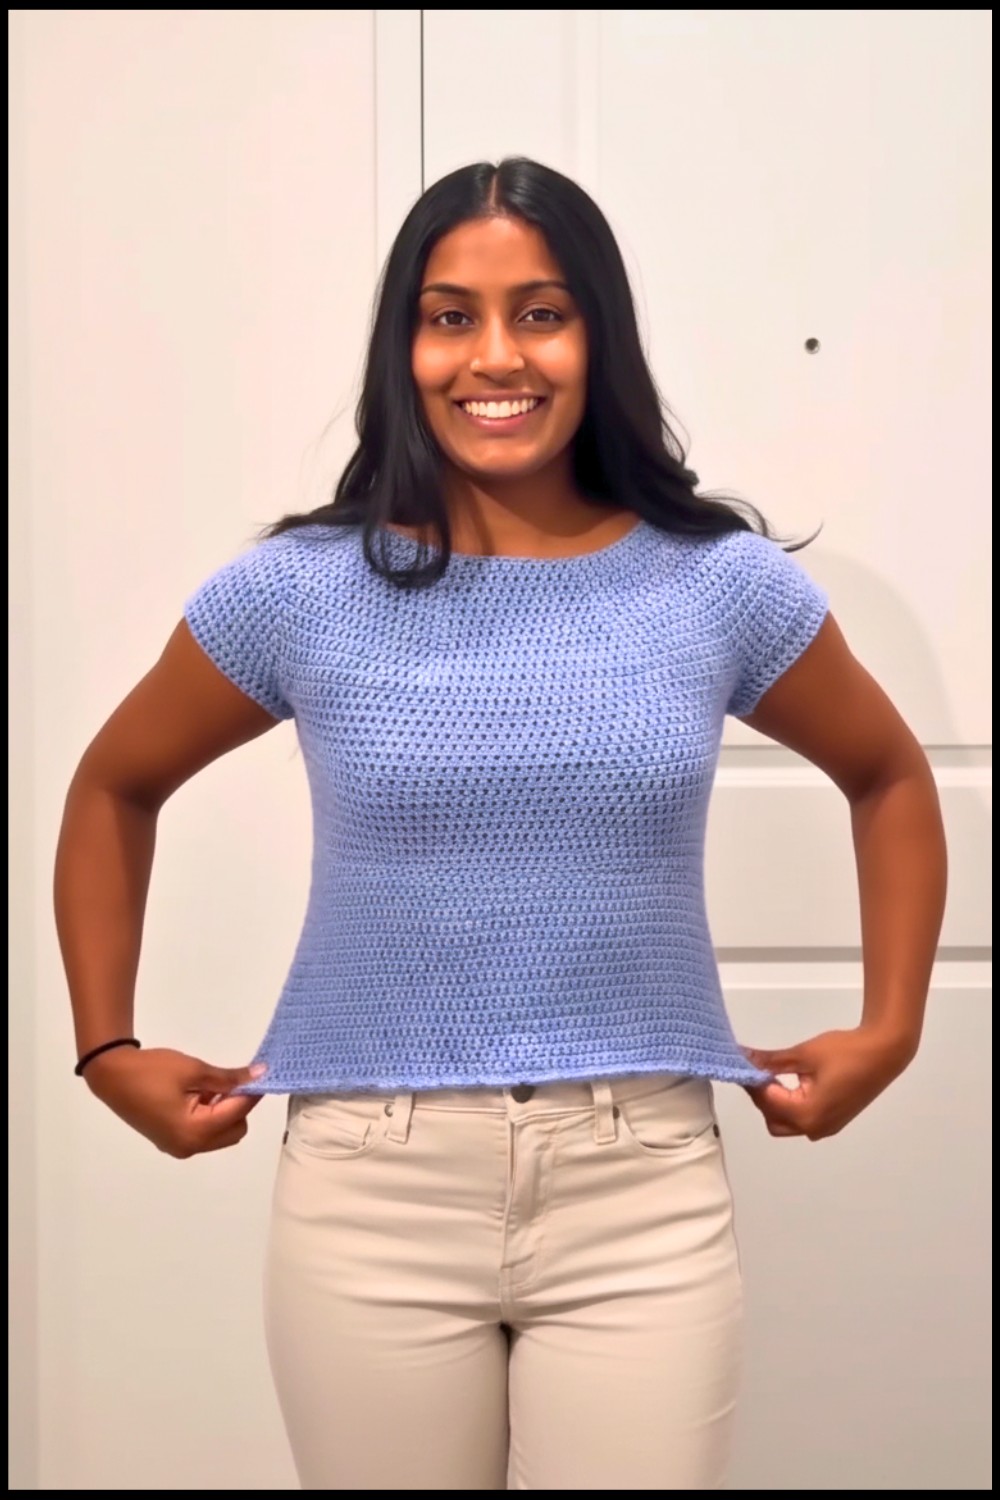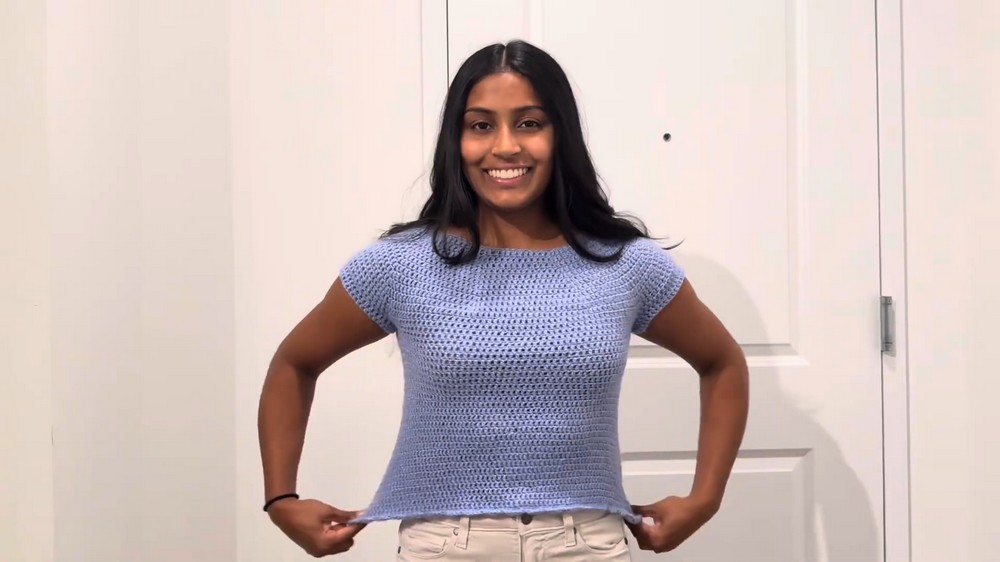
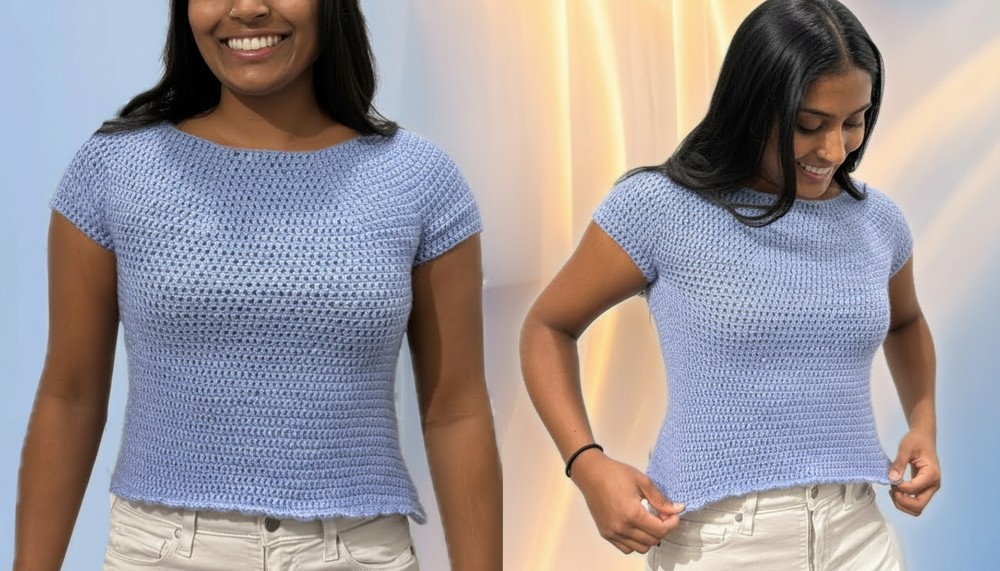
Must-Have Free Crochet Top Pattern for Every Wardrobe
Style your days with this free crochet basic top pattern, that’s comfortable for anyone who wants a wardrobe staple that feels special.
People often wonder what makes a simple piece of clothing so special. When you see a basic top made by hand it has a softness and lovely look that catches your eye. Wearing it feels light and fresh perfect for any weather because it breathes well and stretches easily. The Crochet Basic Top pattern helps you create a top that fits nicely and looks beautiful in any color you like.
Easy-to-Follow Free Crochet Basic Top Pattern
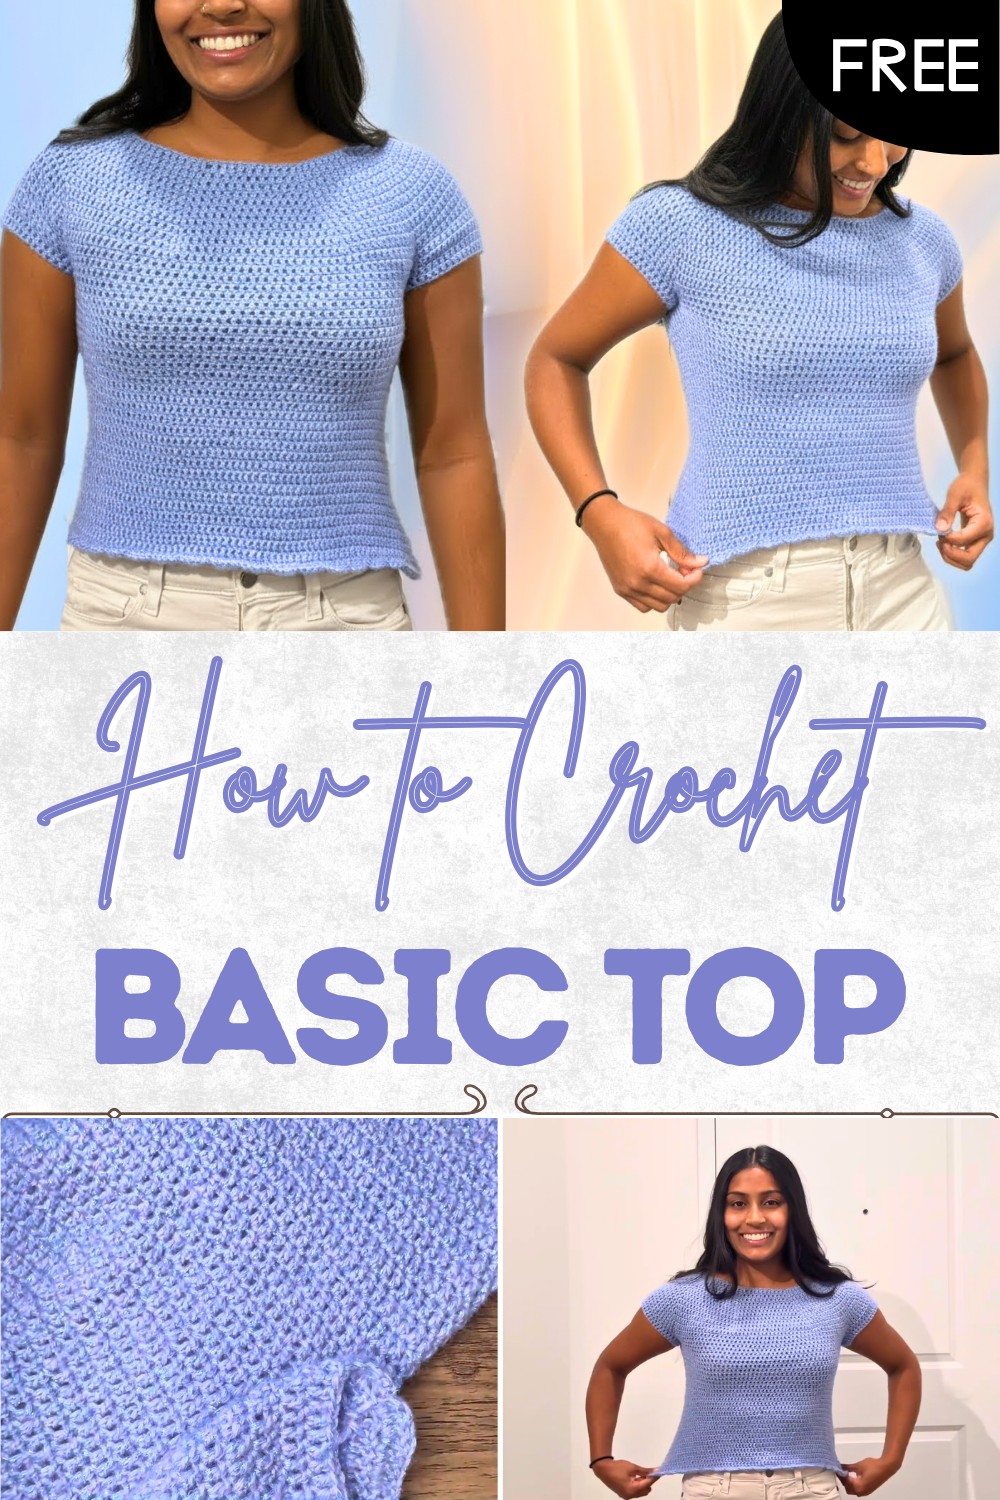
This top is not only comfortable but also adds style without being too fancy allowing anyone to feel good about themselves. It can be worn alone or layered with other clothes making it useful for many occasions. Using this pattern is fun and brings people together as they make their own top or a gift for a loved one. Each top shows simple charm and gentle beauty and the Crochet Basic Top pattern makes it easy for all to enjoy a special piece of clothing.
Simple Crochet Raglan Top (XS) Pattern
Materials
- Yarn: DK weight (light worsted/8-ply); requires a little over 200g
- Fiber used: blend of cotton, polyester, acrylic, and wool (or any DK-weight yarn)
- Hooks:
- 5mm (H-8) crochet hook (beginning, or as needed for tension)
- 4mm (G-6) crochet hook (body and remainder, or as fits your yarn/tension)
- Notions:
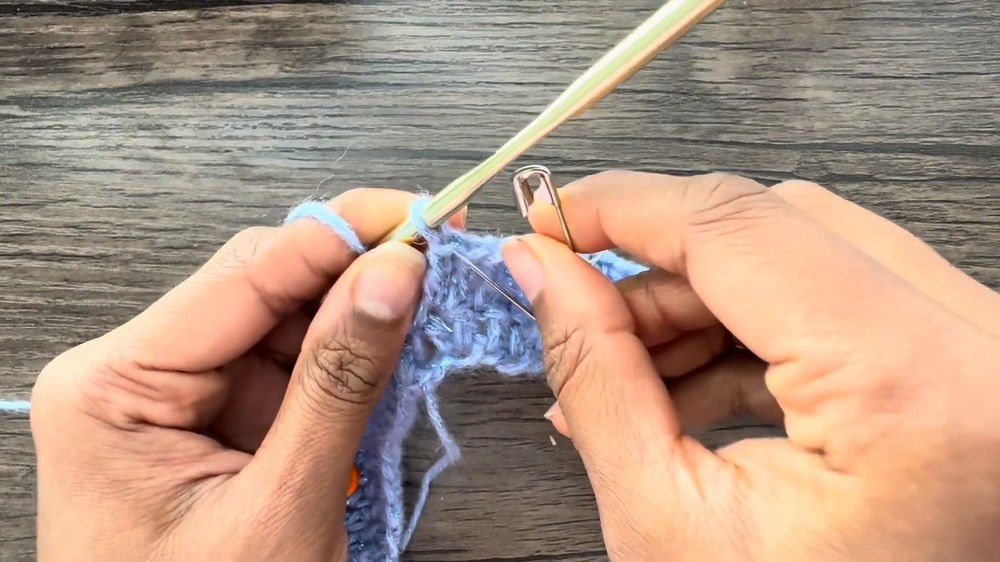
- Yarn needle
- 8 stitch markers or safety pins
- Scissors
Abbreviations (US Terms)
- ch: chain
- dc: double crochet
- sc: single crochet
- sl st: slip stitch
- rep: repeat
- st(s): stitch(es)
Special Notes
- Pattern is written for an EXTRA SMALL size. For other sizes, adjust starting chain in multiples per raglan formula.
- A no-turning chain is used at the start of each round to avoid visible seams—you may substitute with your preferred starting technique.
- Place and move stitch markers as described for raglan yoke shaping.
- The pattern is made top-down in joined rounds; sleeves are added later.
- Sleeve and body lengths are adjustable.
- A scalloped border is used on the hem, but sleeves may be left clean or finished as desired.
Pattern
Yoke
- Foundation:
- With 4mm or 5mm hook, ch 88.
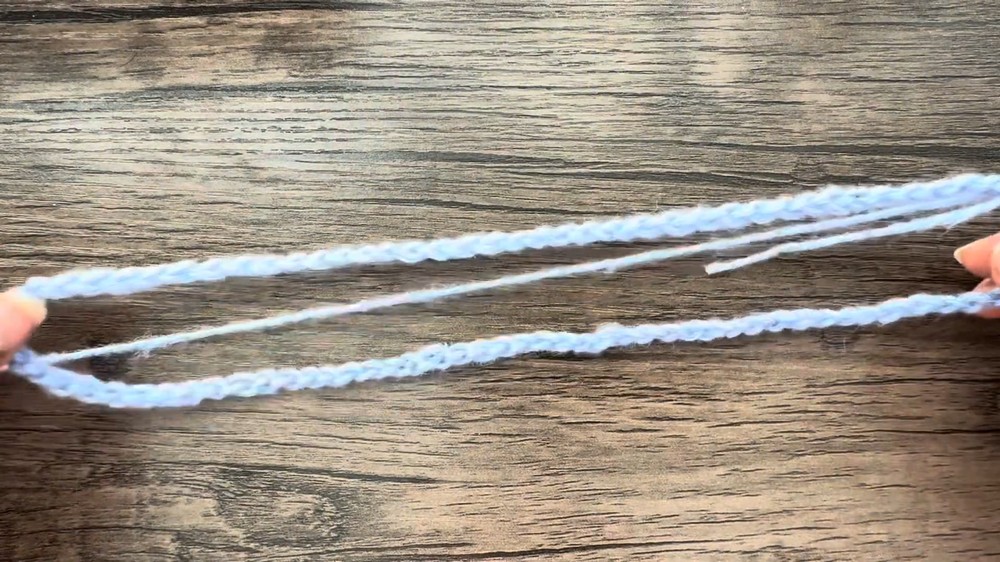
- Join with a sl st to first ch to form a ring. Ensure the chain is not twisted.
- With 4mm or 5mm hook, ch 88.
- Round 1 – Yoke Setup:
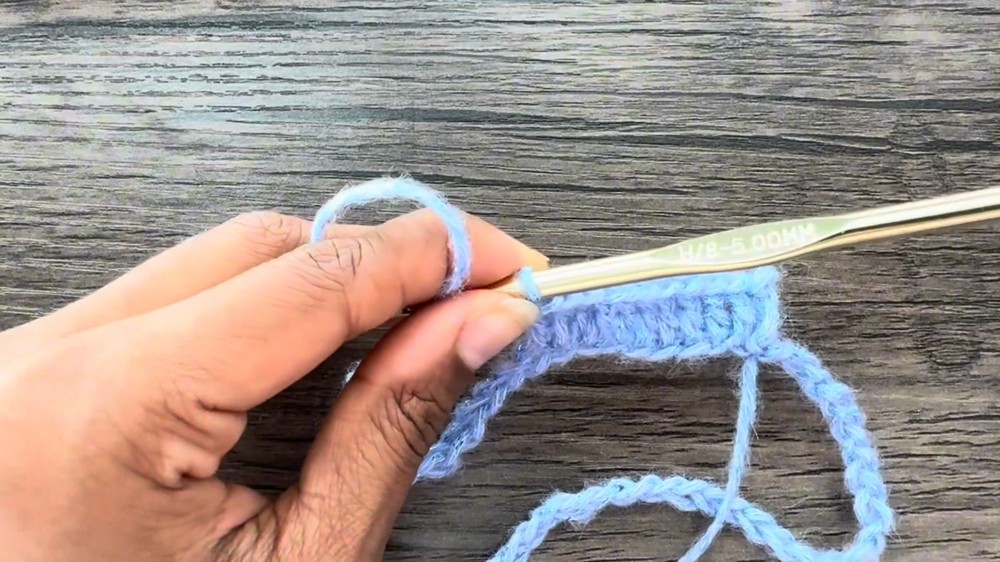
- Make a no turning chain (pull up a loop the height of a dc, yarn over, insert hook under the loop, pull through, yarn over and pull through both loops).
- Dc in the next 8 chains (9 dc including the no turning chain).
- In the 10th ch, 2 dc in same st, place stitch marker in the 2nd dc (raglan inc).
- Dc in next 9 sts, 2 dc in next st, place marker.
- Dc in next 13 sts, 2 dc in next st, place marker.
- Continue in this pattern: 9 dc, inc/mark, 9 dc, inc/mark, 13 dc, inc/mark, 9 dc, inc/mark, 9 dc, inc/mark, 13 dc, inc/mark, 9 dc, inc/mark.
- End of round: 8 increases placed and 96 sts total.
- Join with sl st to no turning chain.
- Round 2 – Raglan Increases:
- Begin with a no turning chain.
- Dc in each st until first marker, 2 dc in marked st (move marker to 2nd dc).
- Rep: dc in each st to marker, 2 dc in marked st at all 8 marked sts.
- Join with sl st to starting chain at end of round.
- Stitch count at end: 104 sts.
- Rounds 3–11:
- Repeat round 2: Dc in each st, 2 dc in each marked st (move marker to 2nd dc after each increase).
- At the end of round 11 (for size XS), you should have 176 sts.
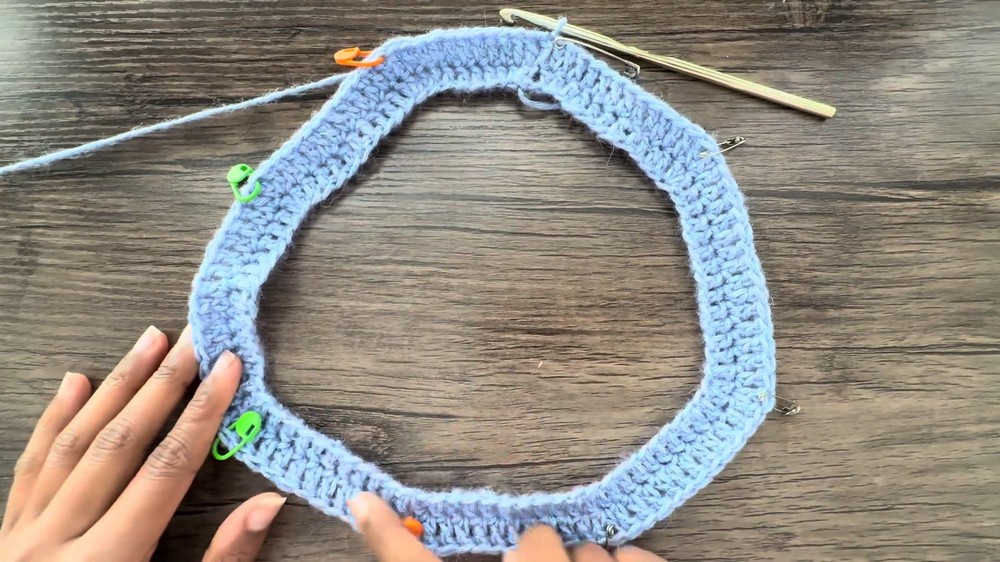
Yoke Extension (No increases)
- Rounds 12–15:
- Remove all stitch markers.
- For each round: No turning chain, dc in every st around.
- Sl st to join. Repeat for 4 rounds (or as many as desired for your yoke depth/fit).
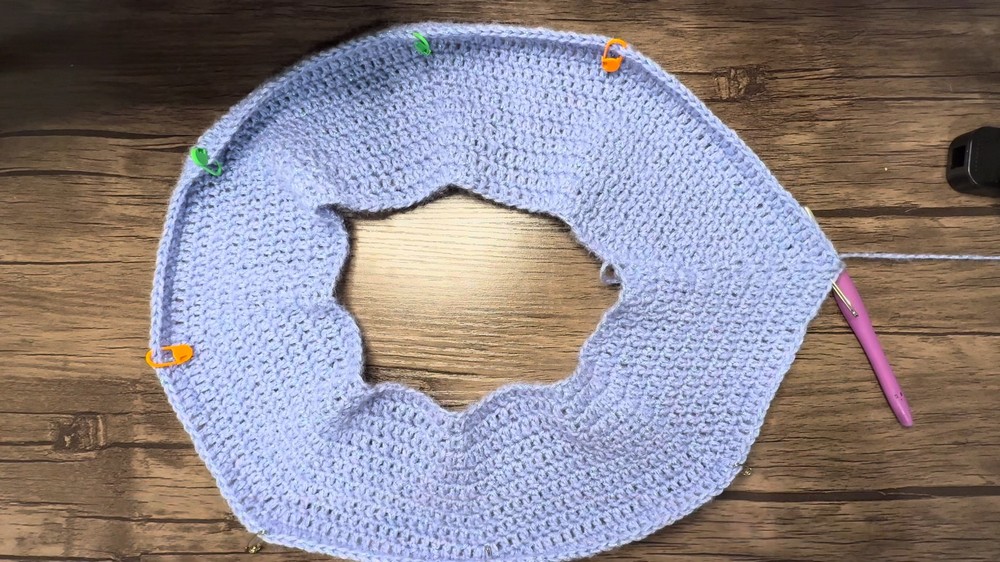
Separate for Sleeves
- Place markers to divide yoke for sleeves and body:
- Example from video: 36th, 73rd, 124th, & 161st stitches.
- Next Round – Sleeve Separation:
- No turning chain, dc in each st to first marker (front bodice)
- Remove marker, dc in that st; skip all next sts to next marker (first sleeve),
- Dc in marked st (start of back), dc across back to next marker, remove marker, dc in st; skip next sts to next marker (second sleeve), dc in marked st (start of front bodice), dc to end.
- Join with sl st.
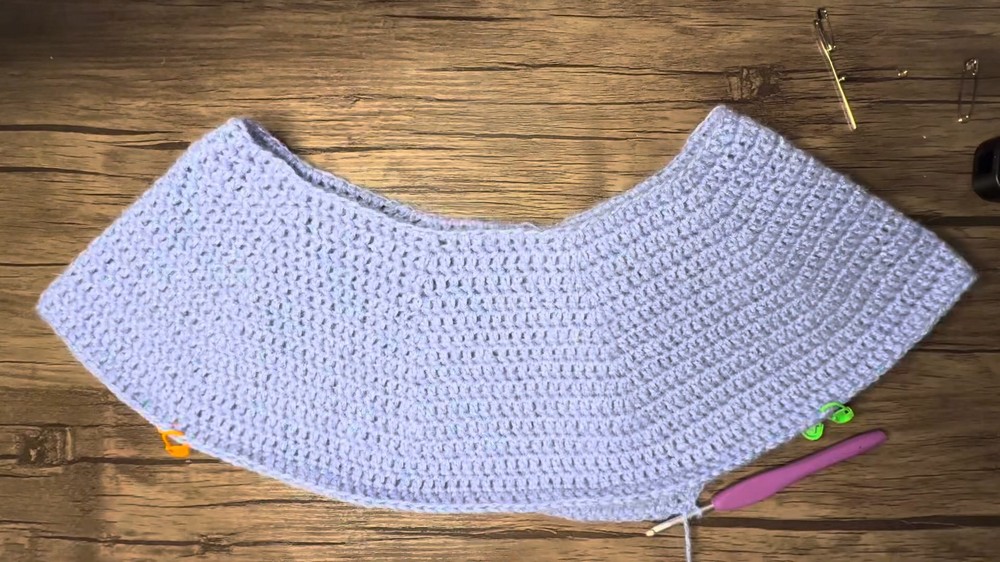
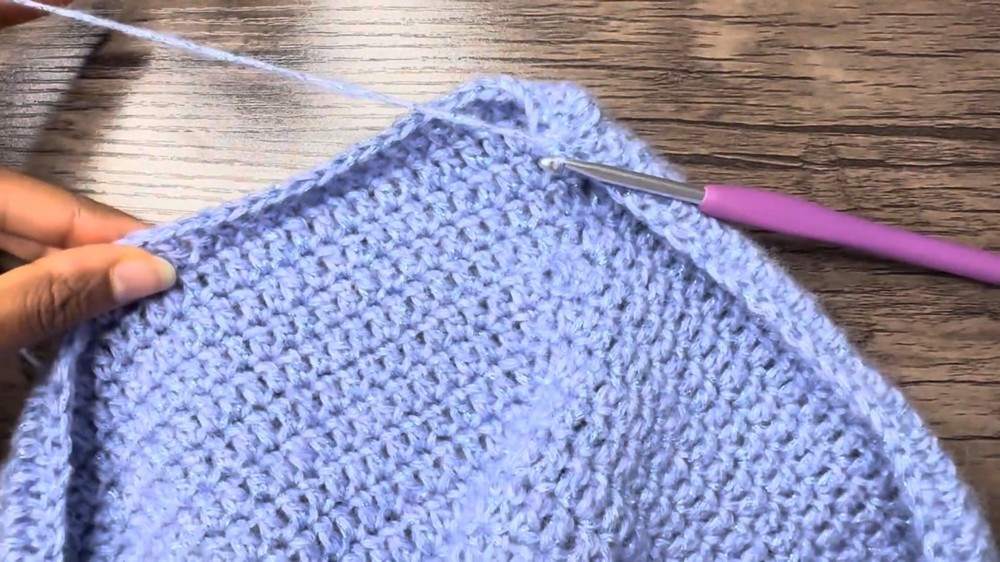
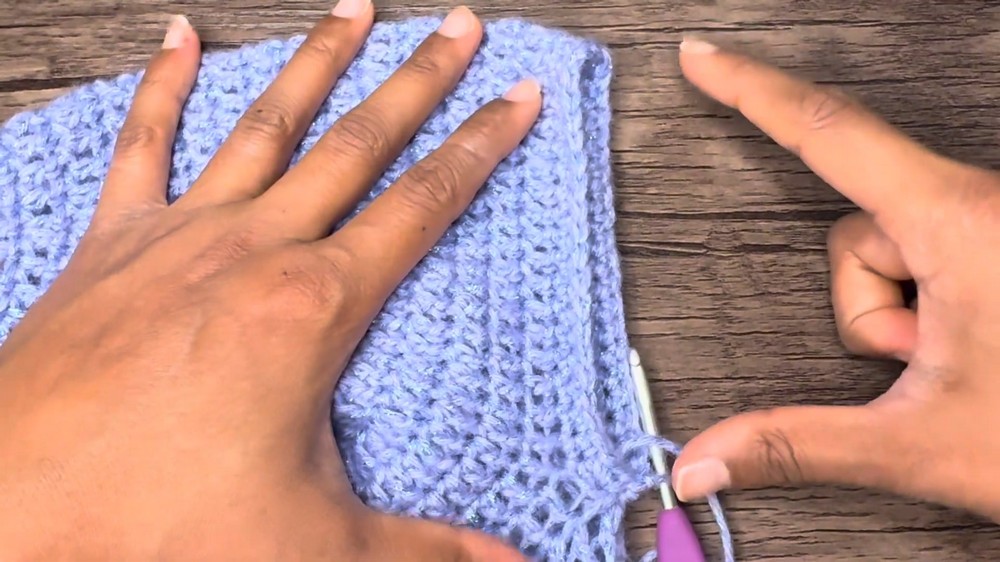
Body
- Begin working in rounds on body only:
- No turning chain. Dc in each st around.
- Join with sl st. Repeat this round for a total of 15 rounds or to desired body length.
Bottom Borders
- SC Border:
- Ch 1. Sc in each st around.
- Join with sl st to starting ch 1.
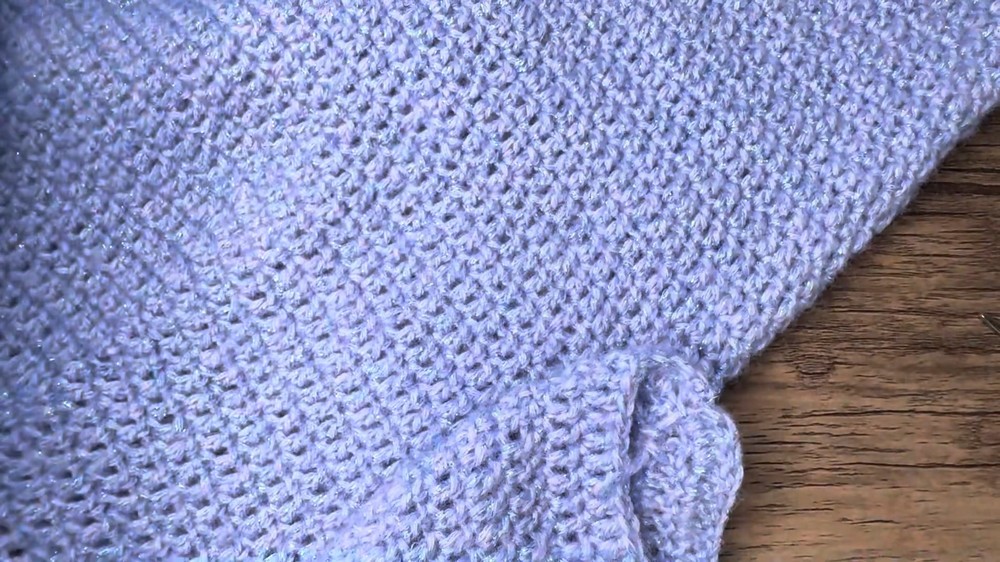
- Scallop (Shell) Border:
- Skip 2 sts,* 5 dc in next st**, skip 1 st, sl st in next st; rep from * around.*
- If your stitch count is off, skip an extra st and end with sl st to close the round.
- Fasten off and weave in ends.
Sleeves
- Attach yarn to underarm seam.
- Ch 1. Sc evenly around the sleeve opening; join with sl st.
- To increase sleeve width (optional):
- No turning chain, 2 dc in st at marker, dc in each st to next marker, 2 dc in st at next marker, repeat for the round.
- Join with sl st. Repeat for 1–2 rounds or until sleeve comfort is achieved; fasten off.
- To keep sleeves fitted, simply sc border and fasten off.
- Repeat for other sleeve.
Weaving Ends
- Use yarn needle to weave in all ends securely.
Conclusion
This raglan crochet top is perfect for customizing to your fit and style. The yoke and body are easily adjustable simply by working more/less rounds or changing the number of starting chains for other sizes. Clean borders or scallops allow you to finish with your preferred look. This method avoids a visible seam, and the process is seamless from top to hem.
Pattern Corrections & Tips
- Fit: Regularly try on your yoke and body to check fit before final rounds or borders.
- Yarn: Use similar-weight DK alternatives if needed; keep gauge in mind for size alterations.
- Sleeve Customization: Add shell/scalloped border for a feminine touch, or leave them clean and simple for a minimalist look.
- No turning chain: If you find the no turning chain awkward, start with ch 2 or a ch-less dc substitute.