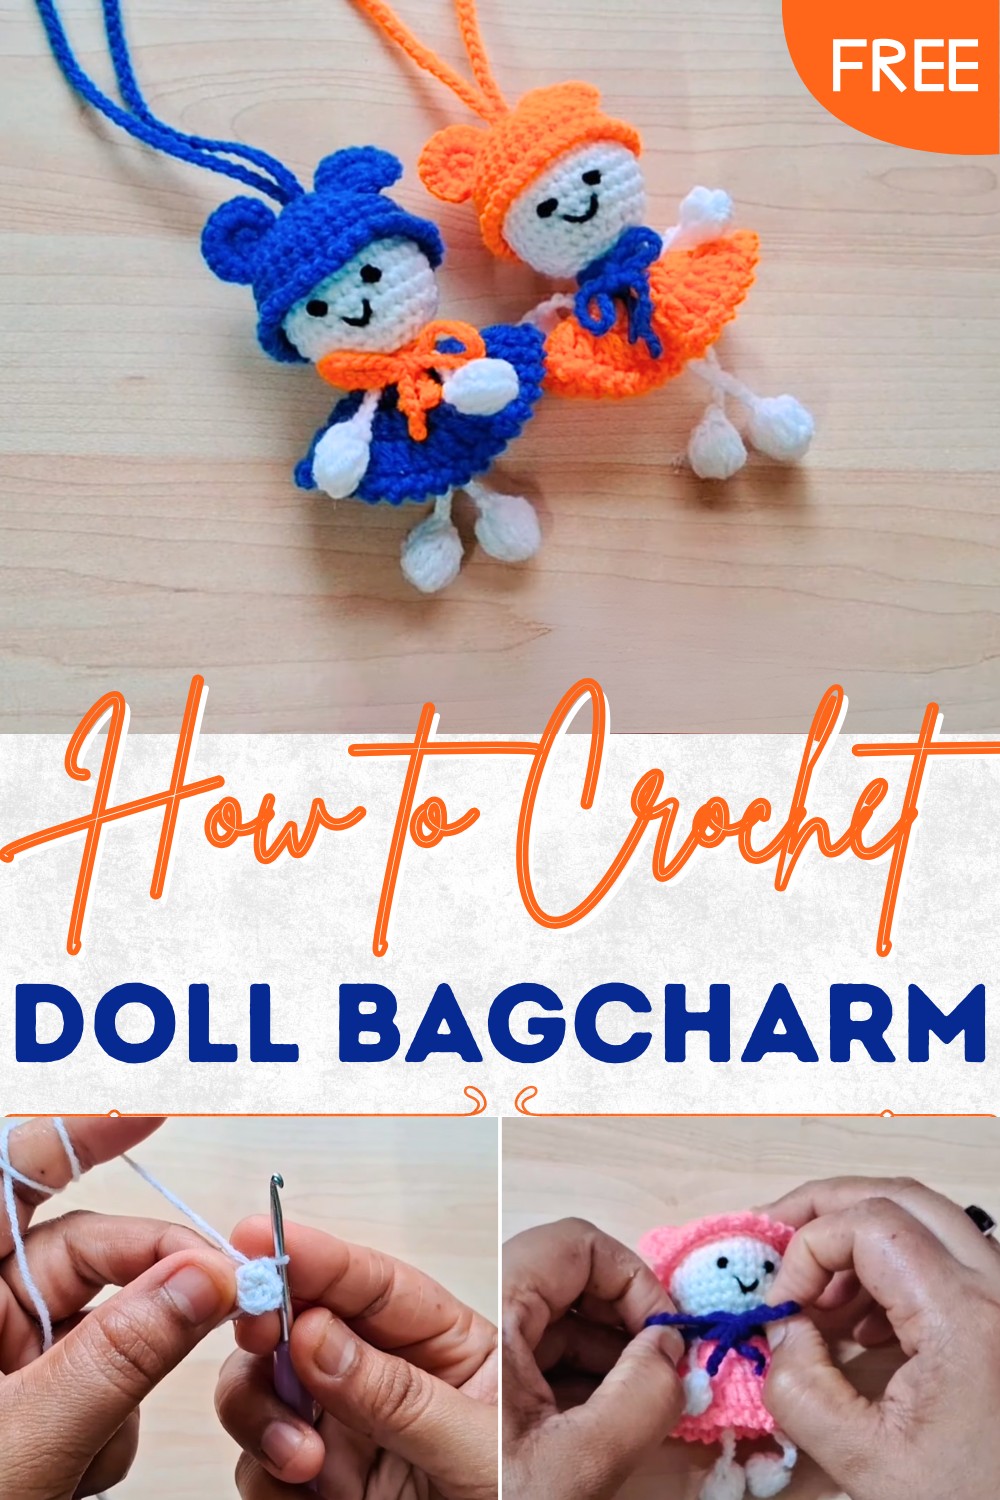
Lovely Crochet Doll Bagcharm Pattern for a Unique Touch
Enhance your accessories with the Free Crochet Doll Bagcharm Pattern, a playful project that adds charm, color, and personality to everyday style.
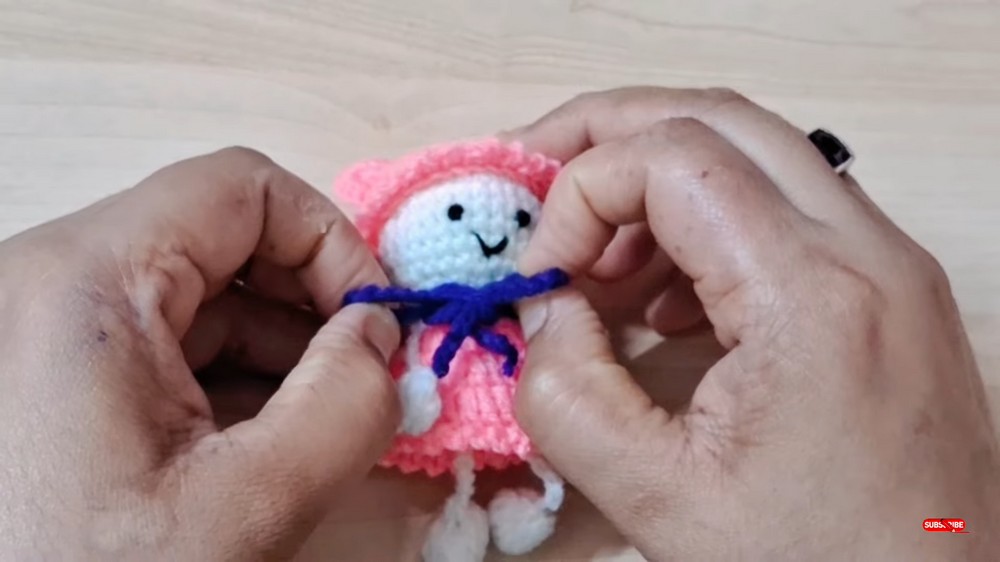
A tiny charm often carries the power to make daily accessories feel more personal and full of character. From handbags to backpacks, even the simplest items can be made more joyful with a thoughtful detail attached. The Free Crochet Doll Bagcharm Pattern celebrates this sentiment, offering a delightful way to express style and add personality to ordinary belongings. With its charming doll-like shape, it becomes more than an accessory—it turns into a keepsake that brightens each use.
Lovely Crochet Doll Bagcharm Pattern for a Unique Touch
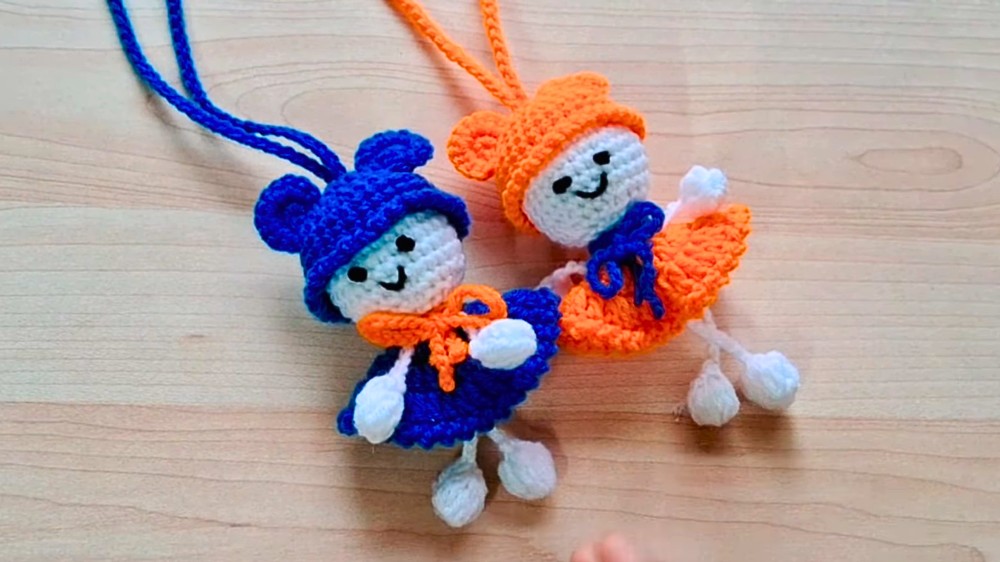
The structure of this pattern is built with neat shaping techniques, resulting in a small, detailed figure that looks both playful and appealing. Its beauty lies in its versatility, as the doll can be customized in different colors and styles to suit individual tastes or match specific themes. The benefit of such a project extends beyond aesthetics, it provides a practical size that makes it lightweight, durable, and easy to carry.
Whether clipped onto bags, purses, or even keys, this little charm spreads cheer and individuality everywhere it goes. The Free Crochet Doll Bagcharm Pattern stands as both a fun accessory and a thoughtful handmade gift, combining utility with charm in the most delightful way possible.
Materials Needed
- Yarn: Four colors of Vardhman’s four-ply acrylic yarn (a little black, dark blue, pink, and white).
- Crochet Hook: A 2.5 mm crochet hook.
- Scissors: To cut the yarn.
- Cotton: For stuffing the doll’s head.
- Needle: For sewing parts and weaving in the ends.
Step-by-Step Instructions
1. Creating the Head
- Magic Ring: Use white yarn to wrap it around your fingers and create a magic ring.
- Round 1: Crochet 6 single crochets into the ring. Close it using a slip stitch in the first single crochet.
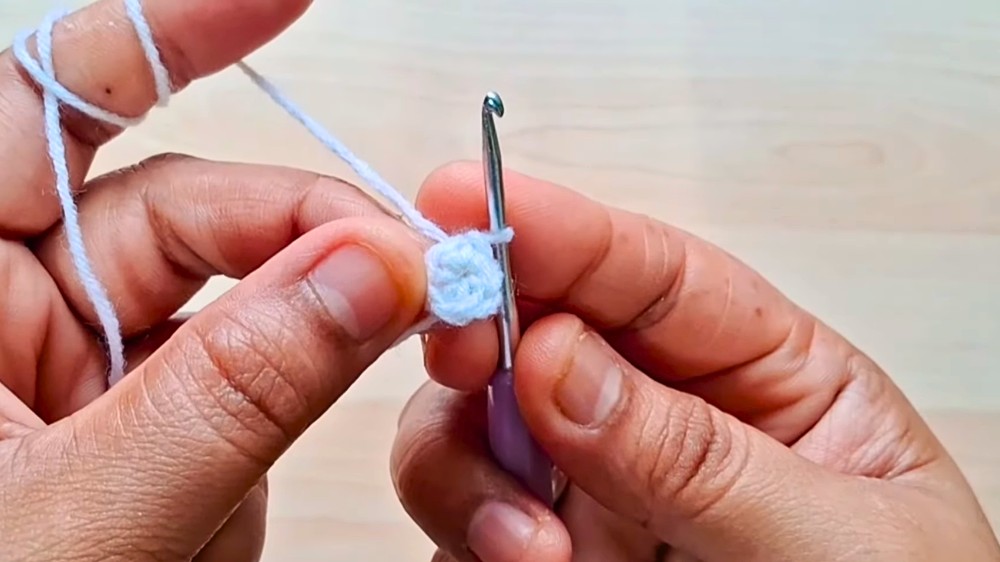
- Round 2: Work 2 single crochets into each stitch, totaling 12 single crochets.
- Round 3: Follow the pattern of 1 single crochet, increase in the next stitch; repeat across the round for 18 total single crochets.
- Rounds 4 and 5: Continue increasing by following the pattern: 2 single crochets, increase (round 4); 3 single crochets, increase (round 5).
- Rounds 6 to 9: Work 1 single crochet in each stitch around to maintain 30 single crochets per round.
- Rounds 10 to 12: Decrease following the patterns: 3 single crochets, decrease (round 10); 2 single crochets, decrease (round 11); 1 single crochet, decrease (round 12).
- Round 13: Work only in the back loops, decreasing each pair of stitches together, resulting in 6 single crochets.
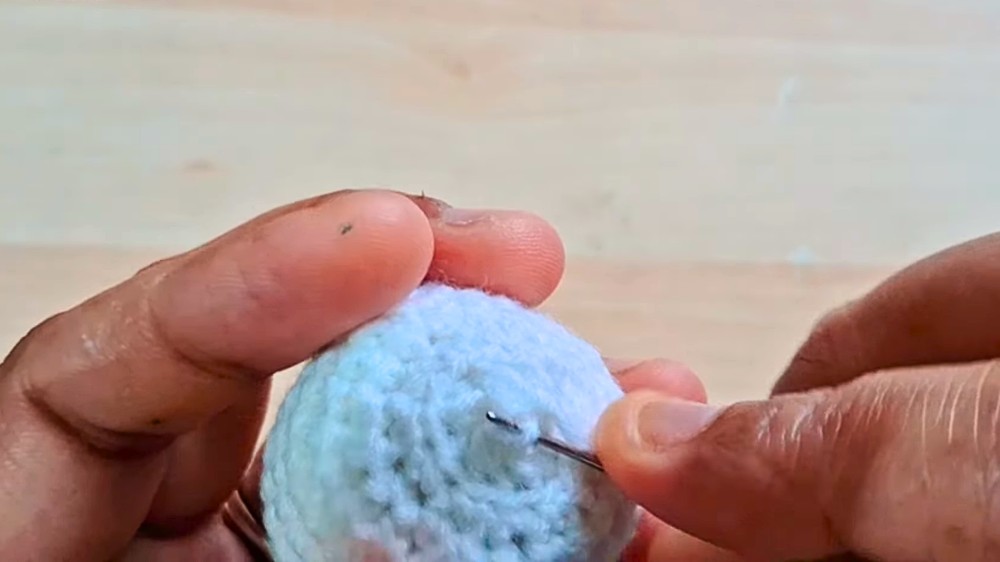
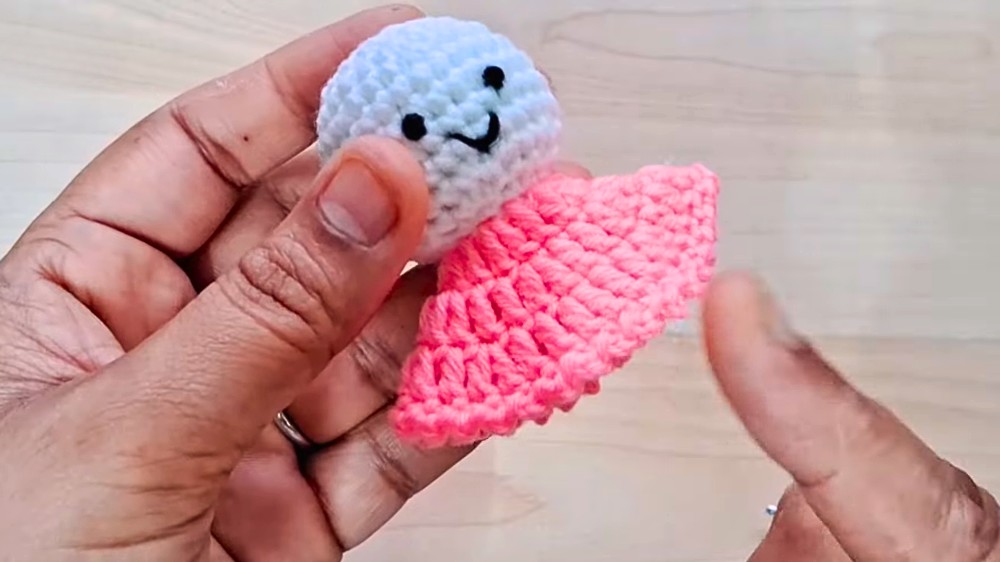
2. Adding Facial Features
- Use black yarn to create eyes by inserting into the head between the 7th and 8th rounds with a knot stitch technique.
- Embroider the mouth by creating a curved line below the eyes using backstitch and simple knot techniques.
3. Crafting the Frock
- Attach pink yarn to the front loops of round 13 of the head.
- Work rounds of double crochet increasing in a pattern to form the frock shape, then finish with a decorative chain-slip stitch border.
4. Making Legs and Arms
- Legs: Use white yarn, create magic ring, work chains and incomplete double crochet techniques to shape and attach to the open edge of the doll.
- Arms: Similar technique as the legs, but with fewer chains for a shorter limb, attach just below the frock edge.
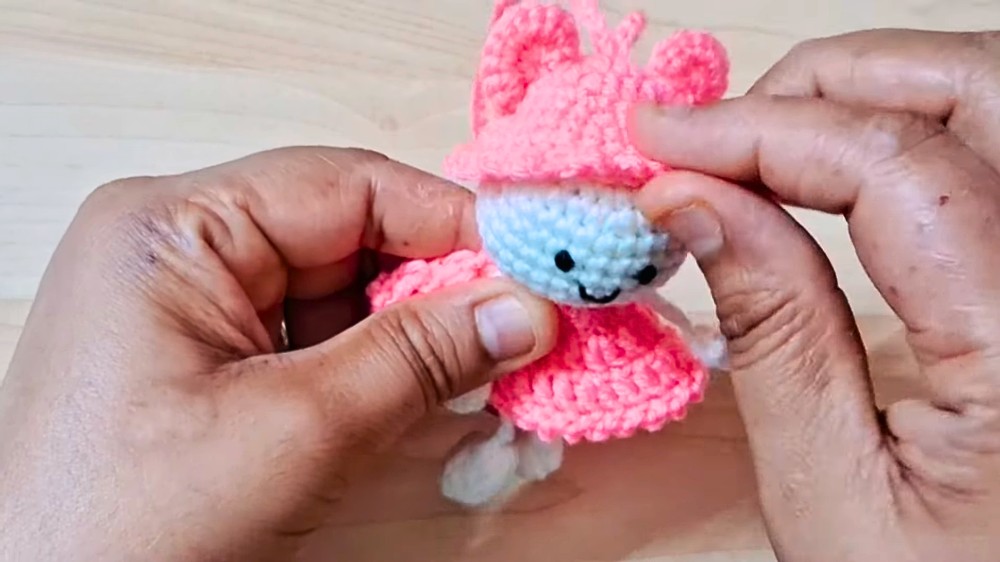
5. Crafting the Hat and Ears
- Use pink yarn to create a magic ring, then work successive rows of increasing stitches to shape the hat.
- The border of the hat is made using a front loop only technique similar to the frock.
- Attach ears by crocheting small circles with increases, using the same yarn as the hat, and secure them above the head.
6. Adding Finishing Touches
- Bow: Create a dark blue chain to be tied beneath the doll’s head.
- Hanging Loop: Create a chain of 65 using pink yarn, attach to the top of the head’s magic ring or sew securely for hanging.
Special Features
- Beginner-Friendly: Uses basic stitches like single crochet, double crochet, and slip stitches.
- Customizable: Choose different color combinations for personalization.
- Multi-Functional: Can function as a keychain, decoration, or children’s toy.
Level of Difficulty
- Beginner Level: The tutorial features simple stitches and techniques, making it approachable for those new to crochet.
Tutor’s Suggestions
- Ensure even stitch tension throughout to maintain shape and consistency.
- Count stitches regularly to avoid unintentional increases or decreases.
- Use a soft filling for the head to achieve a smooth finish.
Uses
- Decorative Hanging for Cars or Homes
- Keychain Accessory
- Gift-Giving: Perfect as a thoughtful, handmade gift.
- Children’s Toy
Tip
Tightly secure any knots and joins to avoid unraveling over time, especially if the doll will be handled frequently as a keychain or toy.
Conclusion
This crochet tutorial offers a delightful project for creating a charming hanging doll. The step-by-step instructions and basic stitch patterns make it an ideal project for beginners looking to enhance their crochet skills. Whether you choose to use it as a car hanging, decoration, or gift, the end result is a lovely, handcrafted item sure to bring joy. Embrace your creativity, experiment with colors, and enjoy the satisfaction of crocheting this cute doll.