Jolly Crochet Amigurumi Snowman for Festive Corners
Spread winter cheer with this Crochet Amigurumi Snowman Pattern for a cute, festive accessory that adds joy to holiday décor
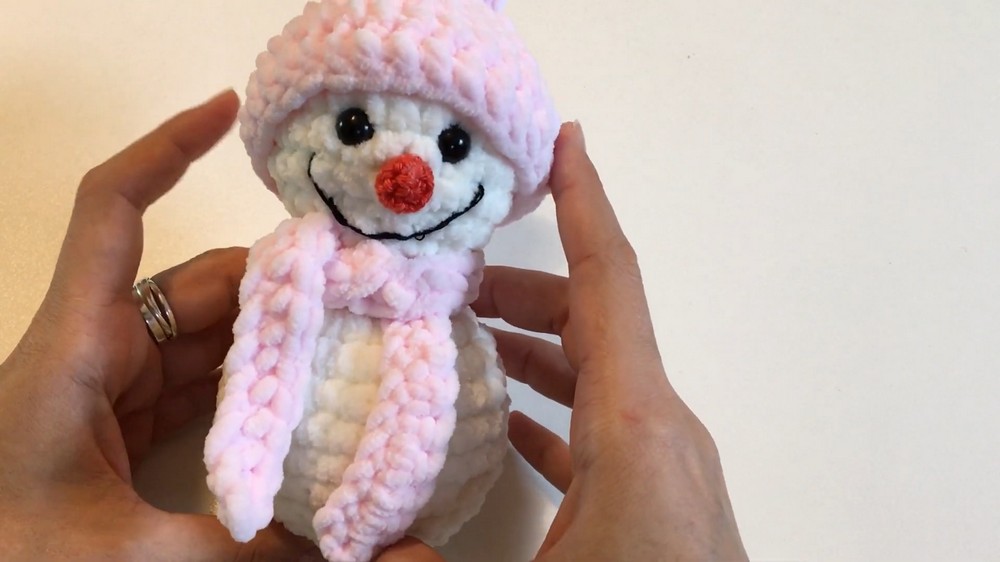
Winter scenes often spark memories of snowy landscapes, cheerful gatherings, and timeless seasonal figures, with the snowman serving as a universal symbol of joy and whimsy. The crochet amigurumi snowman pattern transforms this classic figure into a handcrafted creation that combines charm, texture, and durability. Each snowman is carefully stitched to maintain a soft yet structured form, capturing the rounded body, button details, scarf, and hat that make it instantly recognizable and endearing.
Snowy Crochet Amigurumi Snowman for Tables

Lightweight and versatile, these crochet snowmen can be displayed on mantels, shelves, or windowsills, used as tree ornaments, or given as thoughtful gifts that bring warmth and personality to the season. The pattern allows for customization through colors, accessories, or size variations, giving each piece individuality and a personal touch. Beyond decoration, the snowmen provide a tactile, cheerful element that delights both children and adults, enhancing festive atmospheres with playful charm.
Handmade construction ensures that every piece carries unique character, adding sentimental value to holiday décor. Combining visual appeal, practicality, and whimsical charm, the crochet amigurumi snowman pattern turns simple yarn into a cheerful seasonal accent. Each stitch contributes to a piece that spreads joy, warmth, and handmade artistry, making it a delightful addition to winter celebrations and home displays.
Materials Needed
To complete the project, you will need:
- Yarn:
- White yarn for the snowman’s body and head.
- Orange yarn/thread for the nose.
- Pink yarn for the hat.
- Any preferred color for the scarf.
- Black thread for the smile.
- Eyes: Safety eyes (10 mm preferred).
- Crochet Hook: Size appropriate for the chosen yarn (the tutor uses one that works well with sensitive yarn).
- Stuffing: Fibrefill or any soft stuffing material.
- Scissors: For trimming yarn.
- Darning Needle: For sewing and weaving in yarn ends.
- Pins/Markers: For aligning sections and guiding stitches.

Special Features
- Realistic Design Elements: Includes a detailed smile, safety eyes, and accessories like a hat and scarf.
- Customizable: The snowman can be styled with different colors, and the size can be adjusted.
- Beginner-Friendly: Uses basic crochet techniques like single crochet, increases, decreases, and slip stitching.
- Thoughtful Tips: The tutorial includes helpful suggestions for working with sensitive yarn and aligning details.
Level of Difficulty
Beginner to Intermediate
The project is suitable for beginners who are comfortable with basic crochet stitches. However, attention to detail is required during assembly and sewing the accessories, which might challenge beginners slightly.
Step-by-Step Instructions
Head and Body Creation
1. Start the Head
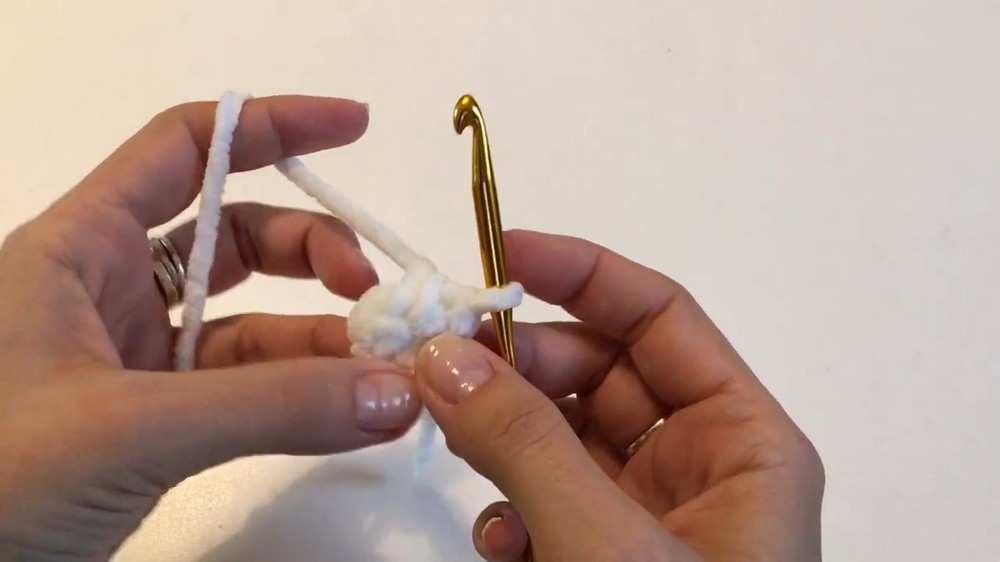
- Row 1: Begin with a magic circle and crochet 6 single crochets (SC) into the circle.
- Row 2: Make 6 increases (2 SC in each stitch), ending with 12 stitches.
- Row 3: Alternate 1 SC, 1 increase around, ending with 18 stitches.
- Row 4: Alternate 2 SC, 1 increase, ending with 24 stitches.
2. Shape the Head
- Crochet 3 rows (Row 5-7) of single crochet (no increases).
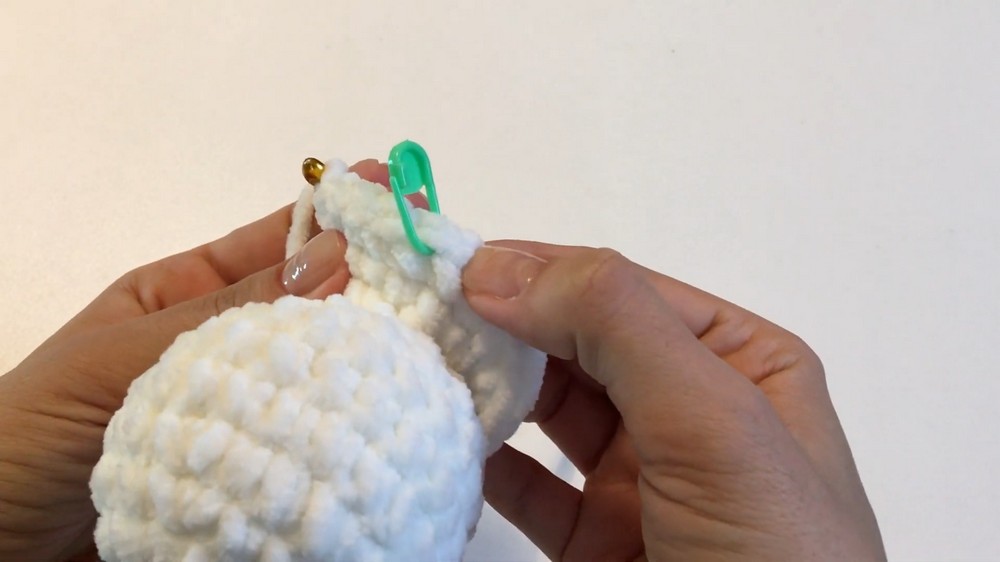
- Insert 10 mm safety eyes between Rows 5 and 6, spaced 3 stitches apart.
- Row 8: Alternate 1 SC, 1 decrease around, ending with 12 stitches.
3. Finish the Head
- Before proceeding, add stuffing into the head.
- Row 9: Alternate 1 SC, 1 decrease, ending with 8 stitches.
4. Begin the Body
- Row 10: Increase in every stitch, ending with 16 stitches.
- Row 11: Alternate 1 SC, 1 increase, ending with 24 stitches.
- Row 12: Alternate 3 SC, 1 increase, ending with 30 stitches.
5. Shape the Body
- Crochet 5 rows (Row 13-18) of single crochet (no increases).
- Add more stuffing, ensuring the neck is firmly stuffed.
- Row 19: Alternate 3 SC, 1 decrease, ending with 24 stitches.
- Row 20: Alternate 2 SC, 1 decrease, ending with 18 stitches.
- Row 21: Alternate 1 SC, 1 decrease, ending with 12 stitches.
- Row 22: Decrease around (2 SC together), ending with 6 stitches.
6. Close the Body
- Sew the tail into the remaining stitches to close off the body securely, then weave in the yarn.

Creating the Facial Features
1. Crochet the Nose
- Row 1: Create a magic circle and crochet 5 SC into the ring.
- Row 2: Alternate 1 increase, 1 SC, ending with 7 stitches.
- Row 3-4: Crochet 7 SC around (no increases).
- Cut the yarn with a long tail to sew the nose to the snowman’s head.
2. Position and Attach the Nose
- The nose should be placed in the center of Row 7, directly below the eyes.
- Use the darning needle to sew the nose securely, catching a stitch of the head for each stitch of the nose.
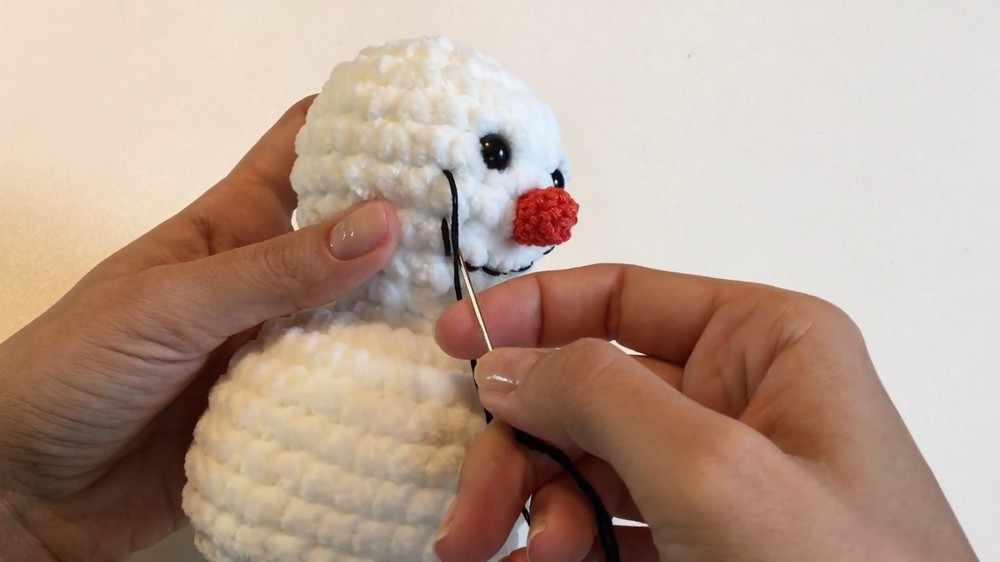
3. Add a Smile
- Use black thread to create a smile. Place pins on the snowman’s face to guide where the smile should curve.
- Stitch carefully using the pins as markers. Add double knots at the ends to secure the shape.
Making and Attaching the Accessories
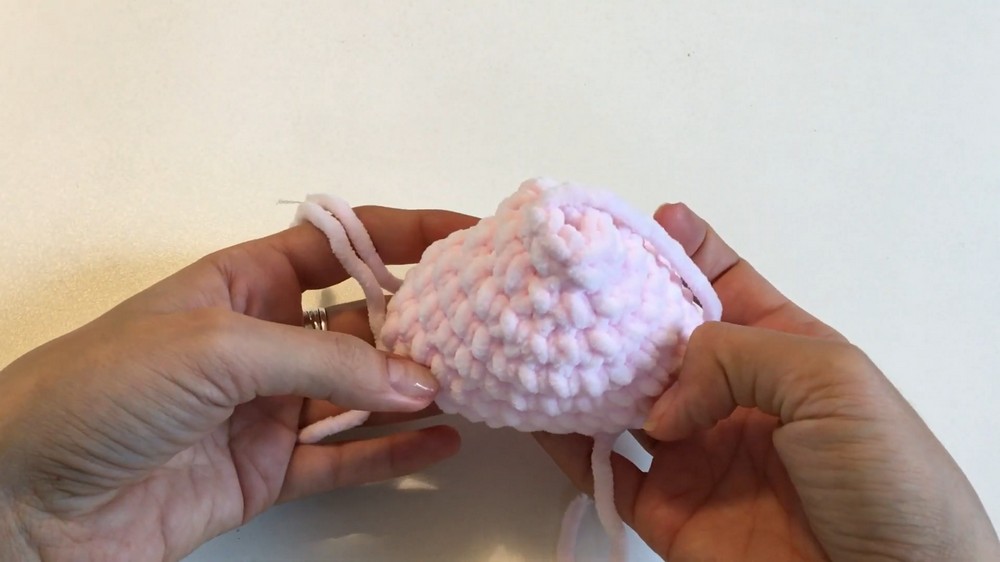
1. Crochet the Hat
- Row 1: Chain 30 and slip stitch to form a circle. Work 30 single crochets in the first row.
- Row 2-3: Continue crocheting 30 single crochets.
- Row 4: Begin decreasing: Crochet 3 SC, 1 decrease, ending with 24 stitches.
- Row 5: Crochet 2 SC, 1 decrease, ending with 18 stitches.
- Row 6: Crochet 1 SC, 1 decrease around, ending with 12 stitches.
- Row 7: Decrease every stitch, ending with 6 stitches, and close the top.
2. Make the Pom-Pom
- Crochet a smaller sphere using a magic circle and basic increases (similar to the snowman’s head/body). Attach it to the top of the hat.
3. Create the Scarf
- Row 1: Chain 41. Skip the first chain and crochet 40 single crochets across.
- To straighten the scarf if it curls, wet it, place it under heavy weight (like a book), and let it dry overnight.
4. Attach the Hat and Scarf
- Sew the hat securely to the snowman’s head, with the pom-pom stitched in place.
- Wrap the scarf around the neck and secure with a simple knot.
Tutor’s Suggestions
- Work Loosely with Sensitive Yarn: If your yarn is delicate, don’t pull too tightly, as it may cause the fibers to snag.
- Use Pins for Guiding the Smile: To achieve a neat curve for the smile, mark the path with pins before stitching.
- Adjust for Customization: Vary the size of the snowman or experiment with different color schemes for accessories to personalize the project.
Tip
Before stuffing the snowman’s head and body, fluff the stuffing material to make it more pliable, ensuring the shape remains smooth without bumps or uneven areas.
Conclusion
This crochet snowman project is a fun and rewarding way to create a handmade holiday decoration or a thoughtful gift. From the tiny details like the facial features and pom-pom to larger elements like the perfectly shaped body, every aspect of the snowman can be personalized to reflect your creativity. With detailed steps and helpful tips, this guide ensures your snowman will turn out both adorable and professional-looking.