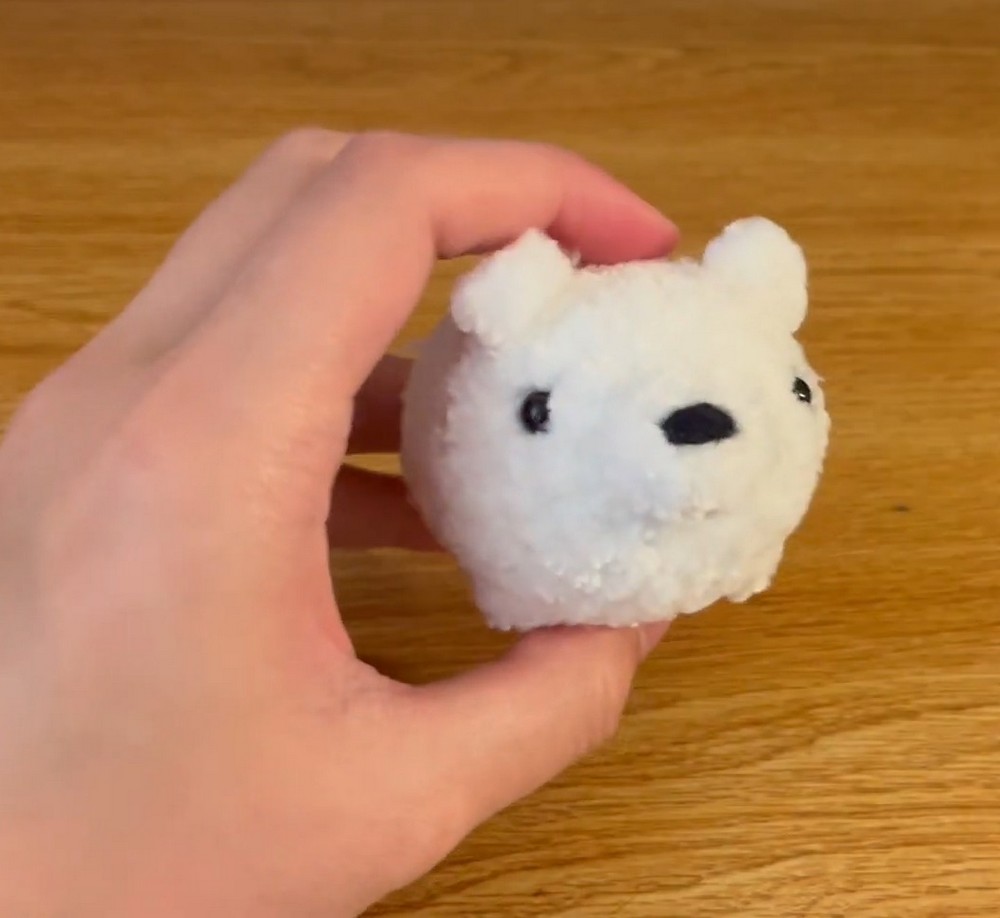
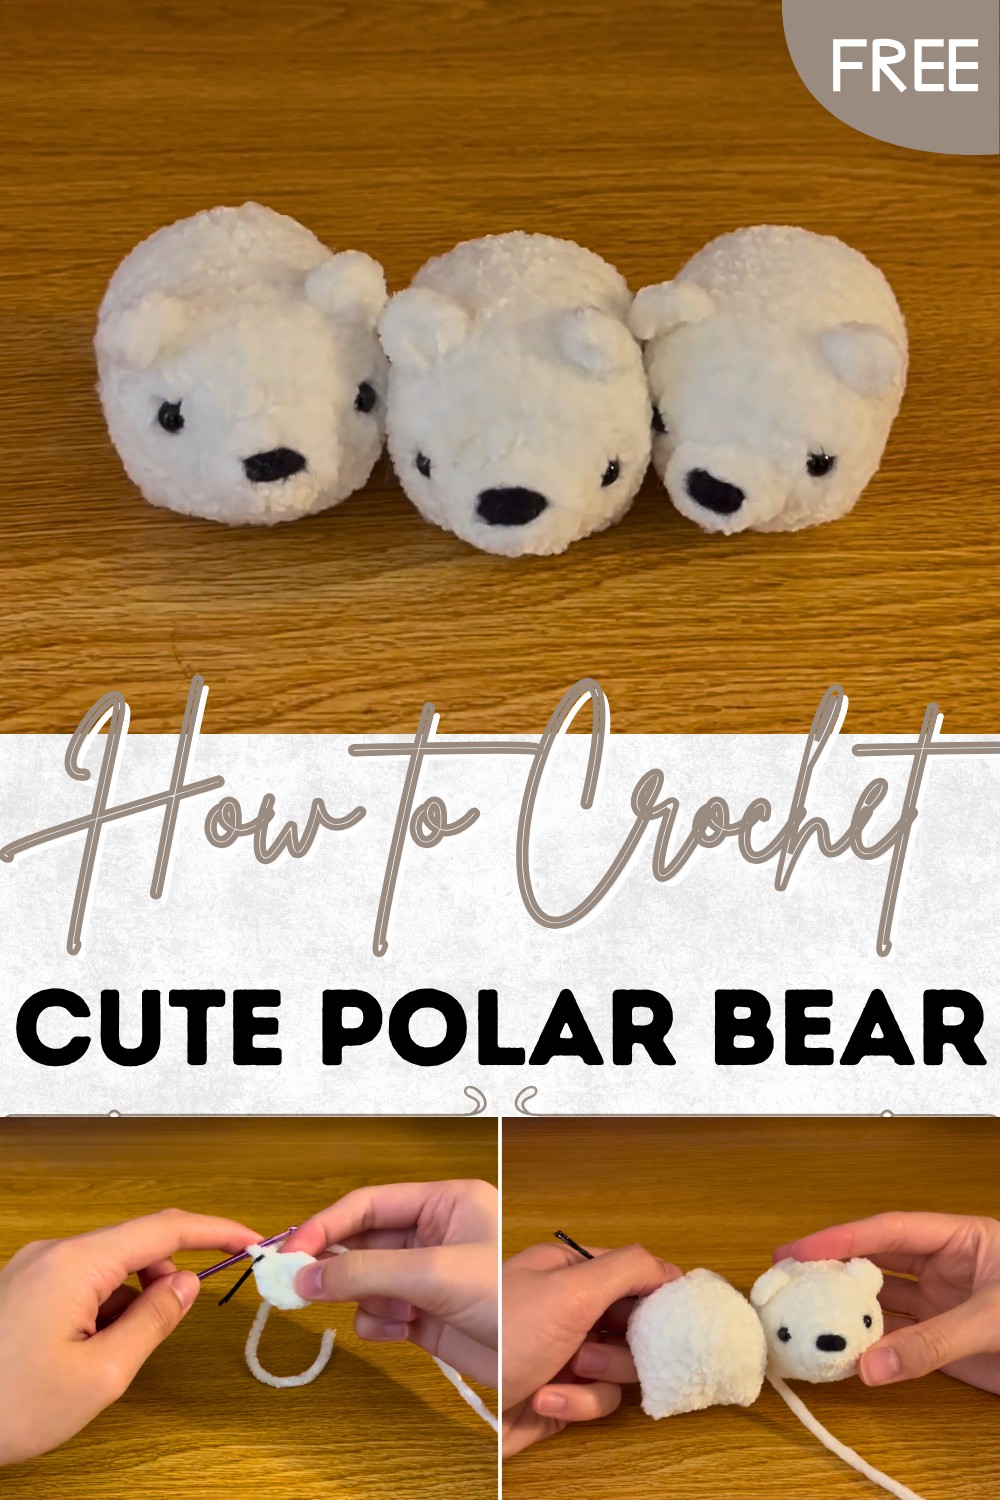
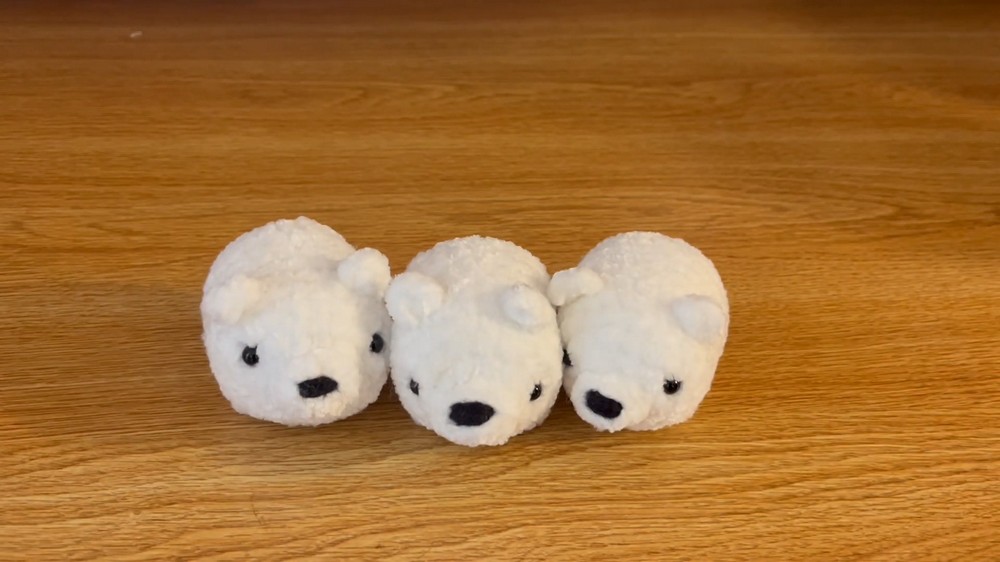
Irresistible Crochet Polar Bear Pattern to Delight Kids
Capture cozy Arctic charm with the Free Crochet Polar Bear Pattern, a delightful project perfect for gifts, décor, or wintertime comfort.
On icy northern shores where the aurora shimmers across a quiet sky, the polar bear stands as a symbol of strength and gentle grace. Inspired by this remarkable creature, a charming crochet project captures both its soft appearance and calm presence. This piece offers more than visual delight; it becomes a thoughtful gift, a winter companion for a child’s room, or a peaceful accent for seasonal décor.
Delightful Crochet Polar Bear Pattern That’s Fun to make
The process begins with simple foundation rounds that gradually shape into a smooth, sturdy form. Careful increases build a balanced body, while steady stitch work defines the head and limbs. Midway through, small adjustments bring subtle contours, allowing the bear’s face and ears to stand out with character. As the final rows close, the figure feels complete and well proportioned, reflecting patience and steady hands.
Practical advantages accompany its charm. The finished bear serves as a cozy keepsake, a comforting toy, or a cheerful display during frosty months. Its durable texture withstands regular handling, and the timeless look suits both modern and rustic spaces. Working on this project offers quiet focus and a rewarding sense of accomplishment, leaving a lasting token of winter’s serene beauty and the enduring spirit of the Arctic’s most majestic animal.
Materials Needed
To create the polar bear, you will need:
- Fluffy yarn (weight 4 recommended)
- 3mm crochet hook
- Stuffing (polyester fiber or equivalent)
- Safety eyes
- Yarn needle
- Stitch markers
Step-by-Step Instructions
1. Body Construction
- Round 1: Make 6 single crochets in a magic ring. Don’t worry if working with fluffy yarn takes multiple attempts.
- Round 2: Increase in every stitch around (12 stitches total).
- Round 3: Single crochet, then increase alternately around.
- Round 4: Single crochet 2 stitches, followed by an increase; repeat around.
- Rounds 5–6: Simply single crochet around without increasing.
2. Adding Feet (Round 7)
- Single crochet the first 9 stitches.
- Create a bobble stitch for the feet:
- Yarn over, insert hook, pull up a loop, yarn over, pull through 2 loops.
- Repeat until there are 6 loops on the hook, then pull through all 6 loops.
- Create two bobble stitches in total for feet placement (10th and 15th stitches).
- Finish by single crocheting between the bobbles.
3. Body Continuation (Rounds 8–10)
- Single crochet around for three rounds.
4. Adding Legs (Round 11)
- Single crochet 10 stitches, make a bobble, single crochet 4, add another bobble, and finish with 8 single crochets.
- Attach safety eyes between the 4th and 5th rounds. Push the bobble stitches outward as you stuff the polar bear.
5. Finish Body (Rounds 12–15)
- Round 12: Single crochet around.
- Round 13: Single crochet 2, decrease alternately around.
- Round 14: Single crochet 1, decrease alternately around.
- Round 15: Decrease all the way around, fasten off, and sew shut. Stuff before sewing completely.
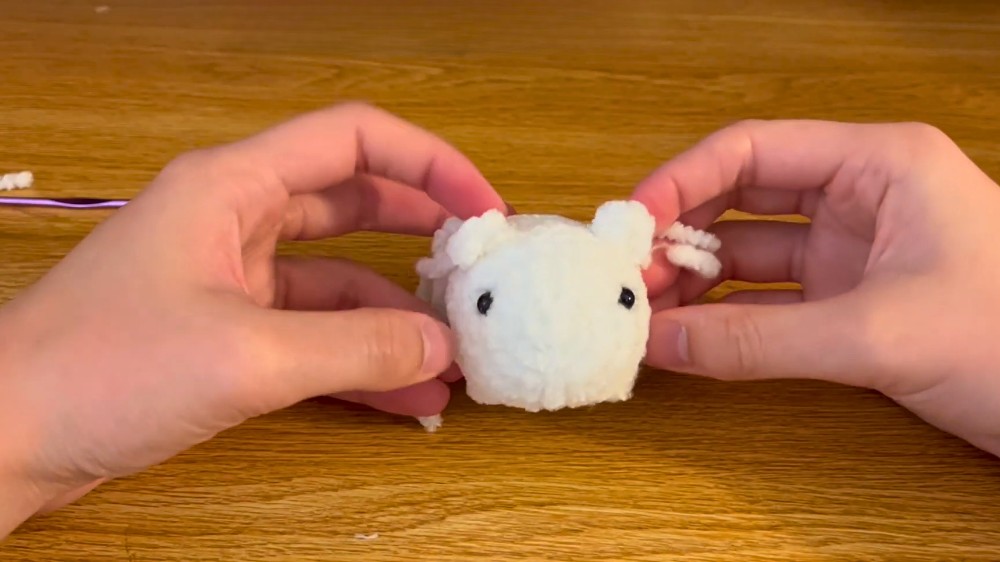
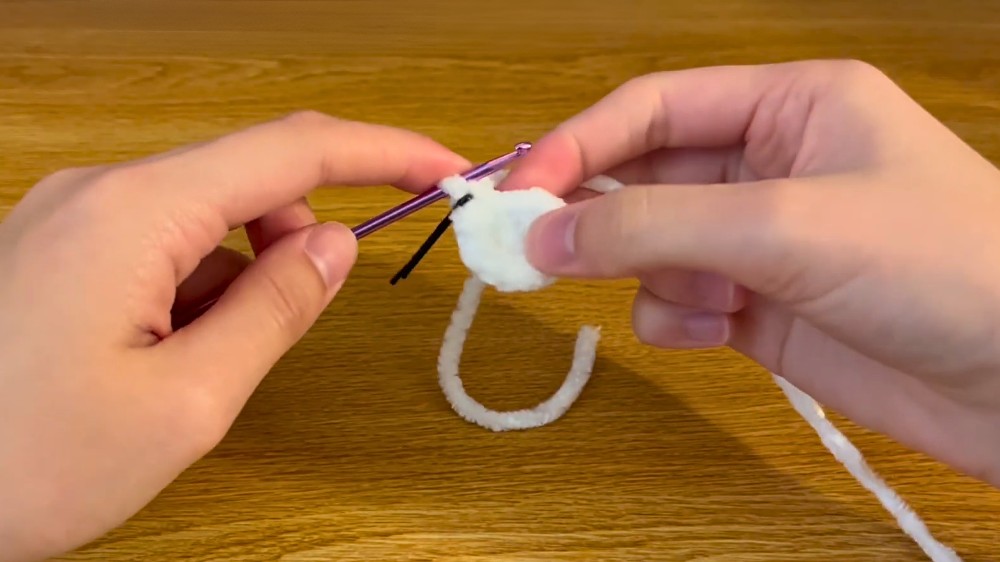
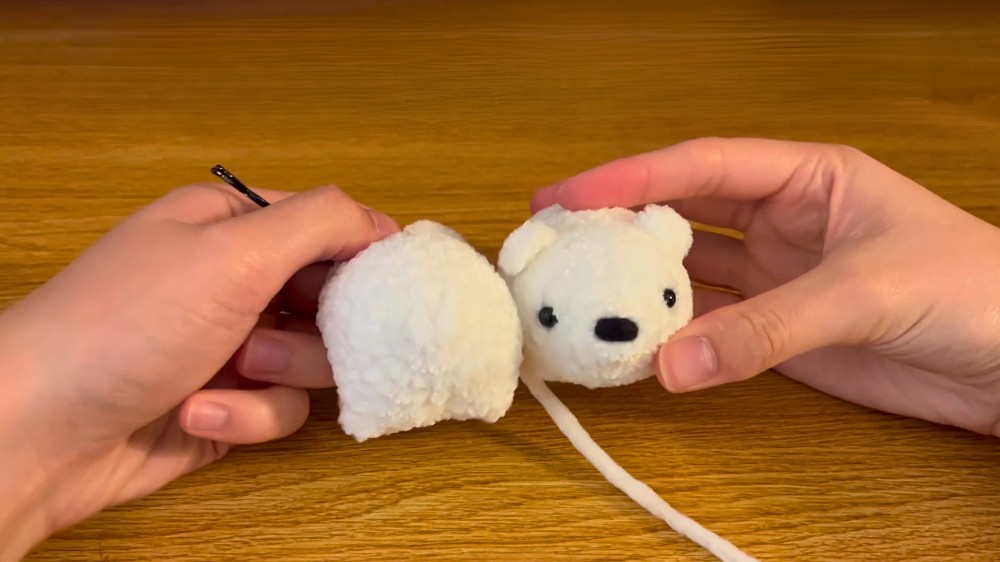
6. Adding Features
Ears
- Make 2 ears.
- Single crochet 4 stitches in a magic ring and fasten off. Leave tails for sewing onto the head above the eyes.
Snout
- Round 1: Single crochet 6 in a magic ring.
- Round 2: Single crochet 3 stitches, then increase twice around.
- Fasten off and sew the snout between the eyes.
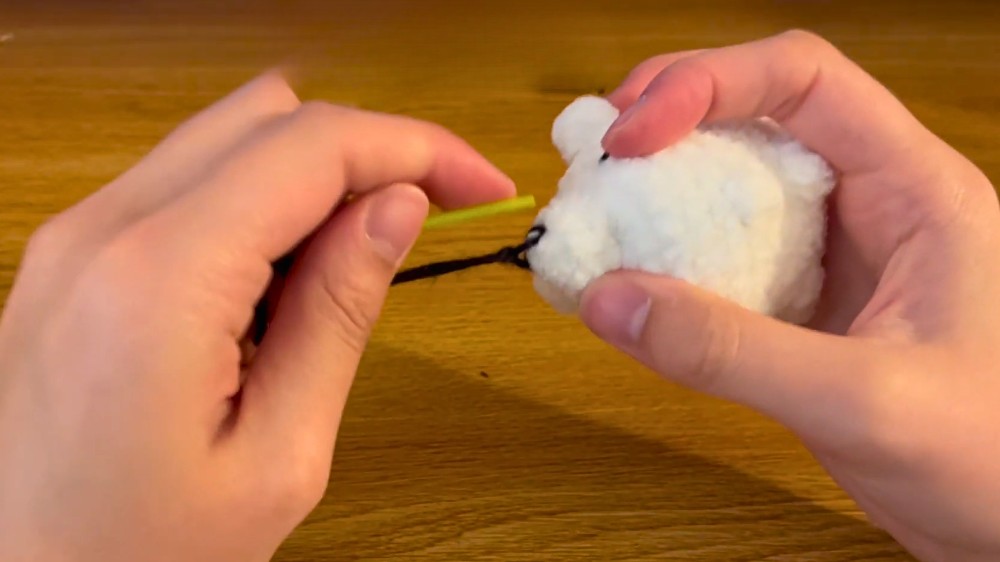
Nose Embroidery
- Embroider a nose onto the snout for the finishing touch.
Special Features
- Bobble Stitch: A unique technique used to create the arms and legs, adding dimension to the polar bear.
- Placement Precision: Specific positions for safety eyes, bobble stitches, and ears ensure the project looks realistic and adorable.
Level of Difficulty
Intermediate:
Although the polar bear involves fundamental crochet techniques, the fluffy yarn and bobble stitch may challenge beginners. However, the tutor explains steps patiently and encourages retrying if needed.
Tutor’s Suggestions
- Fluffy Yarn Tips: Work carefully with fluffy yarn, which can be hard to manage. Separate loops frequently to avoid confusion.
- Use stitch markers to track progress and avoid losing count during rounds.
- Push bobble stitches outward to ensure proper shape alignment.
Uses and Applications
The crocheted polar bear can serve as:
- A cute decor piece for your home.
- A handmade gift for loved ones.
- A fun project to enhance your crochet skills.
Conclusion
At the end of the tutorial, you’ll have a cuddly polar bear crafted with love and attention to detail.
Tip
For extra precision, use contrasting stitch markers to separate sections and ensure consistent work with fluffy yarn. Slow down during bobble stitches and count loops carefully