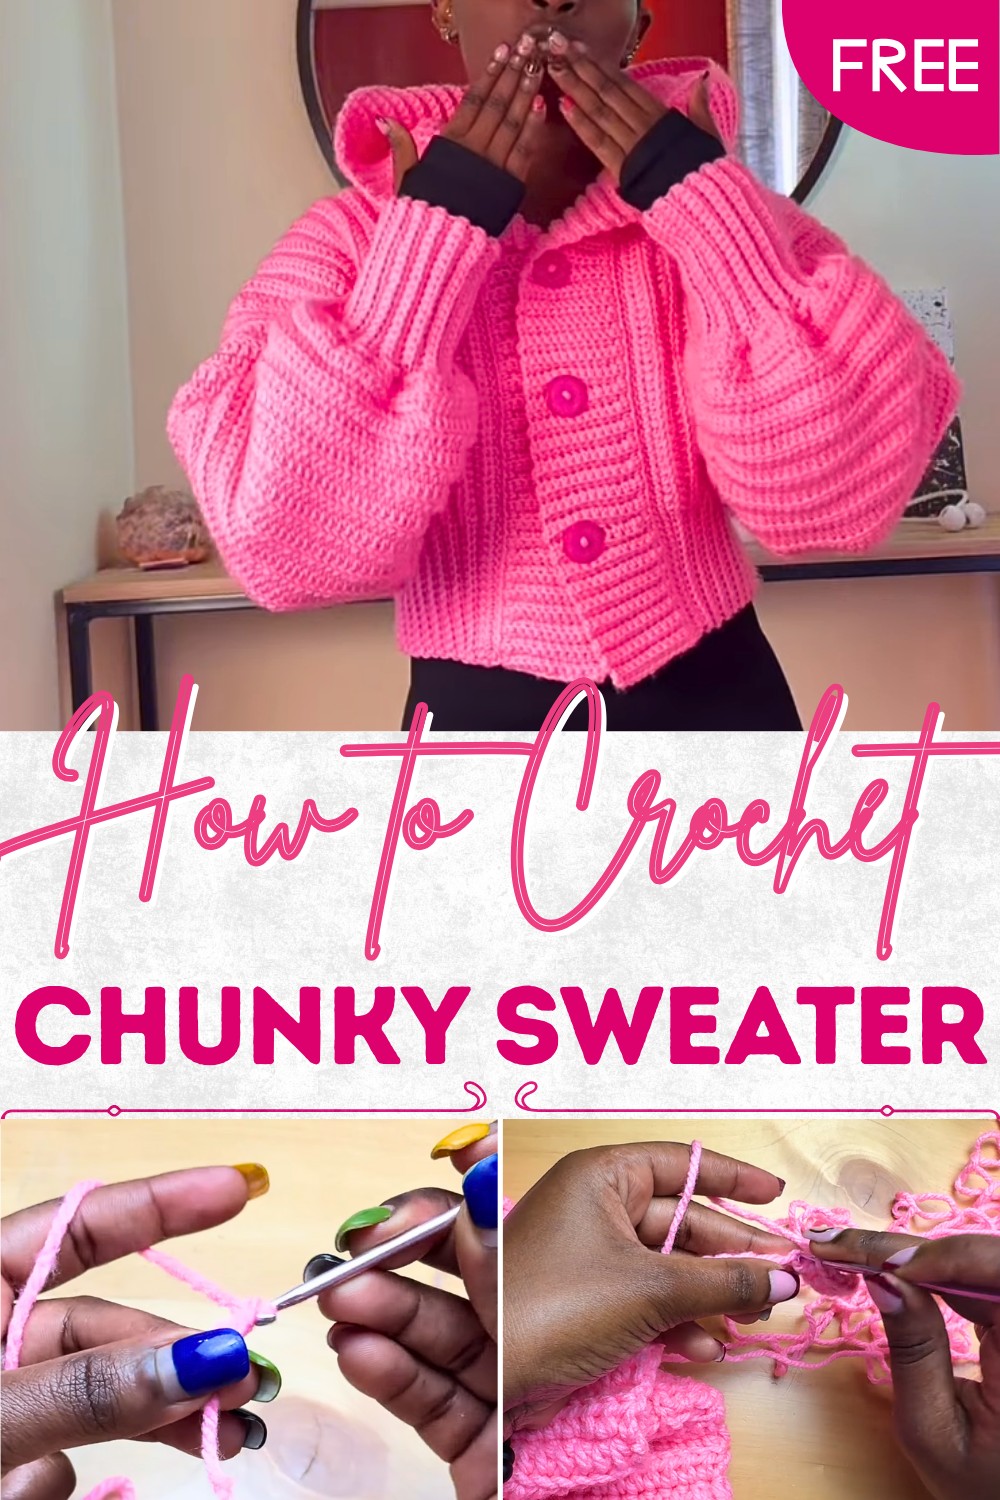
How to Crochet a Chunky Sweater Pattern for Effortless Warmth
Crochet Chunky Sweater Pattern Ideal for Cozy Moments
One of the greatest benefits of this pattern is its ability to showcase your own creativity—choose yarn colors to suit your personality or make thoughtful gifts for loved ones. This project is also a fantastic way to practice foundational crochet stitches, with an emphasis on texture and durability. Whether made for casual outings or simply for relaxing at home on cold days, the finished piece offers a balance of warmth and modern fashion.
With the right materials and basic techniques, this pattern lets you bring thoughtful design into your wardrobe. Its ease of construction makes it suitable for beginners while still offering beautiful results every time. A chunky sweater is not just clothing—it’s a statement of comfort and style.
Materials Needed
- Yarn: Robin 100% acrylic yarn – two packs of Chantry yarn.
- Crochet Hook: 3.5 mm hook.
- Other Supplies: Scissors, tape measure, stitch markers, and a darning needle.
Step-by-Step Instructions
1. Measurements and Start
Begin by measuring vertically from the top of your shoulder to your waist—this determines the cardigan’s length.
2. Back Panel
- Create a slip knot and chain 60 stitches, ensuring the chain measures 16 inches.
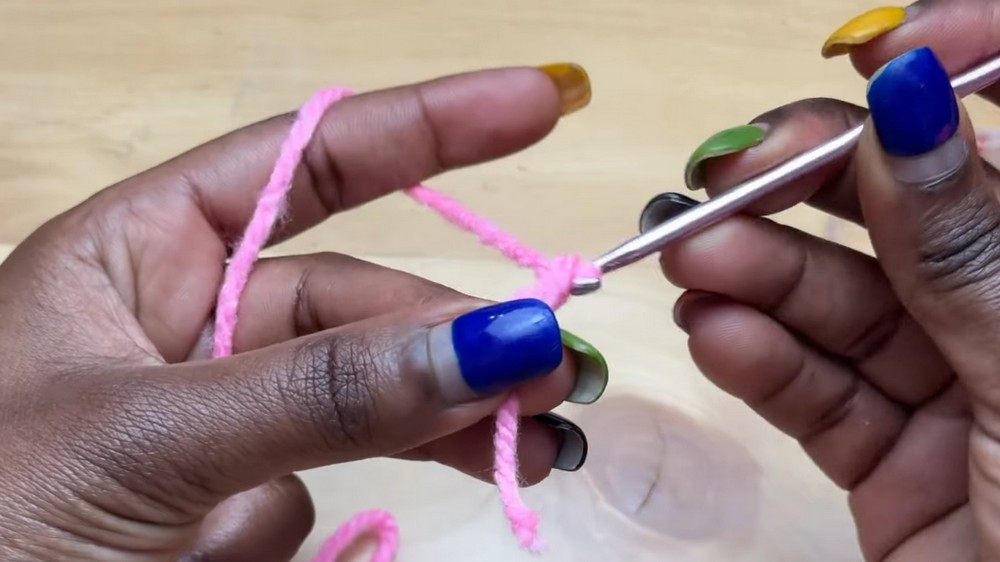
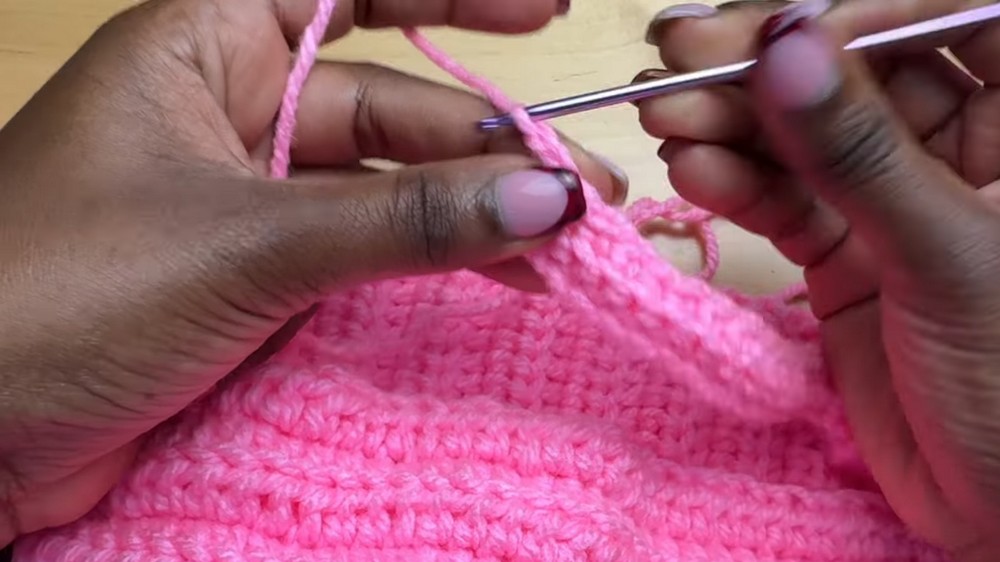
- Start Row 1: Chain 2, and in the 3rd chain from the hook, work half double crochets (HDC) until 16 stitches remain. Switch to single crochet for these remaining stitches. Mark the first single crochet stitch.
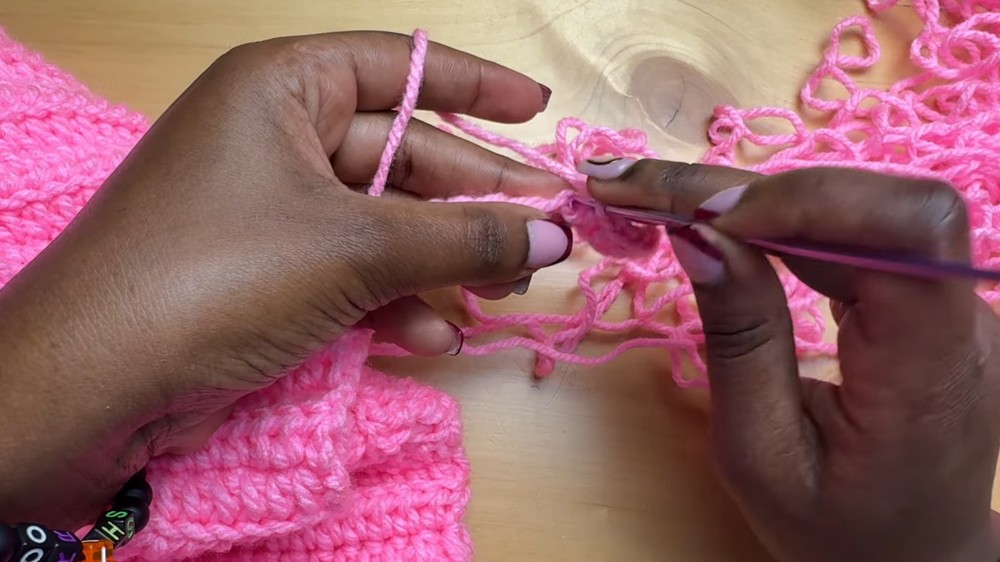
- Row 2: Chain 1 and work single crochet into back loops until the marker, then transition to back loop half double crochets (BLHDC) for the rest of the row.
- Repeat Row 2 until you reach 48 rows and confirm the panel measures 19 inches.
3. Front Panels
Repeat the process for the front panels, but stop at 18 rows for each panel side. After creating two identical front panels, join them to the back panel at the edges using single crochet stitches and leave a six-inch neck opening.
4. Sleeves
- Count 32 stitches from the shoulder seam and mark both ends for sleeve placement.
- Attach yarn at the marker and work HDC in both loops until you reach the shoulder seam. Turn work and repeat using back loop half double crochets.
- Continue working rows until you reach 34 rows.
- For the cuff, chain 18 stitches and create back loop single crochets. Work in rows, decreasing as instructed to form an elegant curve. Attach the cuff to the sleeve with single crochet stitches.
5. Hood
- Measure your head circumference vertically (from crown to shoulder) and chain the number of stitches equivalent to this measurement (e.g., 45 chains = 12 inches).
- Row 1: Work HDC through the chain and continue to repeat this until completing 14 rows.
- Starting at Row 15, chain 2, skip the first stitch, and continue with back loop HDC, marking decrease stitches. Gradually decrease until you complete up to Row 21.
- Make a matching second hood panel and join them with single crochet stitches.
- Attach the hood to the neckline using two single crochets per row, ensuring alignment with the cardigan.
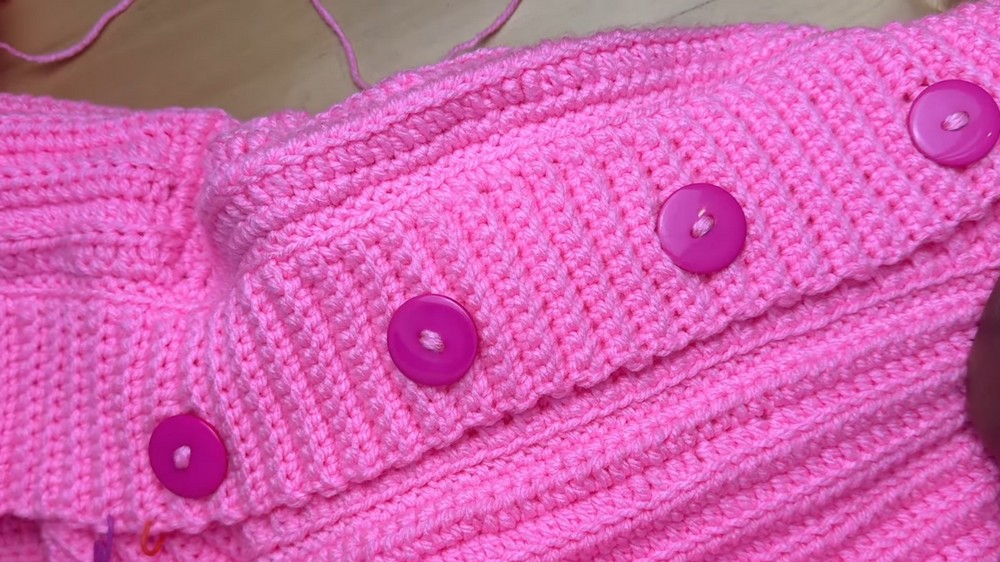
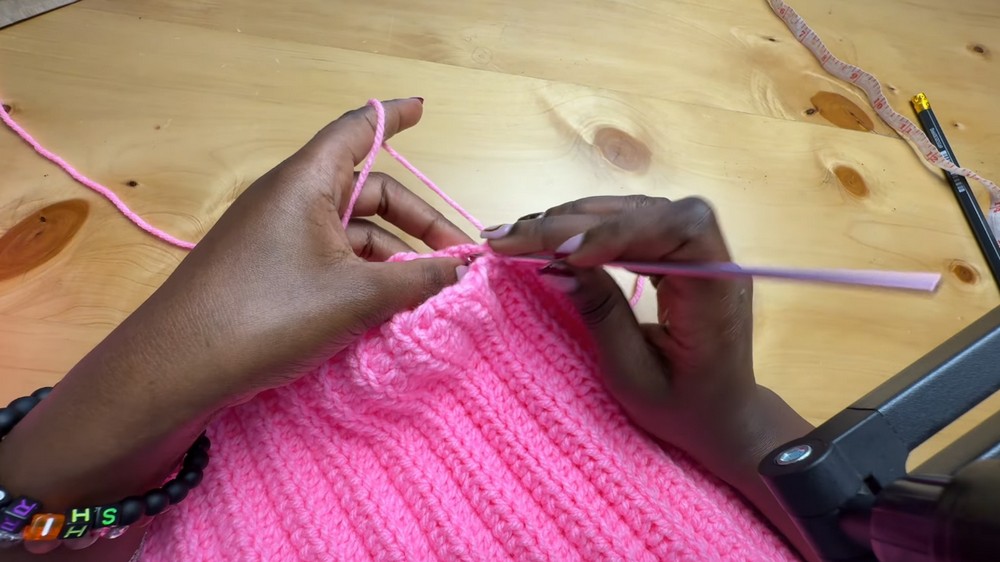
6. Ribbing and Buttonholes
- Ribbing: Chain 12 stitches and work rows of back loop single crochet. Continue for 150+ rows for the cardigan’s edging and add 60 rows for buttonholes spaced evenly.
- Buttonholes: Skip three stitches in the ribbing to leave spaces for buttons and repeat this wherever necessary.
- Attach ribbing to the cardigan using back loops for the ribbing and both loops for the cardigan fabric.
7. Sewing Buttons
Sew buttons using the darning needle, aligning them to the corresponding buttonholes.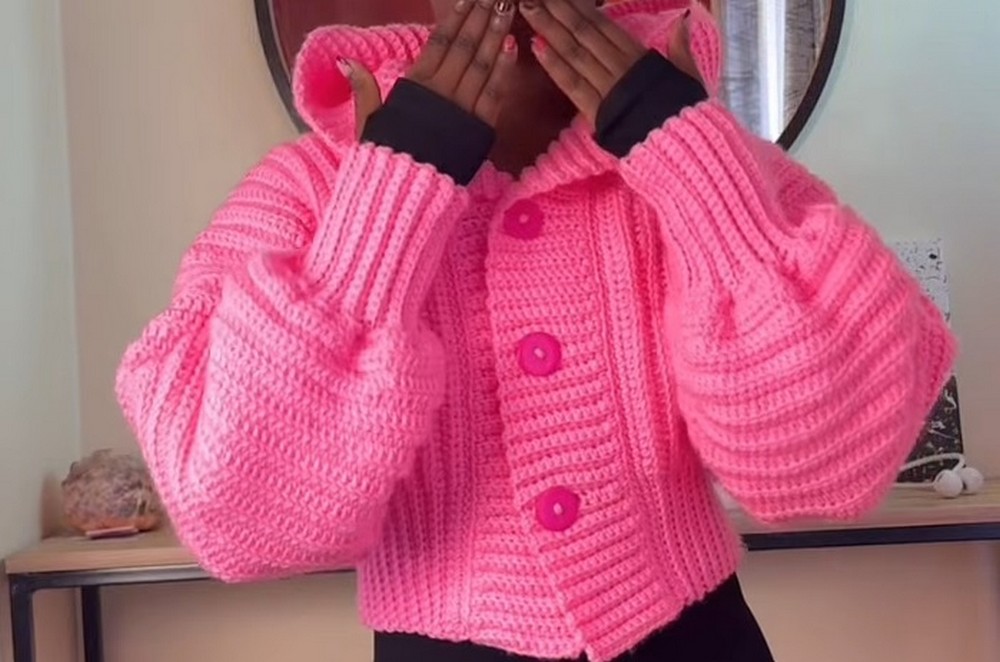
Special Features
- Hooded Design: The hood adds functionality and makes the cardigan perfect for colder weather.
- Cropped Fit: Stylish, trendy, and ideal for layering.
- Ribbed Edging: Back loop stitching creates a textured finish for the cuffs, ribbing, and buttonholes.
- Button Detail: Adds a polished look while ensuring secure closure.
Level of Difficulty
This tutorial is beginner-friendly, requiring basic skills such as half double crochet, single crochet, back loop techniques, and stitch decreases. The tutor provides clear explanations, making the process manageable even for those new to crocheting.
Tutor Tips and Suggestions
- Use Stitch Markers: Always mark decrease points and key stitches to avoid skipping essential areas.
- Maintain Consistency: Ensure even tension throughout your work for a neat finish.
- Check Measurements: Measure each panel and sleeve against your original measurement for accuracy before attaching.
Uses
- Seasonal Wear: Perfect for layering in cooler weather.
- Custom Gift: A thoughtful, handmade gift for loved ones.
- Stylish Casual Outfit: Pair with jeans or a dress for a trendy look.
Crochet Tip
When working on curved areas like cuffs or ribbing, use stitch markers as a guide to avoid missing rows or stitches. Blocking the finished cardigan will enhance shape and structure.
Conclusion
This beginner-friendly hooded chunky sweater is a beautiful and functional addition to any wardrobe. The step-by-step instructions ensure every stitch is meaningful, resulting in a polished garment that combines comfort with style. By adding personal touches, such as different yarn colors or button styles, you can make it uniquely yours.