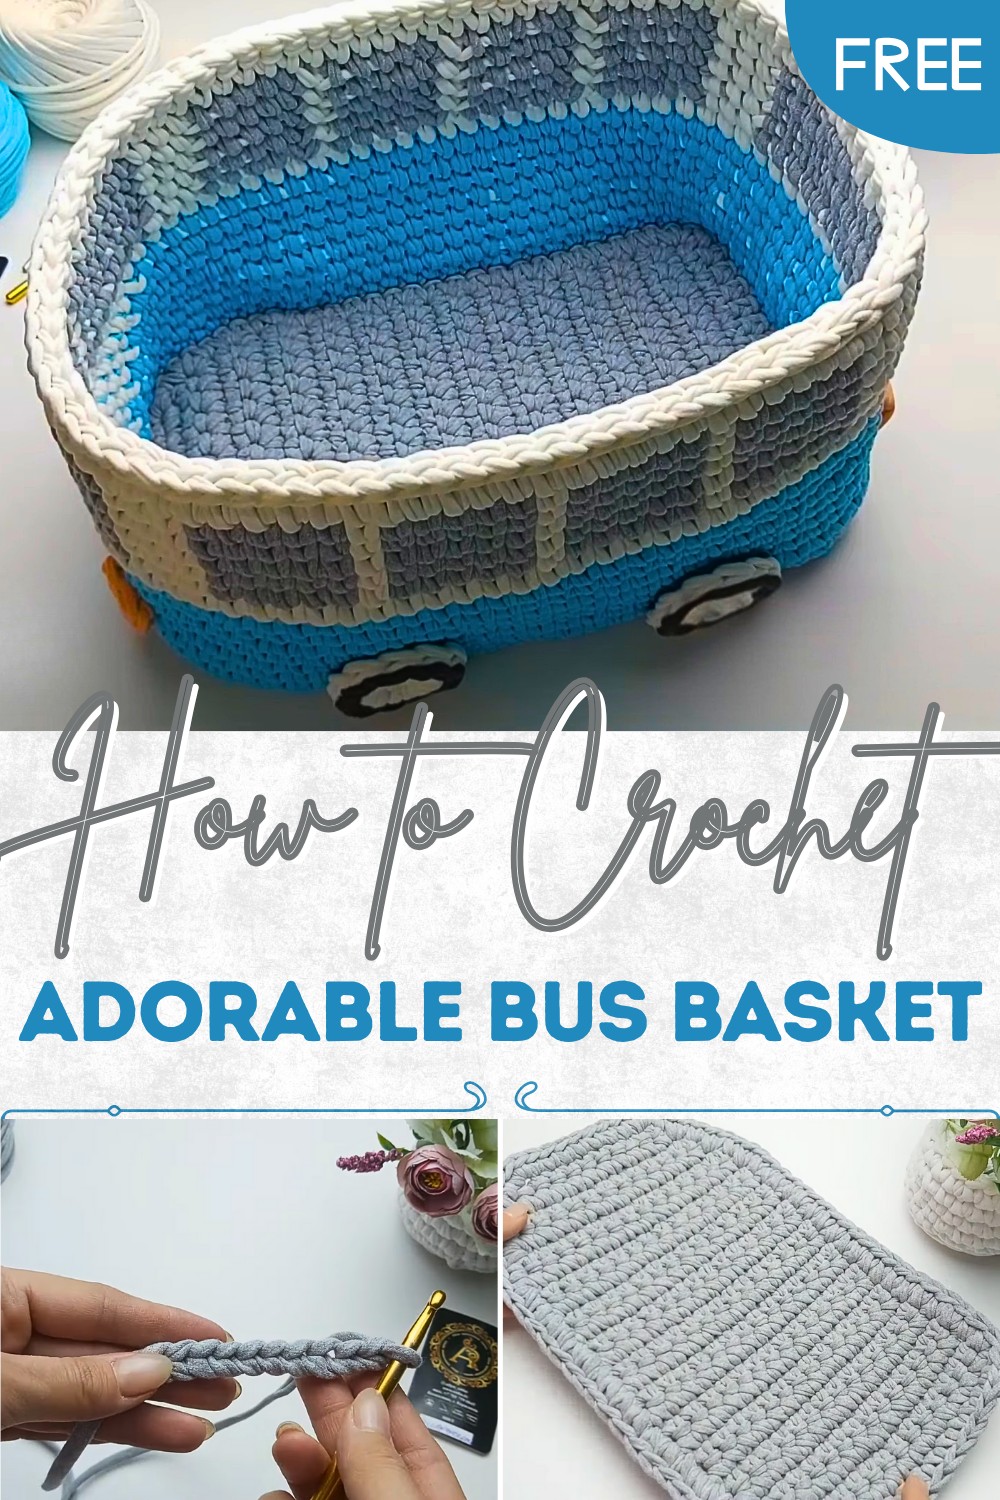
Crochet Bus Basket Pattern That Sparks Creativity and Neatness
Keep things neat with flair using this Free Crochet Bus Basket Pattern—fun, unique, and a cheerful touch to any space.
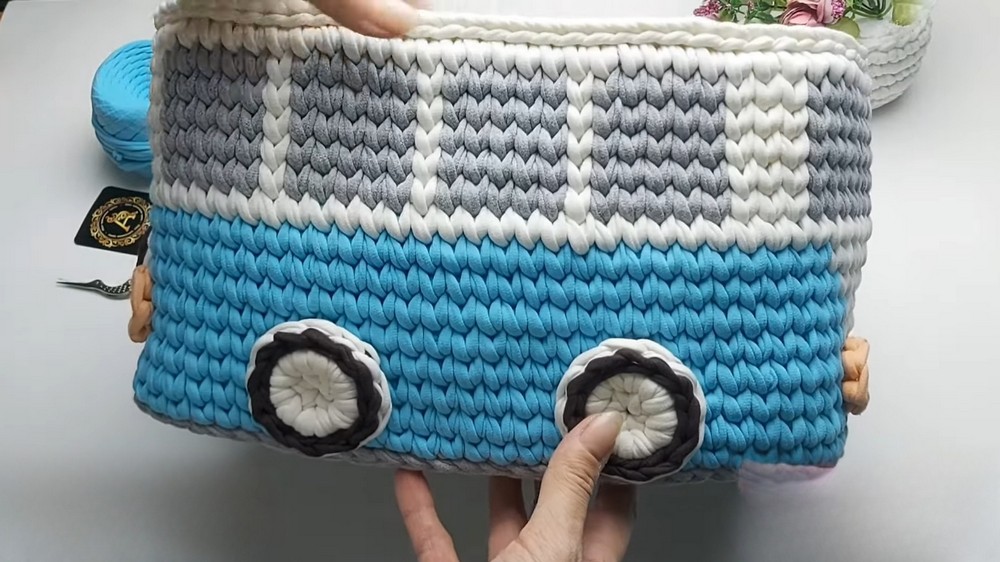
Bring a touch of whimsy and functionality to any space with a cleverly designed crochet bus basket. This unique project goes beyond simple storage by offering a playful addition to home decor, ideal for kids’ rooms or creative corners. Shaped like a cheerful bus, complete with windows, wheels, and headlights, the pattern is perfect for organizing toys, art supplies, or daily essentials. Its lightweight yet sturdy structure makes it practical for use while still being easy to move around.
How to Crochet a Bus Basket Pattern for Colorful and Interactive Decor
For those who love experimenting with colors, this pattern provides room for customization, allowing you to tailor the bus design to match your personal style or complement a specific theme. The step-by-step pattern is simple to follow yet offers room for creativity through decorative details, making it suitable for crocheters seeking a fun challenge.
Not only does the pattern encourage organization in playful ways, but it also works wonderfully as a thoughtful, handmade gift for loved ones. Using durable t-shirt yarn ensures longevity, and its eco-friendly nature adds bonus sustainability points to the project. With both visual charm and practical benefits, this crochet pattern effortlessly combines utility and artistic design into something that brightens its surroundings while keeping them tidy.
Materials Required
- T-shirt yarn: Colors include grey, blue, white, peach/orange, dark chocolate, and milk (stretch each skein for uniform texture).
- Crochet hooks: Size 6 mm and 4 mm.
- Sewing hook: For securing and finishing stitches.
- Needle and thread: For attaching wheels and headlights.
- Other tools: Scissors for cutting yarn, a stitch marker (optional).

Special Features
- Adorable Design: Shaped like a bus, including colorful windows, wheels, and headlights.
- Durable Structure: Made with t-shirt yarn, providing sturdiness and flexibility.
- Customizable Colors: Use multiple shades to bring vibrancy and uniqueness to the design.
- Practical and Playful: Functions as a storage basket while doubling as a decorative piece for kids’ rooms or craft spaces.
- Detailed Windows and Wheels: Includes intricate patterns for a life-like bus appearance.
Step-by-Step Instructions
1. Crocheting the Basket Base
- Prepare the Yarn: Stretch a t-shirt yarn by about 2-3 meters before starting. Leave a 5 cm yarn tip.
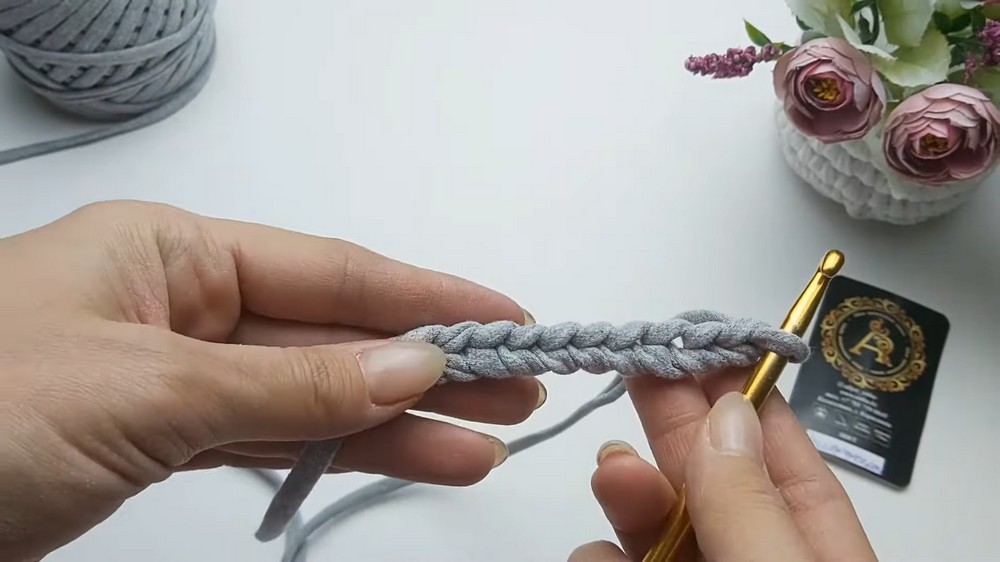
- Create the Chain: Cast 10 air loops. Turn the chain over and work on the opposite side.
- Row 1: Skip the first stitch, work an increase of two single crochet (SC) into the base. Then, continue with 7 single crochets (SC) in the back half of the chain, making it uniform. Add one more increase in the last stitch, then finish with an air loop.
- Row 2-26: Crochet as follows:
- Row 2: 11 SC (no increases).
- Row 3: Make increases at the start and end of the row, with 9 SC in between.
- Row 4-5: Alternate rounds with increases and rounds without increases.
- Rows 6-26: Crochet 20 straight rounds without increases, doing 15 SC per round. Begin decreases in the final row (Row 26). Decrease the first and last stitches, continuing with 11 SC in between.
2. Crocheting Around the Base
- Work 19 single crochets (SC) into the spaces between previous rows.
- Strategically place periodic increases by crocheting 2 SC in one base stitch. Repeat this for the other side of the basket bottom.
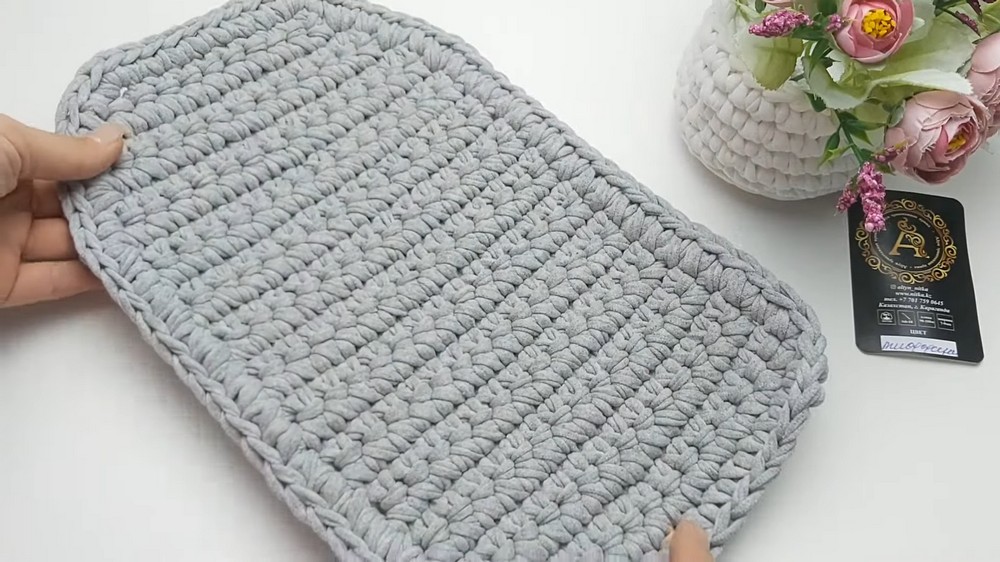
- Close the round by hiding the yarn tips within the stitches for a clean look. This completes the basket base measuring 33 x 22 cm.
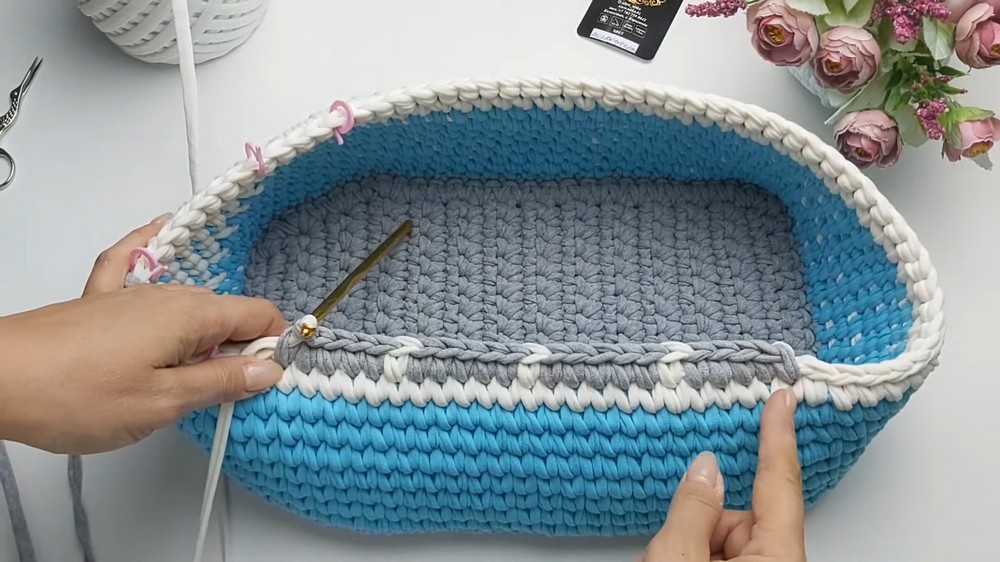
3. Building the Basket Walls
- Turn the base upside down and crochet 84 slip stitches around the perimeter.
- Begin working from a corner with a new yarn color (Tiffany blue). Crochet 83 single crochets (SC) evenly for the first round, hiding the yarn tip.
- Mark the middle stitches of the front of the bus design. Work single crochet stitches in blue for the majority, using white yarn to create a V-shaped pattern for the design at the front.
4. Adding Windows
- In Round 10, count and mark the stitches for the bus windows:
- Front window: 7 stitches (white stripe in the middle).
- Side windows: 23 stitches in blocks of 5 (grey color) separated by white stitches.
- Crochet 4 rounds following this window pattern, alternating between grey and white yarn. Finish by working one full round with only white yarn.
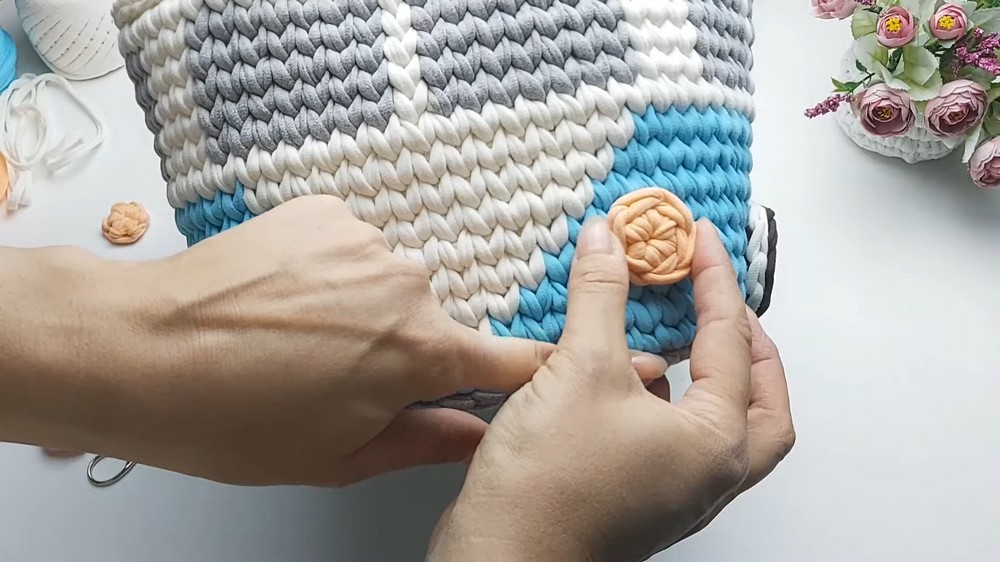
Making the Wheels and Headlights
Wheels (5 Pieces)
- Use an amigurumi ring to begin. Crochet 5 SC into the ring.
- In the second round, work increases by crocheting 2 single crochets in each base stitch.
- Add slip stitches with black or dark chocolate yarn to outline the wheel edges.
- Repeat the above process until you have 5 wheels ready.
Headlights (4 Pieces)
- Make an amigurumi ring and crochet 5 SC into it.
- Secure the yarn ends and hide them within the stitches.
- Complete 4 headlights using the same technique.
Attaching Details
- Use a thread and a needle to sew wheels on both sides of the basket. Attach evenly to maintain symmetry.
- Place the headlights on the front and back of the bus. Leave extra rows at the bottom for proper placement.
- Sew securely by inserting the needle under the stitches, ensuring nothing falls when in use.
Tutor’s Suggestions
- Yarn Tips: Stretch the t-shirt yarn frequently to avoid uneven tension and prevent tangling.
- Clean Finish: Always hide the yarn tips securely within stitches to ensure the basket looks professional and lasts longer.
- Windows and Patterns: Pay close attention to stitch counts when crafting intricate designs like the windows or the white V-mark to keep it precise and symmetrical.
- Handle Wheels with Care: Attach wheels and headlights securely to the basket to withstand usage.
Level of Difficulty
This project is Intermediate-Advanced due to the inclusion of detailed designs like windows, wheels, and headlights. While the basic basket structure is beginner-friendly, the intricate design work (color changes and shaping) requires patience and attention to detail.
Uses
- Storage Basket: Perfect for organizing toys, craft supplies, or small accessories.
- Room Decor: Adds a playful and vibrant element to kids’ rooms or creative spaces.
- Gift Idea: A charming handmade project to gift someone special.
Tip
When working on color changes (like windows or headlights), always carry the unused yarn neatly at the back of the stitches. Stretch it slightly every few stitches to prevent slack or loose tension.
Conclusion
The crochet bus basket pattern is a creative and functional project that combines fun design elements with practical storage solutions. With detailed instructions and vibrant colors, this pattern is a fantastic way to showcase your crochet skills while adding personality to your space. Its intricate pattern and adorable details, like wheels and headlights, make it stand out as a decorative and useful handmade item.