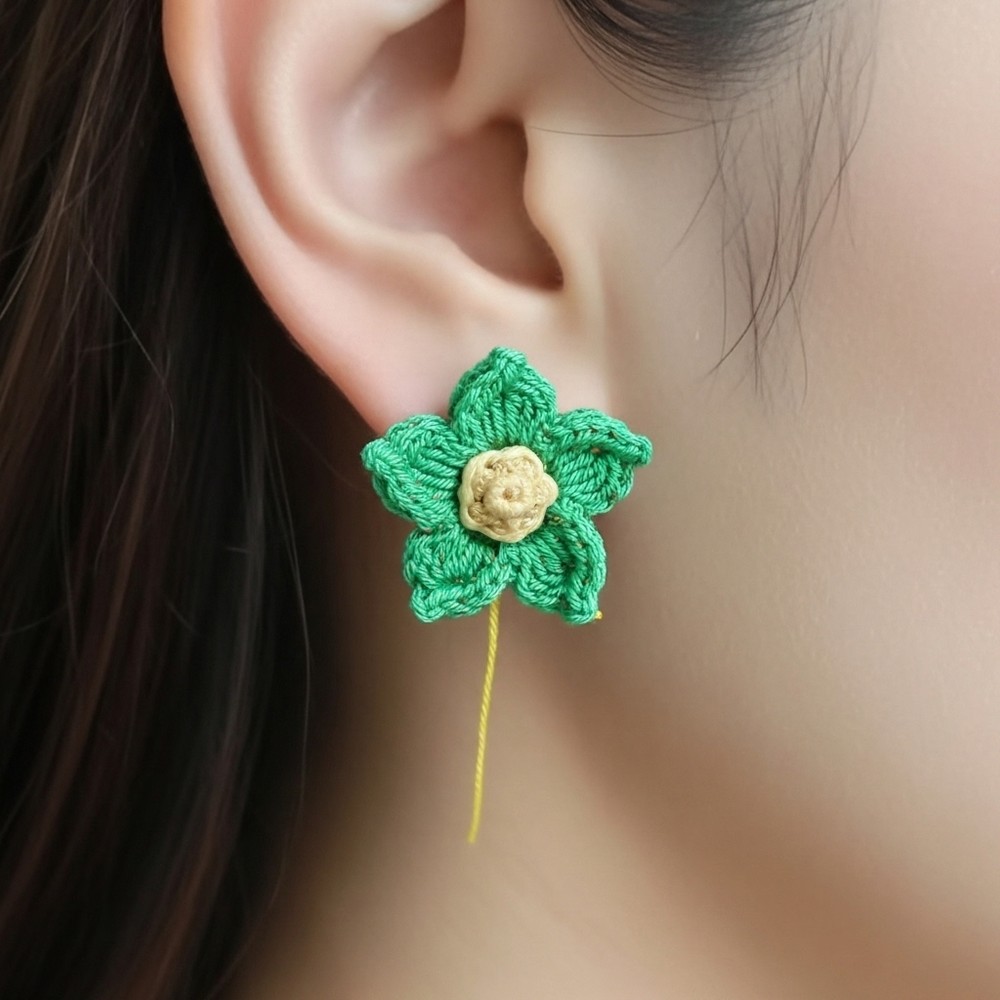
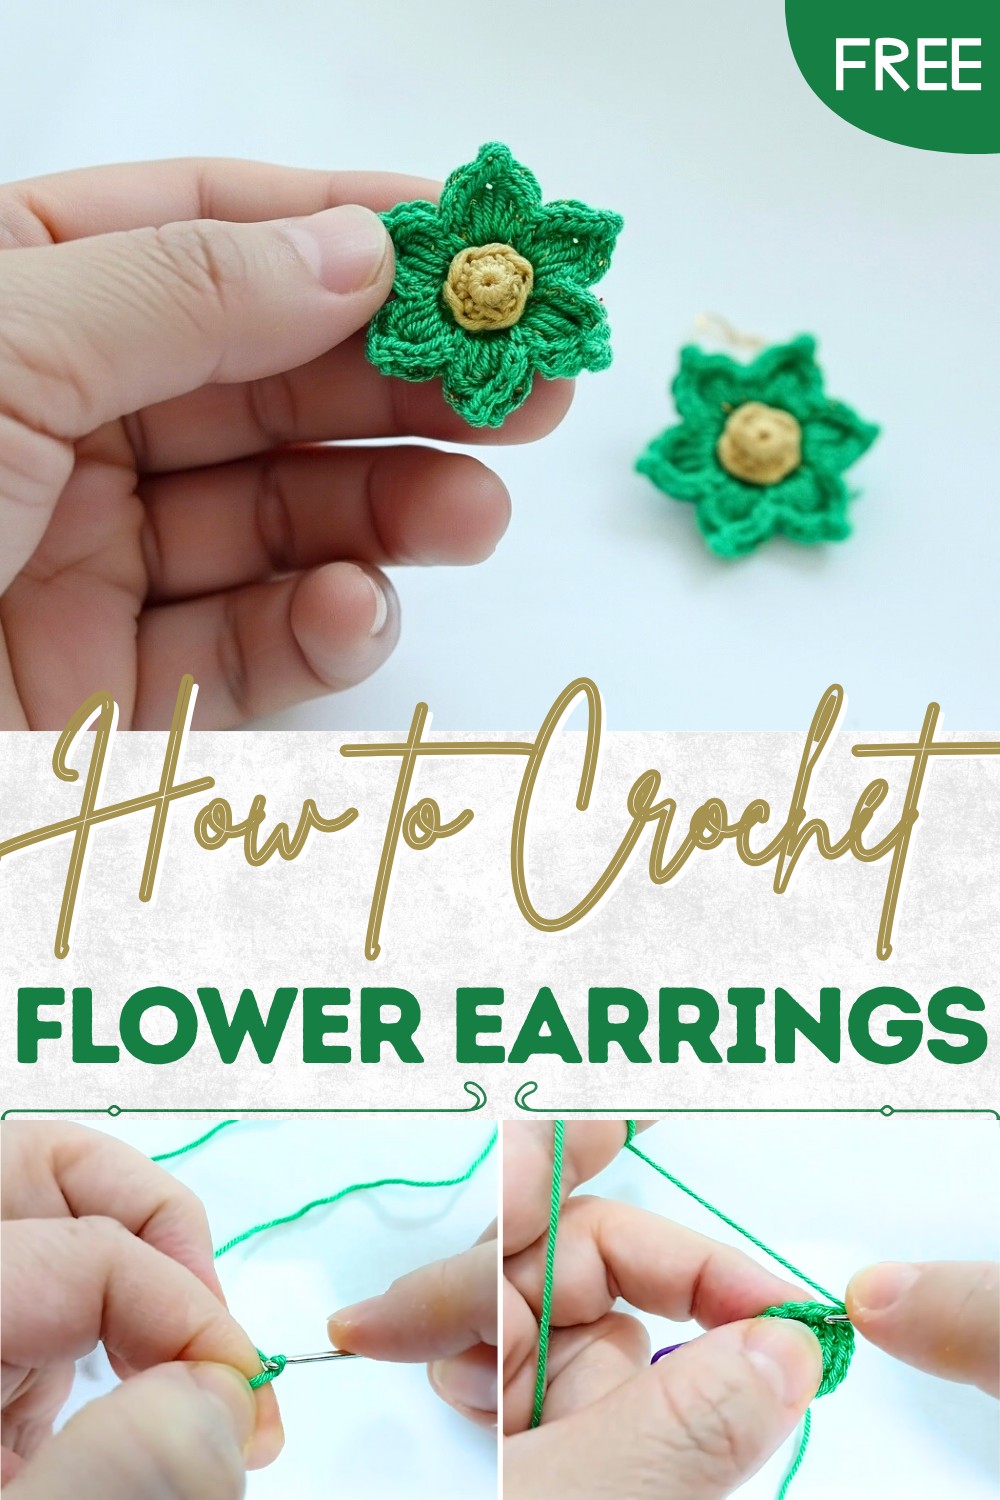
Handmade Crochet Flower Earrings Pattern for a Trendy Touch
A Beginner’s Guide to Crochet Flower Earrings for a Glamorous Look
You can customize the colors, yarn textures, and bead styles to match your preferences, ensuring every pair feels truly unique. Additionally, they make thoughtful handmade gifts for friends, family, or even as part of a small business enterprise. With only a crochet hook, fine yarn, and a few beads, you can produce stunning results in a short time.
Perfect as an affordable and stylish alternative to store-bought jewelry, the benefits extend beyond aesthetics—they foster creativity, relaxation, and a sense of accomplishment. Adding these delicate earrings to your accessory lineup brings both charm and functionality to your wardrobe.
Materials Needed
- Fine yarn of your preferred color.
- 1.5 mm crochet hook (as suggested in the video).
- Beads for the flower center (plastic, wooden, or handmade crochet beads).
- Markers for marking specific loop stitches.
- Scissors to trim any excess yarn.
- Glue or sewing needle (optional, for attaching the bead securely).
Special Features
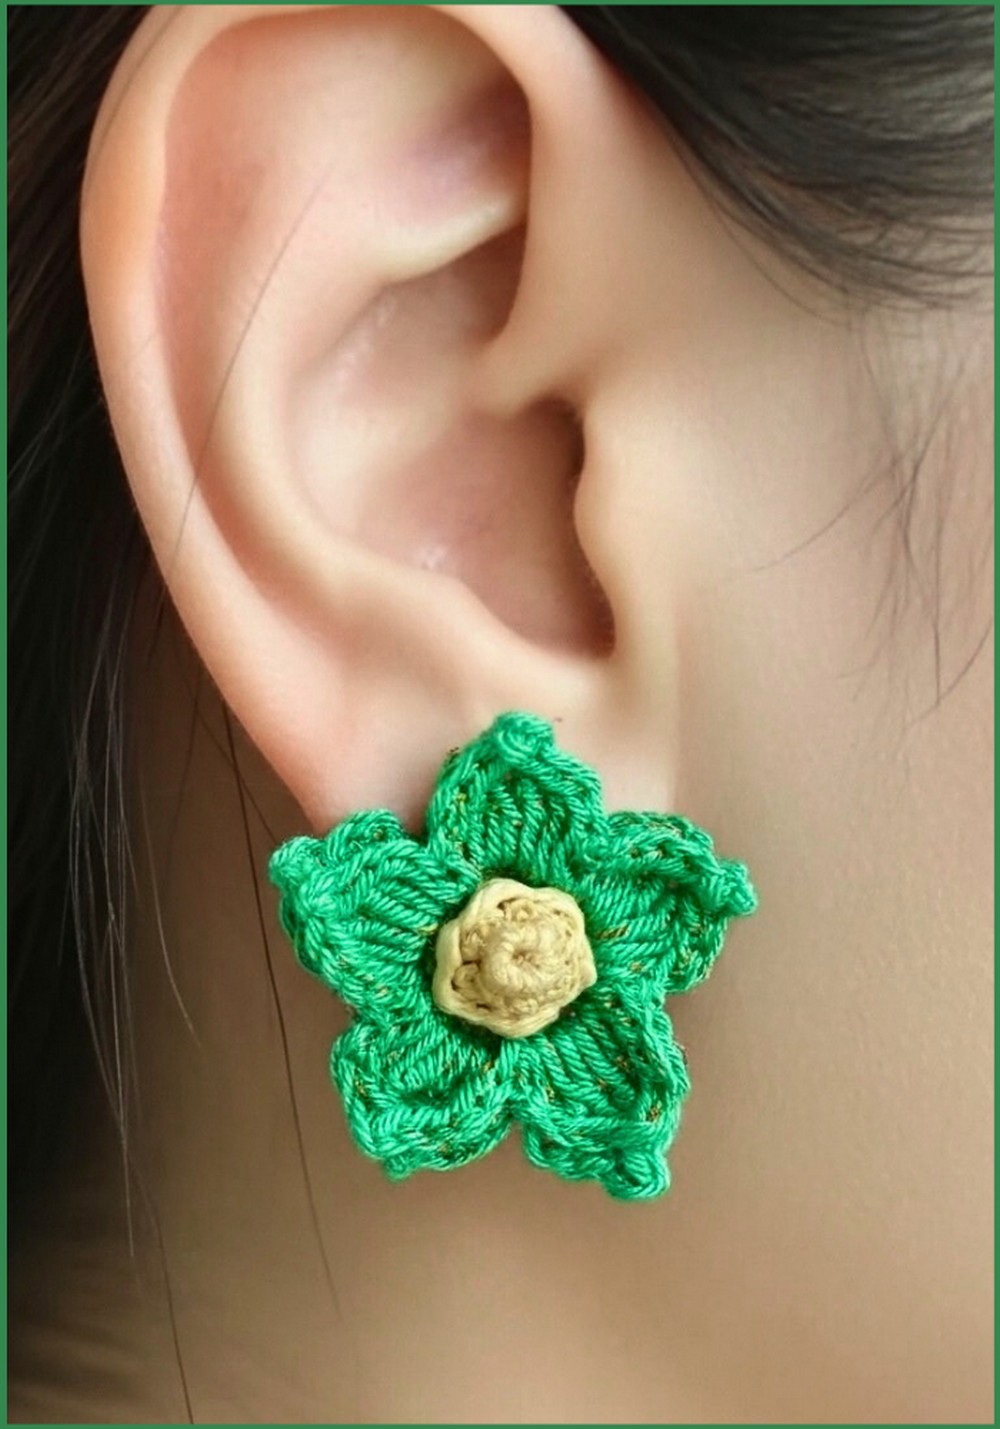
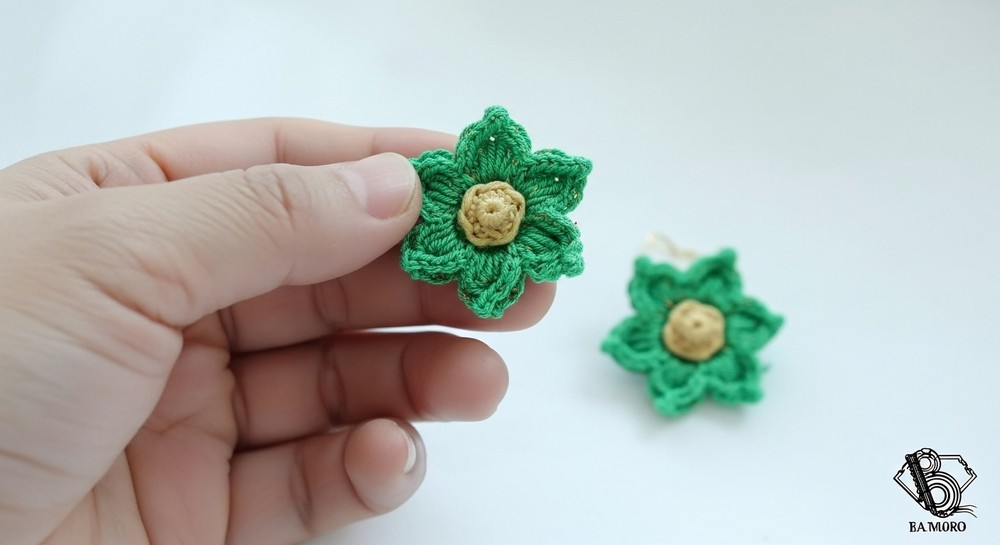
- Unique Floral Design: The earrings feature delicate crochet flowers with layered petals and a bead center, which makes them an eye-catching accessory.
- Customizable: You can use your preferred color yarn and experiment with bead choices (wooden, plastic, or even handmade crochet beads).
- Uses Basic Crochet Techniques: The tutorial is beginner-friendly but involves some techniques like using a magic ring, single crochet, and triple crochet for added detail.
Level of Difficulty
Beginner to Intermediate
The pattern is straightforward, but there are parts (like marking loops and designing detailed petals) that require precision and familiarity with common crochet stitches. With patience and practice, even beginners can follow along successfully.
Step-by-Step Instructions
Step 1: Start with a Magic Ring
- Create one magic ring to begin the project.
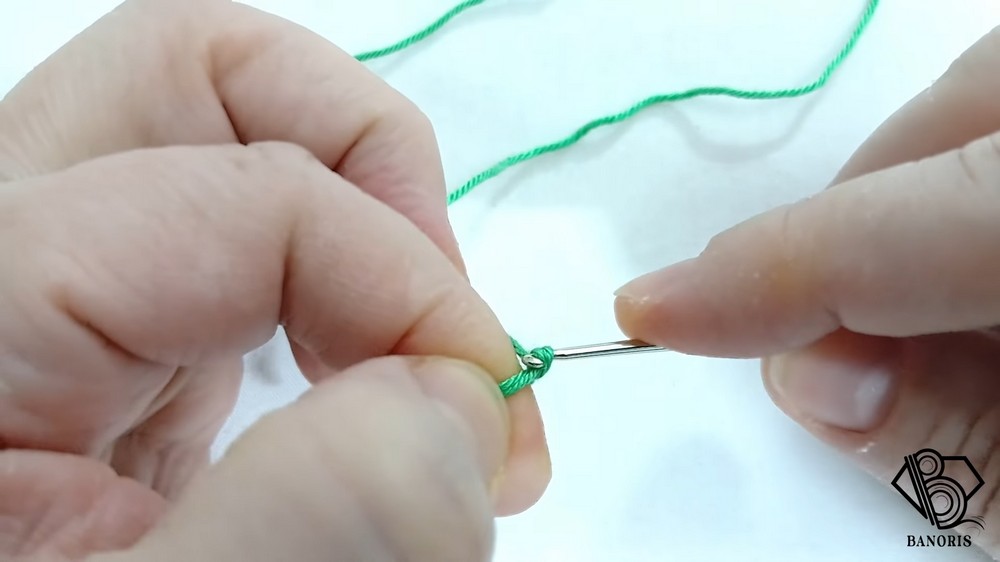
- Crochet 6 single stitches into the ring.
- Use one slip stitch to close the ring.
2: Create the Base
- Chain 1 stitch in the first stitch.
- Crochet 2 single stitches in each stitch of the ring.
- Use one slip stitch to close the completed ring.
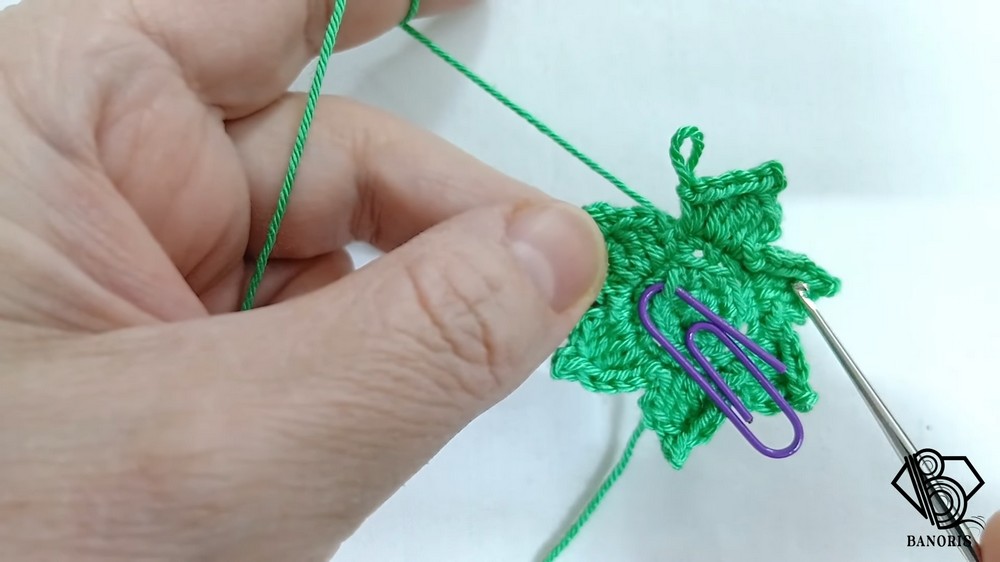
Step 3: Mark Important Loops
- In the front loop of the first stitch, place a marker to locate it later.
- Work with the back loop of the first stitch to make 1 single crochet.
- In the back loop of the second stitch, crochet 2 single stitches.
- Alternate between 1 single crochet and 2 single crochet stitches for the rest of the row. Finish with a slip stitch to close.
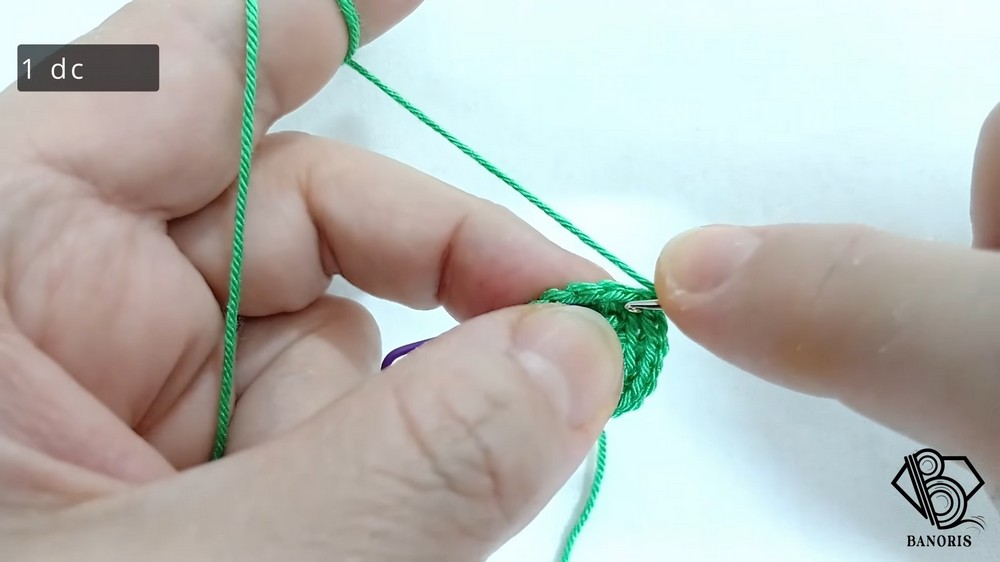
4: Create the First Row of Petals
- Start with 2 chains in the next stitch. Crochet 1 double crochet.
- In the second stitch, crochet 1 triple crochet, then chain 2 stitches and close with a slip stitch to form a picot.
- Add another triple crochet in this stitch.
- In the third stitch, crochet 1 double crochet, chain 2 stitches, and close with a slip stitch.
- This forms 1 petal. Repeat the same process until you have 6 petals.
- Close this row with one slip stitch.
5: Create the Second Layer of Petals
- Locate the stitch you marked earlier in the first row using the marker.
- Slip stitch into this marked loop.
- Repeat the same process as Step 4 to create 4 additional petals in this new layer.
6: Add the Flower Center
- Choose a bead for the center (wooden, plastic, or crochet bead).
- To crochet the bead center:
- Start with a magic ring.
- Crochet 6 single stitches into the ring.
- Use 1 slip stitch and 1 chain to complete.
- Crochet 1 single stitch into each stitch of the ring and close the loop with a slip stitch.
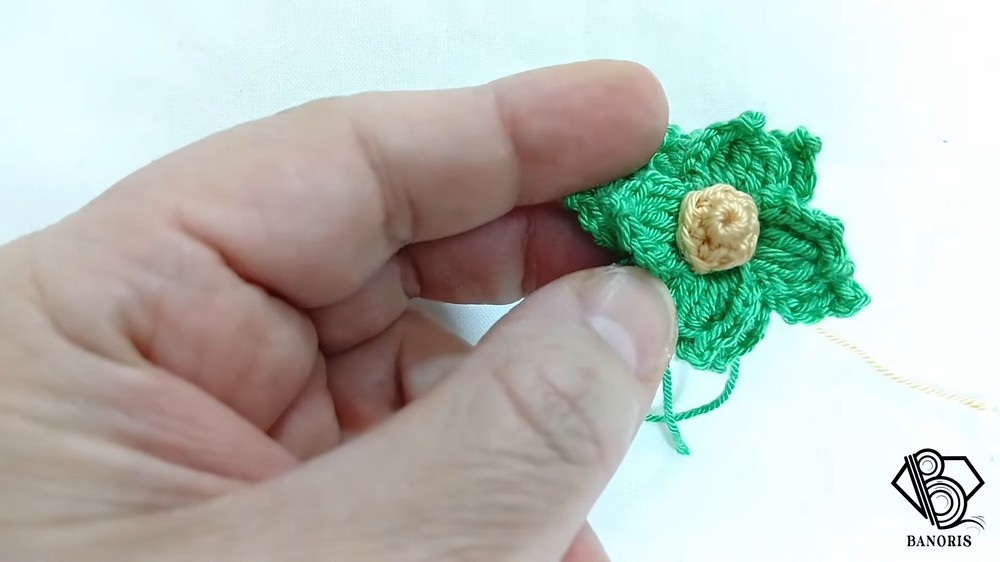
- Secure the bead (either glued or sewn) in the center of the flower.
Tutor’s Suggestions
- The tutor emphasizes the importance of markers for identifying loop stitches and guiding your crochet work.
- Use a softer, fine yarn for elegant and precise petals.
- Experiment with bead materials or colors to personalize your earrings.
Uses
These crochet flower earrings make wonderful gifts, stylish accessories, or even craft items for sale. You can match them with different outfits or color schemes.
Tip
To achieve a professional look, block your crochet flowers to shape the petals evenly before attaching the bead or closures. This adds a polished touch to your finished earrings.
Introduction
This crochet flower earrings pattern offers an easy yet sophisticated way to create stunning handmade jewelry. Using basic crochet techniques like magic rings and stitches, you’ll achieve a layered floral design with a bead center in no time.
Conclusion
Crochet flower earrings are an elegant and customizable addition to your accessory collection. This project is not only simple but, allows you to explore your creativity with various bead types and layered designs. Follow the step-by-step instructions for a beautiful result and enjoy your handmade earrings!