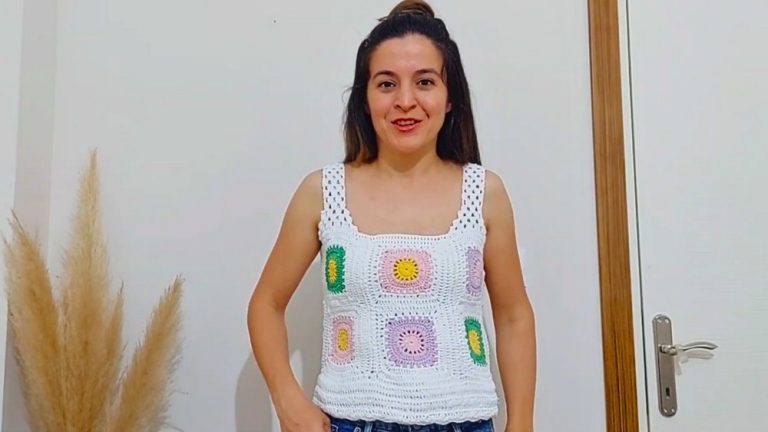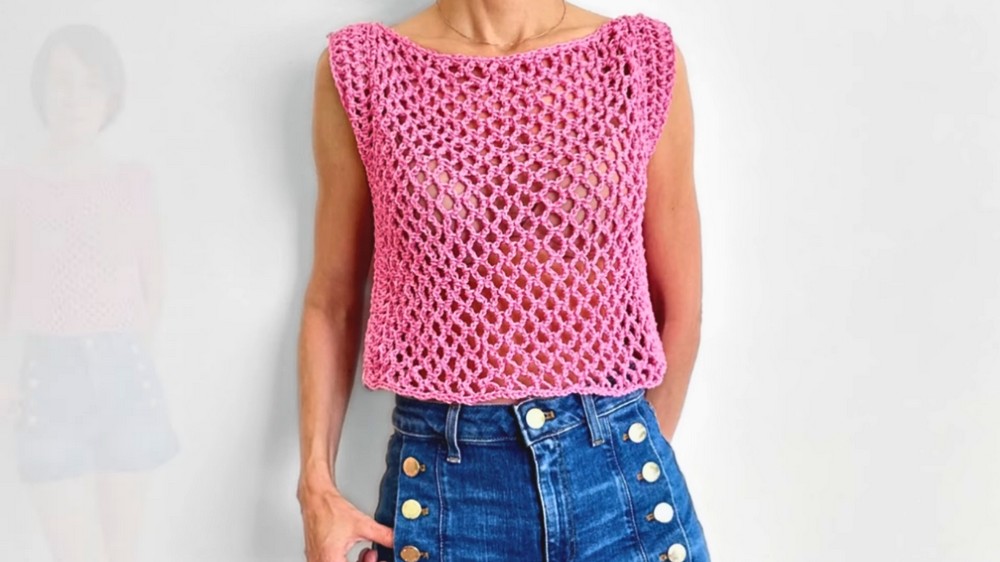
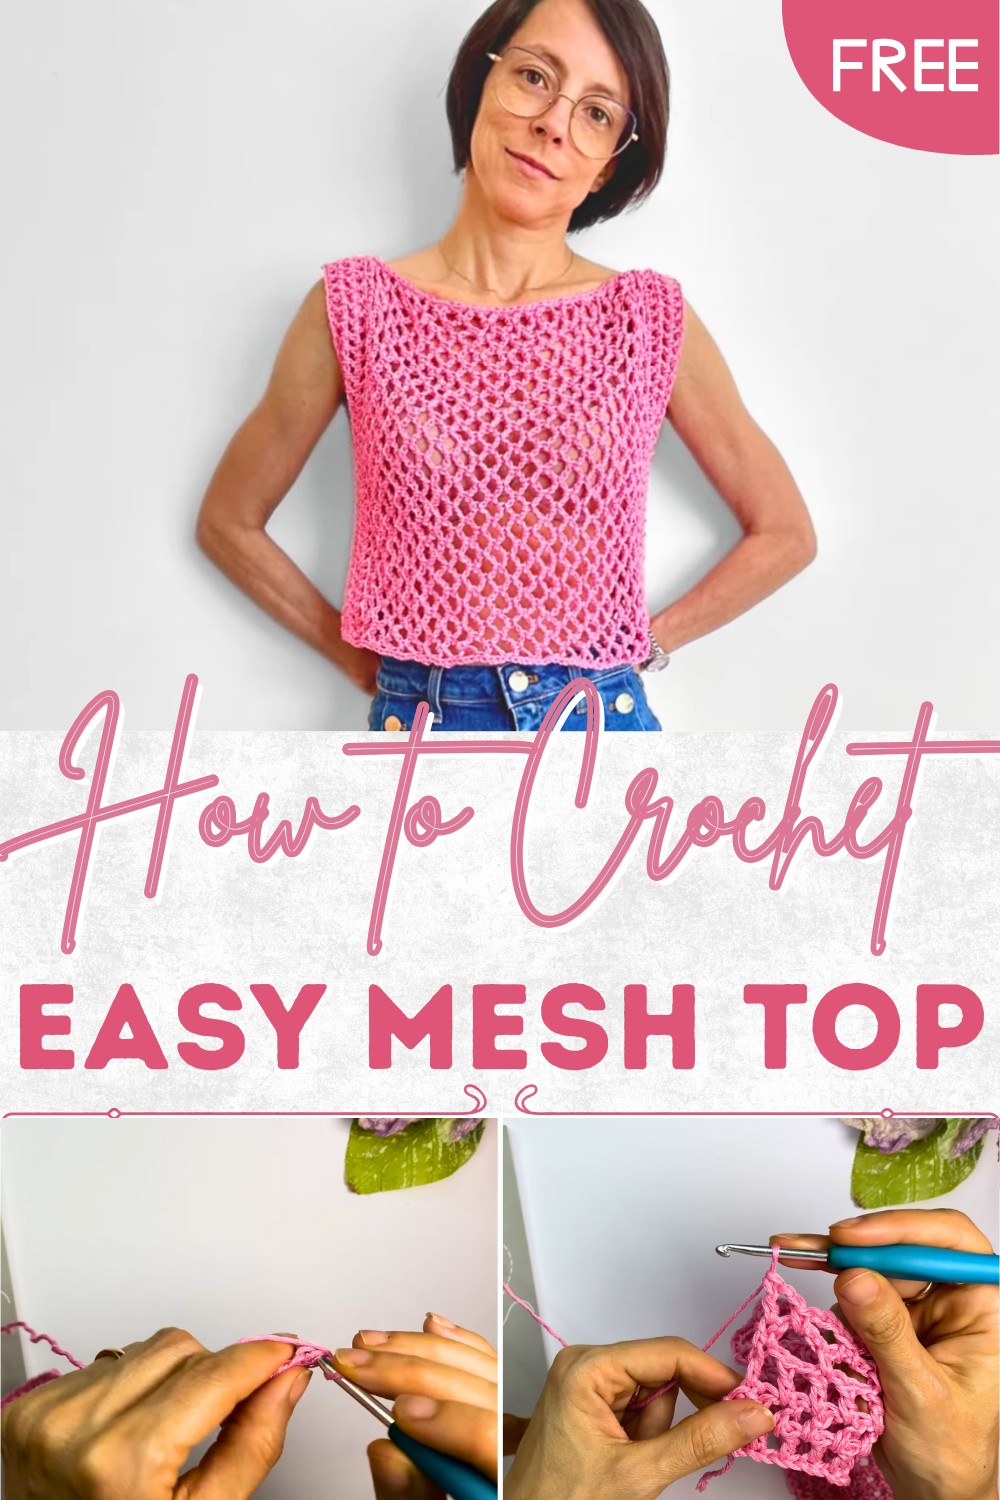
Glam Crochet Mesh Top Pattern for Everyday Luxury
Feel cool and stylish all day wearing a crochet mesh top pattern that brings easy comfort and a fresh look to every outfit and any occasion.
Feeling cool and free all day is easier than you think when wearing a stylish and airy design made for everyone. With the crochet mesh top pattern, you get a beautiful look that shines in any setting, from a walk in the park to a fun get-together or even relaxing at home. This top stands out because its open stitches let air flow through, making it perfect for sunny weather or layering over your favorite clothes in the evening.
Elegance Crochet Mesh Top Pattern That Keeps You Cool
Each piece can be made in different colors, so you can choose bright shades for summer or soft tones for relaxing days. Even if you haven’t made clothes before, following the simple steps means you can create something useful and lovely, giving you new confidence in your own style. It is not just comfortable but also easy to care for, making it a favorite for every moment.

Materials
- Yarn: High quality cotton: approx. 160-170g for Size S (approx. 255–270m; 100g = 160m). Any DK or light worsted cotton works well.
- Hook: 4.0 mm crochet hook
- Notions:
- Tapestry (wool) needle
- Scissors
- Measuring tape
- Stitch markers (optional)
Key Abbreviations (US Terms)
| Abbreviation | Meaning |
|---|---|
| ch | Chain |
| sc | Single crochet |
| dc | Double crochet |
| st(s) | Stitch(es) |
| rep | Repeat |
| sl st | Slip stitch |
| sp | Space |
| sk | Skip |
| RS/WS | Right Side/Wrong Side |
Special Notes & Tips
- Construction: Two rectangles, worked from bottom up, then joined for a sideways construction (shoulders to hem).
- Sizing: Begin work according to your shoulder-to-shoulder (width) and shoulder-to-waist (height) measurements.
- For the base chain, keep a multiple of 8 + 1.
- The mesh consists of alternating rows of (dc, ch-1) and 4-ch mesh scallops for an airy openwork effect.
- When joining panels, make sure the edges with the same structure (dc or ch edges) are paired together for a neat seam.
- Panel borders use a few rows of (dc, ch-1) at both the start and finish.
- When sewing, leave an 16-18 cm (6.25–7”) opening at the sides for armholes.
Pattern
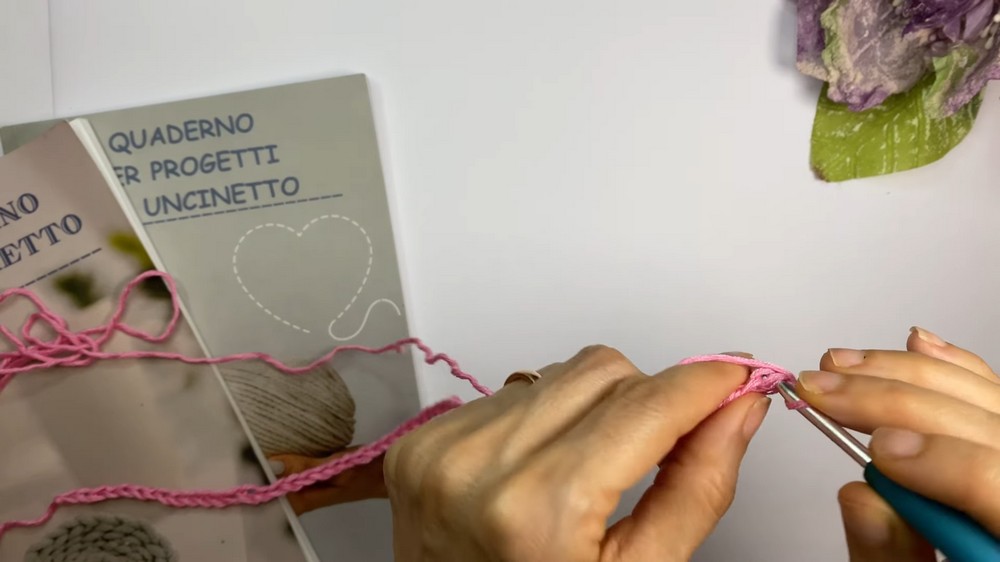
Step 1. Measurements & Foundation
- Measure from shoulder tip to shoulder tip: this is the width of your rectangle.
- Measure from shoulder to waist: this is your height (rows).
- Create a swatch to check tension and adjust as needed.
- Base chain: With 4.0 mm hook, ch a multiple of 8 + 1 until it reaches your shoulder-to-shoulder measurement (ex: for 37 cm, ch until piece lays flat at this measurement).
Step 2. Lower Border (Bottom Rib)
Work 3 rows of (dc, ch-1) mesh as border:
Row 1:
- Ch 3 (counts as first dc).
- Ch 1, sk 1 ch, dc in next ch. Rep * across.
- Continue across, ending with dc in last ch.
Row 2:
- Ch 3 (or turn and ch 1, sc in first st for a neater edge).
- (Alternating mesh) If there’s a ch-sp below, dc in ch-sp; if dc below, ch 1, sk st; rep across, keeping the mesh grid aligned/staggered.
Row 3:
- Repeat Row 2 for a total of 3 rows of mesh border.

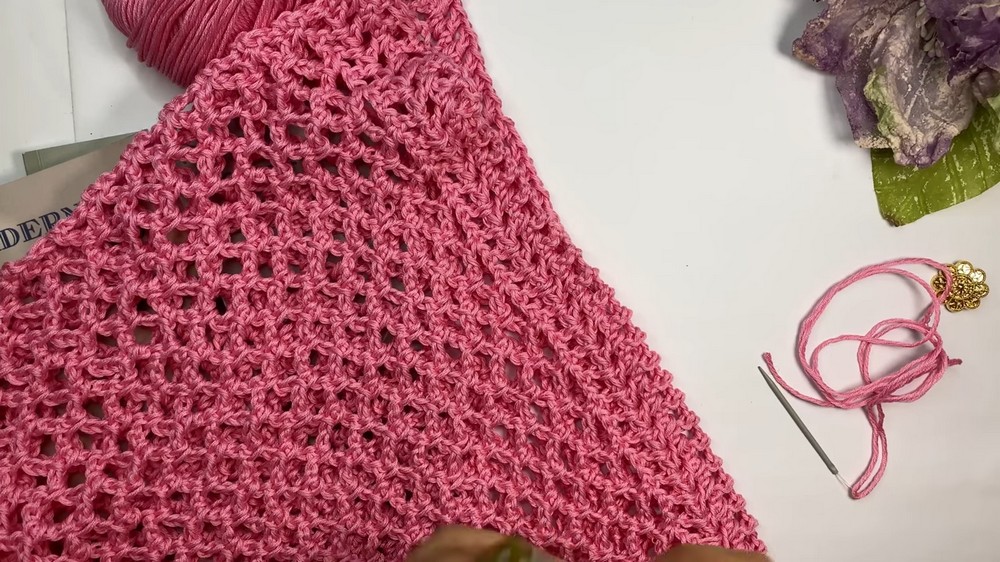
Step 3. Mesh Pattern & Scalloped Rows
Mesh Rows (Scallop Foundation):
Basic Mesh Pattern (Rows 4–5):
- [dc in ch/sp, ch 1] rep to end (aligning dcs over ch-sps and chs over dcs, to keep the grid).
- Work for 2–3 more rows as desired for border width.
Transition to Scallop Mesh (Row 6):
- Ch 1, sc in first st.
- Ch 4, sk 3 sts, sc in next st across.
Row 7 (Offset Scallops):
- At the edge, work “half scallop” for balance:
- Ch 3, (this is half-arch at start of RS rows).
- Ch 2, sc under first ch-4 arch from previous row; ch 4, sc under next arch; rep across.
- At end, if ending on a dc, ch 2, dc in last st (for half arch at edge).
Row 8 (Repeat Scallop Row):
- Ch 1, sc in first st.
- Ch 4, sc under next ch-4 arch across.
Continue alternating these two rows (one row full “arches,” one with half at edges) until piece measures desired height, subtracting the upper border rows (see below!).
Step 4. Upper Border (Shoulders)
- At the end of your last scallop row, finish with one row of ch 3, dc in each ch-sp for stability.
- Repeat the initial 3 rows of dc mesh border at the top to match the bottom border.
- Fasten off, cut yarn, and weave through final loop to secure.
Step 5. Make Second Panel
- Repeat Steps 1–4 to create an identical rectangle.
Step 6. Assembly
- Align Panels: Place wrong sides together, ensure borders/mesh scallops align.
- Seam Sides: With tapestry needle & yarn, sew up each side, leaving 16–18 cm (6.5–7”) open at the top for armholes.
- Make sure you are always joining dc borders to dc borders or ch-side to ch-side to keep the look neat.
- Seam Shoulders: Sew across the top edges (where the 3-row borders are) on both panels, choosing your preferred width for neck opening.
Step 7. Finishing (Neckline & Bottom Edging)
- Neckline Edging (Optional):
- Join yarn at any point on neckline.
- Sc in each st/space loosely all the way around the neckline to stabilize and straighten.
- Fasten off, weave in end discreetly.
- Bottom Edging (Optional):
- Repeat the same single crochet edging on the bottom border if desired.
- Weave in all ends securely, using the yarn needle.

Conclusion
You have now completed a light, airy summer top featuring a classic mesh and scalloped lace design. The modular technique and straightforward stitches make this a wonderful project for confident beginners and experienced makers alike. It can be customized easily for length/width, with a border finish that suits your taste.
Pattern Corrections & Tips
- Correction: Always keep a multiple of 8 + 1 for the base chain to maintain the pattern across both panels.
- Tip: Adjust armhole opening to your comfort—try the panels over your shoulders before seaming.
- Tip: Work loosely on the single crochet border and seams to prevent puckering.
- Tip: Before final seaming, check which side is your “chain” edge and which is “dc edge,” and make sure to match up panels for the neatest finish.