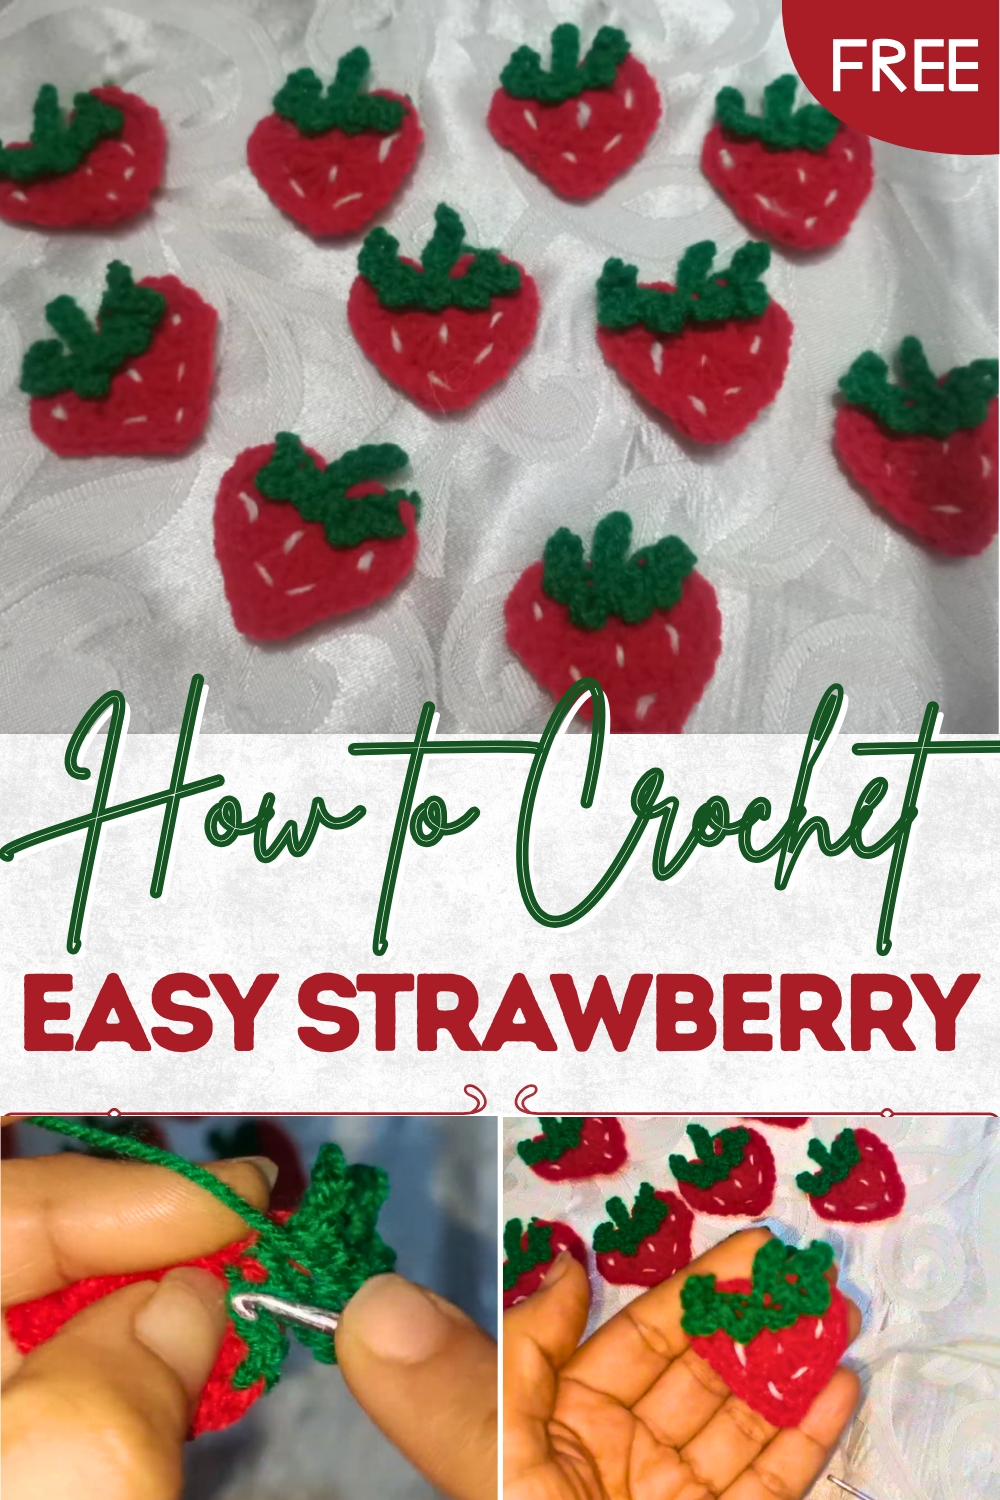
Fresh Crochet Strawberry Perfect for Seasonal Decor
Sprout playful charm with the Crochet Strawberry Pattern, adding cute, colorful, and vibrant accents to decor or accessories.
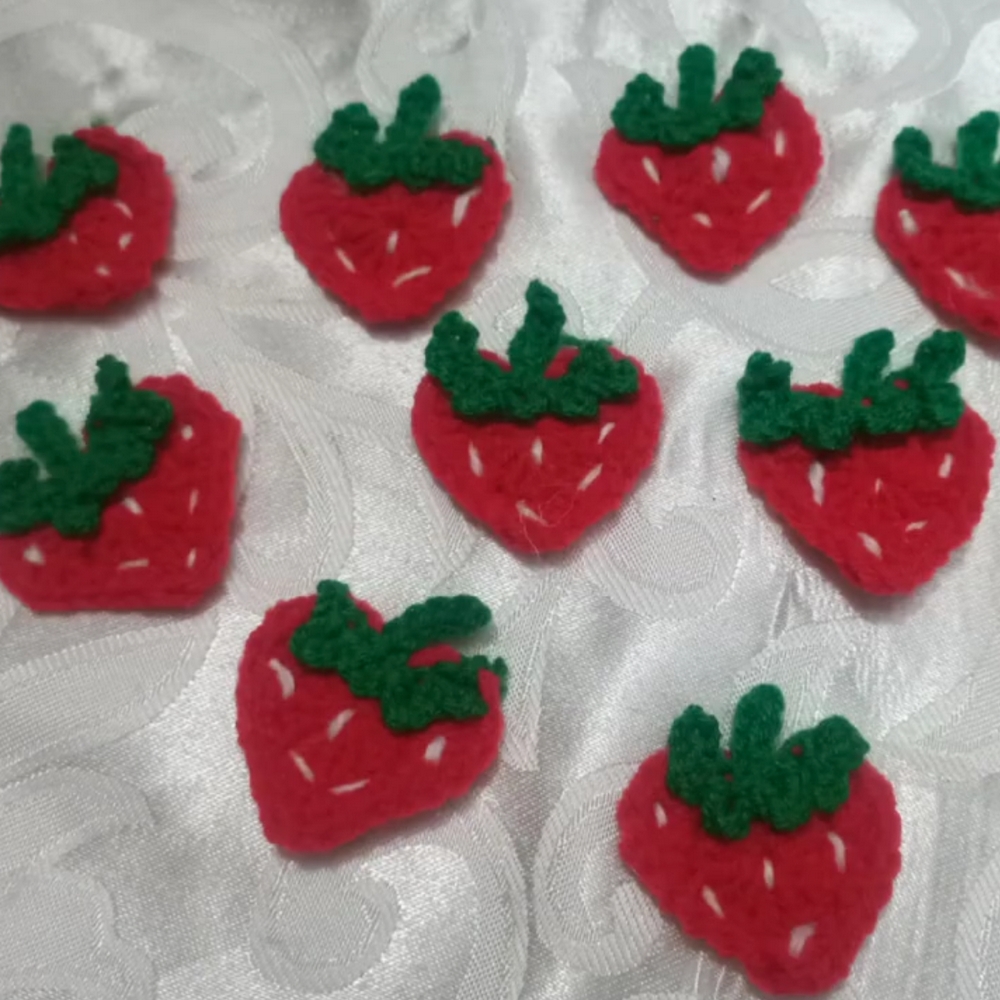
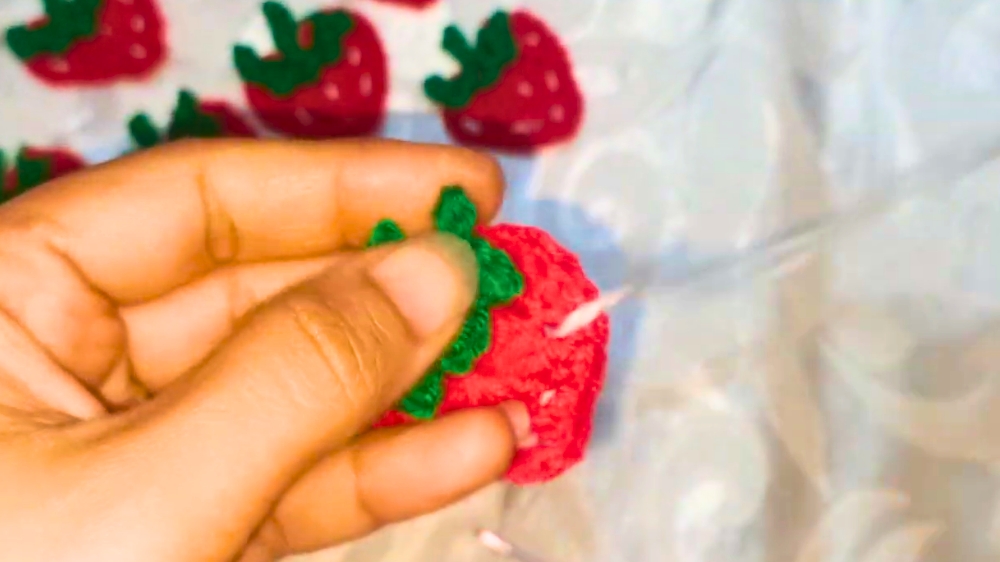
A touch of sweetness can brighten everyday life, and a delicate strawberry captures that charm in a miniature, playful form. This crochet strawberry adds a lively splash of color to keychains, bags, home décor, or even as a thoughtful gift for loved ones. Its vibrant red body and detailed green leaves mimic the natural beauty of the fruit while offering a soft, tactile texture that is comforting to hold. Lightweight yet sturdy, it travels easily without losing its shape, combining practicality with aesthetic appeal.
Blushing Crochet Strawberry Perfect for Nursery Details
Beyond its visual charm, it brings a sense of joy and personality to ordinary items, transforming simple accessories into memorable keepsakes. The rounded form and carefully stitched details provide a subtle sensory pleasure, making it enjoyable to touch and admire. Perfect for decorating spaces, accenting accessories, or gifting as a small token of care, it balances artistry and functionality with ease.
Every loop and stitch reflects thoughtful attention, resulting in a piece that is as delightful to make as it is to display. This crochet strawberry is more than just a decorative accent—it embodies charm, creativity, and the joy found in the little things, offering warmth and cheer wherever it is placed.
Materials Needed
To complete the strawberry applique, you’ll require the following:
- Yarn: 3-ply wool in three colors (red, green, white)
- Crochet Hook: 3mm hook
- Tapestry Needle: For weaving in ends
- Scissors: For cutting yarn

Step-by-Step Instructions
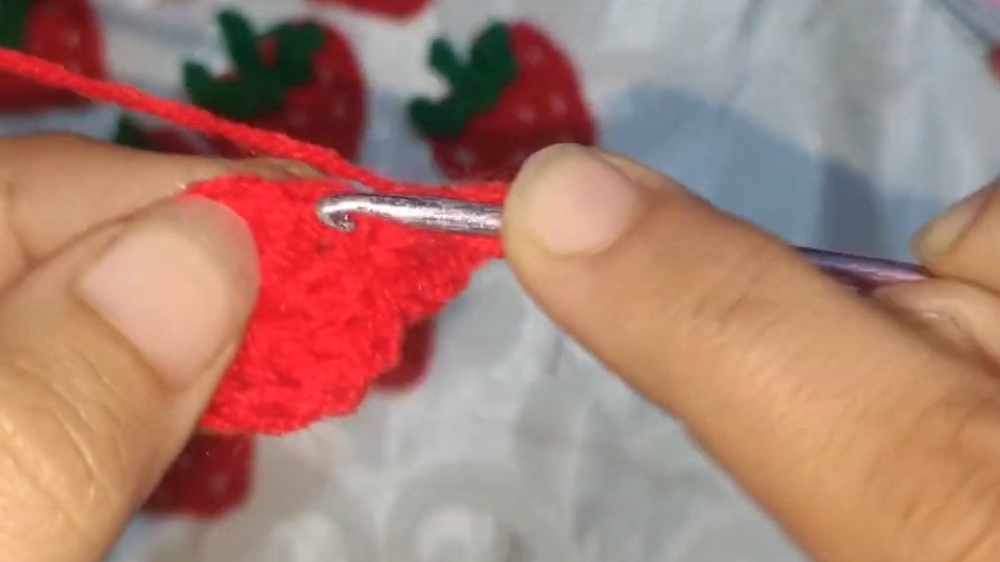
1. Making the Strawberry Base
- Start with a Magic Ring:
- Create a magic ring, chain three stitches, and proceed to make nine double crochets (DC) inside the ring.
- Pull the magic ring tight to close. Slip stitch into the third chain to secure your round.
- Shaping the Heart of the Strawberry:
- Slip stitch into the third chain.
- In the same stitch, make a half double crochet (HDC). In the next chain:
- Make four double crochets (DC).
- Then, create another half double crochet in the next chain.
- Continue as follows:
- Make one single crochet for the next chain.
- Two single crochets in the two chains after that.
- Make a half double crochet and a double crochet in the same stitch.
- In the following chain: Make a double crochet followed by one single crochet.
- For the next two chains, crochet one single crochet each with a half double crochet in the same stitch.
- Repeat the sequence until reaching the end: Make four double crochets in a single chain and in the final chain, make a half double crochet and a single crochet.
- Finish with a slip stitch and cut your yarn.
- After completing these steps, the heart-shaped base of the strawberry is ready.
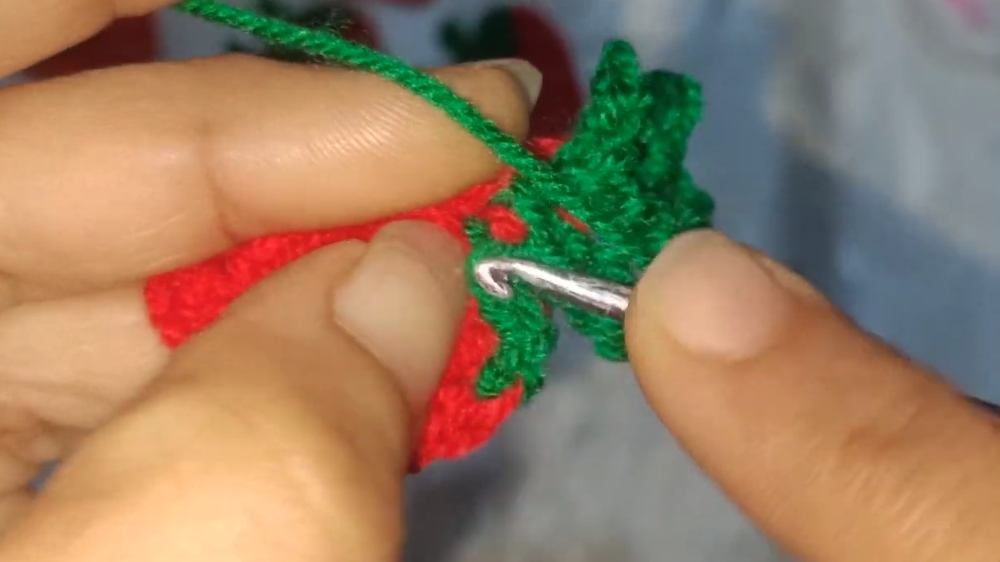
2. Adding the Green Leaves
- Start with Green Yarn:
- Attach the green yarn at the third chain of your heart base.
- Shaping the Leaves:
- Slip stitch into the starting chain, making three slip stitches.
- Chain four stitches to create the leaf “veins,” skip one stitch, and slip stitch into the next three stitches. Repeat this process to form multiple leaves.
- Leaf Detailing:
- For finer detailing, take four chains, and slip stitch into the back loop of the second chain. Repeat these steps for all leaves to complete their texture.
- Cut the yarn and weave in the ends securely.
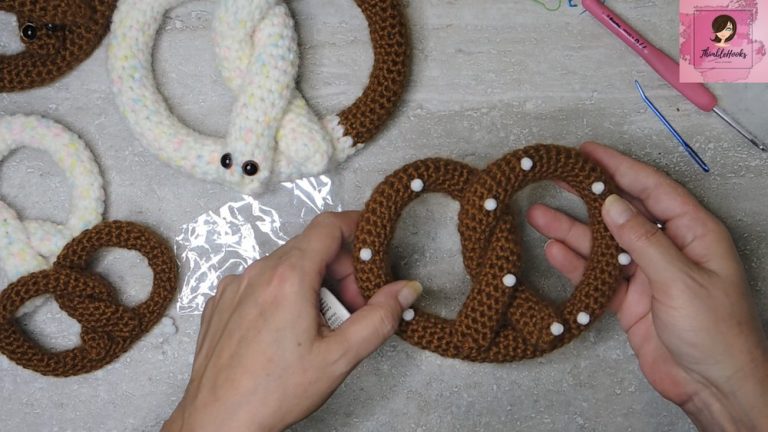
3. Making Strawberry Dots
- Switch to White Yarn:
- Use the white yarn to add small dots to the strawberry base, mimicking the seeds.
- Adding the Details:
- Stitch small dots (or embroidery-like seed shapes) evenly across the red base using the tapestry needle.
- Stitch small dots (or embroidery-like seed shapes) evenly across the red base using the tapestry needle.
- Finish and Secure:
- Once complete, weave in the ends neatly, ensuring the dots are firmly attached.

- Once complete, weave in the ends neatly, ensuring the dots are firmly attached.
Special Features
- Versatility: The strawberry applique can fit on various items like frocks, jackets, bags, or even tablecloths.
- Customization: Change yarn colors to create different fruit patterns or personalize the project according to your preference.
- Simple Yet Elegant: With its charming design and vibrant colors, the applique adds a stunning decorative touch.
Level of Difficulty
The project is beginner-friendly, with the instructions involving only basic crochet techniques such as chains, slip stitches, single crochets, half double crochets, and double crochets.
Tutor’s Suggestions
- Use Bright Colors: The strawberry is most striking when made in vivid red, green, and white, but you can experiment with different shades for creative results.
- Ensure Proper Tension: Maintain consistent tension throughout to create neat and symmetrical shapes.
- Take Your Time: If you’re new to crochet, follow each step slowly to avoid mistakes when shaping the strawberry and leaves.
Uses
- Clothing: Add the applique to frocks, jackets, or sweaters for a playful design.
- Accessories: Use it to embellish bags, hats, or scarves.
- Home Decor: Incorporate it into table runners, napkins, or as a decorative magnet.
- Craft Projects: Combine multiple appliques for a larger pattern or as part of decorations on handmade gifts.
Pro Tip
For added durability and polish, block your strawberry applique before attaching it to other projects. Blocking ensures that the finished crochet piece retains its shape beautifully over time.
Conclusion
The Strawberry Applique pattern is a fun and creative crochet project that results in an adorable decorative piece. Perfect for beginners, this project allows you to master basic stitches while crafting something elegant and useful. Whether you plan to use the applique on clothing or as a gift embellishment, its versatility and simplicity make it a must-try pattern. Be sure to follow the steps carefully and enjoy the process of bringing a cute strawberry to life.