Fresh Crochet Souvenir Pouch for Joyful Keepsakes
Treasure every moment with this Crochet Souvenir Pouch Pattern for a charming, versatile accessory that enhances any gift or keepsake.
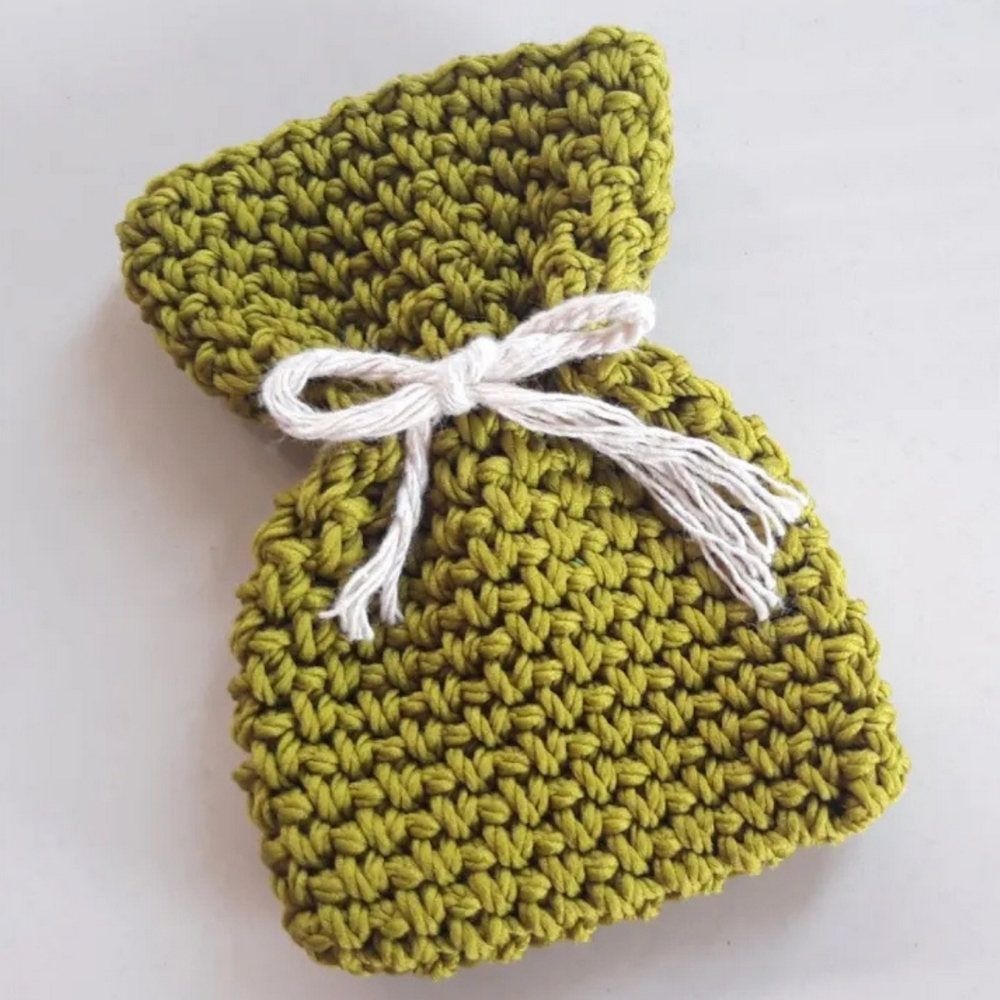
Souvenirs often hold memories of travel, special events, or heartfelt moments, and a crochet souvenir pouch offers a charming way to store them. This pattern allows the creation of small, lightweight pouches that are both functional and visually appealing. Perfect for holding keepsakes, coins, jewelry, or tiny mementos, these pouches keep treasured items safe and organized while adding a handmade touch to everyday life. The textured crochet stitches provide subtle tactile enjoyment and gentle structure, giving the pouch durability without sacrificing softness.
Whimsical Crochet Souvenir Pouch for Handmade Memories
Its compact size makes it convenient for travel, gifting, or carrying in handbags and backpacks. Beyond practical use, the delicate motifs and thoughtful construction bring visual charm, making each pouch a statement of care and attention to detail. The pouch’s versatility allows it to complement various occasions—from wedding favors and party gifts to travel keepsakes and home organization.
Each stitch reflects patience and skill, producing a product that is both functional and aesthetically pleasing. Ideal for personal use or as a thoughtful gift, this crochet souvenir pouch combines utility, beauty, and charm. The pattern transforms simple materials into a delightful accessory that preserves memories while adding handmade elegance to everyday life.
Materials Needed
- Yarn: A decorative or textured yarn of your choice. For best results, use yarns in coordinating or contrasting colors for added appeal.
- Crochet Hook: 2.15mm crochet hook (the tutor uses a Tulip brand hook).
- Scissors: To trim the yarn ends.
- Tapestry Needle: Optional, for weaving in the yarn ends neatly.
Special Features
- Simplicity Combined with Elegance: This pattern uses only single crochets and chain stitches, creating a beautiful spiral effect.
- Beginner-Friendly: The design is easy enough for beginners, while still being enjoyable for seasoned crocheters.
- Customizable Length: You can repeat the pattern until you reach your desired height or length.
- Versatile Design: Can be used as part of home decor, gift wrapping, or as an embellishment for other projects.
Level of Difficulty
- Beginner-Friendly: The only stitches required are single crochet (sc) and chain (ch), making it a great project for those new to crochet.
- Intermediate Appeal: Advanced crocheters can add variety to the design by incorporating different yarns or embellishments.
Tutor’s Suggestions
- Use Decorative Yarns: Adding decorative or contrasting-colored yarns at the end creates a more stunning and eye-catching product.
- Be Consistent with Tension: Maintaining consistent tension is recommended for an even and polished finished piece.
- Work Slowly When Filming: The tutor highlights the challenge of working on camera but suggests taking your time to get it just right.
- Experiment with Colors: Mix and match yarns that complement the primary design for added texture and appeal.
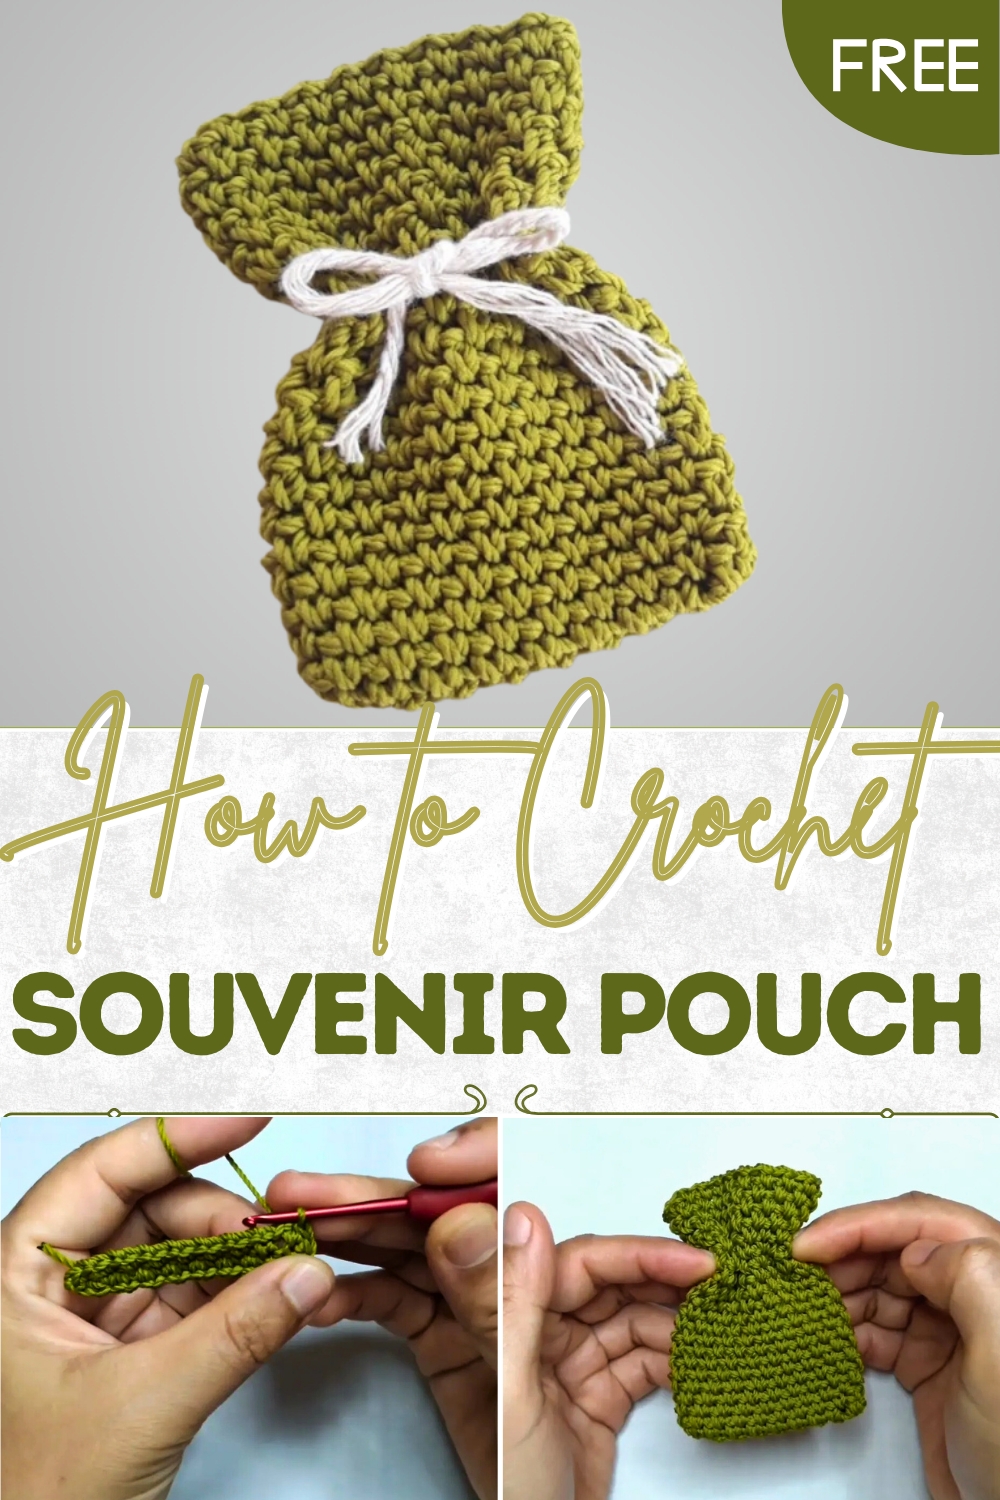
Step-by-Step Instructions
Step 1: Starting the Foundation Chain
- Make a slip knot on your hook.
- Chain 18 stitches (or adjust according to the desired starting length).
- Add two extra chains, making it a total of 20 chains.
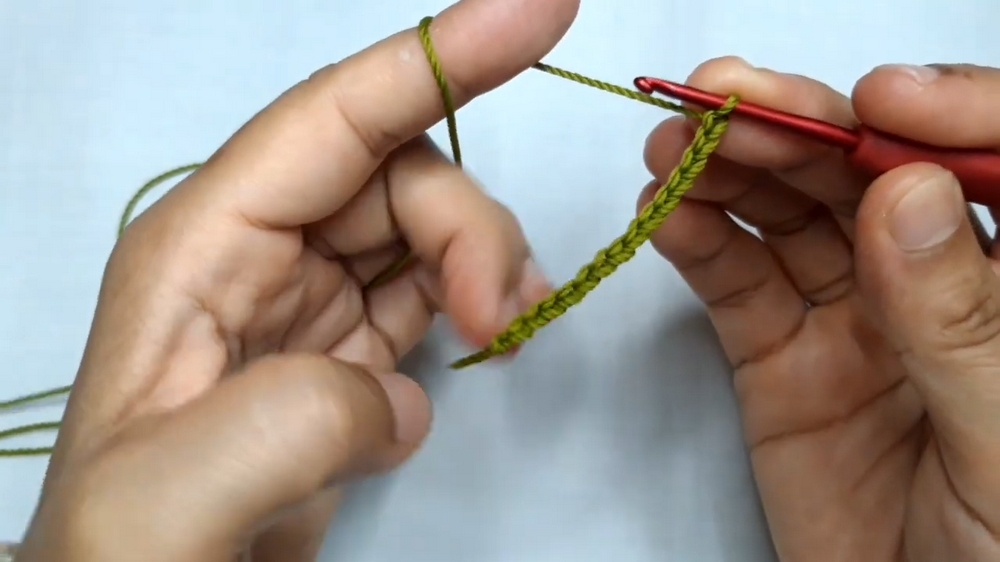
2: First Row (Main Pattern)
- Insert your hook into the second chain from the hook, and make 1 single crochet (sc).
- Chain 1 (ch 1), then skip one stitch, and work 1 single crochet in the next chain.
- Repeat the sequence of Chain 1 → Skip 1 Stitch → Single Crochet until you reach the end of the row.
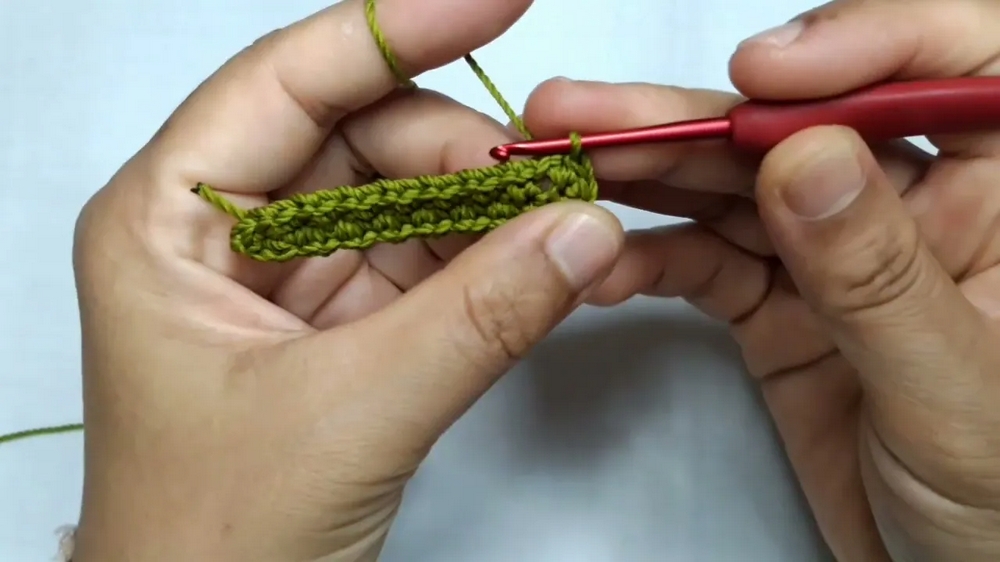
3: Turning and Continuing the Pattern
- At the end of the row, turn your work.
- Work 2 single crochets into the same stitch where the previous row ended. This creates a neat corner.
- Chain 1, then make 1 single crochet in the opposite position of the first row stitch directly across.
- Continue the pattern by working Single Crochet (sc) → Chain 1 (ch 1) into the spaces made in the previous row.
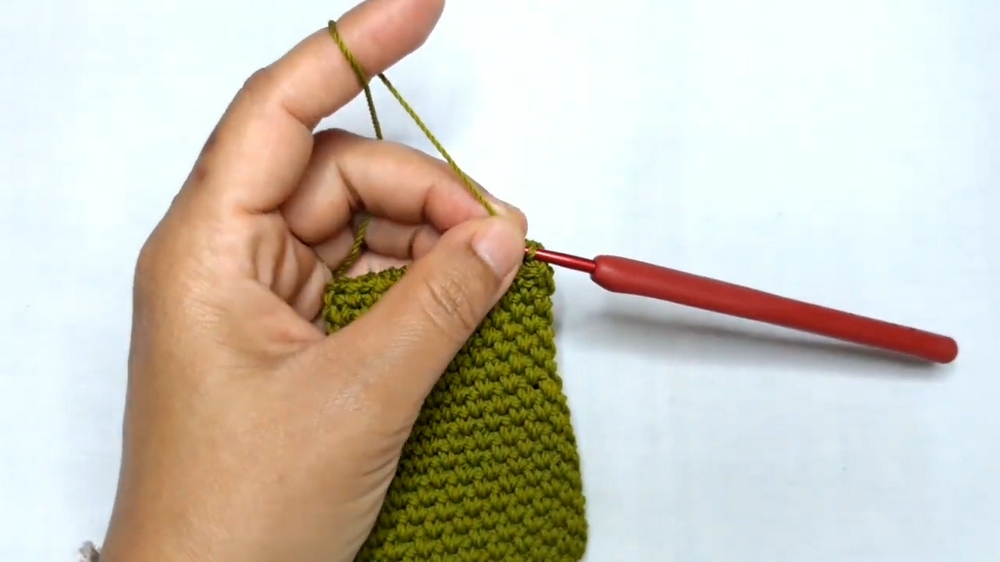
4: Spiral Formation and Round Transition
- After completing each row, instead of slip stitching, work directly into the nearest chain space to continue the spiral.
- The spiral-like design naturally forms as you continue to work 1 sc → 1 ch into each chain space around the pattern.
- Repeat this sequence row after row until you achieve your desired height.
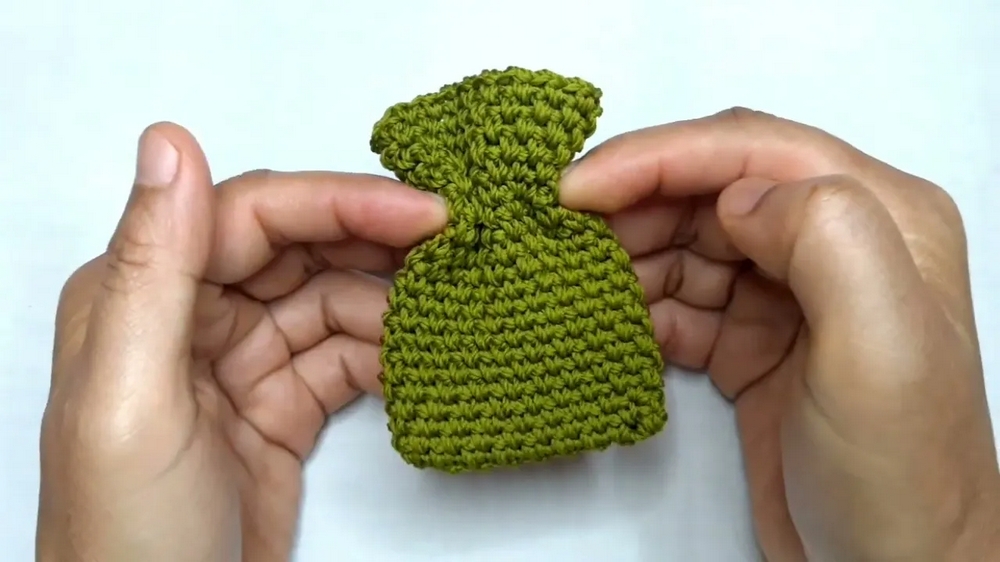
5: Finalizing the Pattern
- When you are satisfied with the height, finish the pattern by making a final single crochet followed by a slip stitch into the nearest stitch.
- Cut the yarn and pull the tail through the last slip stitch to secure.
- Use a tapestry needle or a smaller crochet hook to weave in the loose yarn tail neatly into the pattern.
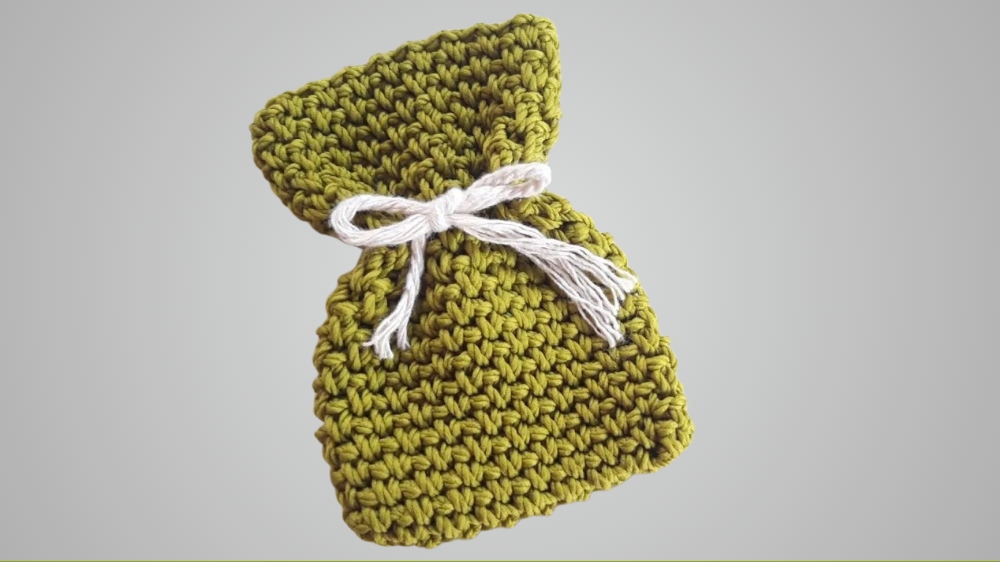
6: Adding Decorative Yarn (Optional)
- To enhance the piece, incorporate decorative yarns by tying them around the pattern or crocheting additional edges using different colors.
- Carefully trim and secure the ends to ensure a tidy finish.
Uses and Benefits
- Decorative Souvenirs: Perfect for embellishments in gift wrapping or as standalone table decorations.
- Versatile Craft: Can be used as trims on pillows, bags, or crochet garments.
- Beginner Practice: Ideal for those looking to practice basic stitches while creating something functional.
Conclusion
This crochet project features a gorgeously simple design that combines creativity with ease of execution. Using just a single crochet and chain stitch, you can crochet a beautiful spiral motif that can be used in a variety of thoughtful applications. Its simplicity and adaptability make it perfect for beginners while allowing advanced crocheters to experiment with decorative elements and customizations.
Bonus Tip
To make your finished souvenir sturdier, consider blocking the piece before use. Wet it gently, lay it flat on a blocking mat, and pin it to shape. Let it dry completely for a neat, professional look.