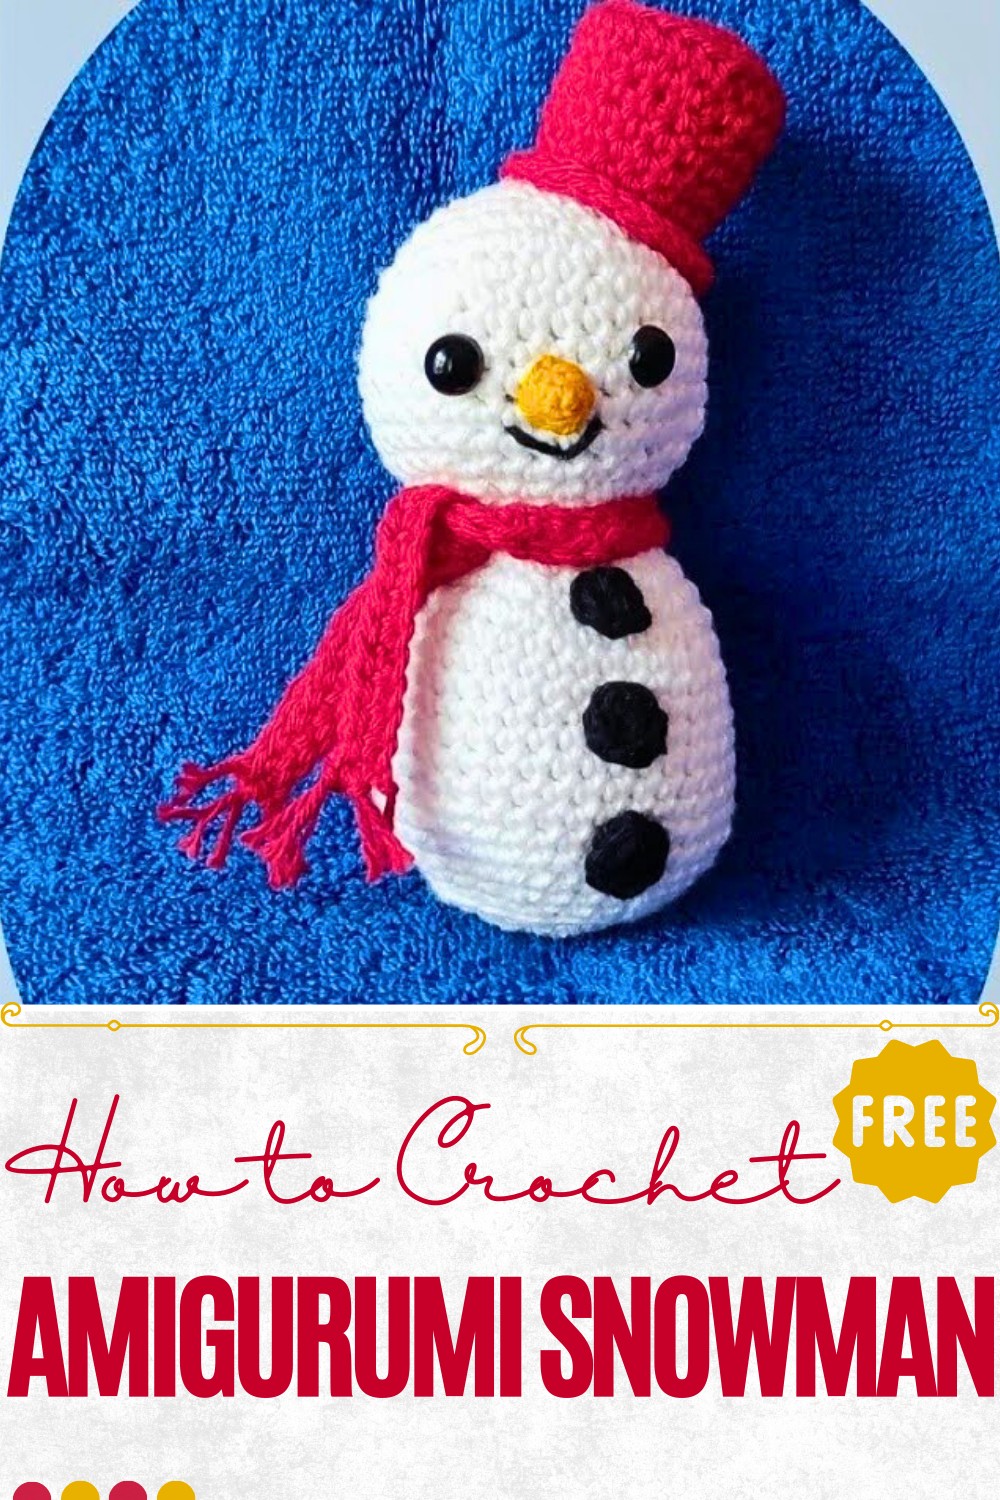
Fancy Crochet Amigurumi Snowman For Christmas Creations
Bring winter joy with this Crochet Amigurumi Snowman Pattern for a cute, festive accessory that adds charm to holiday décor and gifts.
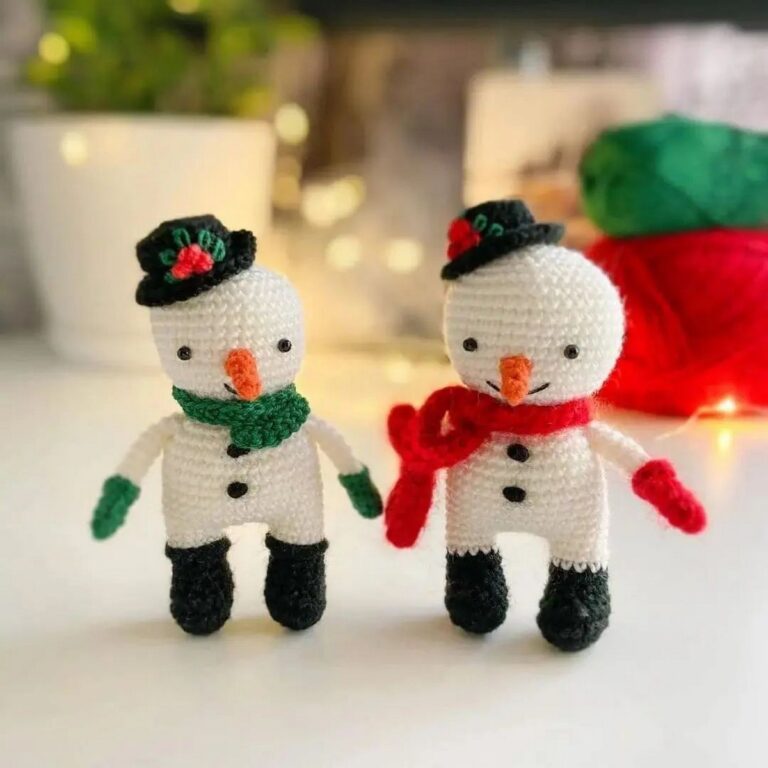
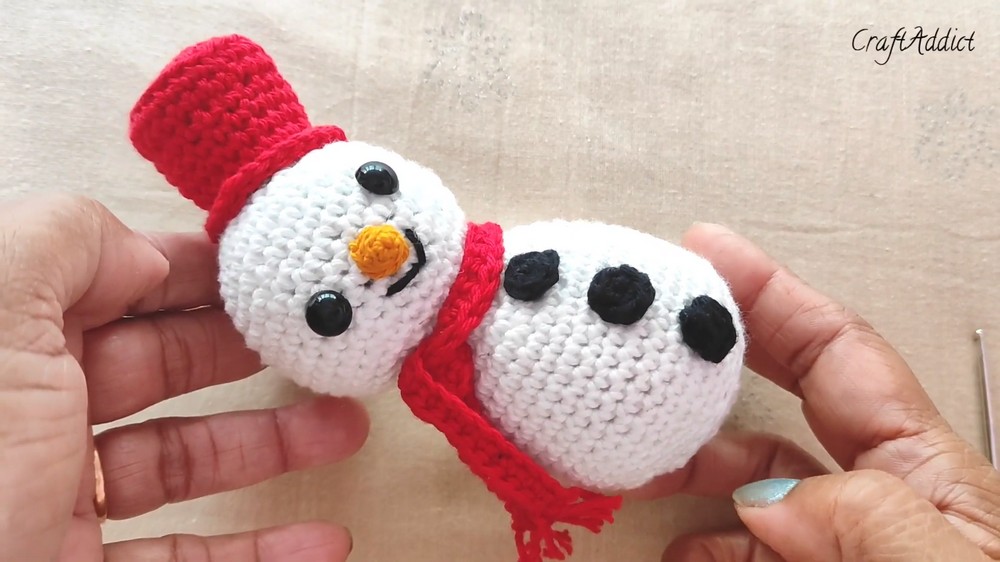
When frost begins to lace the windows and a gentle hush settles over quiet streets, the cheerful sight of a snowman often brings a spark of joy to any space. The crochet amigurumi snowman pattern captures this whimsical charm in a soft, hand-held form, transforming winter cheer into a lasting keepsake. Its rounded, plush body and detailed features tiny buttons, a snug scarf, and a jolly smile, create a figure that is both playful and endearing.
Artistic Crochet Amigurumi Snowman For Festive Styling
Perfect for decorating shelves, mantels, or tabletop displays, this snowman also doubles as a comforting toy for children, offering a tactile delight without compromising safety. The pattern allows for personal touches, such as variations in scarf color or hat style, making each creation uniquely expressive. Lightweight yet durable, it withstands handling and continues to bring seasonal cheer year after year.
Beyond decorative appeal, the crochet amigurumi snowman embodies a sense of warmth and tradition, making it an ideal gift or a charming addition to winter-themed celebrations. This handmade figure carries a story of quiet winters, cozy interiors, and the simple pleasure of a smiling snowman brightening cold days, adding both charm and joy wherever it rests.
Materials Needed
For this project, you will need the following:
- Yarn: 4-ply 100% cotton yarn (suggested for a smooth texture).
- Crochet Hook: 1.75 mm crochet hook.
- Polyfill: Used for stuffing the head and body.
- Safety Eyes: To attach between specific rows of the snowman’s head.
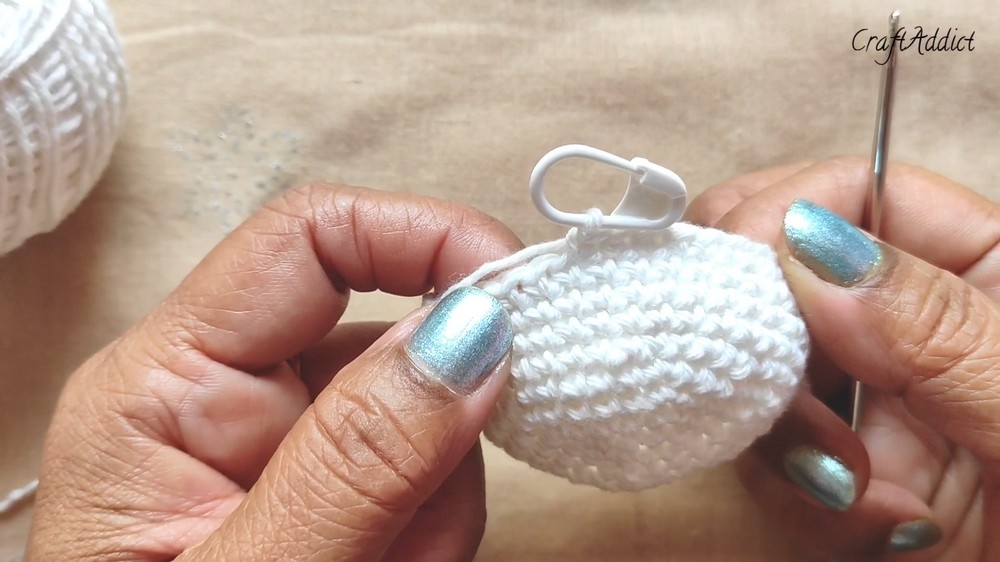
- Stitch Markers: To identify the first stitch of each round.
- Darning Needle: Required for attaching the coal buttons and for finishing off the snowman.
- Scissors: To trim excess yarn.
Step-by-Step Instructions
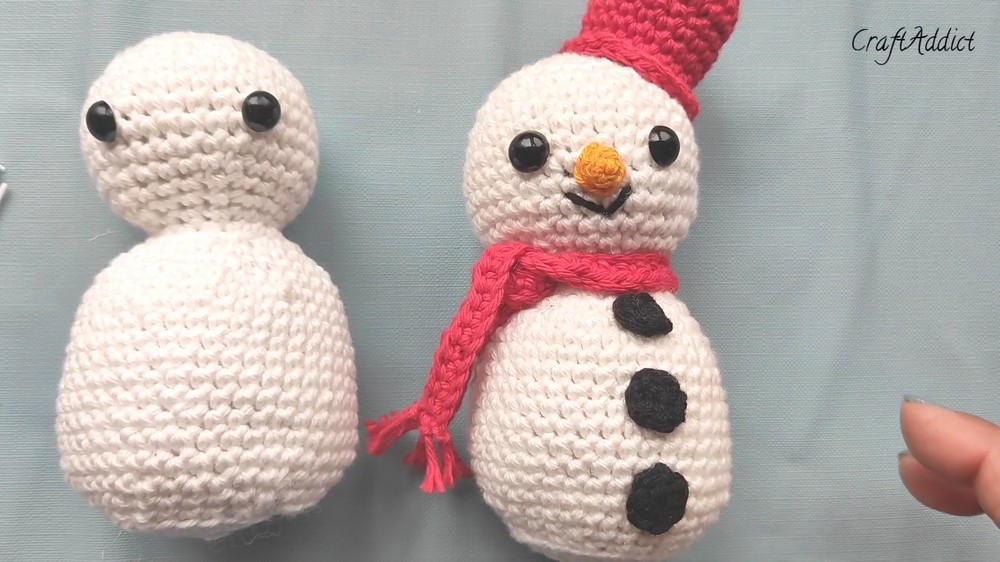
1. Creating the Snowman’s Head
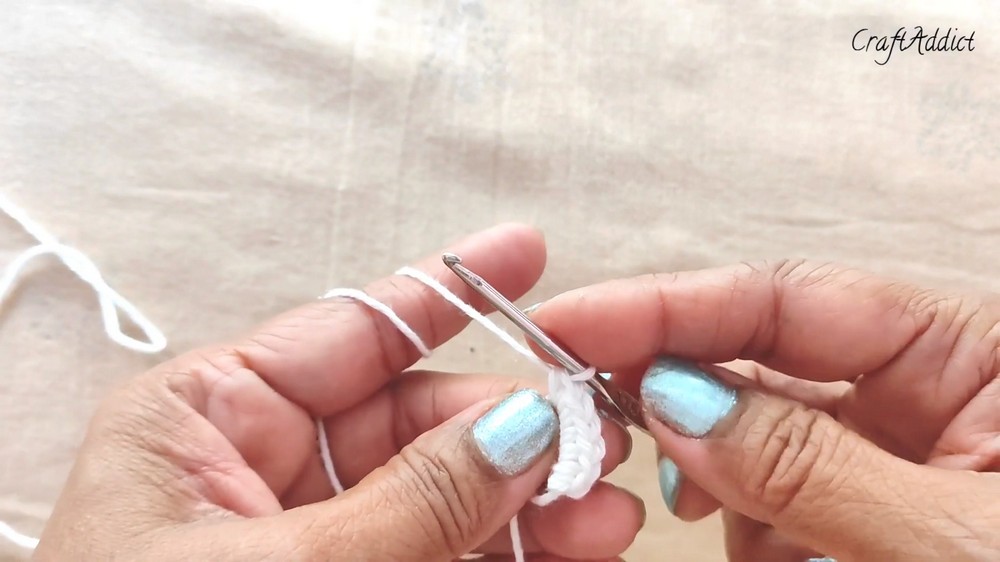
- Magic Ring: Start with a magic ring and crochet 6 single crochet (SC) stitches into the ring. Pull it tightly to close the circle—this forms the head’s base (Round 1).
- Round 2 (Increase): Work 2 SC in each stitch, increasing the stitch count to 12.
- Round 3: Work 1 SC in the first stitch and mark it with a stitch marker, followed by 2 SC in the next stitch (repeat). At the end, you will have 18 stitches.
- Round 4: Work 2 SC in the first two stitches, followed by an increase (2 SC in the same stitch) (repeat). You will have 24 stitches at the end.
- Round 5: Work 3 SC in the first three stitches, followed by an increase. You’ll now have 30 stitches.
- Round 6: Work 4 SC followed by an increase. At the end, there will be 36 stitches.
- Rounds 7-12: Work 1 SC in each stitch for five consecutive rounds, totaling 36 stitches per round.
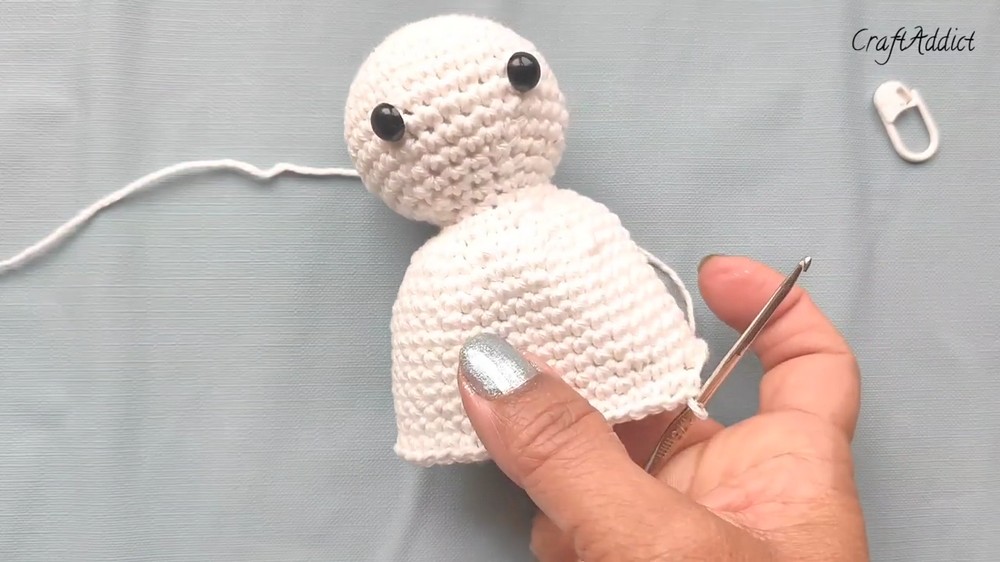
2. Adding Safety Eyes to the Head
- Attach safety eyes between Rows 8 and 9, spacing them 5-6 stitches apart.
- Secure the safety eyes with washers to ensure they stay in place.
3. Closing the Head
- Start Decreasing:
- Round 13: Work 4 SC followed by one invisible decrease (by crocheting the front loops of the next two stitches). This reduces the stitch count to 30.
- Round 14: Work 3 SC followed by an invisible decrease (reduce to 24 stitches).
- Round 15: Work 2 SC followed by one invisible decrease (reduce to 18 stitches).
- Round 16: Work 1 SC followed by one invisible decrease (reduce to 12 stitches).
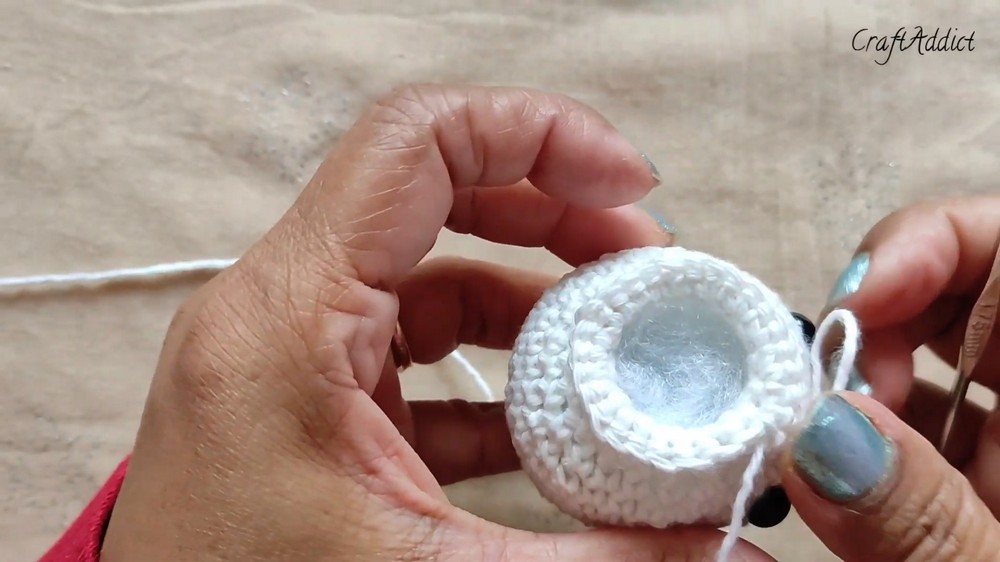
- Stuff the Head: Firmly fill it with polyfill until it’s sturdy.
- Finish the Head: Work a decreasing round (all decreases) to reduce stitches to 6, then use the darning needle to close the opening completely.
4. Creating the Body
- Base: Using the remaining yarn from the head, start the body with 12 SC stitches from the final round.
- Increase:
- Round 1: Work 2 SC in each stitch (increase to 24 stitches).
- Round 2: Work 3 SC followed by an increase (increase to 30 stitches).
- Shaping the Body:
- After each increase round, work one round of single crochet (SC) stitches with no increases.
- Repeat an increase pattern of 5 SC followed by one increase (increase to 42 stitches). Work a single crochet round after this increase.
- Work 10 rounds of single crochet stitches, each with 42 stitches.
- Start Decreasing:
- Work decreasing rounds in the same way as the head, starting with 5 SC and 1 decrease; reduce progressively until you reach 24 stitches.
- Stop and stuff the body firmly with polyfill.
- Final Rounds:
- Work a round using single crochet in back loops only—this creates a flat base, allowing the snowman to stand upright.
- Finish with more decreases (e.g., 2 SC and 1 decrease, then 1 SC and 1 decrease) until only 6 stitches remain.
- Complete the Body: Use a darning needle to close the opening and secure the base.

5. Final Touches
- Coal Buttons: Attach coal buttons to the snowman’s front using the darning needle for sewing.
- Other Optional Features: Add a tiny scarf, hat, or embroidery details for additional personality.
Special Features
- No-Sew Design: Minimal sewing is needed (only the coal buttons are sewn on).
- Flat Base: Stitched back-loop-only rounds ensure the snowman can stand upright on any surface, making it great for decor.
- Beginner-Friendly: The pattern features simple techniques like single crochet, invisible decreases, and magic ring creation, making it ideal for newcomers to amigurumi.
- Customizable: Change yarn type, colors, or additional embellishments for personal flair.
Tutor’s Suggestions
- Count Stitches: Continuously count stitches to ensure accuracy, especially when increasing and decreasing.
- Use Stitch Markers: Mark the first stitch of every round to track your progress and avoid mistakes during continuous rounds.
- Check Eye Placement: Symmetry is crucial for aesthetic appeal. Carefully align safety eyes before securing.
- Stuff Gradually: Add polyfill incrementally while shaping to avoid lumps or uneven stuffing.
Level of Difficulty
- Beginner-Friendly: As noted by the tutor, this project is ideal for beginners due to its straightforward construction and minimal sewing. Intermediate crocheters may find it a quick and relaxing project.
Uses
- Festive Decor: Perfect for holiday decorations like tabletop displays or mantelpieces.
- Gift Items: A handmade snowman makes a thoughtful and creative gift during the winter season.
- Amigurumi Display: Add to your collection as a charming addition.
Tip
To make the snowman sturdier and more professional, use a tight stitch tension to minimize gaps and prevent polyfill from poking through. This will also help maintain the snowman’s shape and durability.
Conclusion
This no-sew snowman pattern is a delightful project for crocheters of all skill levels, designed to be simple but charming. The finished snowman is sturdy, customizable, and fun to create. Whether used as decor or given as a gift, this project is a rewarding way to showcase your crochet skills while celebrating the winter season.