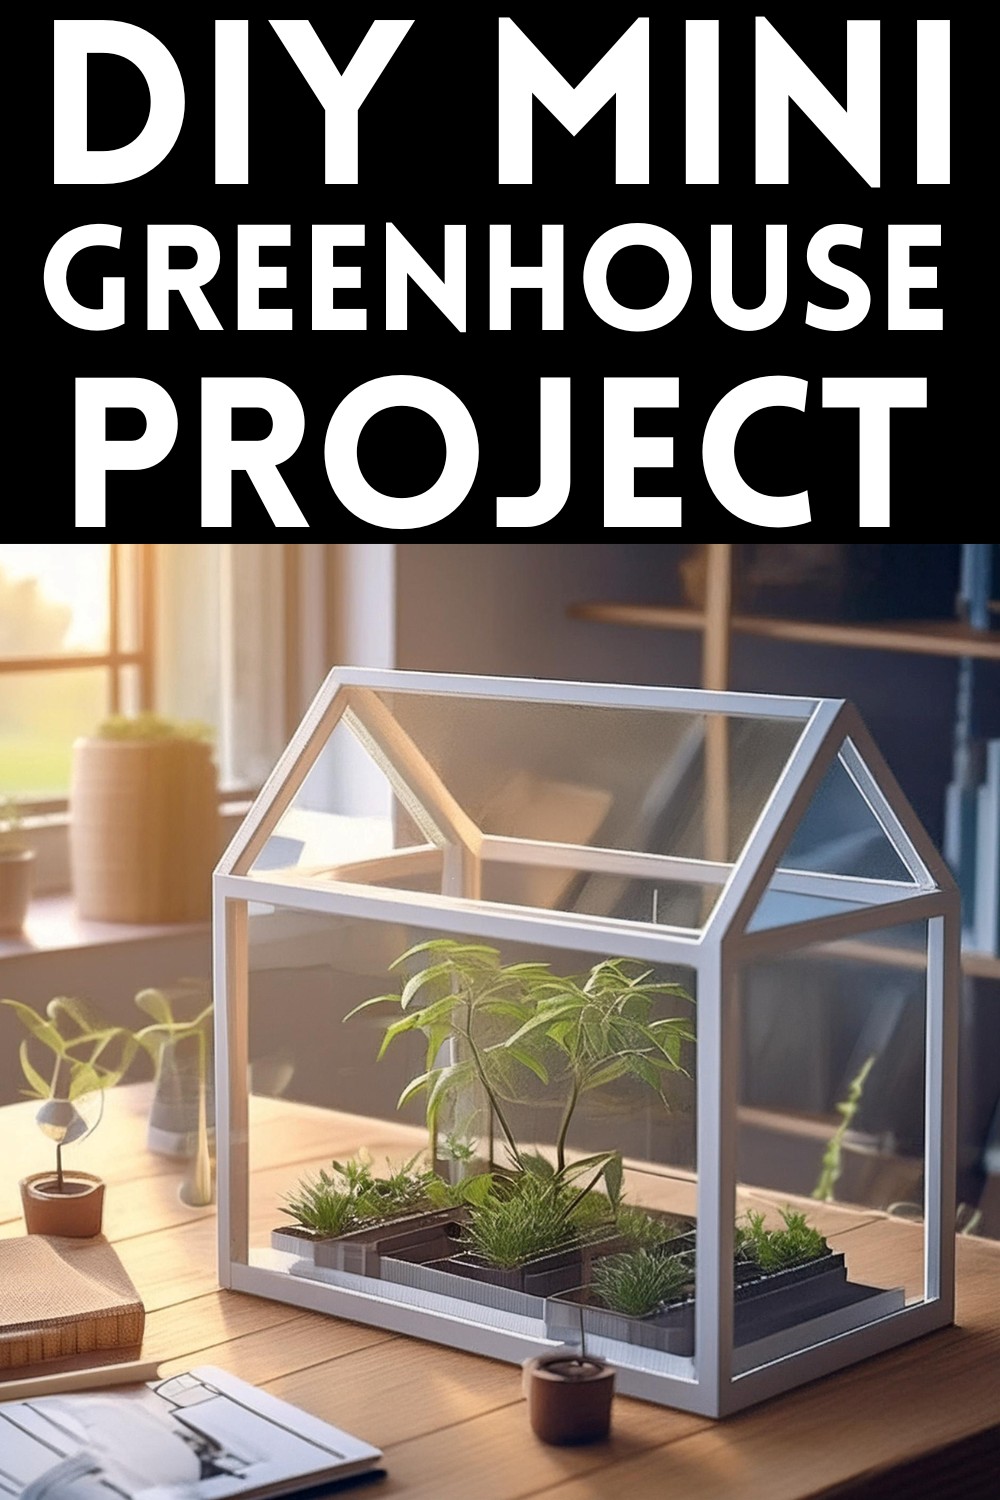
DIY Mini Greenhouse Project For Succulent Lovers
Making your mini greenhouse is not just about adding a charming touch to your space, it’s about giving your plants a cozy home where they can thrive. With a few pieces of balsa wood, some overhead projector sheets, and a dab of glue, you can craft a snug little haven for your tropical plants, delicate mosses, or fragile cuttings. This eco-friendly DIY project is perfect for anyone who loves greenery but might not have the space or the green thumb for a full-sized greenhouse. Plus, it’s surprisingly simple, requiring no power tools, just a bit of creativity and some basic math to bring your miniature greenhouse to life.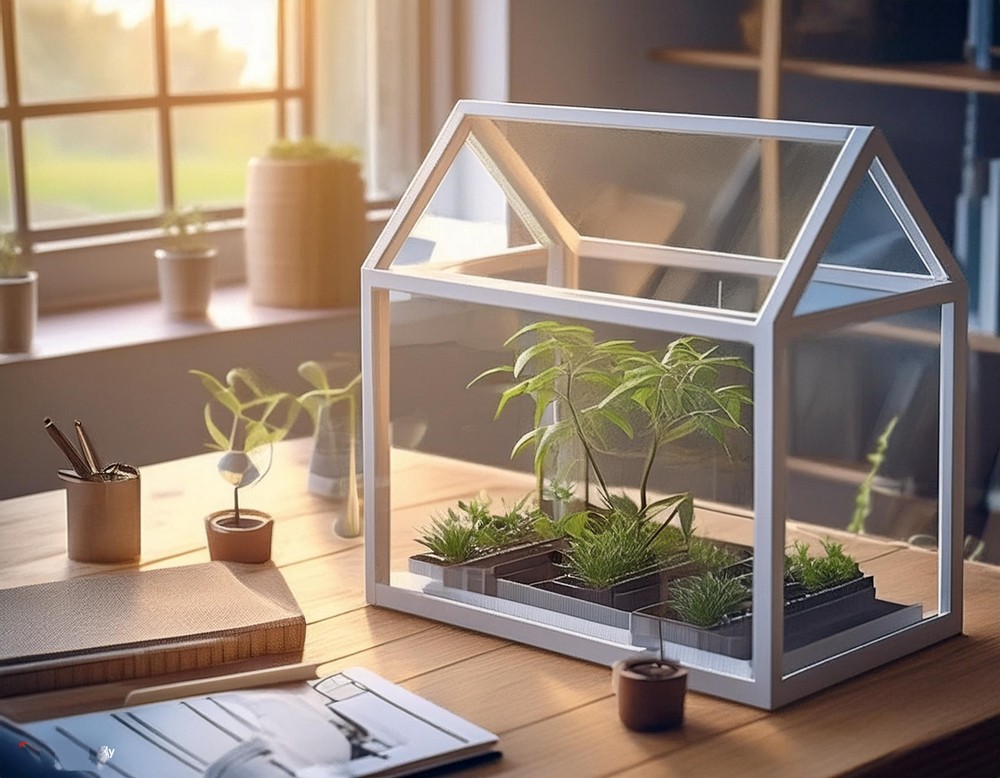
DIY Mini Greenhouse Project
Materials:
- Square Balsa-wood dowel (9.5mm thick)
- Overhead projector sheets (available at newsagents or office supply shops)
- Hot glue sticks
- Craft knife or other sharp blade
- Double-sided tape
Tools:
- Hot glue gun
- Craft knife
- Protractor
- Cutting surface
Step-by-Step Guide
Step 1: Construct the Base
- Measure and Cut: Begin by measuring the balsa wood to acquire pieces in the following lengths: four pieces at 24cm, four at 18cm, and four at 14cm.
- Form the Rectangle: Arrange two 24cm and two 18cm pieces into a rectangle, ensuring the ends of the shorter pieces cover the longer ones. This overlapping helps in achieving a neat finish.
- Assemble: Use the hot glue gun to bind two such rectangular frames together.
Step 2: Setting Up the Structure
- Vertical Supports: Position each of the 14cm pieces vertically at the corners of one of the rectangular bases you glued previously. Secure them with hot glue.
- Attach the Top Frame: Once the vertical supports are dry and firm, fasten the second rectangle on top to complete the box-like base structure.
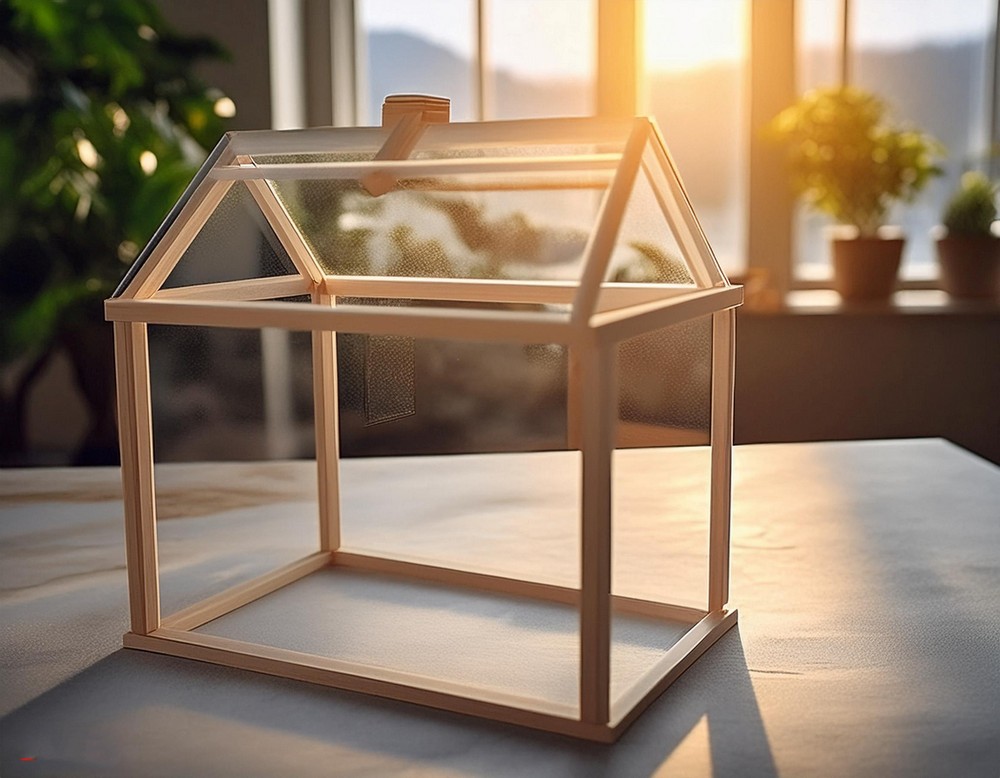
Step 3: Construct the Roof
- Cut for Roofing: Cut one 24cm length and four 11.3cm lengths of balsa wood. Using a protractor, set a 45-degree angle for each end of the 11.3cm pieces and cut accordingly.
- Assemble Roof Pieces: Glue these four shorter lengths at each top corner of your square base so they meet at the centre. Place and glue the 24cm length across the middle to stabilize the roof structure.
Step 4: Finish with Windows and Roof Panel
- Measure and Cut Windows: Measure each side of the frame again including the edges, and cut overhead projector sheets to fit these measurements. Attach the sheets onto the frame using double-sided tape. Trim any excess.
- Roof Access: Optionally, leave one of the roof panels unattached if you plan to access the interior frequently.
Final Touches
- Paint or Seal: If you wish to add colour or protect the wood, paint or seal the frame before attaching the windows.
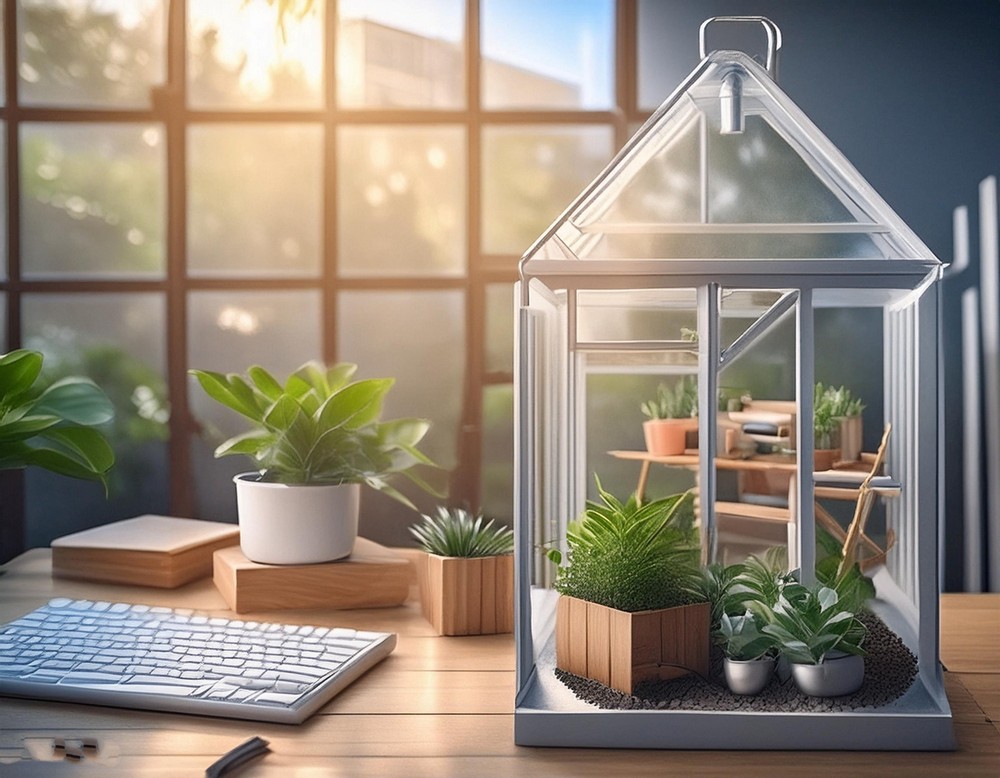
- Plant Placement: Finally, place your desired small plants inside the mini greenhouse and enjoy your little green oasis.
This project not only adds a visually appealing piece to your indoor space but also offers a specialized environment for your plants to flourish in. Happy crafting and gardening!