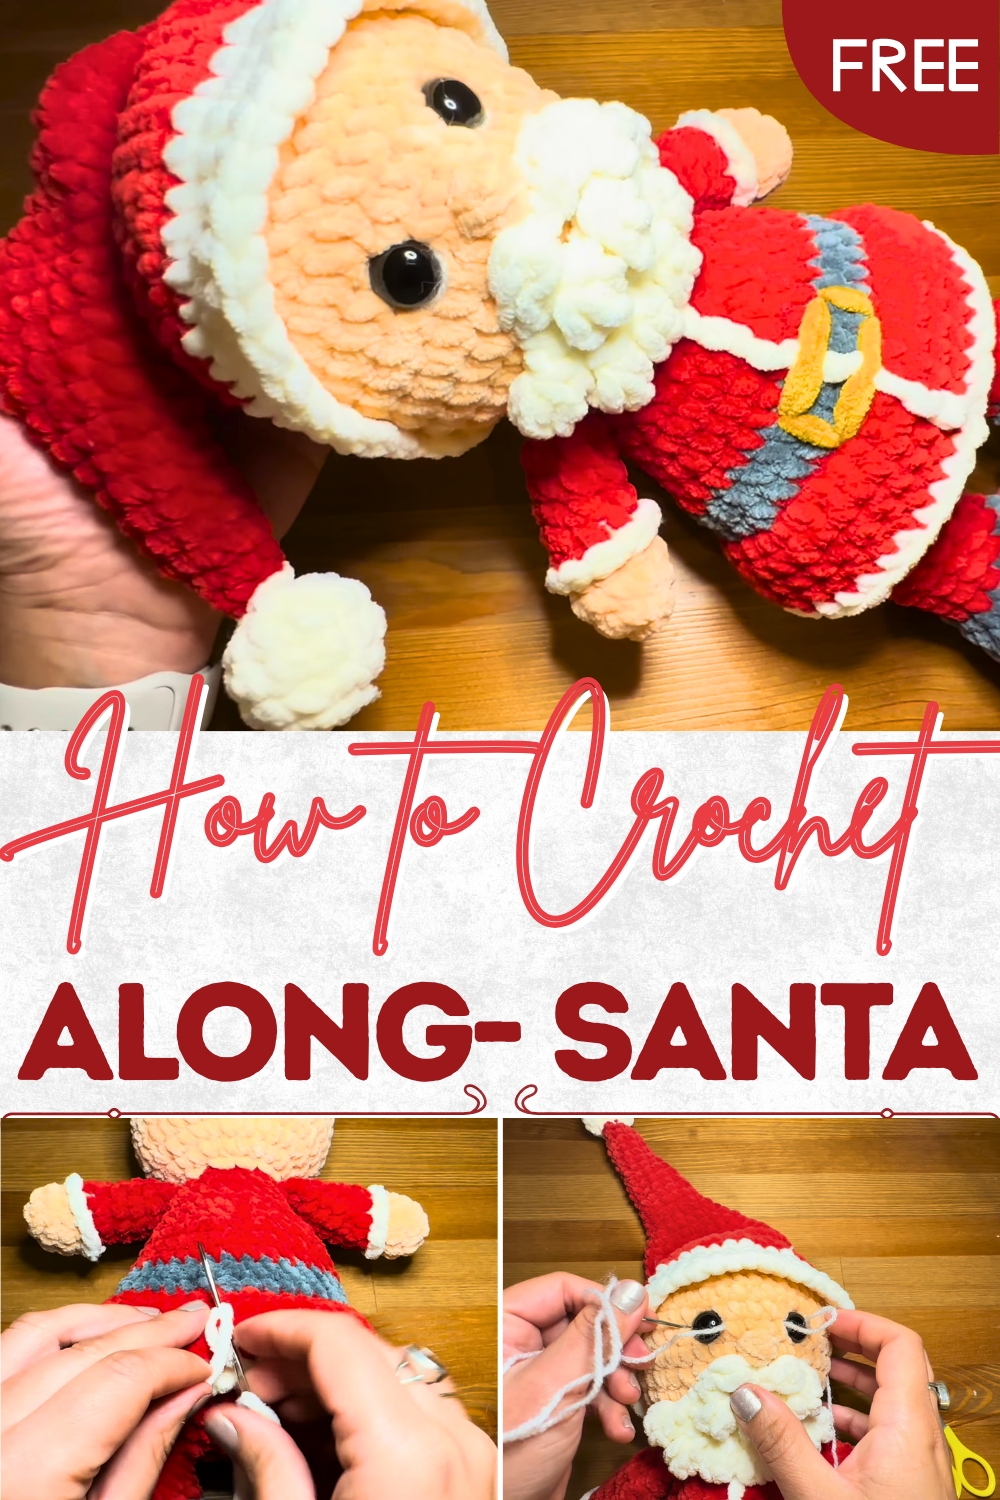
Delightful Crochet Along Santa for Seasonal Happiness
Join festive fun with this Crochet Along Santa Pattern for a cheerful, creative project that brings holiday warmth and seasonal charm.
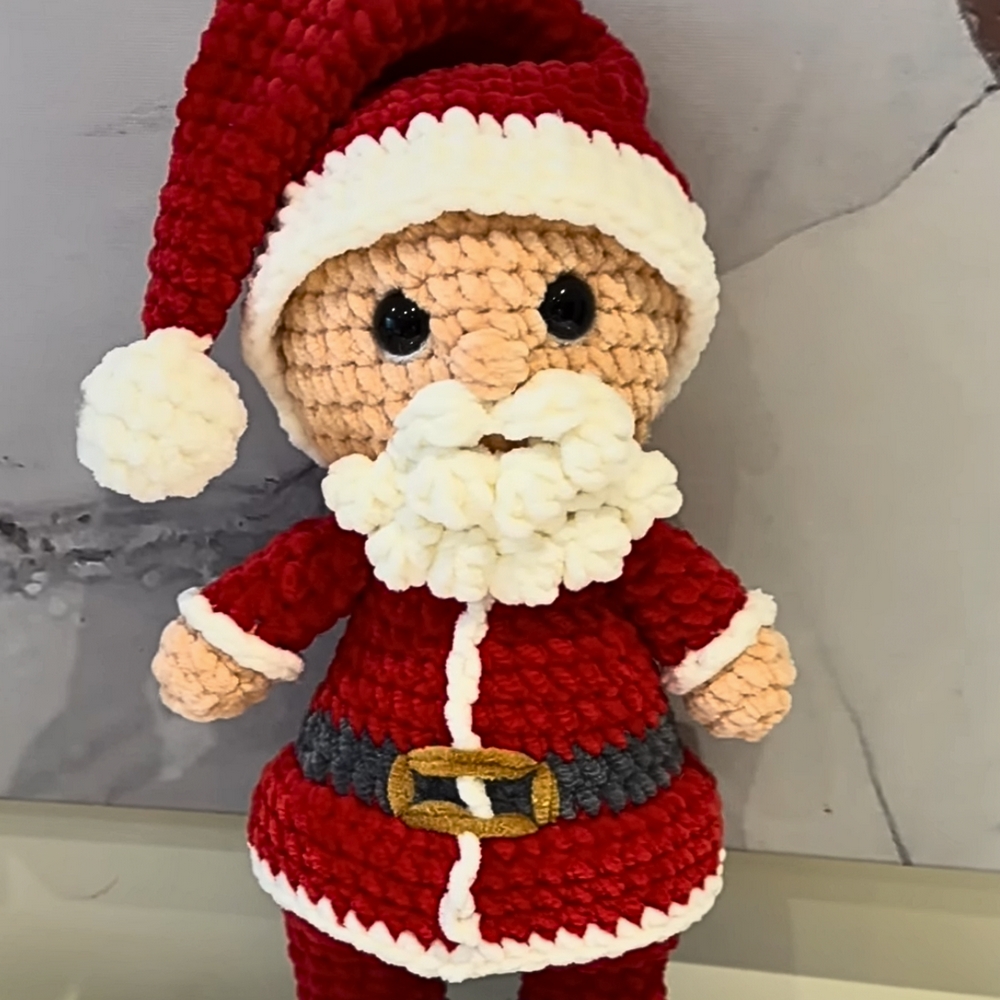
Stories of Santa Claus have always carried with them an air of warmth, generosity, and joy, making him a figure loved by both children and adults alike. A crochet along–Santa pattern takes this timeless character and brings him into a delightful handmade form, allowing his cheerful spirit to brighten any home. With his iconic hat, flowing beard, and jovial expression, every detail captures the charm that has made Santa a universal symbol of celebration and kindness.
Classic Crochet Along Santa Perfect for Handmade Traditions
This pattern offers not just a festive figure but also a meaningful keepsake, one that can be displayed on mantels, nestled beneath the tree, or gifted to loved ones as a heartfelt token. Its versatility means it can become part of family traditions, carried forward year after year with the same warmth that Santa himself represents.
The joy lies in its adaptability—colors, textures, and small finishing touches can be adjusted to match individual styles, making each version special in its own right. More than decoration, this Santa reflects cheer, nostalgia, and comfort, turning a simple handmade piece into something with enduring emotional value. A crochet along–Santa stands as a reminder of the season’s spirit, while also adding beauty, personality, and timeless charm to any setting.
Materials Needed
- Yarn:
- Red (for hat, body, and arms).
- White/Cream (for beard, cuffs, and hat details).
- Skin-tone color (for the face and hands).
- Gray or Black (for boots and belt).
- Gold yarn (optional for belt buckle).
- Crochet Hook: 5.5 mm.
- Other Supplies:
- 16-18mm security eyes.
- Stitch markers.
- Darning needle.
- Scissors.
- Fiberfill (for stuffing).
Special Features of the Santa
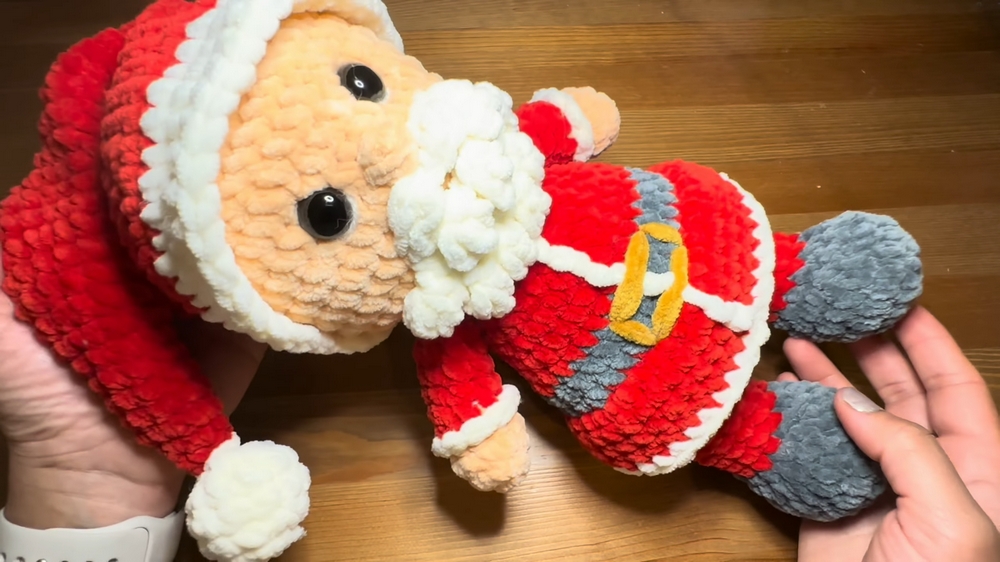
- Plush Texture: Made from plush yarn, this Santa is soft, cozy, and perfect for children and the holidays.
- Realistic Design: Features include a cuffed suit, belt with a buckle, and a fluffy Santa hat.
- Adjustable Techniques: Offers alternatives like using the magic ring or slip knot and chain foundation for your rounds.
- Attention to Detail: Incorporates techniques for attaching arms, assembling facial features, and enhancing the hat with a bobble and beard.
- Layered Construction: The design uses front and back loops for added texture and clean transitions between colors.
Level of Difficulty
The project is rated as intermediate due to:
- Working in spirals with plush yarn, which can make stitches harder to see.
- Complex assembly of multiple pieces like the arms, legs, beard, and hat.
- Color changes and back/front loop-only stitches.
Although suitable for confident beginners, patience and some familiarity with crochet techniques are recommended.
Tutor’s Suggestions
- Use Stitch Markers: Track the start of your rounds to avoid losing count, especially while working spirals.
- Stuff in Stages: Fill the arms, legs, and body as you progress—you’ll find it easier to stuff limbs and attach them when the areas are still open.
- Work in Good Lighting: Plush yarn can make stitches harder to see, so proper lighting is key.
- Symmetry in Assembly: Check the placement of limbs and face features before fully attaching them to ensure symmetry.
- Optional Customization: Choose different colors for Santa’s boots or switch to a softer texture if you prefer a slightly different look.
Step-by-Step Instructions
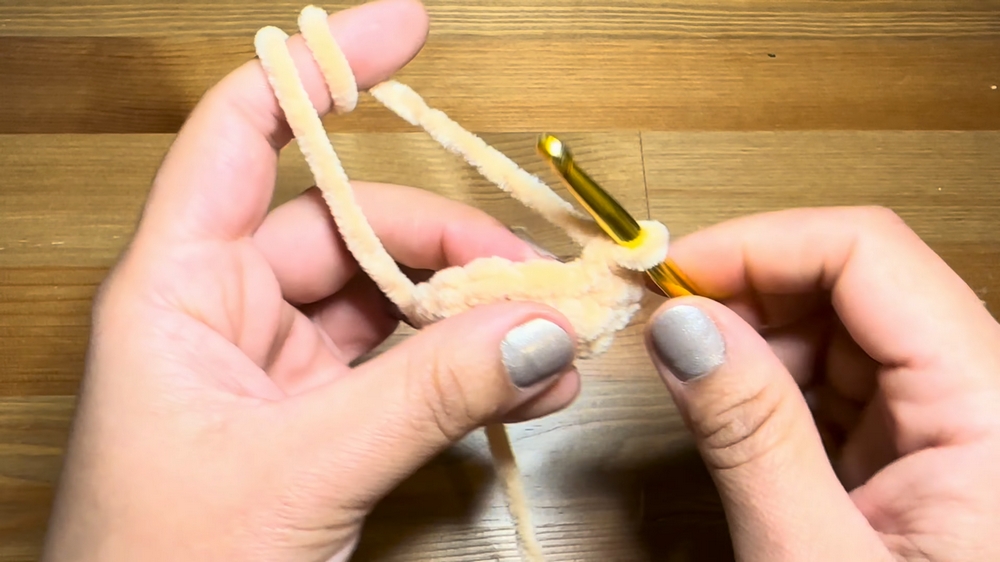
Step 1: Crocheting the Arms
- Foundation Round: Use skin-tone yarn: work 6 single crochets (SC) into a magic ring or into the second chain of your foundation row. Tighten the loop to close the round.
- Increasing: In the second round, work two SC into each stitch (6 increases), resulting in 12 stitches.
- Shaping: Continue with single crochet for 12 stitches in the next 2-3 rounds to add length to the arm. Begin lightly stuffing the piece as you go.
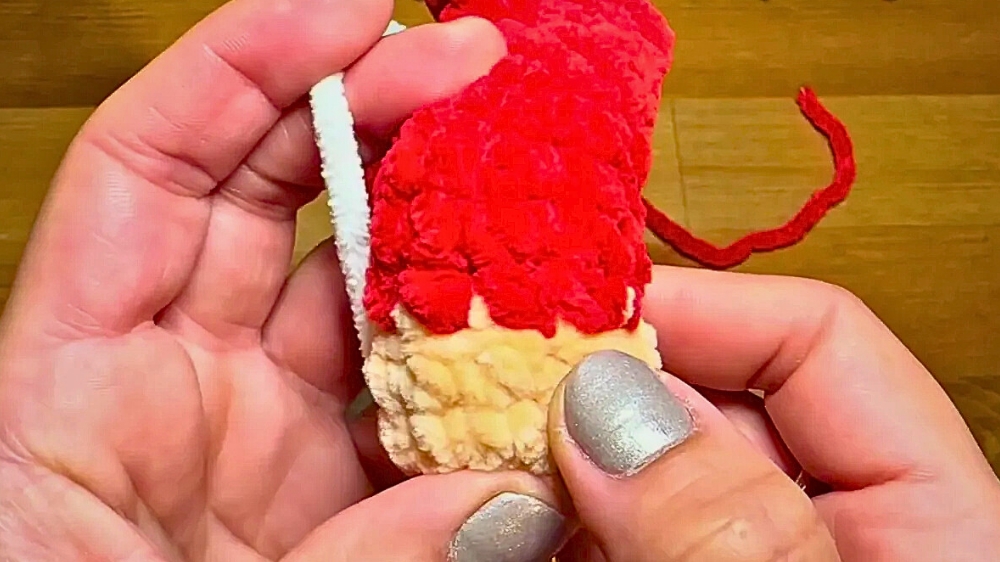
- Color Change: Switch to red yarn, catching only the back loops for a seamless transition. Work additional rounds of 9 single crochets to extend the arm. Leave space at the top for closing.
- Final Steps: Use your hook to flatten and crochet across the arm to seal it. Add white yarn to create detailed cuffs, working into the front loops of the cream base.
Repeat the same steps to create the second arm.
2: Crocheting the Legs
- Foundation Round: Start with 7 SC in a tight loop using gray or black yarn for the boots.
- Increases: Increase in subsequent rounds to expand to 21 stitches for the foot shape.
- Shaping and Transition: Stitch around the leg with additional SC rows to form the boots. Switch to red yarn for the main leg and add stuffing as you go. Work 12 SC per round for desired leg length.
- Joining Both Legs: At the top of the legs, join them using chain stitches and continue working around both legs to form the lower body’s base.
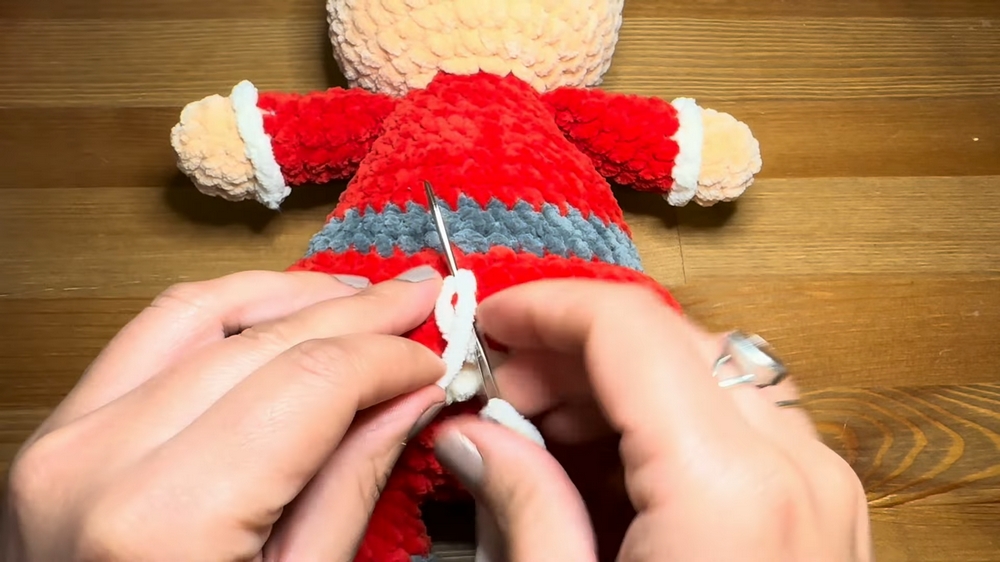
3: Crocheting the Body and Belt
- Body: Using red yarn, crochet in the round (about 36 SC per round) to form a wide body. Decrease as you move upward to shape Santa’s shoulders.
- Belt: Add a black or gray belt midway by transitioning to gray yarn. Work single crochet in back loops only to create a visible “front loop ridge” for embellishments. Continue working above the belt in red yarn.
- Stuffing: Continuously fill the body with fiberfill for a round, firm shape. Ensure limbs are well-stuffed and aligned with the body.
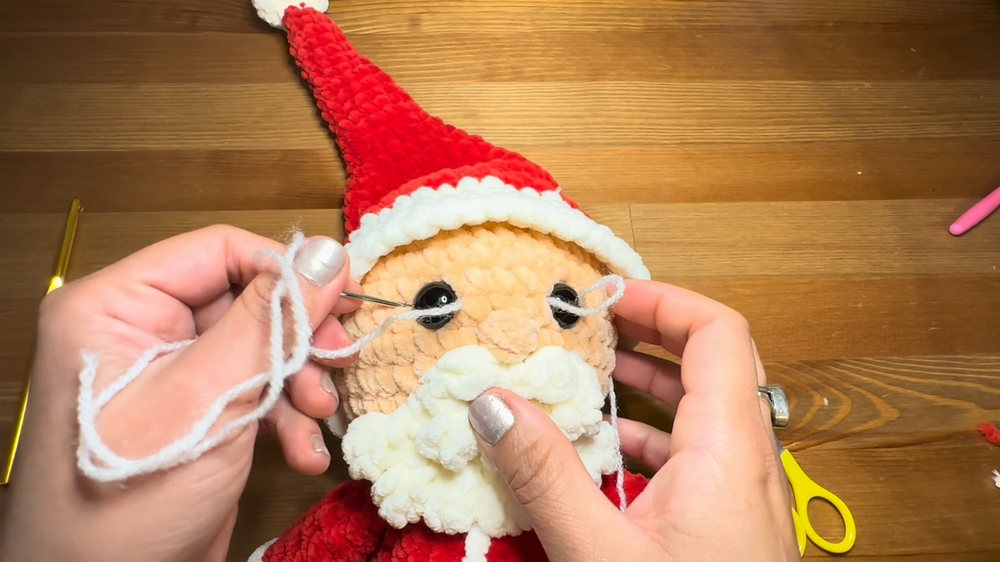
4: Crocheting and Attaching the Head
- Face: Switch to skin-tone yarn as you begin the neck and head. Increase to 42 SC and work several rounds for fullness.
- Eyes: Insert safety eyes 3 rounds below the head’s top edge, ensuring alignment with the shoulders. Secure tightly with backings.
- Decreasing to Close: Begin decreasing rounds while adding fiberfill to keep the head firm. Seal the top with decrease stitches to form a ball-like shape.
5: Crocheting the Hat
- Starting the Hat: Using red yarn, begin with 6 SC in a magic ring. Gradually increase stitches (e.g., 1 SC followed by 1 increase) to widen the base.
- Shaping the Hat: Transition to single crochet rounds without increasing, narrowing down to create a classic Santa hat cone.
- Pom-Pom: Create a small white puff for the hat’s tip using 6 SC in a tight circle. Stuff lightly, attach to the hat’s tip, and sew firmly.
- Cuff of the Hat: Use white yarn to crochet a thick and textured round cuff at the base of the hat.
6: Attaching Arms, Hat, and Beard
- Arms: Align the arms with the body’s shoulder seams before attaching. Use the darning needle to sew each arm firmly in place.
- Beard: Create a fluffy beard using puff stitches and single crochet rows. Attach it to the lower face area using white yarn.
- Hat: Sew the Santa hat at a slight angle for a playful and dynamic look.
Uses
- Holiday Decorations: Perfect as a festive centerpiece.
- Gifts: A thoughtful handmade gift for children and family members.
- Cozy Keepsake: Adds charm and warmth to your winter décor.
Final Tip
While working with plush yarn can be tricky, always pay attention to stitch placement and tension. If needed, practice with smoother yarn before attempting this project. Stitch markers and proper stuffing can make the process much easier.
Conclusion
This crocheted Santa is a stunning and huggable masterpiece that encapsulates the festive spirit. Despite its large size and intricate details, the pattern provides clear and manageable steps to help you bring this delightful project to life. Whether you’re crocheting it for holiday décor or as a cherished keepsake, this plush Santa will certainly add magic and joy to the season.