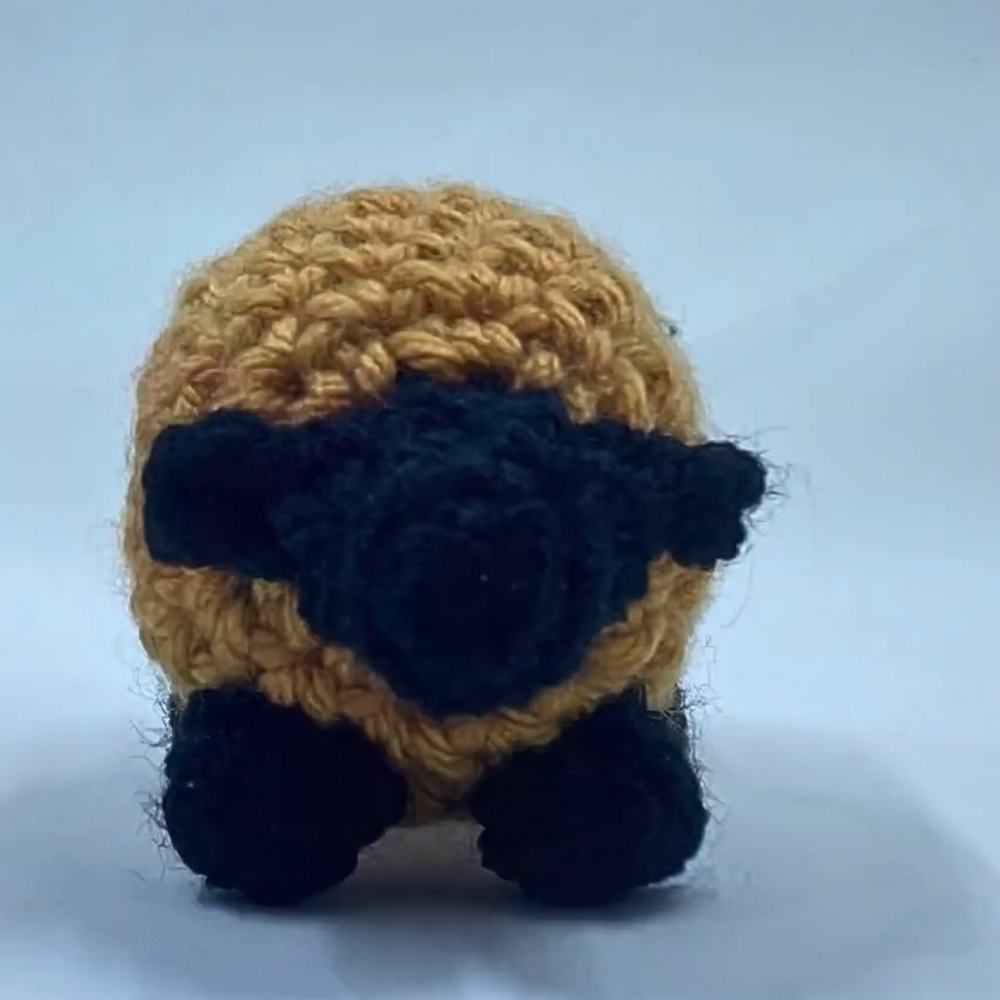
Cute Crochet Little Sheep Ideal in Baby Room Decor
Cuddle up with this Crochet Little Sheep Pattern for a cute, playful accessory that adds charm to gifts, décor, and cozy spaces.
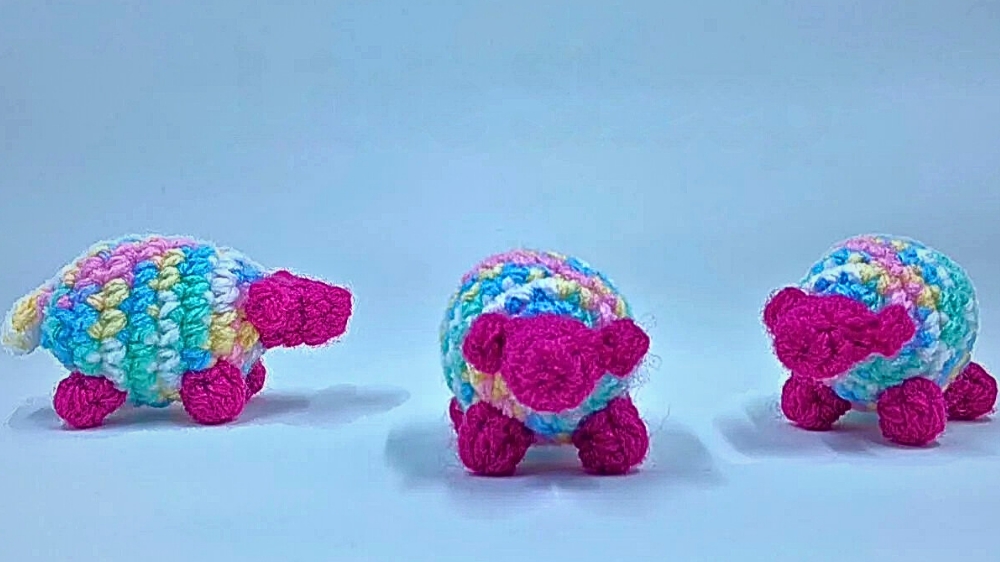
In quiet pastures, sheep have long symbolized gentleness, warmth, and calm, their soft fleece inspiring comfort and care. A crochet little sheep pattern captures this tender spirit, transforming it into a charming handmade companion that radiates both innocence and charm. Each stitch forms a textured body that feels inviting to touch, with delicate details highlighting its ears, legs, and tiny tail, giving the sheep a lifelike yet whimsical appeal. Ideal for nurseries, cozy corners, or as a thoughtful gift, this little sheep brings joy to both children and collectors, serving as a delightful ornament or a playful companion for storytelling.
Joyful Crochet Little Sheep Ideal in Soft Toy Displays
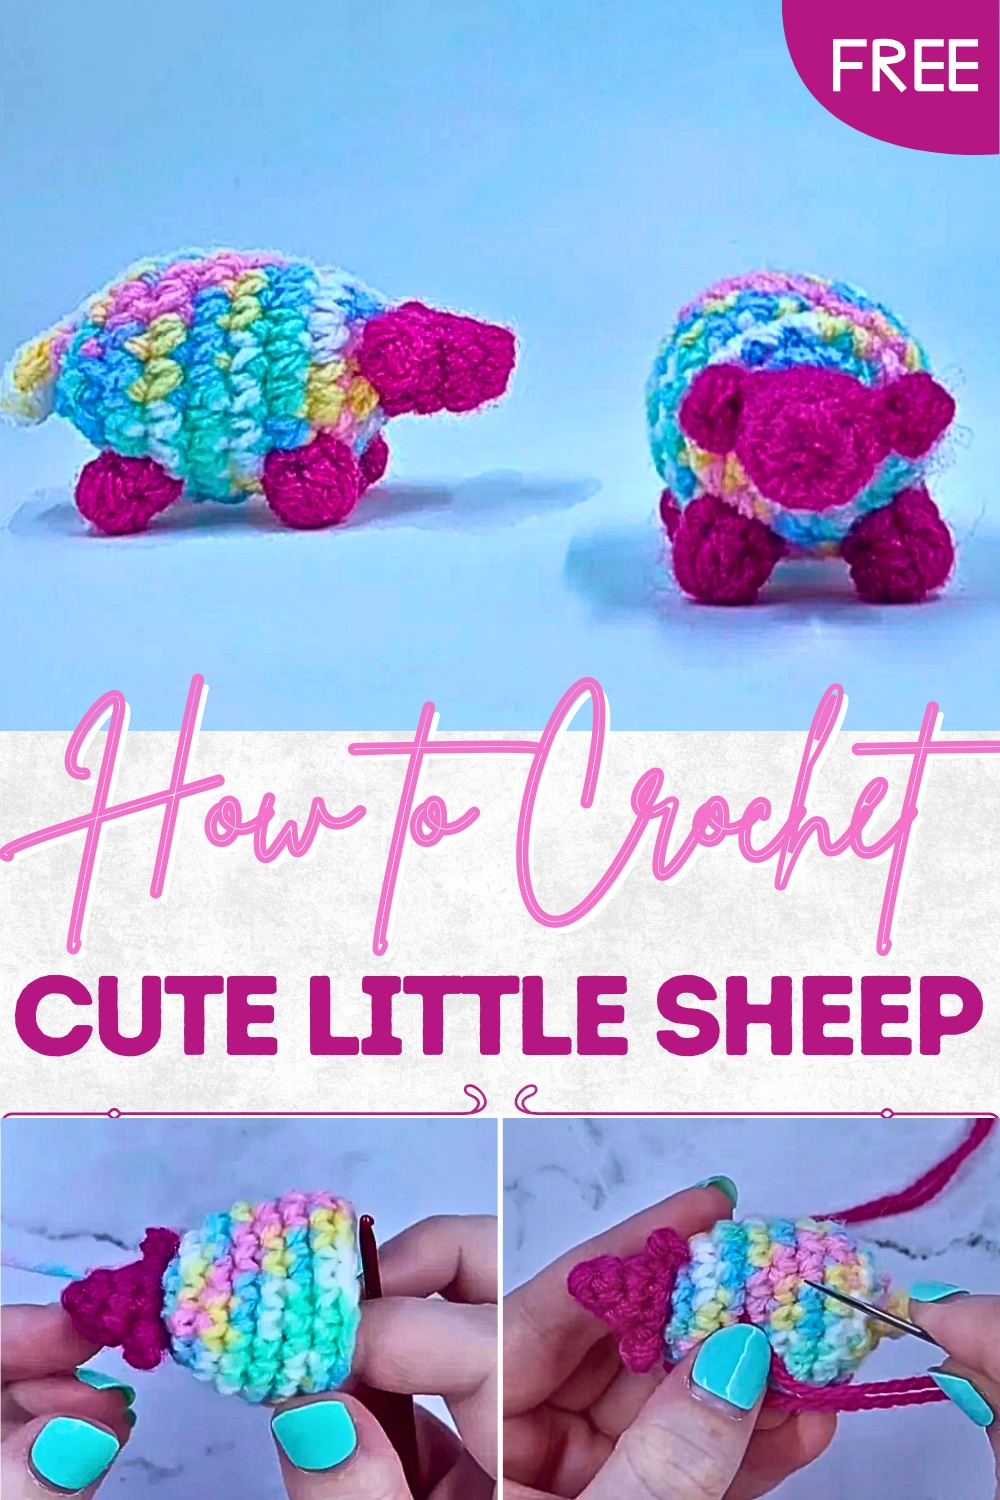
Its versatility extends beyond decoration—small versions can accent gift packages, accompany handmade collections, or become part of themed displays. The beauty of this piece lies not only in its soft, tactile form but also in the sense of care and thoughtfulness embedded in each stitch. With subtle variations in color and detail, every crochet sheep can carry a unique personality, making it a keepsake to cherish.
Beyond its aesthetic charm, the crochet little sheep embodies warmth, comfort, and gentle joy, offering a touch of handmade elegance that enhances any space while bringing a sense of serenity and delight to all who encounter it.
Materials Needed
- Yarn:
- Two colors of yarn:
- One for the head, feet, and ears (e.g., black, brown, or any bright color).
- A second for the body (solid or multicolored yarn).
- Yarn weight: No. 2, 3, or 4 (yardage details provided in the description of the original video).
- Option: Use cotton or cotton-blend yarn for durability.
- Two colors of yarn:
- Crochet Hook:
- Size depends on chosen yarn, but it’s recommended to go down a size from what the yarn label suggests for tighter stitches, ideal for amigurumi.
- Other Supplies:
- Stitch markers.
- Scissors.
- Pins (for positioning legs).
- Needle (a bent-tipped needle is especially helpful).
- Stuffing (fiberfill or yarn scraps for filling).
@wheeliemadeitcrochet
Special Features
- Seamless Construction: The face, ears, body, and tail are crocheted as one continuous piece, reducing the need for excessive sewing.
- Beginner-Friendly Complexity: Basic stitches like single crochet and slip stitches are used, along with straightforward shaping.
- Customizable Design: Adjust yarn colors, patterns, and weights to personalize your sheep.
- Versatility: These sheep can be used as pin cushions, toys, or novelty gifts and can be tailored by altering the size based on yarn weight and hook size.
- Durable Knit: For long-lasting results, use hard-wearing yarns like cotton blends or tightly secure the magic circle and joins.
Level of Difficulty
This project is suitable for confident beginners and intermediate crocheters. While it uses simple techniques like single crochet, front loop stitches, and magic circles, some sections (e.g., shaping the ears and attaching the legs) may be fiddly for absolute beginners. Patience and attention to detail will ensure success.
Tutor’s Suggestions
- Choosing Yarn: Use a darker color for the head and feet, but for clarity of stitches, consider testing the pattern with lighter yarns.
- Magic Circle Tips: Make sure to crochet over the tail thread to ensure a secure foundation in the head and feet.
- Stuffing Recommendations:
- Filling the Head: Use yarn scraps of matching colors to avoid any stuffing peeking out of the stitches.
- Body Stuffing: Wait until after round 11 to stuff so the shape is easier to manage.
- Leg Positioning: Pin the legs beforehand to adjust positioning and ensure symmetry while sewing.
- Use Stitch Markers: Always mark the first stitch of the round to keep track of continuous rounds.
Step-by-Step Instructions
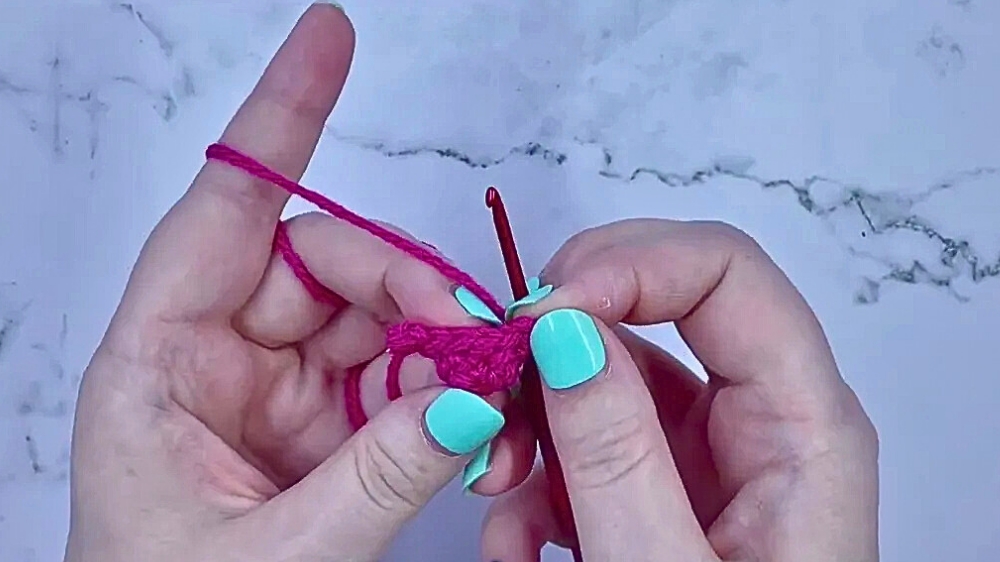
Step 1: Crocheting the Head and Nose (Rounds 1–4)
- Magic Circle:
- Create a magic circle and work 6 single crochets (SC) into it. Secure the circle tightly.
- Use a stitch marker to track the first stitch.
- Round 2:
- Work 1 SC into the marked stitch, then add 2 more SCs into each subsequent stitch (12 stitches total).
- Rounds 3-4:
- Crocheting the ears: Attach the first ear by chaining 4, slip stitching into the 4th chain from the hook, and adding it to the head.
- Mirror this process to complete the second ear.
- Add an invisible decrease and create the first rows of the body.
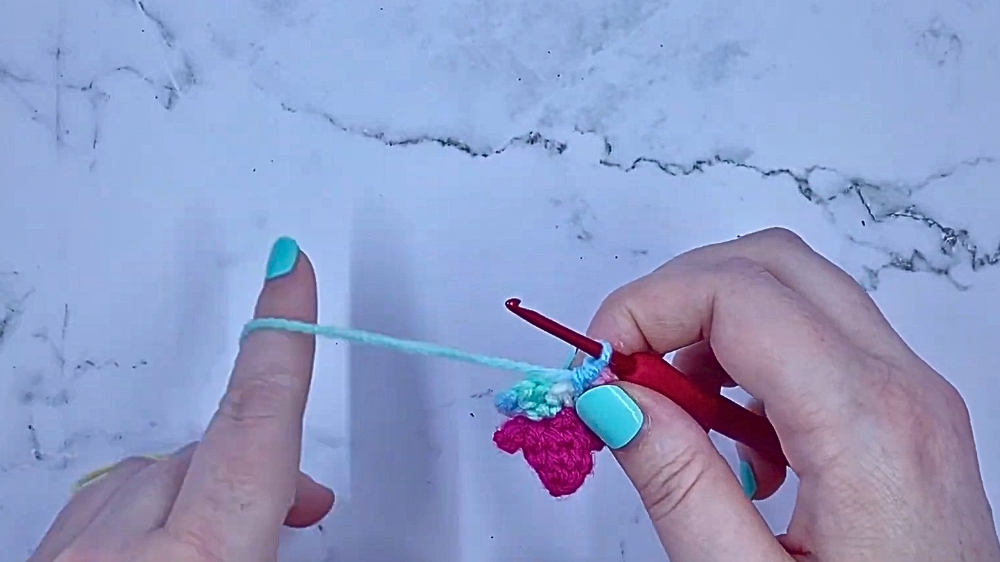
2: Crocheting the Body (Rounds 5–11)
- Building the Body:
- Use single crochet stitches to expand the body’s circumference. Switch to the second yarn color at the correct point, securely tying the tails for a neat transition.
- Shaping Steps:
- Use alternating invisible decreases and single crochet rows to create a rounded body that tapers toward the tail.
- Continuously add stuffing as the body’s shape becomes defined.
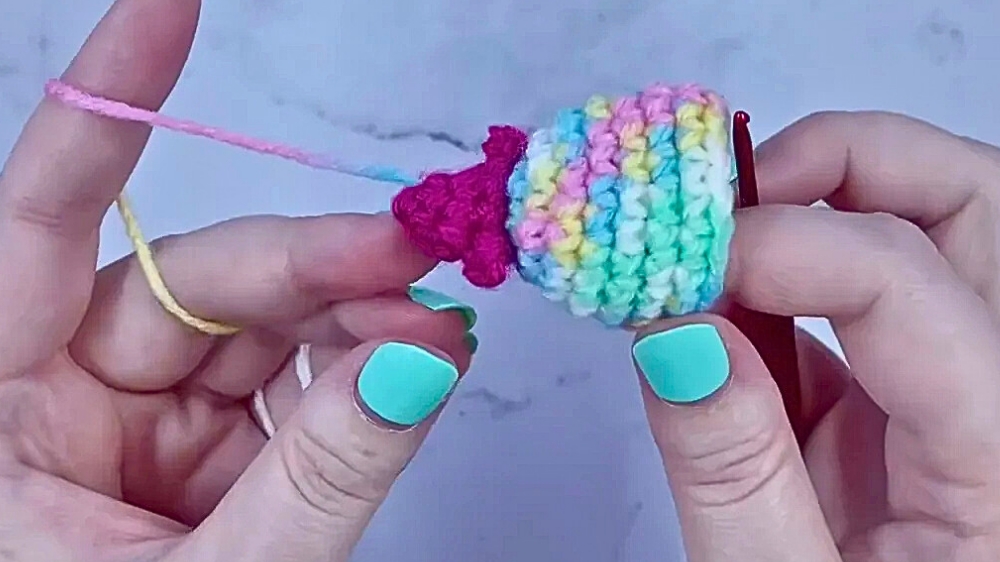
3: Adding the Tail (Final Rounds)
- Crocheting the Tail:
- The sheep’s tail is made with a combination of slip stitches and SC stitches. Add a small chain row for detail, flipping it over as with the ears.
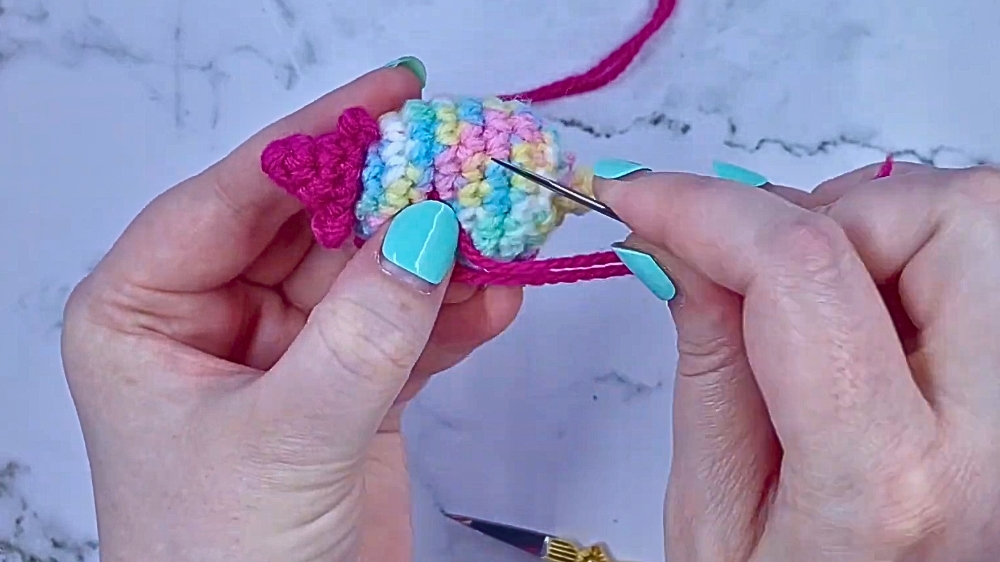
- Closing the Shape:
- Complete the final stitches in the body with invisible decreases and tighten up any openings with a thread-and-sew technique.
4: Creating the Legs (Make 4)
- Using the Magic Circle:
- Create a magic circle and place 5 half-double crochets (HDC) into the circle. Slip stitch to close the round.
- Reinforce the circle for durability.
- Attach the Legs:
- Lay the legs out, pinning them in place toward the body’s midline and securing them close to the central seam.
- Sew them in firmly, ensuring they sit snugly.
Uses
- Pin Cushions: A practical and charming way to store pins.
- Novelty Toys: Fun, handmade toys for kids and adults.
- Gifts or Decorations: Ideal as part of a themed gift set or as a shelf decoration.
- Custom Keepsakes: Personalize colors to represent a specific sheep or character.
Final Tip
When sewing the legs, use long tails of yarn and small, consistent stitches to ensure they remain securely attached. For extra durability, add another pass around the legs for reinforcement if the sheep will be used as a toy.
Conclusion
This amigurumi sheep project is a delightful way to combine artistry and functionality. With straightforward instructions, a seamless design, and plenty of room for customization, you can create a unique and endearing crochet piece. Whether you’re crocheting it as a gift, a collectible, or a practical item, this sheep is sure to bring joy to anyone who sees it.