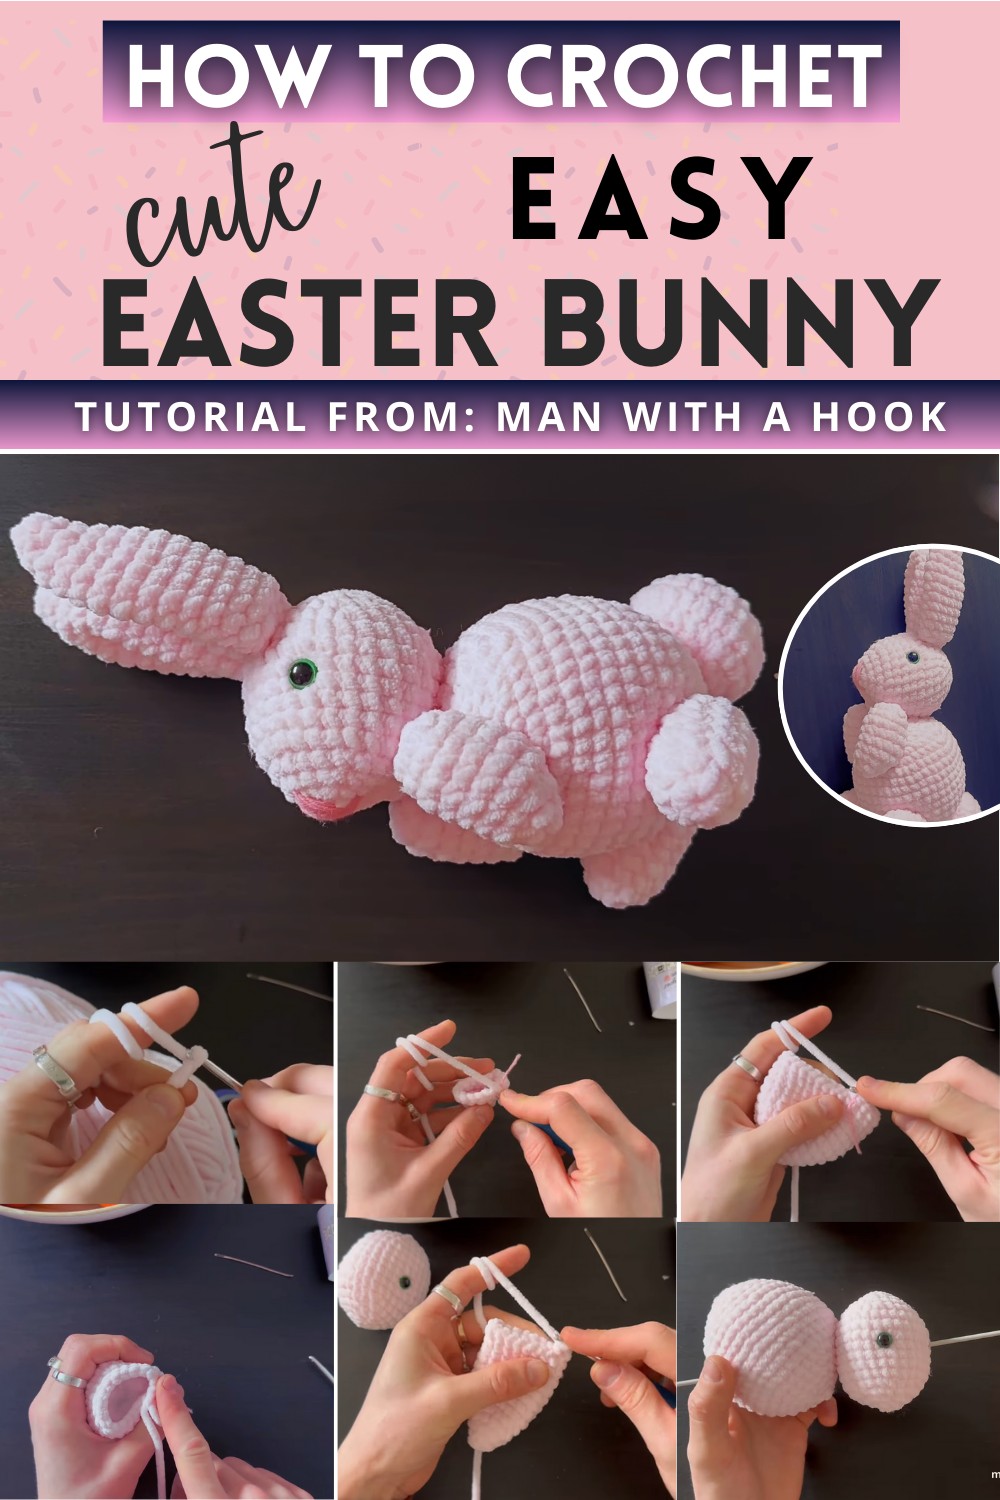
Cute Crochet Easter Bunny Amigurumi Pattern
Cuddling with a fluffy, soft Easter bunny that you’ve made with your own two hands! That’s what creating a Cute Crochet Easter Bunny Amigurumi is all about. This delightful little project lets you crochet your very own adorable bunny, perfect for Easter or any time you need a sprinkle of cuteness in your life.
Cute Crochet Easter Bunny Amigurumi
Materials Needed:
- Yarn (Pink used in the video, Art Dolce, No. 781)
- Scissor
- Crochet Hook (Size 4)
- Needle (for sewing)
- Safety eyes
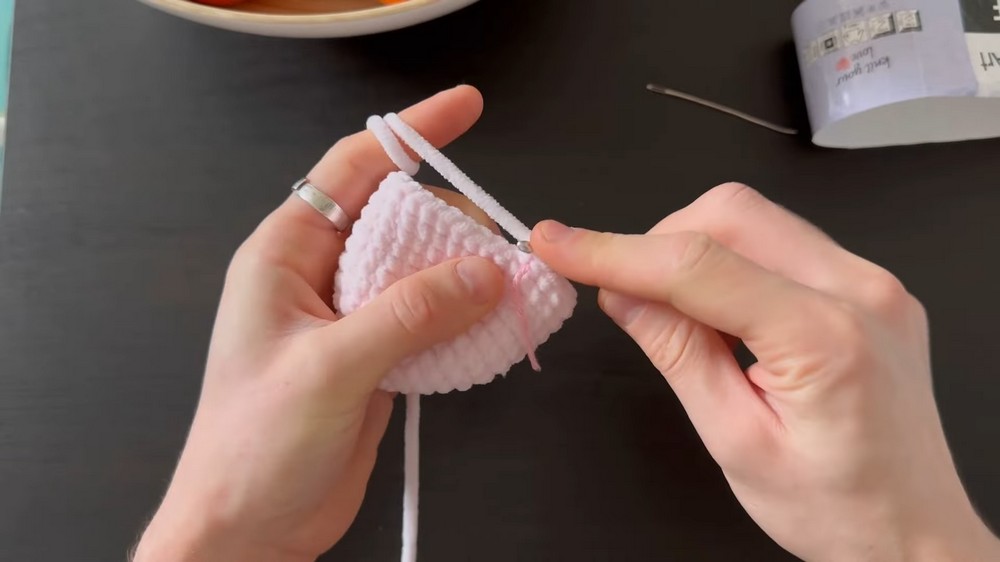
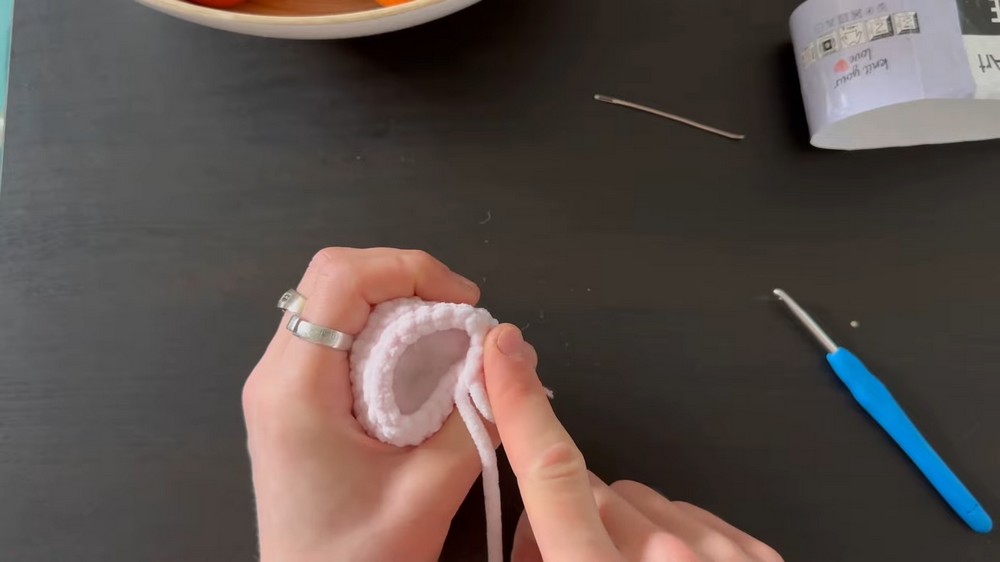
Head:
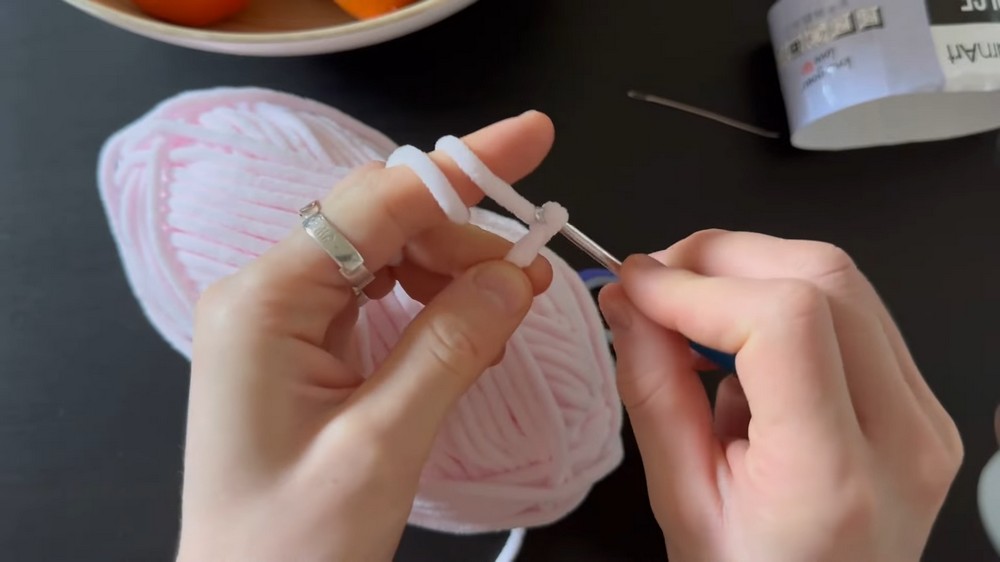
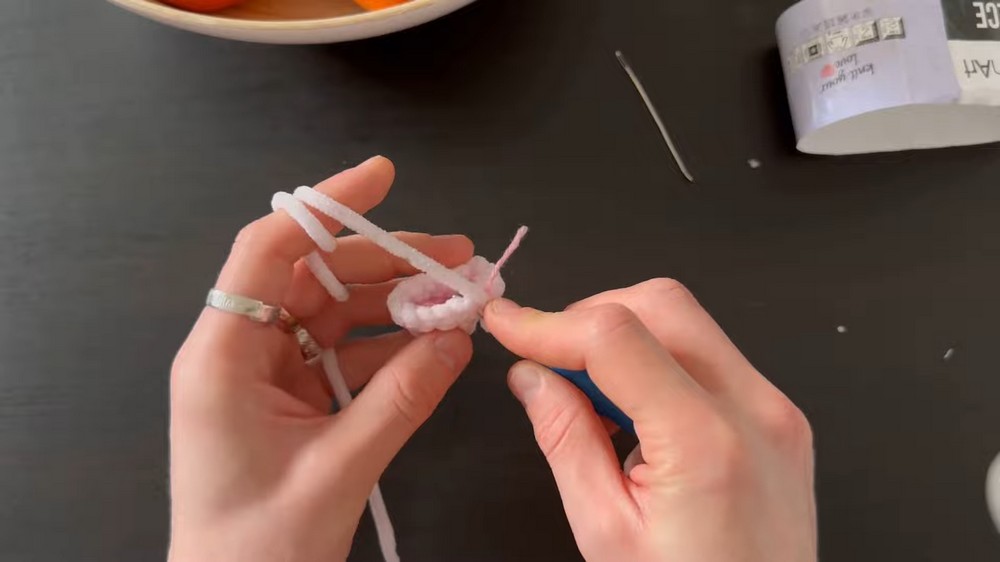
Start with Magic Circle: 6 sc in magic circle (6 stitches)
- Increase Row: 2 sc in each around (12 stitches)
- Second Increase Row: 1 sc, 1 increase repeat 6 times (18 stitches)
- Third Increase Row: 2 sc, 1 increase repeat 6 times (24 stitches)
- Fourth Increase Row: 3 sc, 1 increase repeat 6 times (30 stitches)
- Rows 6-12: sc around (30 stitches each row for 7 rows)
- Decrease for Shape: 3 sc, 1 decrease repeat 6 times (24 stitches)
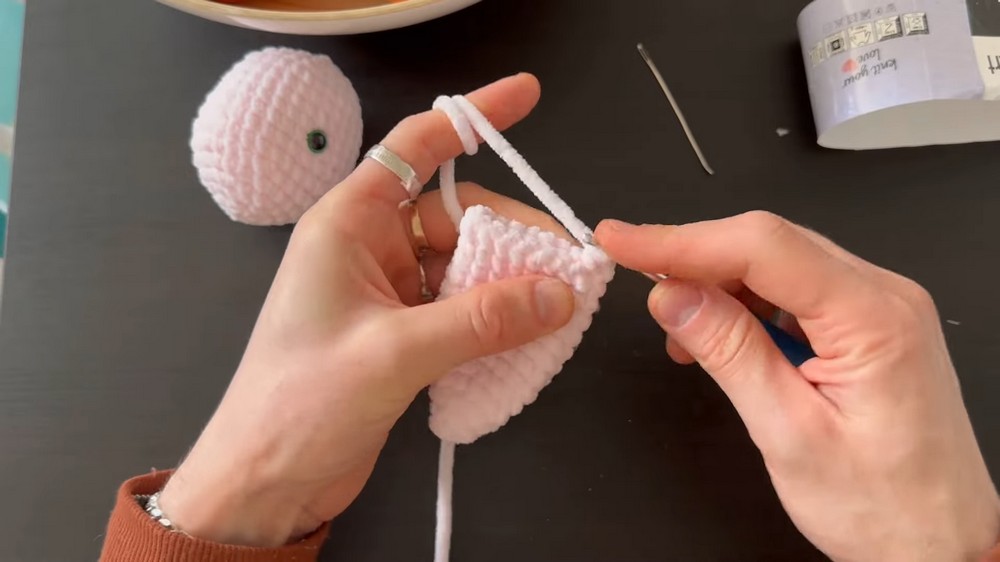
- Add safety eyes between rows 7 and 8, ensuring 11 stitches apart.
More Decreases: 2 sc, 1 decrease repeat 6 times (18 stitches)
- Final Head Shaping: 1 sc, 1 decrease 6 times, then 6 decreases. Fill before closing. Sew the opening closed.
Ears (Make 2):
Starting Chain: Chain 2. From second chain from hook: 6 sc (6 stitches)
First Row: 6 sc around (6)
Increase Rows:
- First Increase Row: 2 sc in each around (12 stitches)
- 1 sc, 1 increase repeat 6 times (18 stitches)
Rows 6-13: sc around (18 stitches each row for 8 rows)
- Finishing: Fold ear in half and crochet edges together (15 stitches), then perform a slip stitch to close. Repeat for second ear.
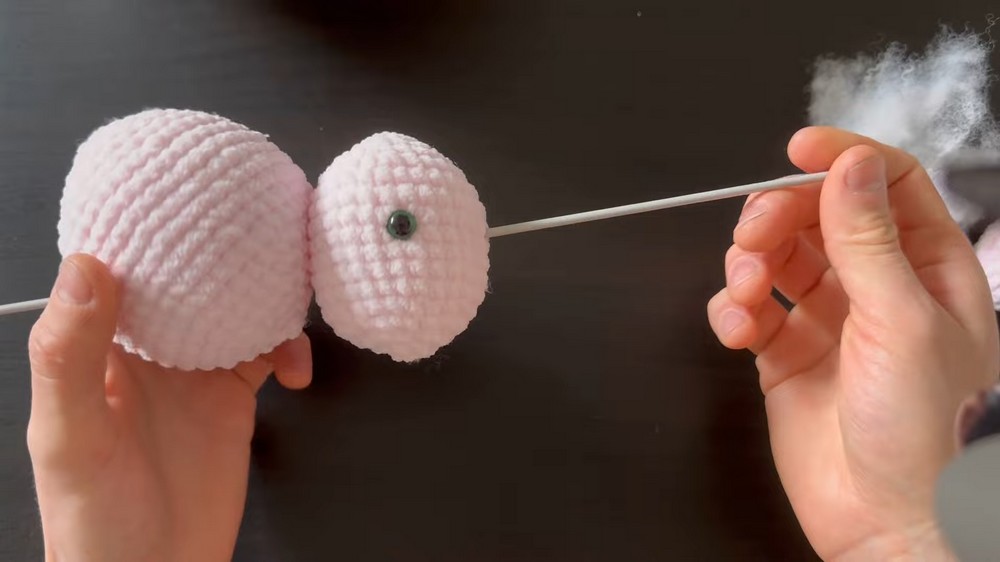
Body:
Starting Chain: Chain 2. From second chain: 6 sc inside
- Increase Series: Repeat increase pattern (1 sc, 1 increase) gradually adding one stitch between increases until you reach 5 sc, 1 increase.
- Straight Rows: sc around for 7 rows (42 stitches)
Finish with Series of Decreases: Follow a similar pattern for decreases, starting with 5 sc, 1 decrease and reducing the number of sc between decreases until you close the body. Remember to fill before completely closing.
Feet (Make 4):
Start with a chain of 2, from the second chain: 6 sc.
- First Increase Row: 6 increases to 12 stitches.
- Rows: 12 sc for 5 rows, fill slightly, then decrease (6 decreases) and sew closed.
Tail:
- Start with a chain of 2, in the second chain: make 8 sc. Then, perform 8 increases to achieve 16 stitches.
- The next row, perform 1 sc, 1 increase for a total of 24 stitches.
- Maintain 24 stitches for three rows, then perform 12 decreases and close with a slip stitch.
Assembly:
- Sew all parts together as instructed. For the ears and other components, fold as described and attach securely to the body. The facial features (nose and mouth) can be added last by shaping with sewing or embroidery for the desired expression.