Crochet Tulip Granny Square Pattern Pattern
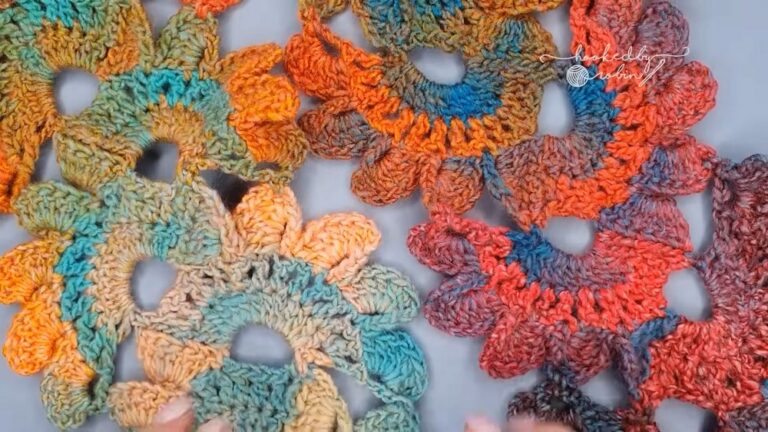
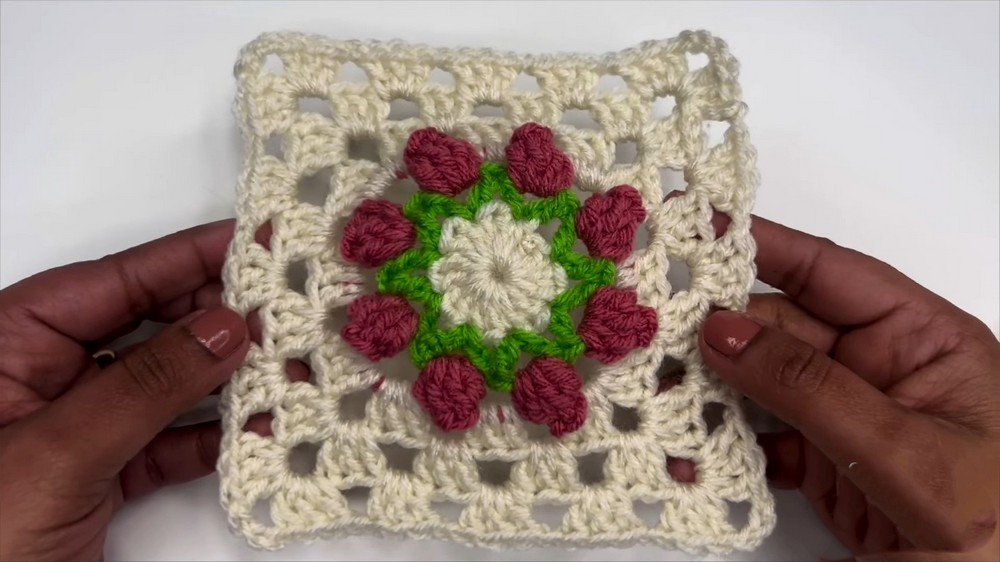
The Tulip Granny Square pattern is a beautiful and beginner-friendly crochet project. You can create a square with a stunning 3D flower design. This pattern is versatile and can be used in a variety of crochet projects, such as blankets, scarves, or pillow covers, adding a touch of beauty to your creations.
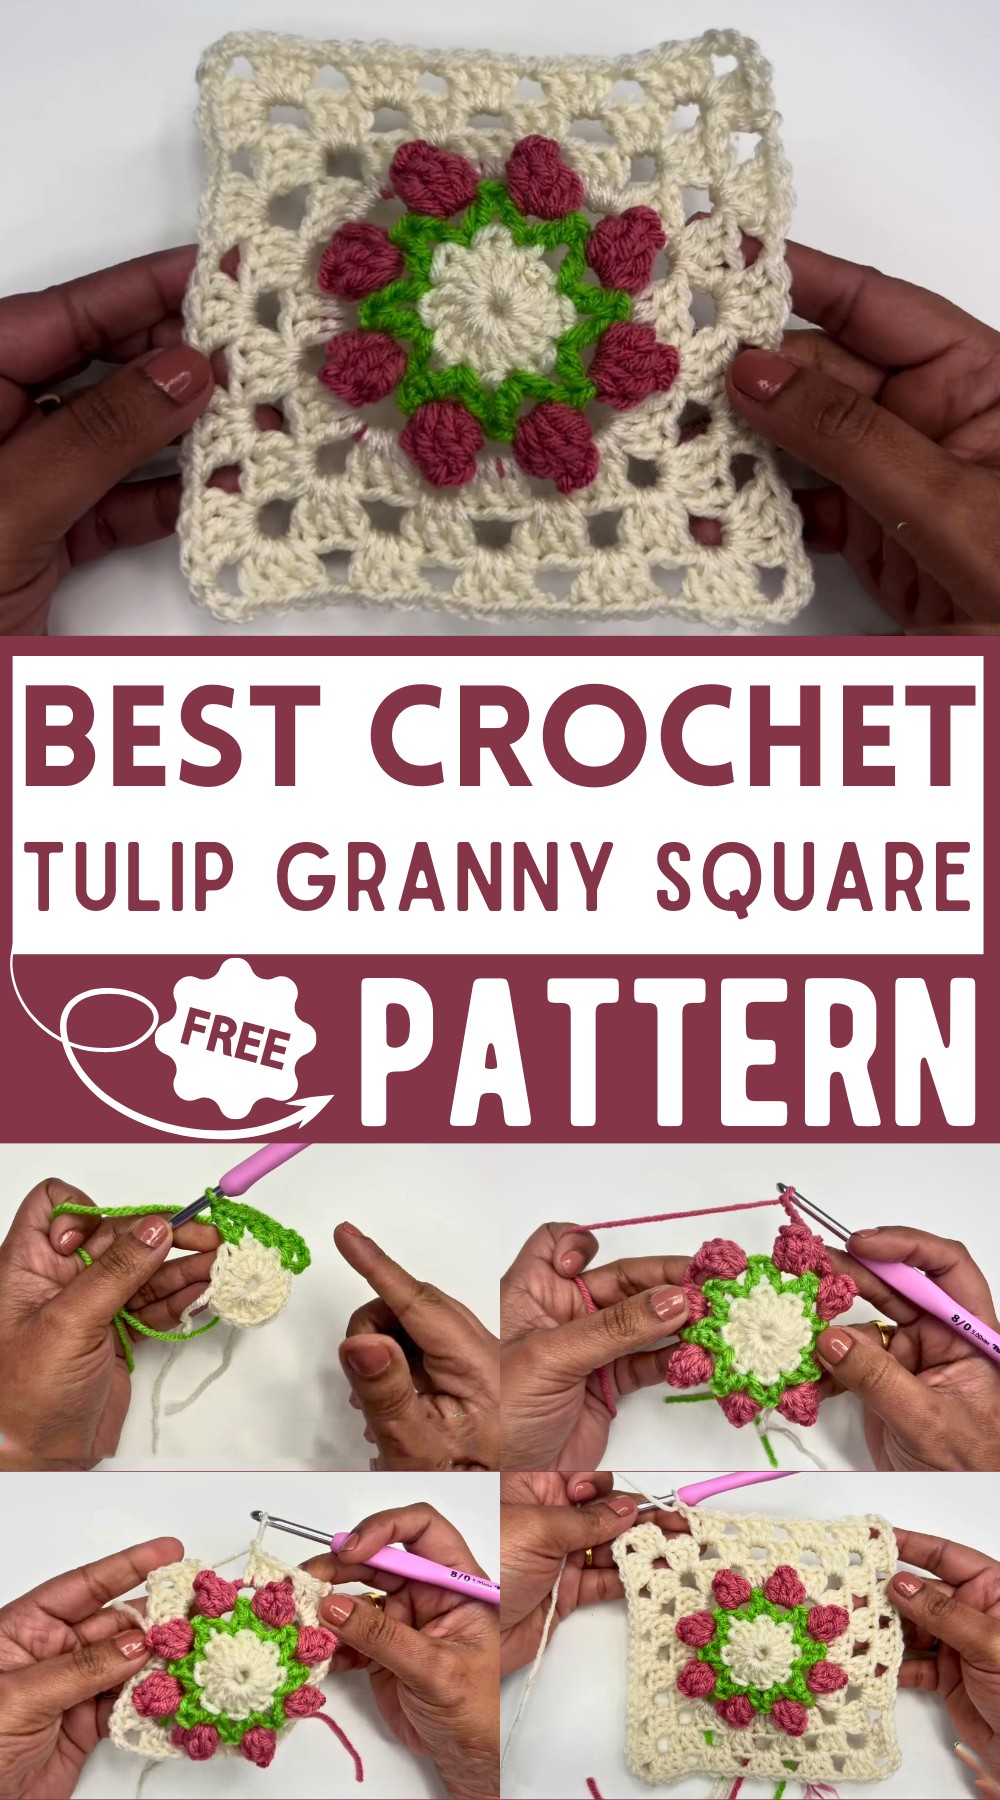
The square combines simple stitches like double crochet and popcorn stitches, resulting in a delightful floral motif. The final piece looks detailed and elegant, perfect for both gifting and home decoration.
How To Crochet Tulip Granny Square
Materials:
- Yarn in three colors
- Crochet Hook (5mm recommended)
- Scissors
- Yarn needle
Abbreviations You Must Know:
- ch: Chain
- dc: Double Crochet
- sl st: Slip Stitch
- sc: Single Crochet
- st: Stitch
- yo: Yarn Over
- sk: Skip
- rnd: Round
Instructions:
Step 1: Magic Circle or Ring
- Magic Circle:
- Wrap the yarn around two fingers to form an “X.”
- Pinch the intersection and pull out a loop.
- Insert the hook into this loop, yarn over, and pull through.
- Adjust the loop on the hook so it’s not too tight or loose.
- Yarn over and pull through the loop on the hook.
- Alternate Start:
- Chain 4, join with a slip stitch to form a ring.
- Work Round 1 stitches into this ring.
Step 2: Round 1
- Chain 1 (Does not count as a stitch).
- Work 16 double crochets (dc) into the magic circle.
- Pull the magic circle tail to close the ring.
- Slip stitch into the first double crochet to join.
Step 3: Round 2
- Join green yarn with a slip stitch in any stitch from Round 1.
- Chain 3 (counts as a dc), chain 1, dc in the same stitch.
- Skip the next stitch.
- Repeat Pattern: 1 dc in the next stitch, chain 1, 1 dc in the same stitch, skip the next stitch.
- Repeat this pattern all the way around.
- Join with a slip stitch into the top of the chain 3.
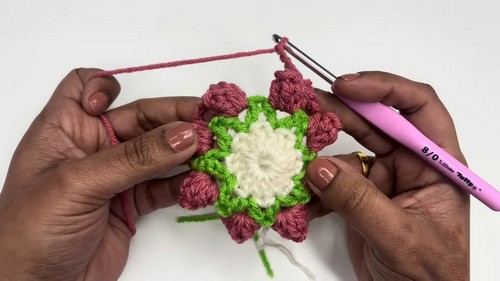
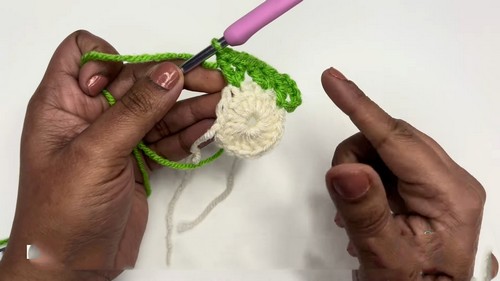
Step 4: Round 3 – Flower Formation
- Join flower color yarn in any chain 1 space with a slip stitch.
- Chain 3 (counts as a dc).
- Work 4 more dc in the same space (total 5 dc including chain 3).
- Remove the hook from the loop, insert it into the first of these dcs (third chain of chain 3).
- Pull the dropped loop through this stitch to form a popcorn stitch.
- Chain 4.
- Repeat Pattern: Popcorn stitch in the next chain 1 space, chain 4.
- Repeat this pattern all the way around.
- Slip stitch into the first popcorn stitch to join.
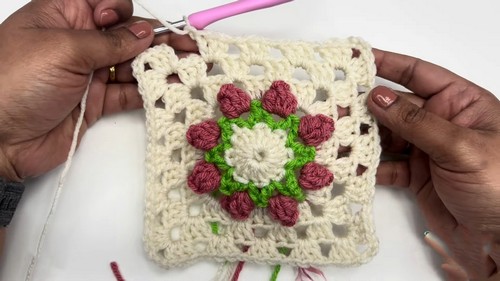
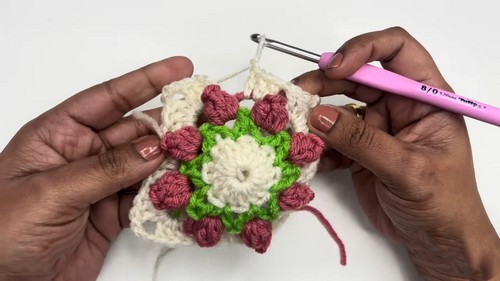
Step 5: Round 4 – Forming the Square
- Join off-white yarn to any chain 4 space with a slip stitch.
- Chain 3 (counts as a dc), work 2 more dc in the same space.
- Chain 3, work 3 dc in the same space (corner formed).
- Chain 1.
- Repeat Pattern: 3 dc in the next chain 4 space, chain 1, 3 dc, chain 3, 3 dc in the next chain 4 space (corner).
- Repeat until you have a square shape.
- Slip stitch on top of the starting chain 3.
Step 6: Round 5
- Slip stitch to the next 2 dcs and slip stitch in the chain 3 space.
- Chain 3 (counts as a dc), 2 more dc in the same space.
- Chain 3, 3 more dc in the same space, chain 1.
- Repeat Pattern: 3 dc in each chain 1 space, chain 1.
- For Corners: 3 dc, chain 3, 3 dc in each chain 3 space corner.
- Slip stitch on top of the starting chain 3.
Step 7: Round 6
- Slip stitch to the next 2 dcs and slip stitch in the chain 3 space.
- Chain 3 (counts as a dc), work 2 more dc in the same space.
- Chain 3, 3 dc in the same space, chain 1.
- Repeat Pattern: 3 dc, chain 1 in each chain 1 space.
- For Corners: 3 dc, chain 3, 3 dc in each chain 3 space corner.
- Slip stitch on top of the starting chain 3.
- Fasten off the yarn.

Finishing the Granny Square
- Weave in all tails using the yarn needle.
- Optionally, block the granny square for cleaner edges.
Notes
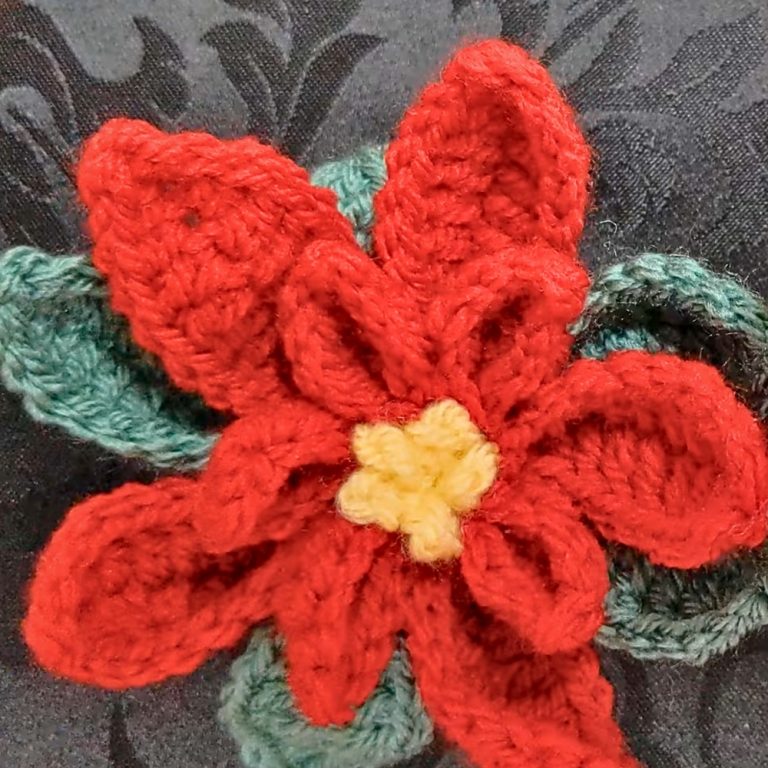
- Each round builds upon the previous one, following the instructions carefully will help in achieving the desired Tulip Granny Square with a 3D flower effect.
By following these steps, you will have a beautiful Tulip granny square with a lovely 3D flower in the center. Enjoy crocheting!