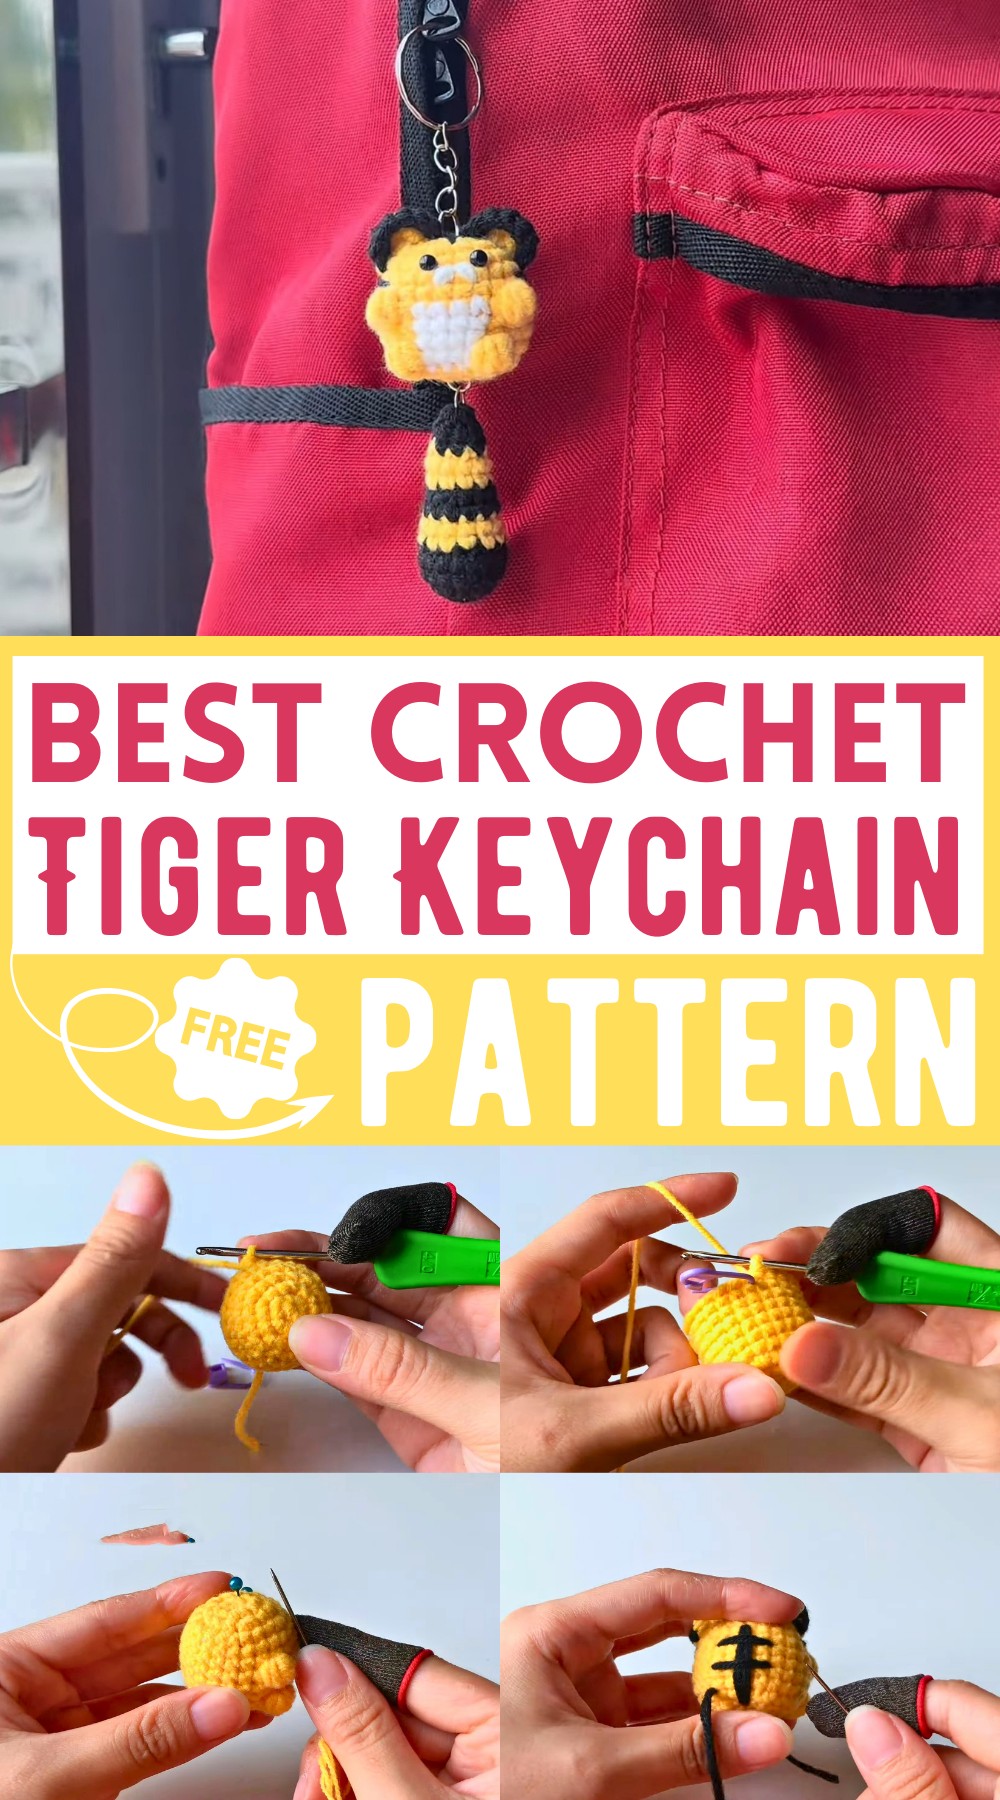
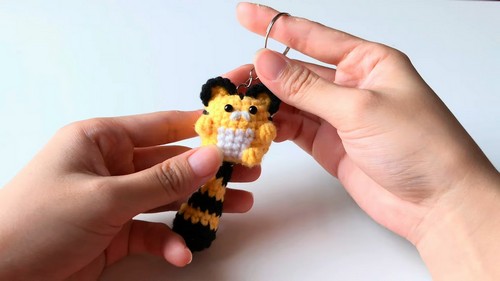
Crochet Tiger With Slinging Tail Keychain Pattern
For your little tiger, bring this Crochet Tiger Amigurumi Keychain to life with the delightful pattern! This charming project features a cute tiger with vibrant yellow and black stripes, perky ears, and a tiny, endearing tail. The finished tiger makes a playful accessory for keys or bags, adding a touch of handmade joy to your everyday items. It’s also a thoughtful gift, sure to bring a smile to anyone’s face. Enjoy crafting your very own tiny tiger!
Uses of Amigurumi Tiger Keychain
Here are some fun ways to use it:
- Key Organizer: Attach it to your keys to easily spot them in your bag.
- Bag Charm: Add a playful touch to your backpack, purse, or tote bag.
- Gift: Make a thoughtful handmade gift for friends or family.
- Desk Decor: Place it on your desk for a cheerful, handcrafted display.
- Kids’ Backpack: Let your child’s backpack stand out with this charming tiger.
How To Crochet Tiger Amigurumi Keychain
Materials:
- Yarn (Yellow, White, and Black)
- Crochet hook matching the yarn size
- Stitch marker
- Scissors
- Cotton stuffing
Abbreviations:
- MR: Magic Ring
- sc: Single Crochet
- inc: Increase (2 sc in the same stitch)
- dec: Decrease (single crochet two stitches together)
- sl st: Slip Stitch
- ch: Chain
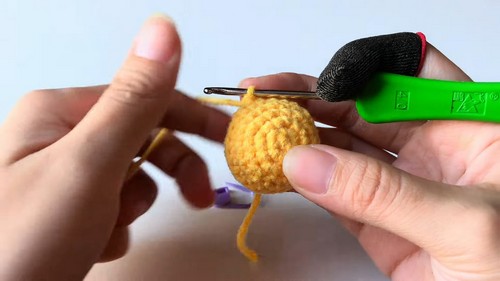
Body:
Round 1:
- Create a Magic Ring (MR).
- Crochet 6 sc into the MR. [6 stitches]
- Pull the yarn to close the loop.
Round 2:
- sc into the first stitch and mark this stitch.
- sc again into the same first stitch (1 inc).
- Inc in each remaining stitch around. [12 stitches]
Round 3:
- sc into the first stitch and mark this stitch.
- Inc in the second stitch.
- sc in the next stitch, inc in the following; repeat around. [18 stitches]
Round 4:
- sc into the first stitch and mark this stitch.
- sc in the second stitch.
- Inc in the third stitch.
- sc in the next 2 stitches, inc in the following stitch; repeat around. [24 stitches]
Round 5:
- sc into the first stitch and mark this stitch.
- sc in each stitch around. [24 stitches]
Round 6:
- sc into each stitch around. [24 stitches]
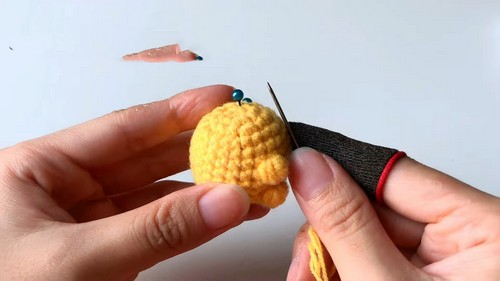
Round 7:
- sc in the first 8 stitches, mark the first stitch.
- Bobble stitch in the next stitch:
- Yarn over, insert hook, pull up a loop, yarn over, pull through 2 loops, repeat 3 more times.
- Yarn over, pull through all 5 loops.
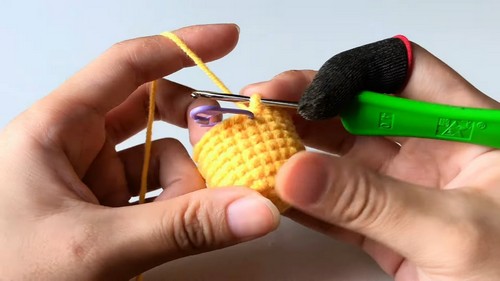
- sc in the next stitch, switch to white yarn.
- sc in the next 4 stitches.
- Switch back to yellow yarn.
- sc in the next stitch.
- Bobble stitch in the following stitch.
- sc in each remaining stitch to end the round. [24 stitches]
Round 8:
- sc in the first 10 stitches, mark the first stitch.
- Switch to white yarn.
- sc in the next 4 stitches.
- Switch back to yellow yarn.
- sc in each remaining stitch to end of the round. [24 stitches]
Round 9:
- Same as Round 8.
Round 10:
- sc in the first 9 stitches, mark the first stitch.
- Bobble stitch in the next stitch, switch to white yarn.
- sc in the next 4 stitches.
- Switch back to yellow yarn.
- Bobble stitch in the following stitch.
- sc in each remaining stitch to end the round. [24 stitches]
Round 11:
- sc in the first stitch, mark the first stitch.
- Dec stitch in the next stitch.
- sc in the next stitch, dec in the following stitch; repeat around. [16 stitches]
Round 12:
- sc in the first stitch, mark the first stitch.
- Dec in the next stitch, sc in the following; repeat around. [12 stitches]
- Stuff cotton inside.
Round 13:
- Dec stitch around. [6 stitches]
- Leave a piece of yarn and cut. Fasten off to close.
Ears (make 2):
Round 1:
- Create a MR.
- Crochet 5 sc into the MR. [5 stitches]
- Leave a long piece of yarn and cut it. Pull to close the loop.
Round 2:
- Insert hook through any stitch, pull up black yarn, chain 1.
- sc into the current stitch.
- Inc in the next stitch.
- sc in the next stitch, inc in the following; repeat around. [8 stitches]
- Leave a short piece of yarn and cut it. Hide excess yarn inside.
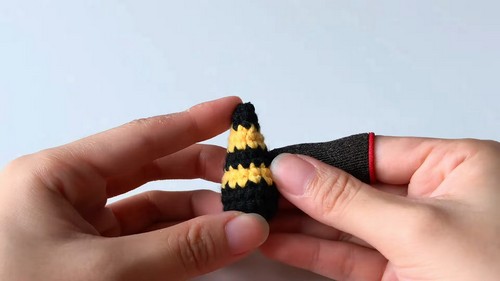
Tail:
Round 1:
- Create a MR.
- sc 6 stitches into the MR. [6 stitches]
- Pull the yarn to close the loop and make a sl st in the first stitch.
Round 2:
- Chain 1.
- Inc in each stitch around. [12 stitches]
- Sl st into the first stitch to close.
Round 3:
- Chain 1.
- sc in the first 2 stitches.
- Inc in the third stitch.
- sc in the next 2 stitches, inc in the following; repeat around. [16 stitches]
- Sl st into the first stitch.
Rounds 4-5:
- Chain 1.
- sc around. [16 stitches in round 4 & 5]
- Change to yellow yarn.
Round 6:
- sc in the first 2 stitches.
- Dec stitch in the following.
- sc in the next 2 stitches, dec in the following; repeat around. [12 stitches]
Rounds 7-8:
- sc in the first stitch.
- Dec stitch in the following.
- sc in the next stitch, dec in the following; repeat around. [6 stitches]
- Change to black yarn and cut off the yellow.
Rounds 9-10:
- sc in each stitch around. [6 stitches]
Round 11:
- sc in the first stitch.
- Dec stitch in the following.
- sc in the next stitch, dec in the following; repeat around. [4 stitches]
Round 12:
- sc in each stitch around. [4 stitches]
- Stuff the tail with a bit of cotton.
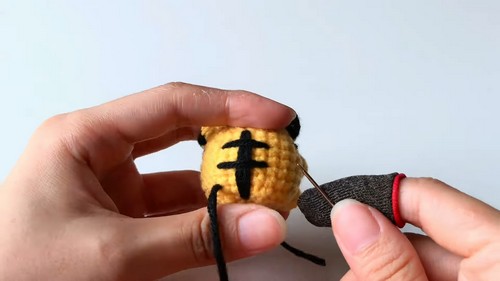
Assembly:
- Sew the ears to the top of the head.
- Attach the tail to the back.
That’s it! You have your crocheted tiger keychain. Enjoy your crafting!