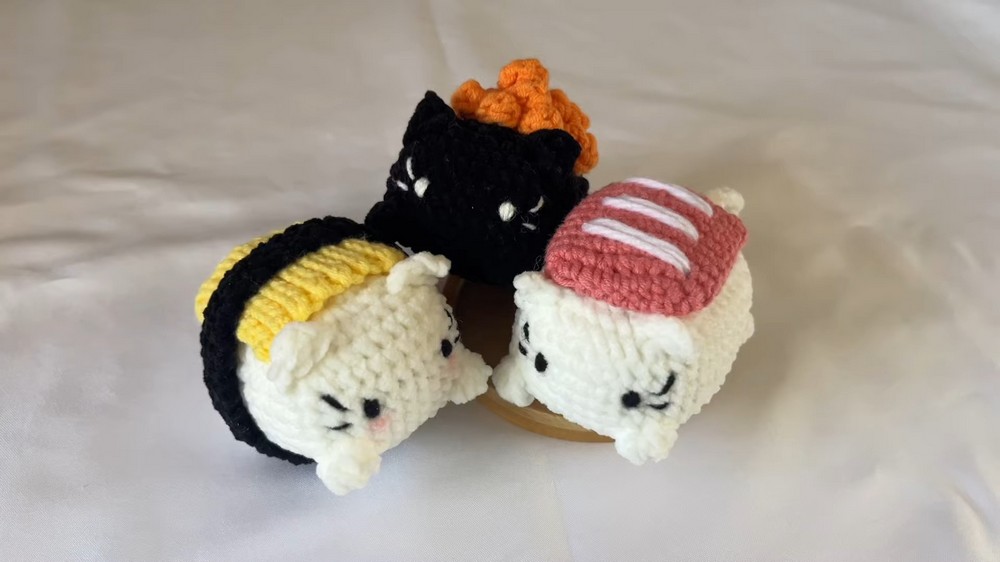
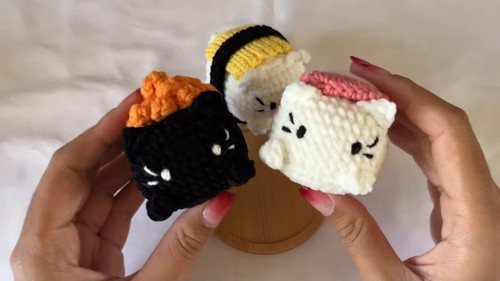
Crochet Sushi Cats Amigurumi Pattern For Sushi Lovers
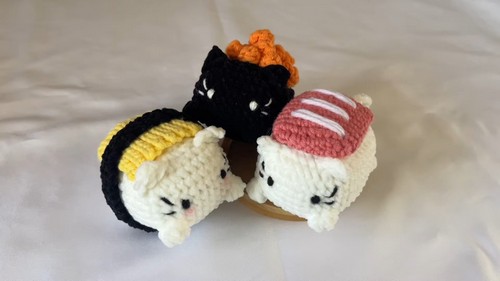
In this crochet amigurumi tutorial, you’ll learn to Crochet Adorable Sushi Cats! These cute crafts feature three different sushi styles: Nikiti with fish, Tamago with egg and seaweed, and Ikura with salmon eggs.
Crochet Sushi Cats Amigurumi Pattern

The pattern guides you to create cat bodies with detailed instructions, shaping them into perfect squares. You’ll also add charming details like ears, tails, eyes, and whiskers. They look super cute and are a fun, rewarding challenge to make.
Why love this pattern?
- Adorableness:
- The end result is a set of super cute sushi cats. Each cat features distinct sushi details such as fish, egg, and salmon eggs. Their adorable design is sure to bring joy to anyone who crafts or receives them.
- Innovation and Creativity:
- The pattern combines the traditional craft of crochet with the whimsical concept of sushi cats, showcasing creativity and innovation. It’s perfect for crafters looking to try something new and different.
- Room for Personalization:
- You can personalize the sushi cats with your choice of colors and materials. This flexibility allows you to be creative and make each piece uniquely yours.
- Skill Development:
- By following this pattern, you can develop a sense of accomplishment while honing your craft. The detailed explanation of stitches and techniques aids in enhancing your overall crochet proficiency.
- Kawaii Factor:
- The pattern taps into the popular “kawaii” (cute) culture, offering a fun project for those who love creating charming and delightful items.
How To Crochet Sushi Cats Amigurumi
Materials Needed
- Yarn (colors: Black, White, Pink, Yellow, Red, and other desired colors)
- Crochet Hook
- Stitch Markers
- Needle
- Pins
- Scissors
- Glue (optional)
Abbreviations
- ch: chain
- sc: single crochet
- inc: increase (2 sc in the same stitch)
- dec: decrease (2 sc together)
- sl st: slip stitch
- pop: popcorn stitch
- dc: double crochet
Body
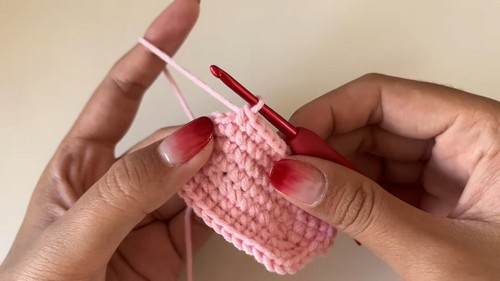
- Start with a Slip Knot
- Make 10 chains (ch).
- Round 1
- Start from the second chain (from the hook).
- Insert the hook into the second chain, make 2 single crochet (sc). (Mark the first stitch)
- Make 7 sc in the next 7 chains.
- In the last chain, make 4 sc.
- Work on the bottom side of the chain.
- Make 7 sc.
- In the last chain, make 2 sc.
- Join with a slip stitch (sl st) to the first stitch.
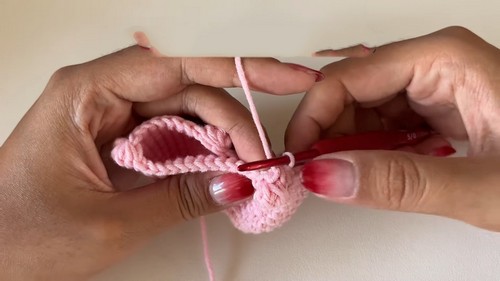
- Rounds 2-11
- (Start each round with chain 1, join with a slip stitch at the end)
- Round 2: 1 sc, 3 sc in the next stitch, 7 sc, 3 sc in the next stitch, 1 sc (repeat pattern).
- Round 3: 2 sc, 3 sc in the next stitch, 9 sc, 3 sc in the next stitch, 2 sc (repeat pattern).
- Round 4: 3 sc, 3 sc in the next stitch, 11 sc, 3 sc in the next stitch, 3 sc (repeat pattern).
- Rounds 5-9: Work 1 sc in each stitch, for 46 stitches each round.
- Round 10: 4 sc, pop stitch (4 dc), 13 sc, pop stitch (4 dc), 8 sc (repeat pattern with pops as legs).
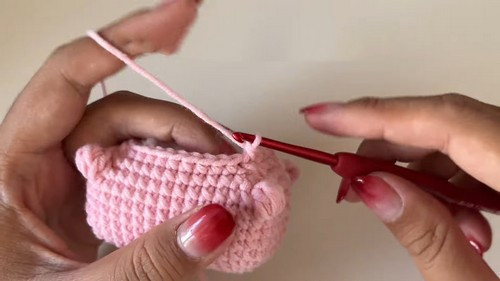
- Round 11: 3 sc, 3 sc decrease (dec), 11 sc, 3 sc dec, 6 sc (repeat).
- Round 12: 2 sc, 3 sc dec, 9 sc, 3 sc dec, 4 sc (repeat).
Eyes, Whiskers, and Ears
- Eyes
- Embroider the eyes on Round 7.
- Position should be 6 stitches apart.
- Whiskers
- Use two strands of yarn, behind each eye.
- Ears
- Crochet the ears directly onto the body.
- Right Ear: Start 2 stitches behind the upper whisker, 3 chains, 1 sc in the second chain, 1 dc in the next.
- Left Ear: Behind whiskers, similar to the first ear.
Tail
- Tail
- Crochet directly onto the body, 4-5 chains depending on desired length.
- Attach by piercing the body at the corresponding position.
Sushi Elements
- Salmon Eggs
- Make 50 chains.
- Use 3 DC cluster (3 dc in one stitch) and single crochet for pattern.
- Egg
- 13 chains.
- Work 1 slip stitch into each, in back loops only.
- Repeat until wide enough.
- Fish
- 7 chains.
- Round 1: Increase, 4 sc, 4 sc in last chain.
- Work on the bottom side.
- Make 4 sc, increase in last.
- Continue rounds 3-11 the same way as the body.
- Close the Fish
- Embroider white stripes.
- Close with decreases.
Assembling the Sushi Cat
- Attach all crochet pieces to the body using a needle or glue.
- Position the elements (fish, egg, seaweed) using pins if necessary.
- Secure and finalize the setup, ensuring all elements are attached firmly without causing deformation.
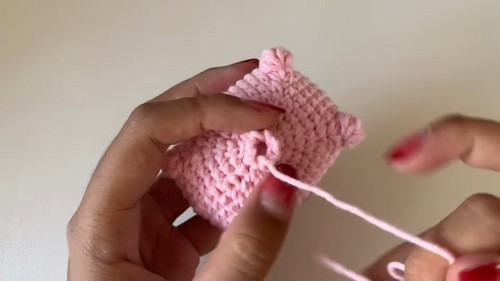
Finishing Touches
- Hide and secure yarn tails inside the body.
- Summary: Create a cute sushi-themed cat following the round patterns, complete facial embroidery, ears, tail, and attach the sushi elements.