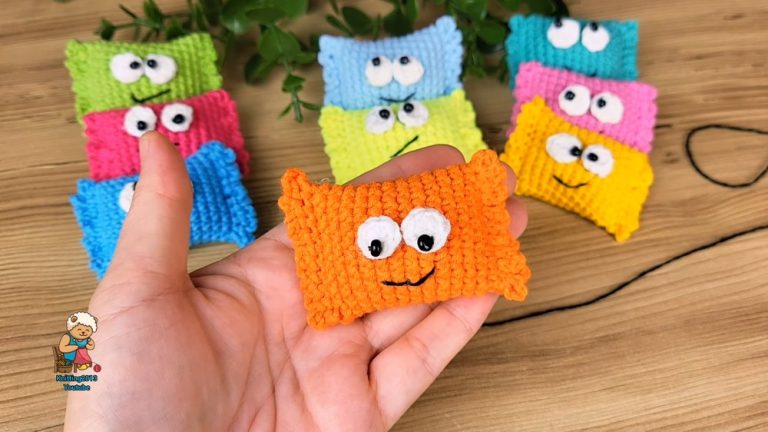
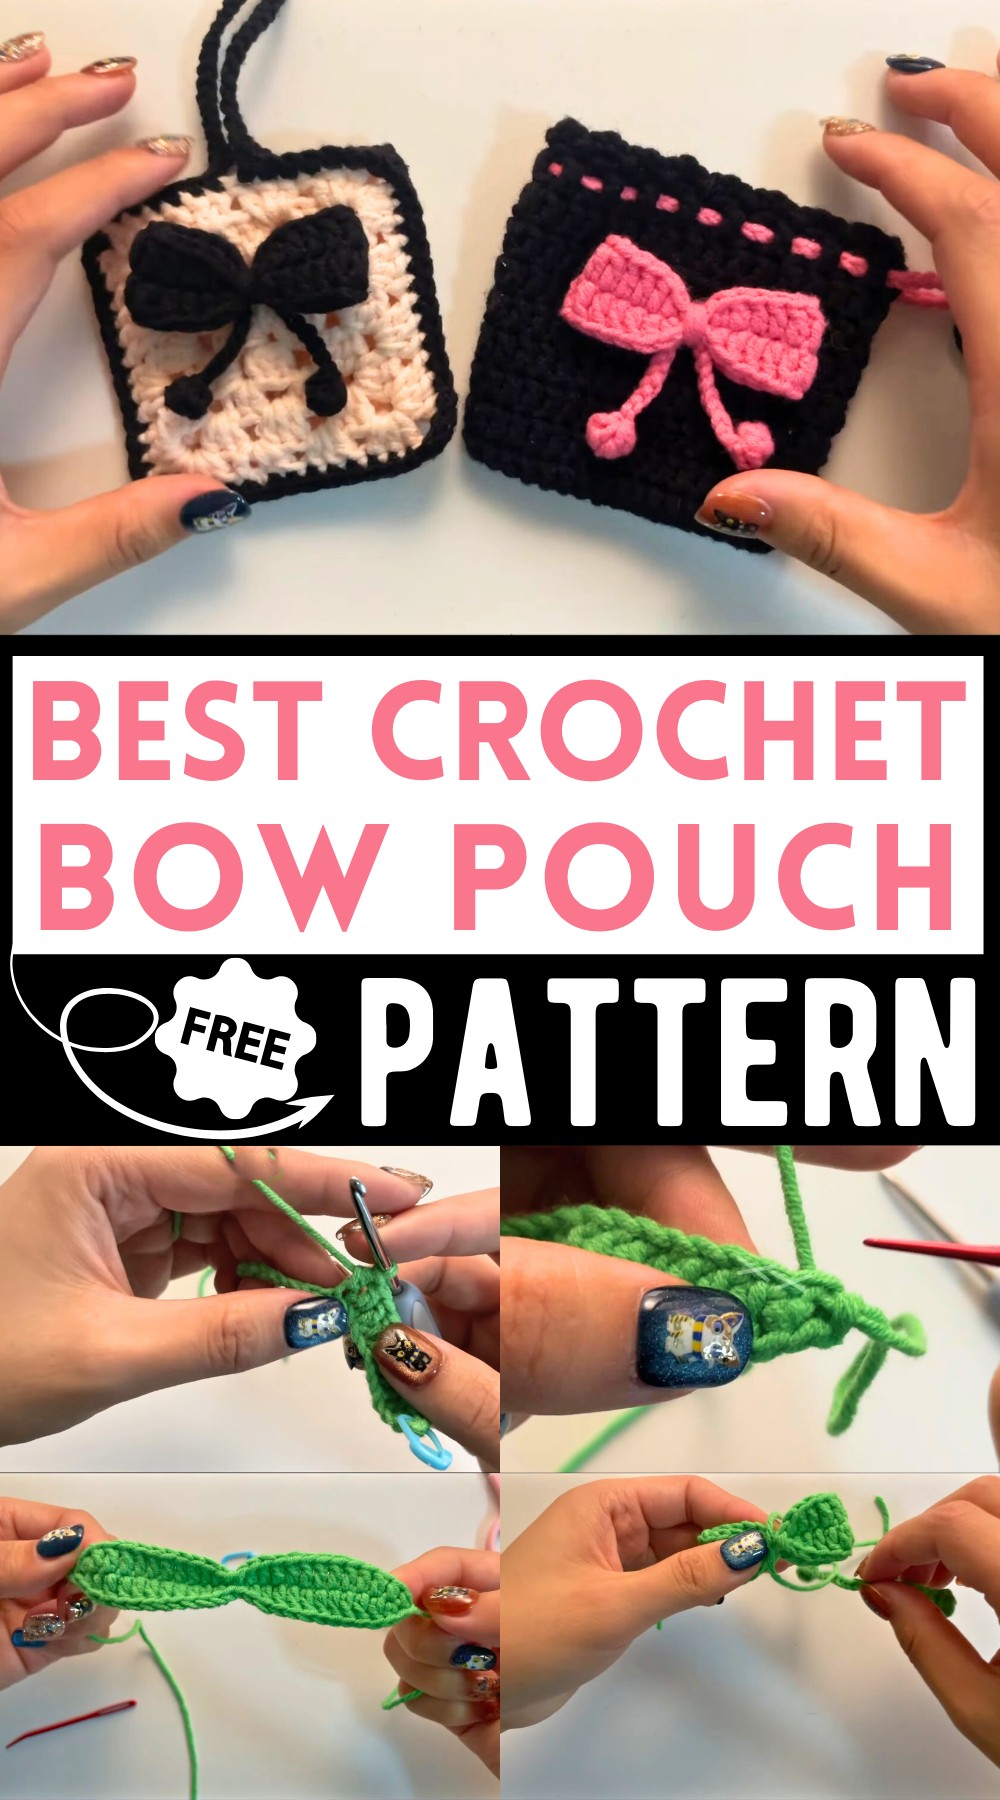
Crochet Pouch With Raised 3D Bow Pattern
Crochet a charming pouch with a bow; perfect for coins or makeup. Soft yarn, cozy feel, and a delight to carry or gift!
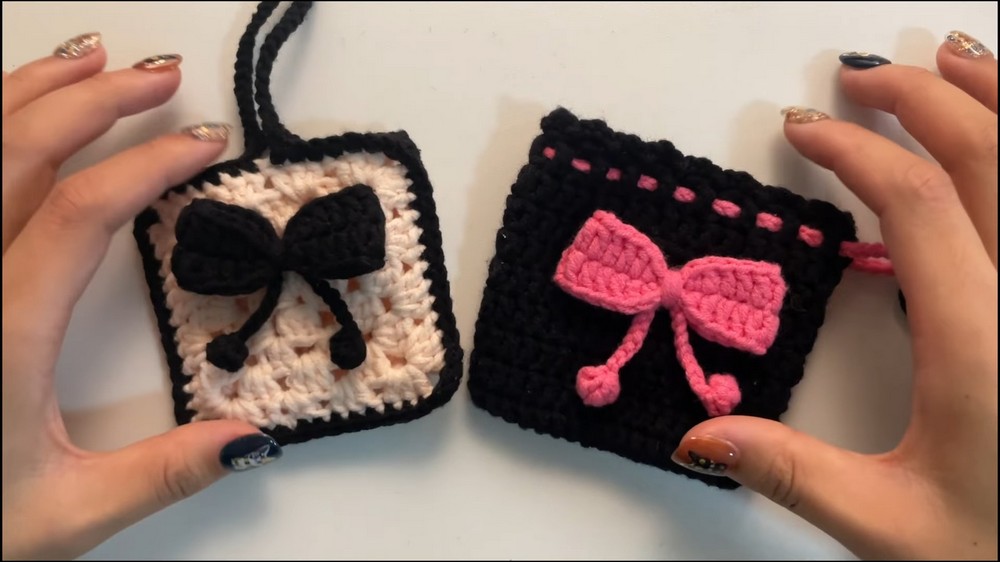
Crochet Bow Pouch Pouch Pattern
This charming crochet pattern creates a small, rectangular pouch with a beautiful bow on the front, adding a stylish and delicate touch. Made with soft yarn, it has a smooth texture and a cozy feel. The pouch is perfect for holding coins, makeup, or small essentials while keeping them secure. Its lightweight design makes it easy to carry in your bag or pocket. Whether you use it daily or gift it to a loved one, this adorable pouch is both practical and a joy to make!
Uses of the Crochet Bow Pouch
- Storage:
- Small Items: Perfect for storing small accessories like jewelry, hairpins, or makeup.
- Craft Supplies: Keep your sewing needles, buttons, or small yarn scraps organized.
- Gift Wrap: Use the bow pouch as a cute and reusable alternative for gift wrapping small presents.
- Decorative Piece: Add it to your home decor as a charming accessory on dressers or shelves.
- Wallet Substitute: Carry essentials like cash, cards, and coins.
- Child’s Accessory: Ideal for kids to carry little toys, erasers, or other small treasures.
- Travel Companion: Store small travel essentials, like earbuds, chargers, or lip balm, neatly in your bag.
How To Crochet Bow Pouch Pouch
Materials Needed:
- 5 ply cotton yarn
- 3 mm crochet hook
- Scissors
- Darning needle
- Stitch marker
Steps to Crochet a Bow Pouch:
Part 1: The Bow
- Prepare Materials
- Grab your yarn and leave a nice long tail.
- Make a slip knot.
- Chain Formation
- Crochet 27 chains.
- Yarn over, pull through.
- You can count the “V” shapes formed to keep track of the chains.
- Crochet 27 chains.
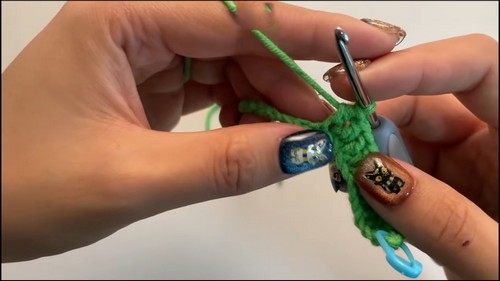
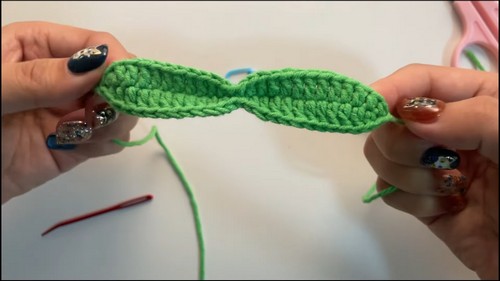
- First Row of Single Crochets and Double Crochets
- Locate the second chain from the hook.
- Insert your hook into the chain, yarn over, pull up a loop, yarn over again, pull through both loops. This is your first single crochet (SC).
- Mark the first stitch with a stitch marker.
- Next, crochet a half double crochet (HDC):
- Yarn over, insert hook into the next chain, yarn over, pull up a loop (you have three loops on your hook), yarn over again, pull through all loops.
- Work 9 double crochets (DC) across the next nine stitches:
- Yarn over, insert hook into the next chain, yarn over, pull up a loop (three loops on your hook), yarn over, pull through first two loops, yarn over, pull through remaining two loops.
- Yarn over, insert hook into the next chain, yarn over, pull up a loop (three loops on your hook), yarn over, pull through first two loops, yarn over, pull through remaining two loops.
- Continue:
- Another half double crochet in the next stitch.
- Slip stitch in the next two stitches (insert hook, yarn over, pull through the loop on hook).
- Another half double crochet, then work 9 more double crochets.
- Half double crochet in the next stitch.
- Slip stitch into the last chain.
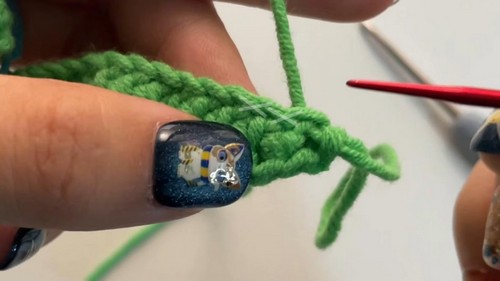
- Finishing the First Side
- Chain one.
- Work a slip stitch into the little gap formed by the last chain worked into.
- Yarn over, pull through the loop on the hook.
- Work on the Opposite Side of the Starting Chain
- Half double crochet into the first “X” shaped crossed loops.
- Work 9 double crochets into the next 9 stitches.
- One half double crochet.
- Two slip stitches.
- Another half double crochet, then 9 more double crochets.
- Half double crochet in the next stitch.
- Slip stitch into the final stitch to finish.
- Secure and Weave in Tails
- Slip stitch into the first stitch that was marked.
- Leave a tail, fasten off, and weave in ends with a darning needle.
Part 2: The Bow Tie
- Create the Tie
- Leave a tail and make a slip knot.
- Chain 3:
- Into the second chain from the hook, make a bobble stitch.
- If unsure, refer to bobble stitch instructions elsewhere.
- Work 4 unfinished double crochets into the same stitch, yarn over and pull through all five loops.
- Into the second chain from the hook, make a bobble stitch.
- Chain 20 more.
- Work another bobble stitch into the second chain from the hook.
- Leave a tail, fasten off, and weave in ends.
- Shape Bobble into Ball
- Thread the tail through the last chain, leave a loop.
- Pass needle through the loop to form a knot, pull tight.
- Weave needle around the bobble to shape it into a ball.
- Knot the tail to secure it, weave the tail into the center, and trim excess.
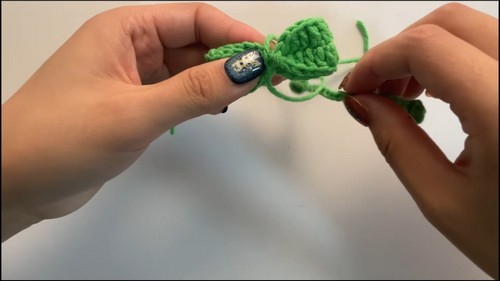
Part 3: Assembling the Bow
- Fold and Knot the Bow
- Fold the bow piece so the front is facing out.
- Knot the two tails together twice to secure.
- Wrap and Secure the Tie
- Arrange the tie piece and wrap the tails around the center in opposite directions.
- Flip to the back and adjust for bunching.
- Knot the tails on the back to lock in place.
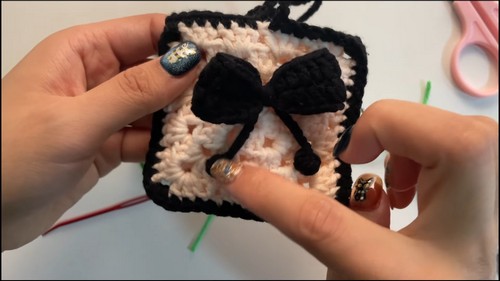
Attachment to Pouch (Optional)
- Find desired placement on the pouch.
- Use a hook to pull tails through the pouch, tie them tightly inside.
- Weave in ends and trim excess.
Additional Notes:
- For the full pouch tutorial, refer to the linked previous video.
- This pattern can be customized with extra stitching or fabric glue for added security.

And that’s it! Your darling little bow pouch is now complete. Enjoy your crochet project!