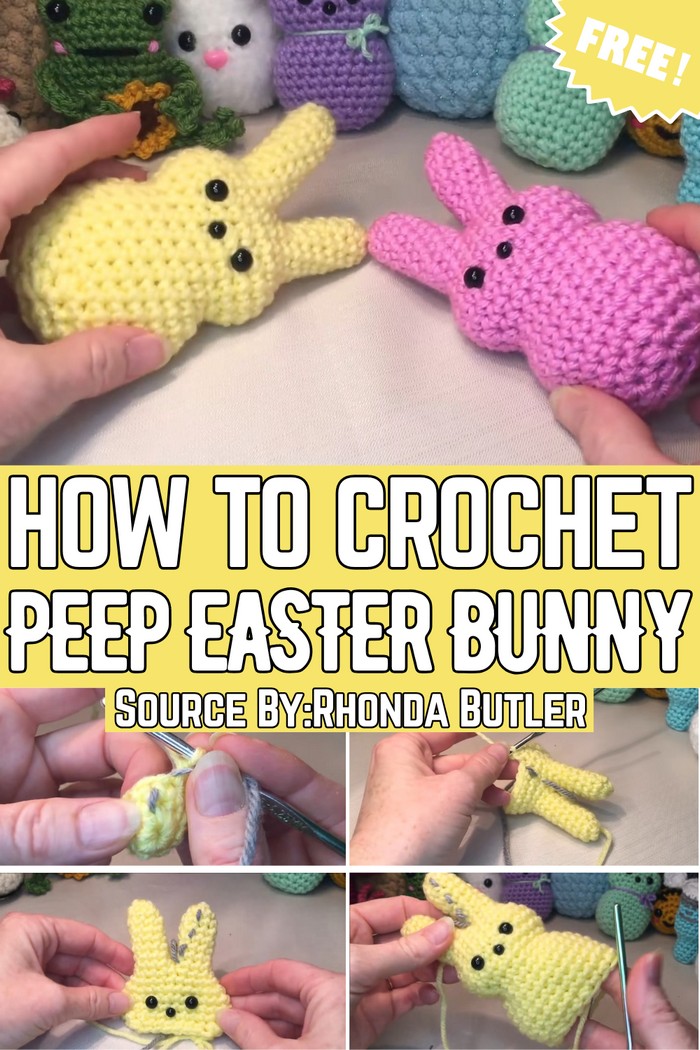
Crochet Peep Easter Bunny Project For Everyone
Hop into creativity with this Crochet PEEP Easter Bunny Pattern, a fun and adorable project perfect for gifts, décor, or festive fun!
Springtime brings longer days, blooming flowers, and happy traditions that celebrate new beginnings. A crochet Peep Easter Bunny is a lovely symbol of the season, known for its cute look and connection to Easter. You can use it as a cheerful decoration, a fun addition to an Easter basket, or a thoughtful handmade gift. This little creation spreads joy, adds charm to your home, and creates special memories for both kids and adults. Its simplicity, warmth, and playful vibe make it a perfect part of spring celebrations.
How to Crochet PEEP Easter Bunny
The soft, squishy texture along with the tiny, lovable face of the bunny makes it a wonderful companion for children, and its handmade charm adds an extra element of thoughtfulness in the world of quick purchases.
This crochet Peep Easter Bunny isn’t just a decorative item. It lives at the intersection of creativity and tradition, serving as a delightful reminder of spring’s renewal and the value of heartfelt, homemade treasures. Adorning your home or gifted among loved ones, it’s a seasonal keepsake to cherish—where joy is lovingly stitched into every loop.
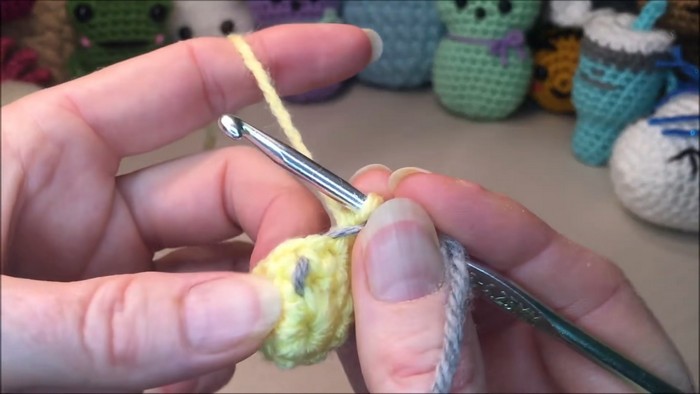
The essence of this crochet bunny lies in its balanced combination of simplicity and detail. Its form, inspired by the iconic marshmallow Peeps, is carefully shaped with seamless stitching. The process begins with crafting two matching ears, worked row by row using single crochet stitches to form their floppy yet structured shape. Next, these ears are connected as the base for the body, which grows through consistent rounds.
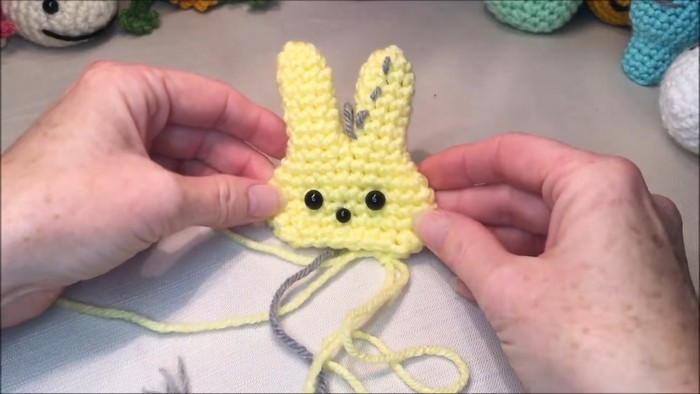
Increasing and decreasing loops build the oval-shaped head and body, allowing for elegant transitions between the bunny’s distinct features. Midway through the process, the safety eyes and nose are securely added, ensuring that the bunny comes to life with a bright and personable expression.
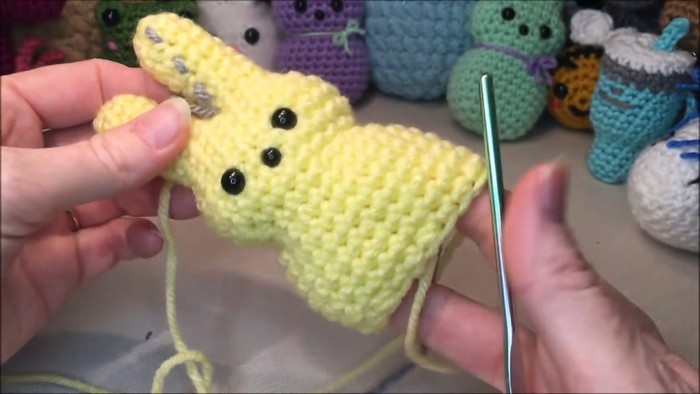
Once the stuffing is worked in, either for a plush, fuller figure or a flatter candy-inspired shape, the final stitches close the bottom, leaving behind a smooth, rounded surface. It’s this seamless construction and attention to detail that make the bunny appear so polished and complete.

What makes this crochet bunny especially unique is how it effortlessly caters to personal tastes. Adjusting the size by modifying the yarn weight and hook gives you ample freedom to create bunnies that vary in scale—some miniature to accessorize keychains or baskets, and others larger as standalone decor pieces.
Special Features
- No-Sew Construction:
The design eliminates the need for sewing separate parts together, simplifying the process. - Customizability:
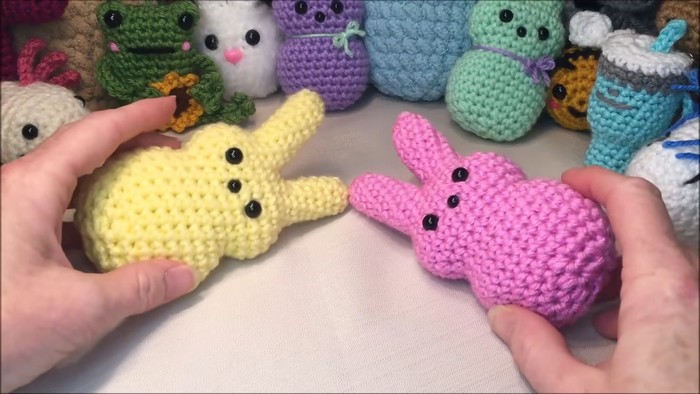
You can adjust the appearance of the peep bunnies by using different yarn weights, hook sizes, or stuffing amounts. - Two Variants:
Choose between a realistic, flat Peep-like design or a more rounded, plush bunny shape. - Pattern Display:
The instructor provides on-screen row-by-row instructions for the first 30 seconds of each row to facilitate learning.
Materials Used
- Yarns:
- For smaller bunny: Medium weight (#4) yarn.
- For larger bunny: Blanket yarn (#6, such as Bernat brand).
- Hooks:
- Smaller bunny: 4.25 mm hook.
- Larger bunny: 5.5 mm hook.
- Safety Eyes and Nose:
- Smaller bunny: 8 mm eyes, 6 mm nose.
- Larger bunny: 12 mm eyes, 10 mm nose.
- Other Tools:
- Stitch marker (optional).
- Scissors.
- A yarn needle for weaving in ends.
- Stuffing material (polyfill).
Tutor’s Suggestions
- Yarn Selection: Use different yarn weights to alter the size of your bunny. A lighter yarn yields a smaller bunny while chunky yarn creates a larger one.
- Eyes and Nose Positioning: Adjust the placement of the safety eyes and nose to achieve the desired expression or symmetry.
- Flat vs. Round Bunnies: To replicate the Peep’s flat appearance, gently press the stuffing to the sides and avoid overfilling. For a plush, rounded bunny, evenly distribute the stuffing and avoid flattening.
- Back-Loop Tip: Working in the back loops of certain rows creates a flat base for the bunny, helping it stand upright.
Level of Difficulty
Beginner to Intermediate.
The pattern is straightforward and well-explained, making it suitable for beginners with some familiarity with basic crochet stitches. A little experience working in the round and with safety eyes is helpful.
Uses and Applications
- Gifts: Create these bunnies as gifts for Easter, baby showers, or birthdays.
- Decorpieces: Use them as spring or Easter-themed decorations.
- Toys: Make kid-friendly toys by ensuring the safety eyes and nose are securely fastened.
- Keychains/Ornaments: Scale down the pattern for smaller bunnies to use as ornaments or keychains.
Step-by-Step Instructions
Peep bunnies are cute, plush bunny-shaped figures inspired by the marshmallow candy. In this tutorial, the creator shows how to crochet no-sew peep bunnies, making them flat like traditional Peeps, with a potential to stuff them differently for a more rounded look. This crochet-along tutorial is beginner-friendly, with instructions explained row by row for a seamless experience.
Conclusion
This adorable no-sew crochet peep bunny tutorial provides a fun and practical way to create your own plush bunnies, whether for gifting, décor, or personal enjoyment. With adjustable sizing options and a flexible design, this project is suitable for nearly any occasion and skill level.
Additional Tip
To avoid visible gaps when stuffing your bunny, use smaller stitches or a dense yarn. For beginners, practicing your tension will ensure a uniform and polished look.