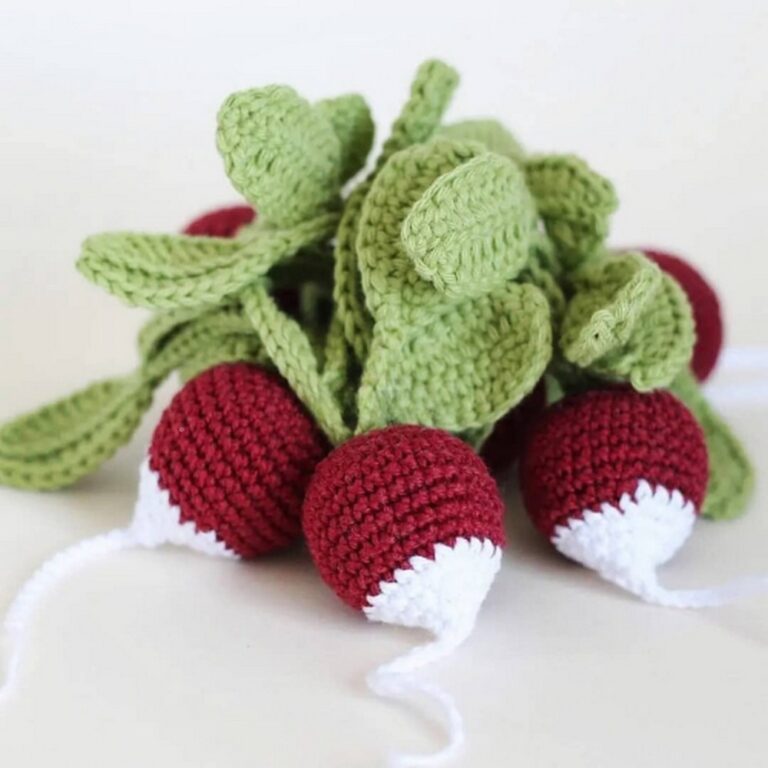
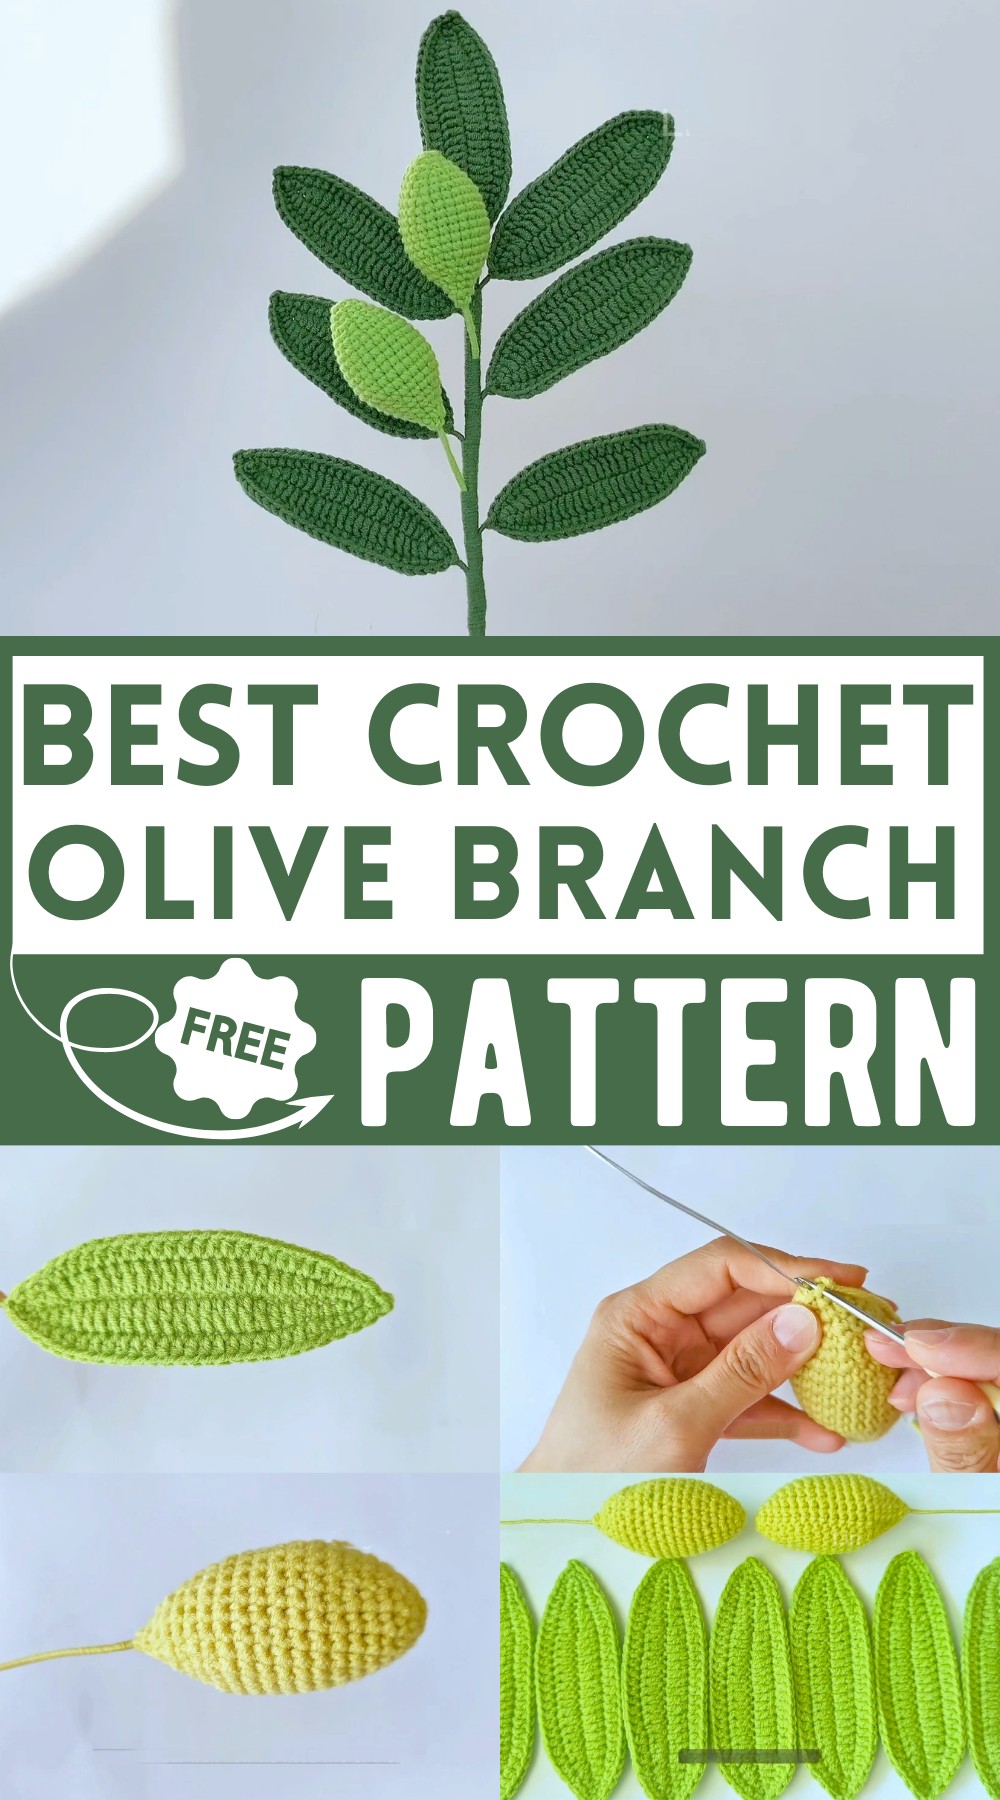
Crochet Olive Branch Pattern To Add In Bouquet
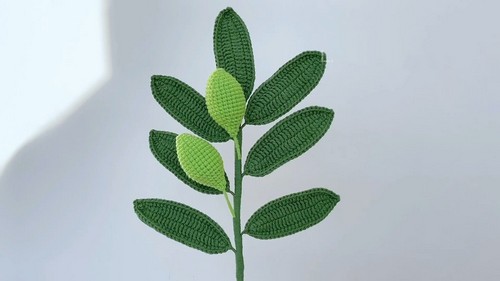
Creating a beautiful crochet olive branch is both soothing and rewarding! This pattern is perfect for adding a touch of nature to your crochet projects. The leaves are elongated and slightly curved, mimicking the natural elegance of an olive branch, and are supported by craft wire for durability. These branches can be used in bouquets, home decor, or as unique gift embellishments. This pattern is beginner-friendly and results in a lush, green accent that adds harmony and beauty to any setting.
How To Crochet An Olive Branch
Materials
- 4-ply milk cotton yarn (available in the etsy shop)
- Crochet hook
- Craft wire (approximately 30 cm long)
- Stitch markers (optional)
- Fillings (for the fruit)
- Glue
Pattern Overview
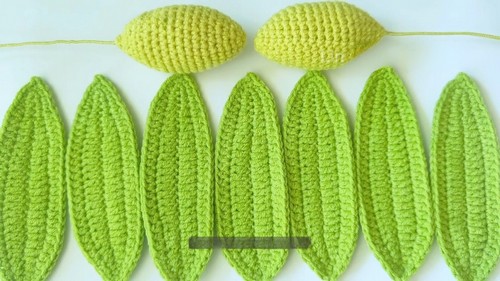
The project consists of crocheting seven leaves and two fruits to assemble one branch.
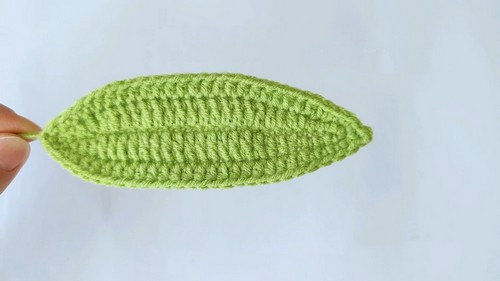
Leaf
- Starting the Leaf:
- Begin with the green yarn.
- Make a slip knot (do not count this as a stitch).
- Chain 27.
- First Side of the Leaf:
- Single crochet in the second stitch from the hook.
- Mark this first single crochet if you are a beginner.
- Single crochet in the next space.
- Half double crochet in each of the next two spaces.
- Double crochet in each of the next 15 spaces.
- Half double crochet in each of the next three spaces.
- Single crochet in each of the next three spaces.
- In the last stitch, work three single crochets.
- Second Side of the Leaf:
- Continue on the other side of the chain.
- Single crochet in each of the first three spaces.
- Half double crochet in each of the next three spaces.
- Double crochet in each of the next 15 spaces.
- Half double crochet in each of the last two spaces.
- Single crochet in each of the last two spaces.
- Slip stitch to the first stitch of this round.
- Your work should look like a leaf now.
- Adding Craft Wire:
- Insert a piece of craft wire (about 30 cm long) to support the leaf.
- Second Round of the Leaf:
- Chain 1 as the turning chain (do not count as a stitch).
- Single crochet in each of the first three spaces.
- Half double crochet in each of the next 20 spaces.
- Single crochet in each of the next three spaces until you reach the top of the leaf.
- Top of the Leaf:
- Single crochet in the top stitch.
- Chain 2.
- Slip stitch through the back bump of the first chain (this creates a two-chain picot stitch).
- Single crochet again in the top stitch.
- Completing the Leaf:
- Repeat the pattern mirrored from video to complete the other side of the leaf.
- Slip stitch to close the round.
- Chain 1 to secure the end before cutting off the yarn.
- Leave a long tail (about 20 cm) to wrap around the craft wire.
- Make six more leaves, for a total of seven.
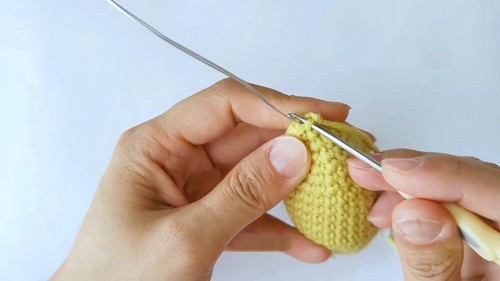
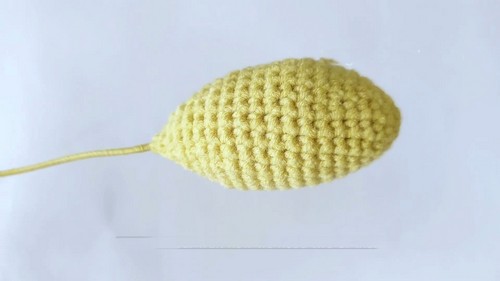
Fruit
- Starting the Fruit:
- Use yellow yarn.
- Start with a double circle.
- Insert hook and chain 1 (do not count this as a stitch).
- Work 6 single crochets in the circle.
- Close the circle by pulling the tail.
- Slip stitch to the first space to close the round.
- Second Round:
- Chain 1 (do not count as a stitch).
- Single crochet in the first space.
- Increase in the second space by making 2 single crochets.
- Repeat three times.
- Third Round:
- Chain 1 (do not count as a stitch).
- Single crochet in the first space.
- Increase in the second space by making 2 single crochets.
- Single crochet in the third space.
- Repeat the pattern: single crochet, 2 single crochets (increase), single crochet.
- Rounds 4 to 13:
- Follow a similar pattern to build the body of the fruit.
- Round 14 (Decreasing):
- Chain 1 (do not count as a stitch).
- Single crochet in each of the first three spaces.
- Decrease by combining the next two stitches as one.
- Single crochet in the next six spaces.
- Decrease by combining the next two stitches as one.
- Single crochet in the last three spaces.
- Slip stitch to the first space to close the round.
- Rounds 15 and 16:
- Follow a similar pattern with decreasing.
- Stuffing and Final Rounds:
- Insert the fillings.
- Complete rounds 17 and 18.
- Insert the craft wire.
- Add more fillings if necessary.
- Finish the last round (round 19).
- Finishing the Fruit:
- Chain 1 to secure the end, leaving a long tail (about 20 cm).
- Use the tail to close the circle.
- Apply glue to the craft wire and insert it a little into the fruit to secure it.
- Wrap the craft wire.
- Make one more fruit for a total of two.
Assembly
- Assemble the seven leaves and two fruits on the branch.
- Arrange them in harmony, using craft wire to attach the elements firmly.
That’s the complete detailed and precise pattern for the Olive Branch as explained in the video. Enjoy your crocheting!