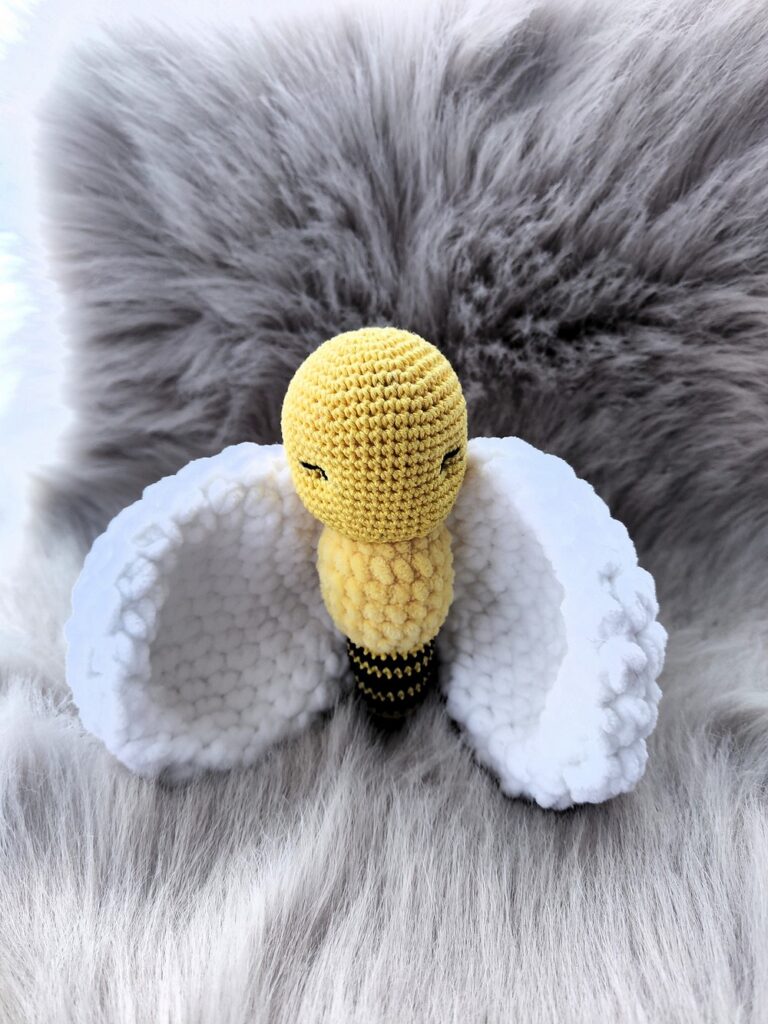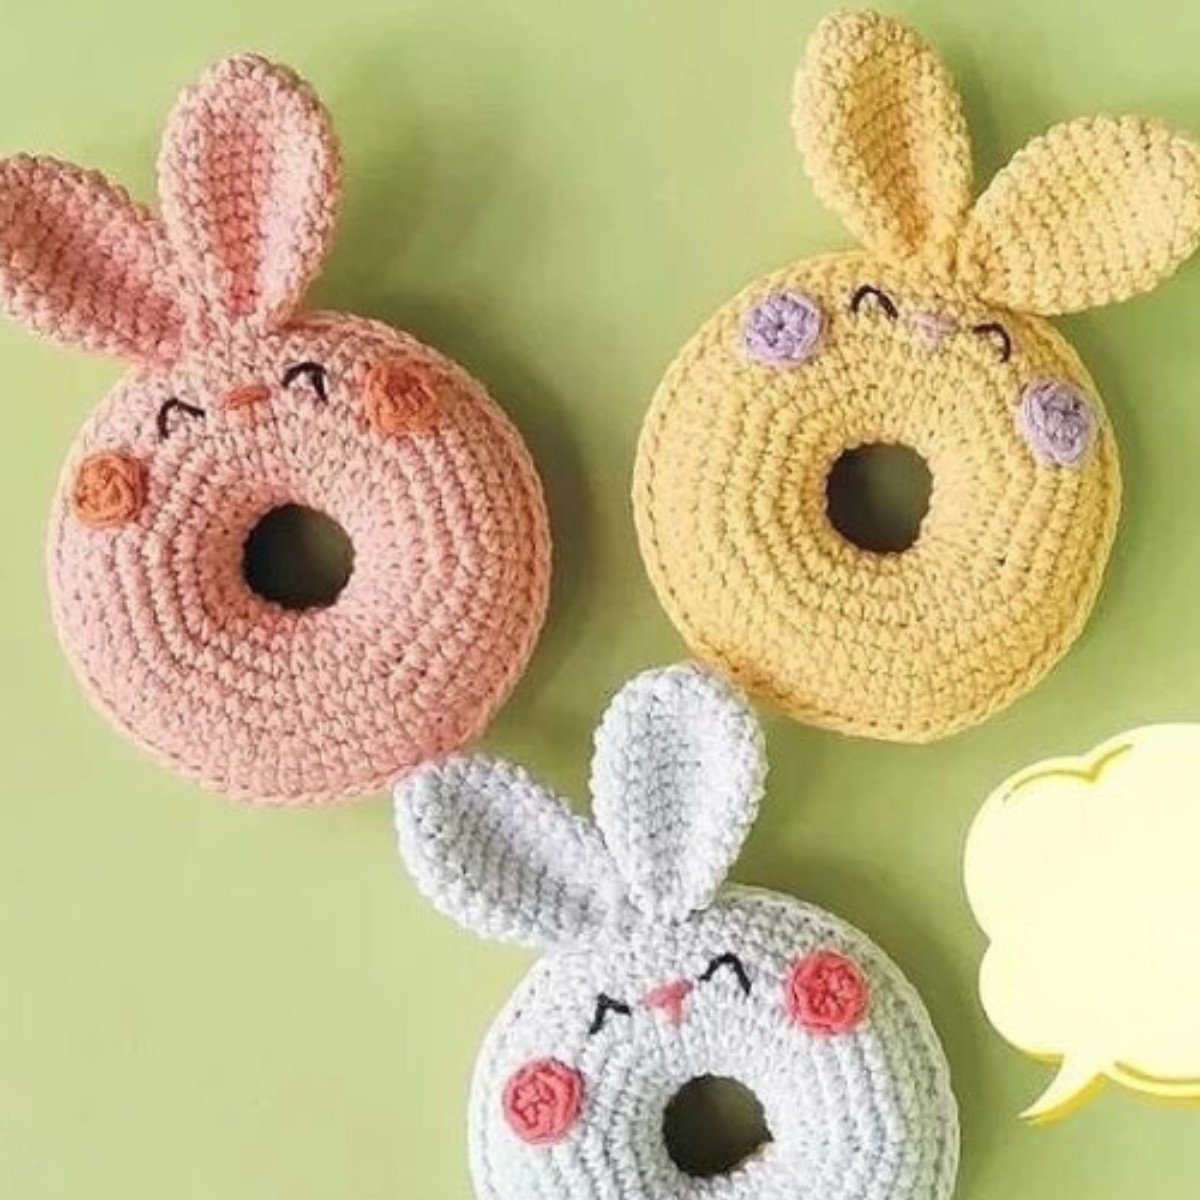
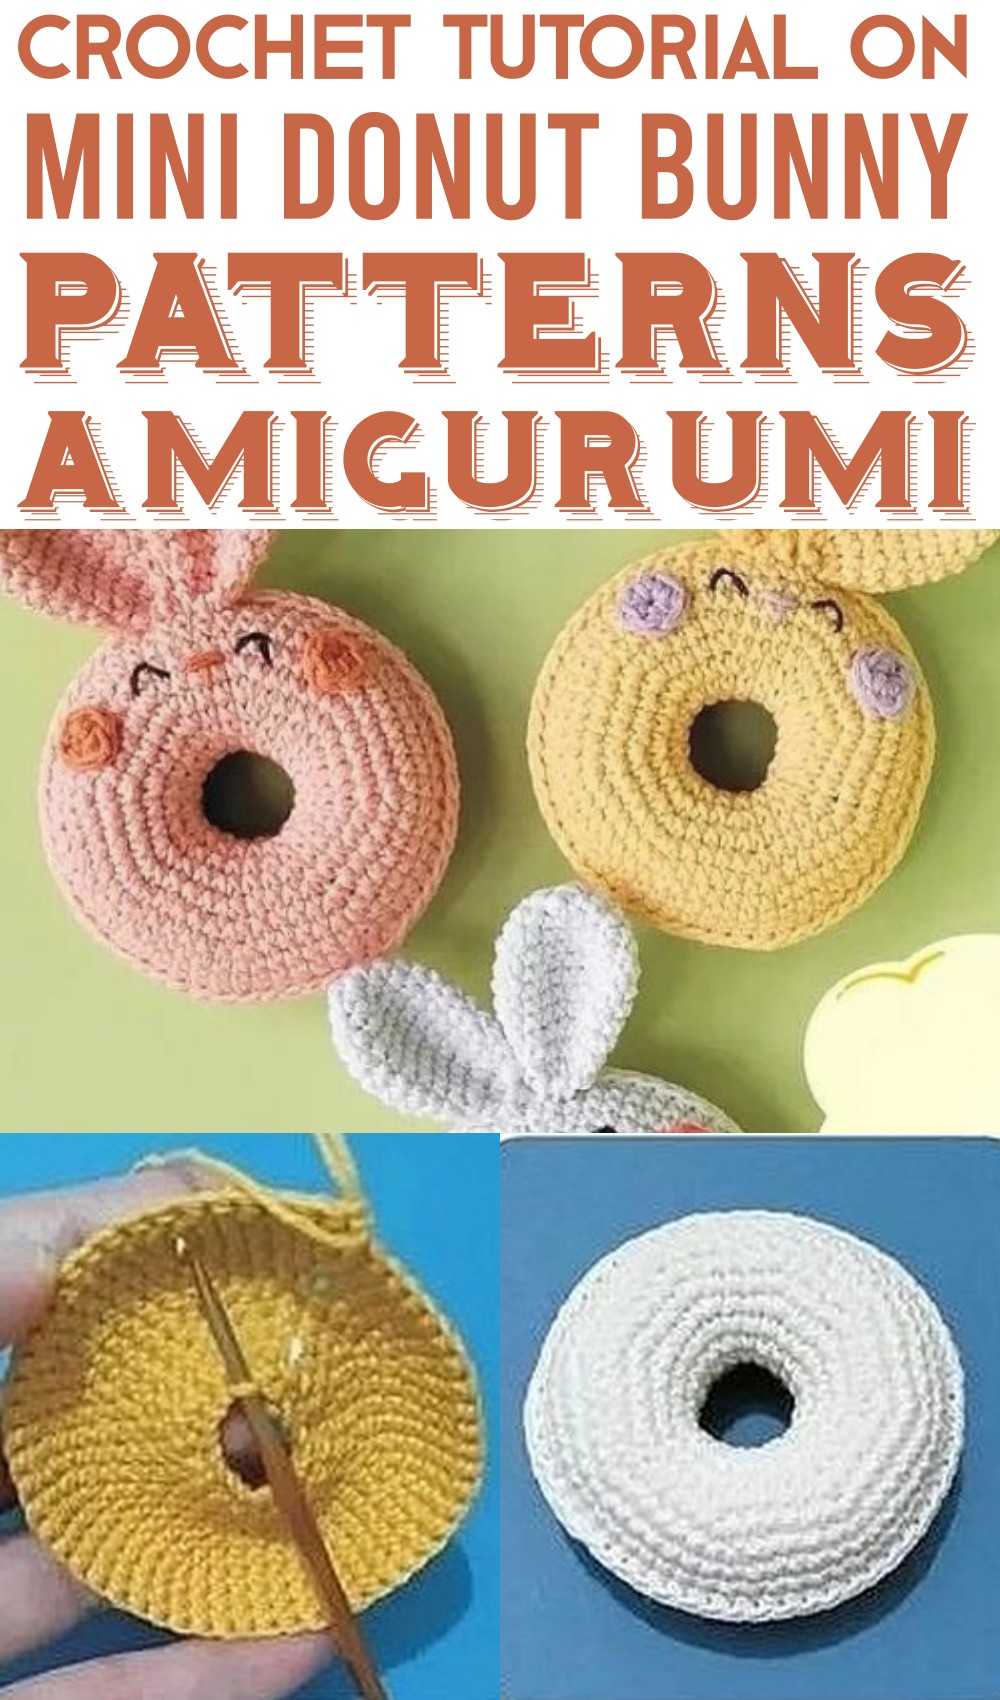
Free Crochet Mini Donut Bunny Pattern
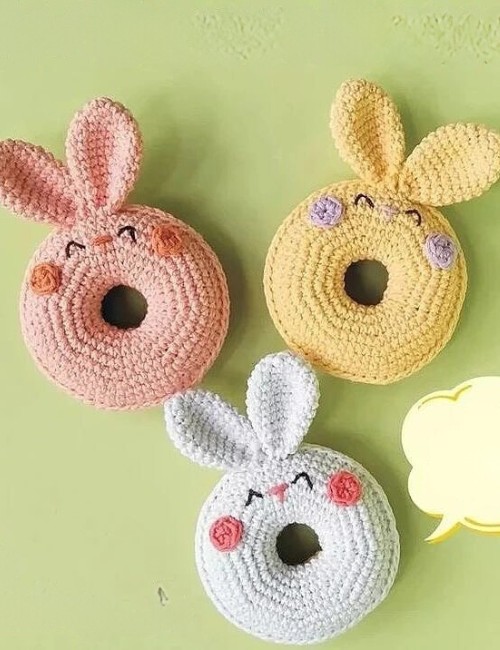
Kids love donuts and rabbits! Think of the joy when we mix the tasty charm of a donut with the adorable look of a cuddly bunny into a fun crochet design. This mix of playful and creative becomes our Crochet Mini Donut Bunny Pattern. It’s a donut design with bunny ears, cute facial expressions, and rosy cheeks, making it a cute crotchet toy for your little one to play with.
We have the complete guide below, with step-by-step pictures, illustrations, and a materials list, making it perfect for budding crocheters alike. You can adjust the size of your amigurumi, sprinkles, and other embellishments to use as a crochet keychain, ornament, or tea party companion.
Making Your Crochet Mini Donut Bunny Pattern
Designer: by @audrey__lc On Instagram
TOOLS & MATERIALS
- 2.3mm crochet hook: The tiny maestro weaving your bunny-donut dreams.
- Cotton yarn: Comes in gold, white, rose, and dark brown – perfect for a colorful, sweet treat!
- Fiberfill: Plumps up your bunny-donut for cuddly adventures.
- Scissors: Snip yarn with precision for neat finishes.
- Tapestry needle: Sews everything together, making your creation whole.
- Safety pins: Hold pieces in place while you stitch, ensuring perfect alignment.
ABBREVIATION
- Rnd: Round – Creates circular rows around your project.
- MR: Magic ring – Starts a circle without joining ends.
- BLO: Back loop only – Uses only back loops of stitches for texture.
- ch: Chain – Makes a row of foundation stitches.
- slst: Slip stitch – Joins stitches invisibly or closes gaps.
- SC: Single crochet – Basic stitch for building your project.
- inc: Increase – Adds stitches to widen your work.
- dec: Decrease – Removes stitches to shape your work.
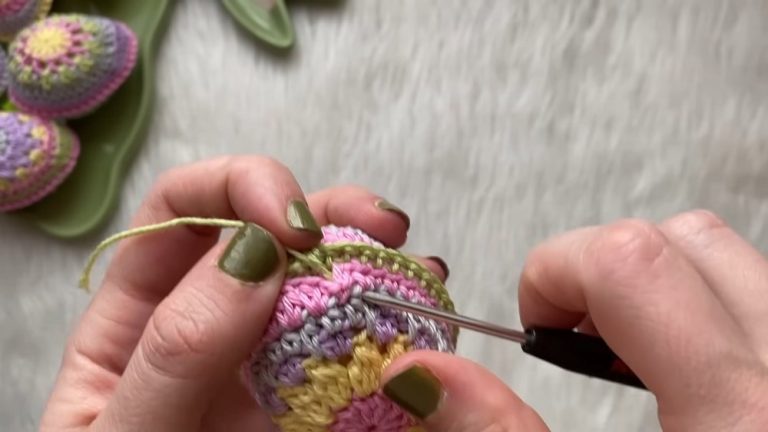
Step by step Pattern
This pattern is using US crochet terms and crocheted in continuous rounds.
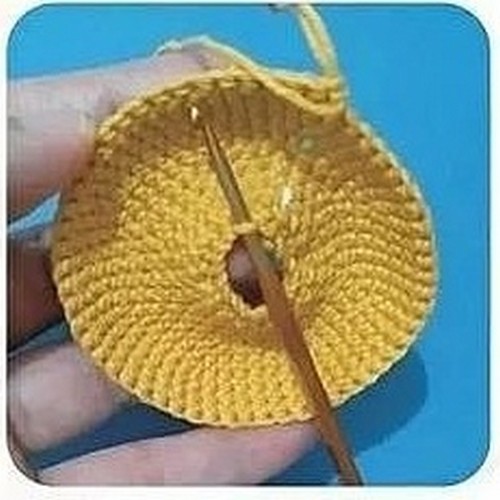
DONUT BOTTOM PART
With GOLD yarn
Make ch 20. Connect the last chain with the first
ch by making slst. We don’t count this slst as a stitch. Start in the same stitch as slst
Rnd 1
20 sc
[20]
Rnd 2
(4 sc, inc) x4
[24]
Rnd 3
24 sc
[24]
Rnd 4
(2 sc, inc) x8
[32]
Rnd 5
(3 sc, inc) x8
[40]
Rnd 6
(4 sc, inc) x8
[48]
Rnd 7
(5 sc, inc) x8
[56]
Rnd 8-10 (3 rounds) 56 sc
[56]
Fasten off.
Then we will make the top part of the donut.
DONUT TOP PART
Flip the bottom part inside out, so you will face the wrong side of the bottom part. Attach WHITE yarn in one of the other side of the foundation chain.
Repeat Rnd 1 to Rnd 10 of the bottom part.
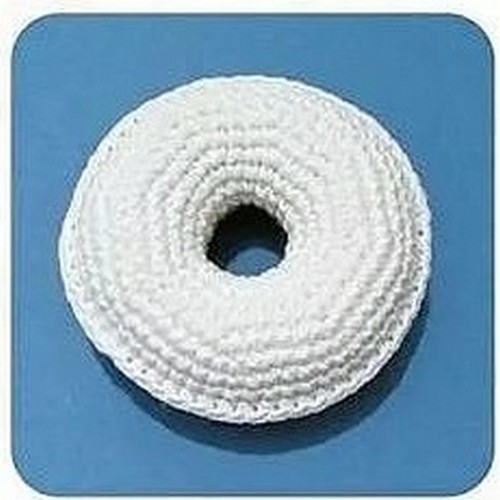
Don’t fasten off. We will continue to crochet top part together with the bottom part. Insert the hook into both loops of top part and both loops of the bottom part. Stuff firmly as you go.
Rnd 11 56 sc through both loops of top and bottom part
Fasten off invisibly. Weave in yarn end.
EARS (MAKE 2)
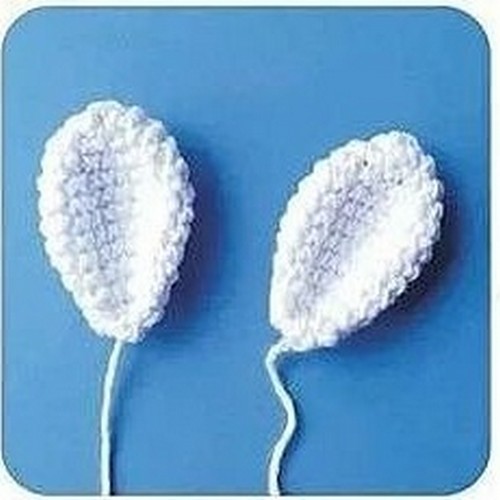
With WHITE yarn
Rnd 1
6 sc in MR
[6]
Rnd 2
6 inc
[12]
Rnd 3
(3 sc, inc) x3
[15]
Rnd 4
(2 sc, inc, 2sc) x3
[18]
Rnd 5-7 (3 rounds) 18 sc
[18]
Rnd 8
(2 sc, dec, 2sc) x3
[15]
Rnd 9
15 sc
[15]
Rnd 10 (3 sc, dec) x3
[12]
Rnd 11 (sc, dec, sc) x3
[9]
Flatten, and make 4 sc through both loops. Fasten off, leave a long tail for sewing. Fold the bottom part and sew it.
CHEEK BLUSH (MAKE 2)
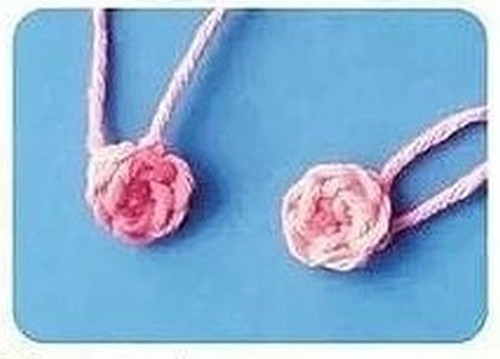
With ROSE yarn
Rnd 1 6 sc in MR
[6]
Fasten off invisibly. Leave a long tail for sewing.
ASSEMBLY
1. With dark brown yarn, embroider eyes on round 7 of the top part of the donut. The eyes are 4 stitches apart. Use fewer strands of yarn to get thinner line. 2. Embroider nose between the eyes, between rounds 6 and 7. The nose is 2 stitches long. We go over the stitches twice. Then embroider vertical line in the middle of the nose. This line is 1 stitch long.
3. Sew the ears between the eyes on round 10. No distance between the lower part of the ears.
4. Sew the cheek blush on each side of the eye, over rounds 7 and 8. The cheek blush is about 2 stitches apart from the eye.