Crochet Halter Top Pattern For Warm-Weather Days
Effortlessly stylish for summer, this crochet halter top pattern is perfect for adding a handmade touch to your warm-weather wardrobe.
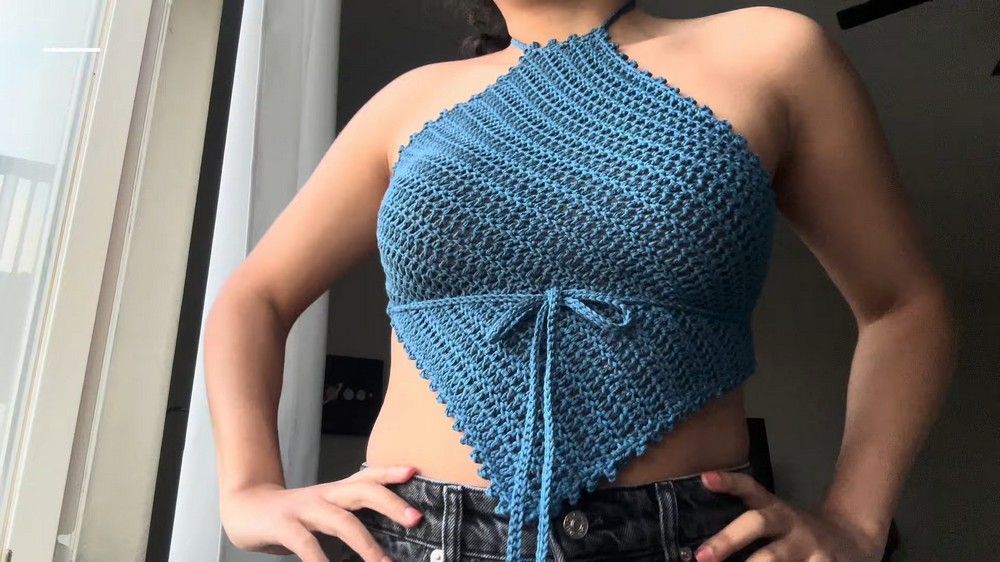
A halter top made with crochet is more than a wardrobe piece; it’s a fusion of comfort and style, perfect for warm weather. Designed with a chic bandana flair, this versatile top transforms any casual outfit into something effortlessly fashionable. Its breathable construction, achieved using light, summery yarn, ensures that it feels as good as it looks. Whether it’s a sunny day at the beach or a relaxed gathering with friends, this halter top enhances your look with its balanced mix of elegance and practicality.
Crochet Halter Top Pattern
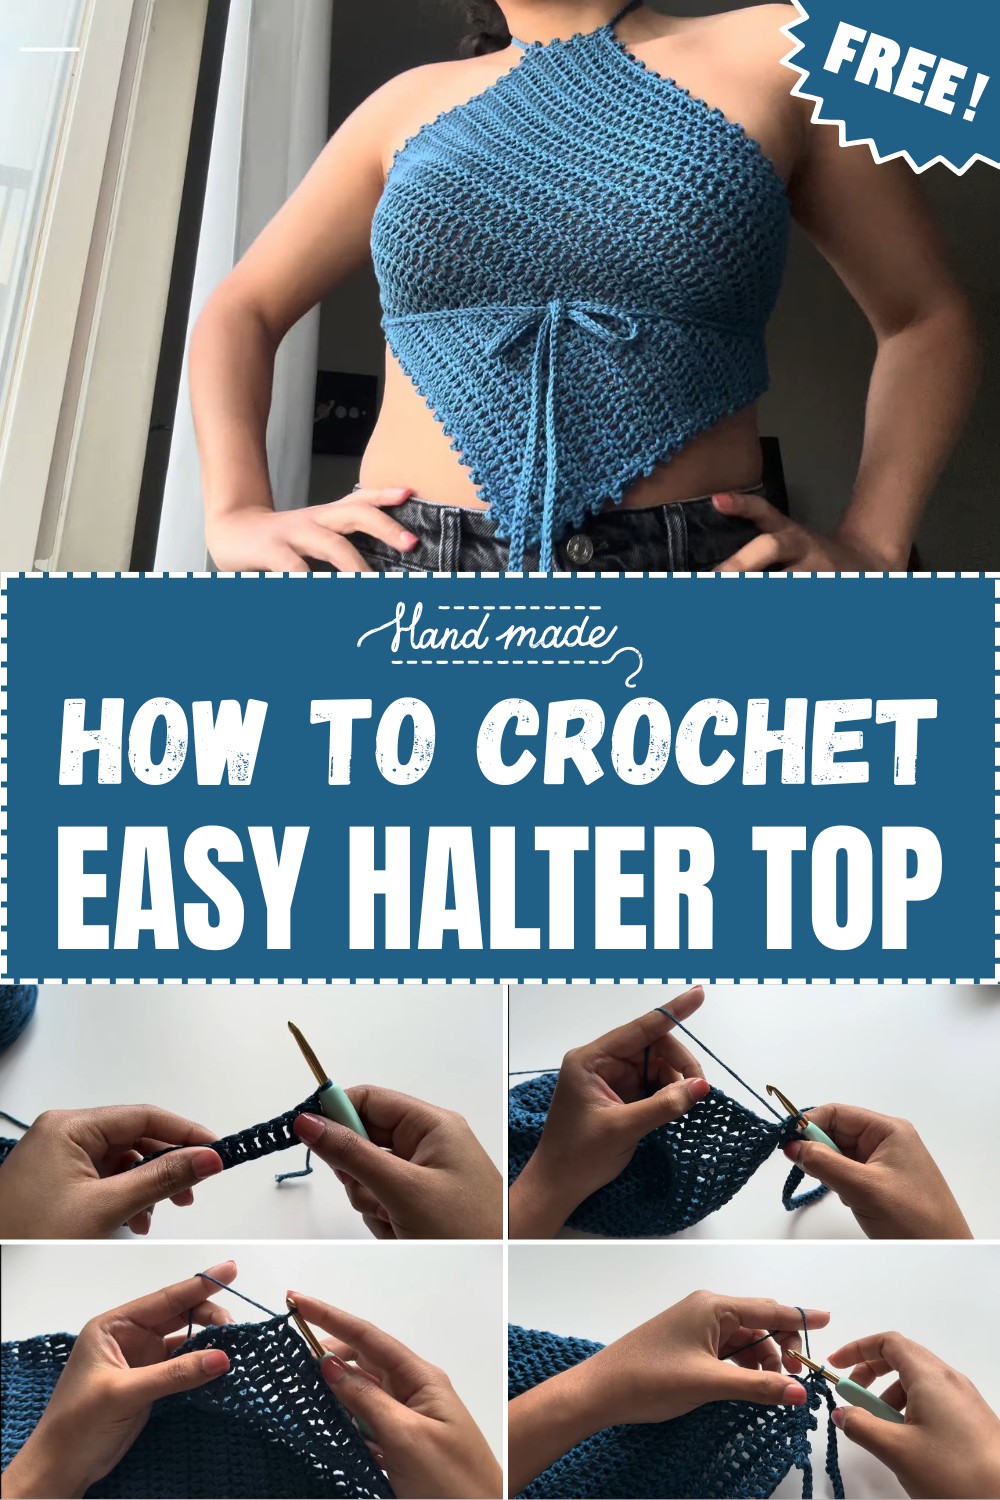
Crochet Bandana-Style Halterneck Tie Top
This tutorial guides you through creating a lightweight and breathable bandana-style halterneck tie top. It’s perfect for warm weather and can be customized to fit your preferred size. The pattern is designed to be simple, even for those new to crochet. Follow along with these precise steps for a fun and beautiful wearable crochet project.
Materials Needed
To complete the project, gather the following materials:
- Yarn: 100g of Lion Brand Kobu yarn (or any weight #3 yarn). The color used: Steel Blue.
(Blend: Cotton and rayon; lightweight and breathable.) - Hook: 5mm crochet hook.
(Can vary depending on yarn or desired results.) - Additional Tools: Scissors, darning needle for weaving in ends, and tape measure (optional).
Stitch Abbreviations
Here are the crochet stitches used, along with their abbreviations:
- Ch = Chain
- DC = Double Crochet
- SC = Single Crochet
- SL ST = Slip Stitch
- Dec = Decrease
- Picot (or Picket Stitch) = Decorative edge created via single crochet, chain 3, and slip stitch.
This pattern entails creating a square crochet piece that forms the base of the top. Straps will be added on the edges to tie around the neck and back. The top is framed with a simple yet stylish picot edge stitch to achieve a polished and professional finish. The steps are simple and flexible to different body sizes, as the chain length and row count can be adjusted.
Step-by-Step Pattern
Step 1: Make the Foundation Chain
- Start by making a foundation chain long enough to wrap around the neck and upper back—this will be the starting point for your top.
- For the tutorial, Ch 50 was made. Adjust based on your body size and how low or high you want the top to sit.
- If unsure about your measurements, make a swatch:
- Chain 10, crochet rows of DCs, and see how many rows create a square. Multiply appropriately for your desired size.
(For example, 50 chains = 5 squares = 25 rows of DC in the video.)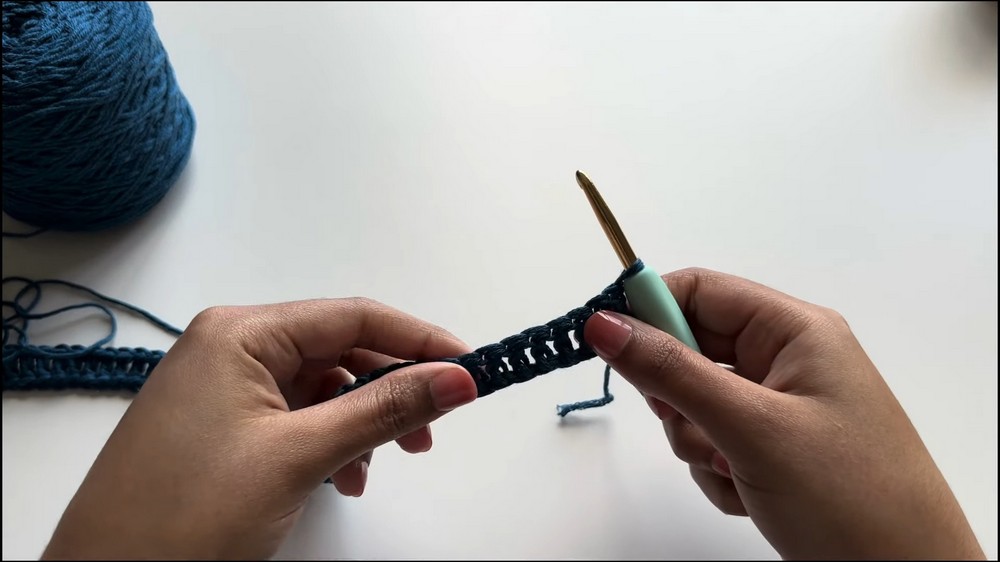
- Chain 10, crochet rows of DCs, and see how many rows create a square. Multiply appropriately for your desired size.
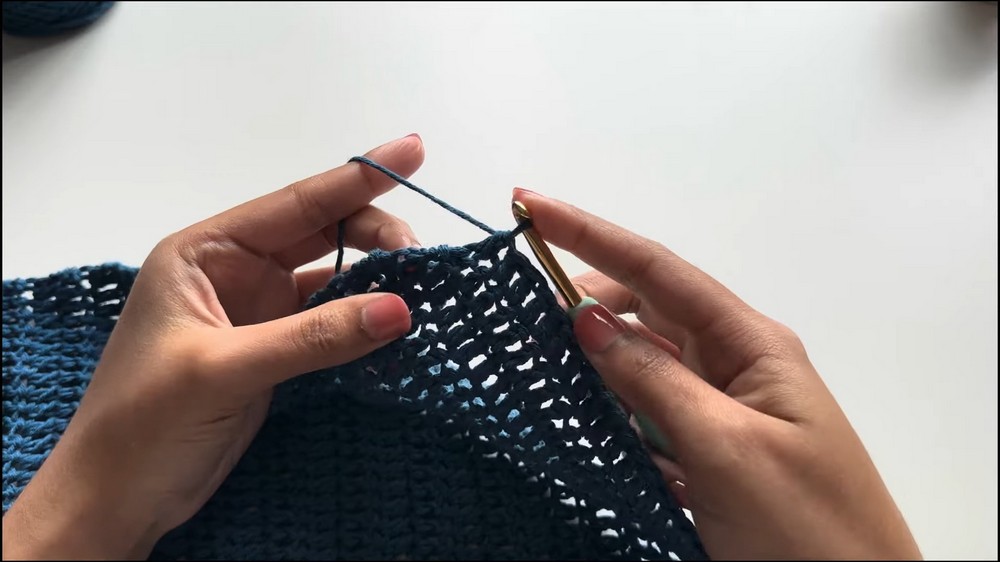
Step 2: Crochet Double Crochet Rows
- Double Crochet the First Row:
- Work into the back loop of the foundation chain (optional for cleaner edge later).
- Add 1 additional chain at the end of the foundation chain for turning.
- Substitute for Ch-2 Turn Optional:
Instead of the traditional chain-2 turn:- Start each row with a stacked DC: Insert hook into the SC, pull up a loop, and continue through like a DC for a neater edge.
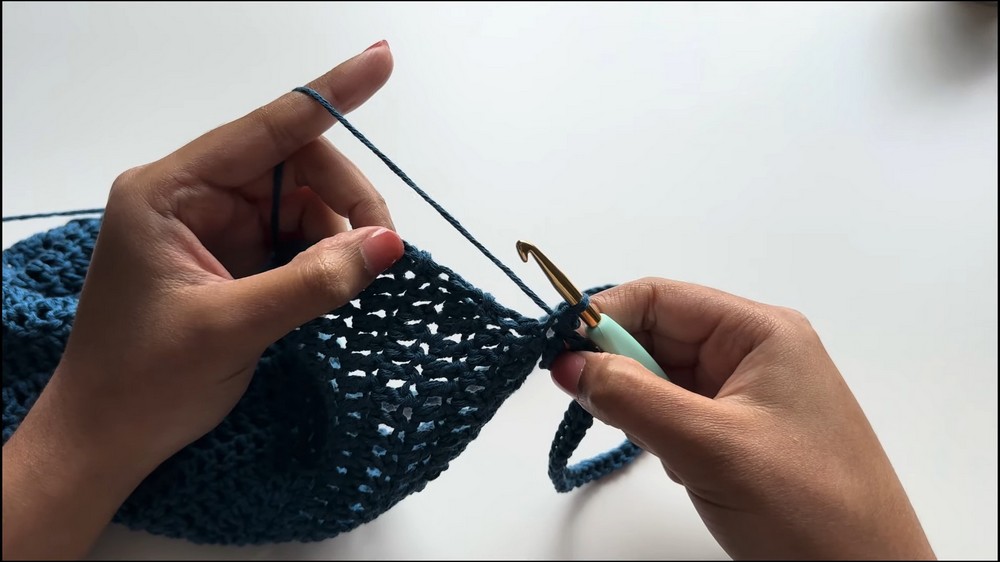
- Continue crocheting rows of DC until you reach the desired row count.
- For this top: 25 rows were worked with the last 4 rows decreasing to flatten the straps at the top.
- For this top: 25 rows were worked with the last 4 rows decreasing to flatten the straps at the top.
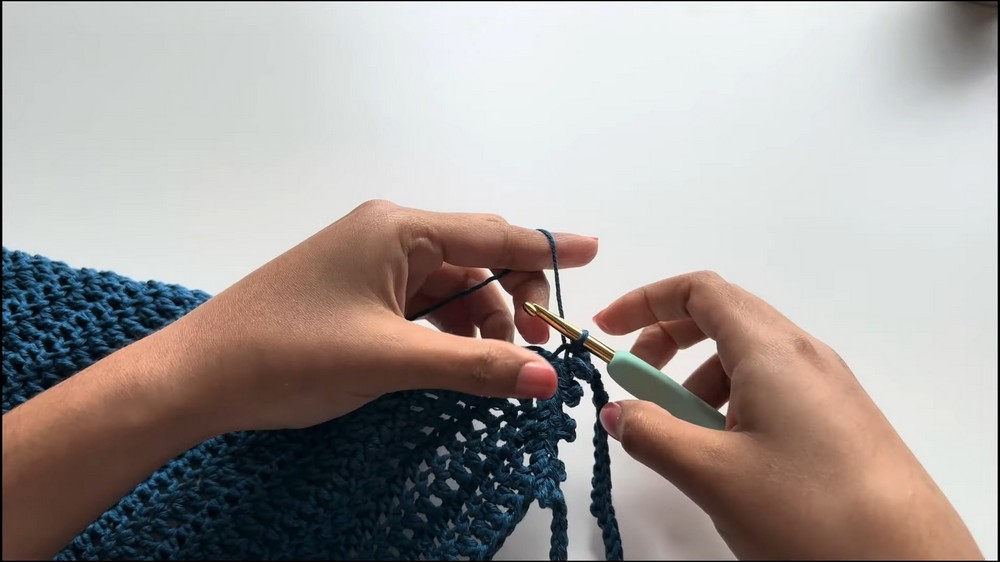
Step 3: Decrease Row for Neckline
- For the last 4 rows, perform decreases on one side only. This creates a flatter edge for the neckline:
- Decrease on the first stitch of the row: Insert the hook into the first stitch, do not complete, move to the next stitch, and pull yarn through all loops together.
- Continue with regular DC across the row until only two stitches remain.
- For the last stitches, decrease again by combining the final two stitches into one regular DC.
Step 4: Add Picot Edging
- Using the same yarn, start crocheting a picot edge around the entire piece.
- Pattern for Picot Edge: Two SC stitches, Chain 3, SL ST into the last SC stitch to create the bump.
- Repeat: 2 SC, Chain 3, SL ST.
- At the corners where straps will begin, add Chain 100 for neck ties and Chain 150 for side ties.
- Once the chain is complete, SL ST back down the entire chain for a stronger, tidier strap.
- Once the chain is complete, SL ST back down the entire chain for a stronger, tidier strap.
Step 5: Add Straps
- Along the 4 corners of the piece, incorporate the straps as follows:
- At the top two corners (neckline): Chain 100 for neck ties and SL ST down.
- At the two bottom corners: Chain 150 for back straps. Also, SL ST back down for strength.
- Place picot edge seamlessly between the straps.
Step 6: Finishing Touches
- Weave in Ends: Use a darning needle to weave in all loose yarn ends for a clean finish.
- Final Block (optional): Use steam blocking to set the edges and even out tension.
Conclusion
Congratulations, you’ve completed your Bandana-Style Halterneck Tie Top! This breathable, lightweight project is ideal for warm weather and can be easily customized with different yarn types, colors, and sizes. Adding the decorative picot edging and sturdy straps makes this piece both stylish and functional.