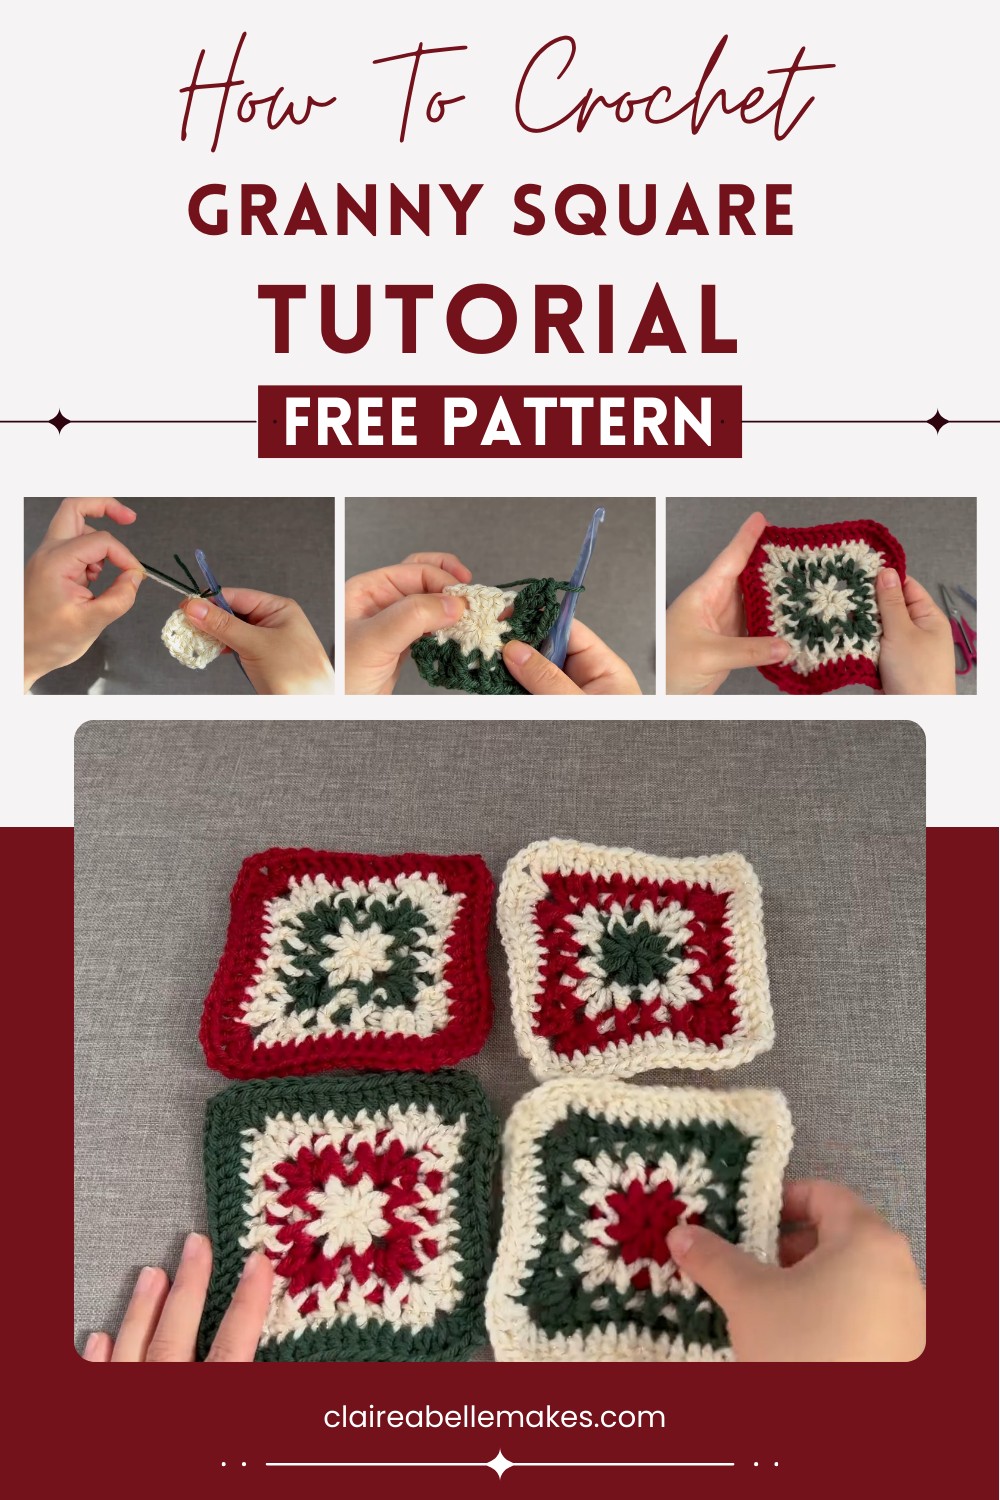
Crochet Granny Square Pattern With Vibrant Colors
Turn simple yarn into amazing projects with the Crochet Granny Square Pattern. Make colorful, textured squares for cozy blankets, scarves, and more.
Crochet Granny Square Pattern
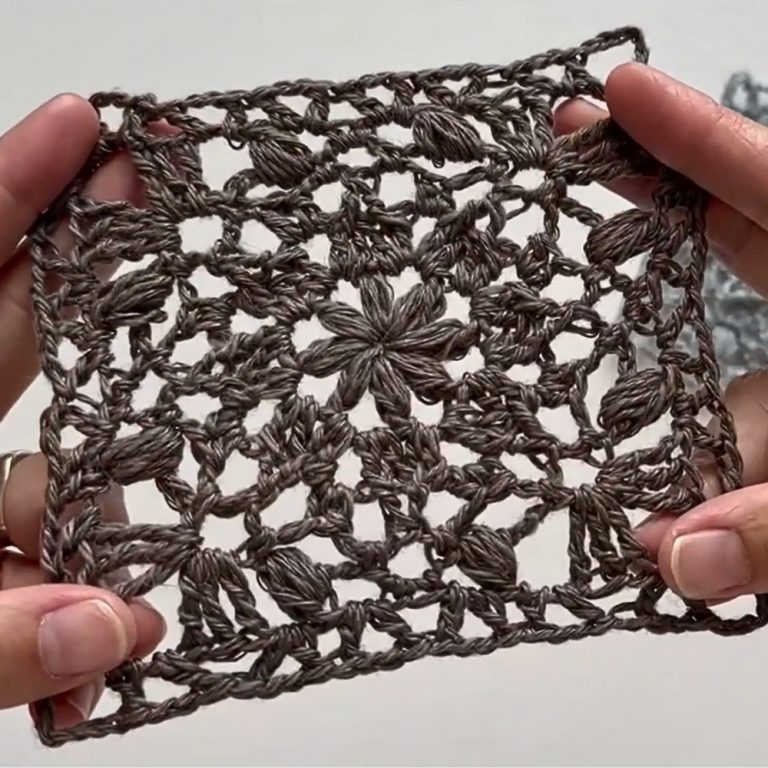
Have you ever thought about turning simple yarn into something amazing? The Crochet Granny Square Pattern does just that! This pattern teaches you to make small and colorful squares that are easy to make and incredibly versatile. You can stitch these squares together to create blankets, scarves, or even stylish bags. Each square has its own unique texture and color, resulting in a patchwork effect that is both charming and cozy. Whether for home decor or fashion, granny squares are always a stylish choice.
Uses of Granny Square:
- Blankets: Join multiple squares to create cozy, vibrant blankets for every season.
- Scarves: Stitch squares end-to-end to craft unique and stylish scarves.
- Bags: Combine squares to form trendy, handmade bags.
- Home Decor: Use them in cushions, table runners, or wall hangings for a charming, vintage look.
- Clothing: Incorporate squares into sweaters, cardigans, or tops for a personalized fashion statement.
How To Crochet Granny Square
Materials:
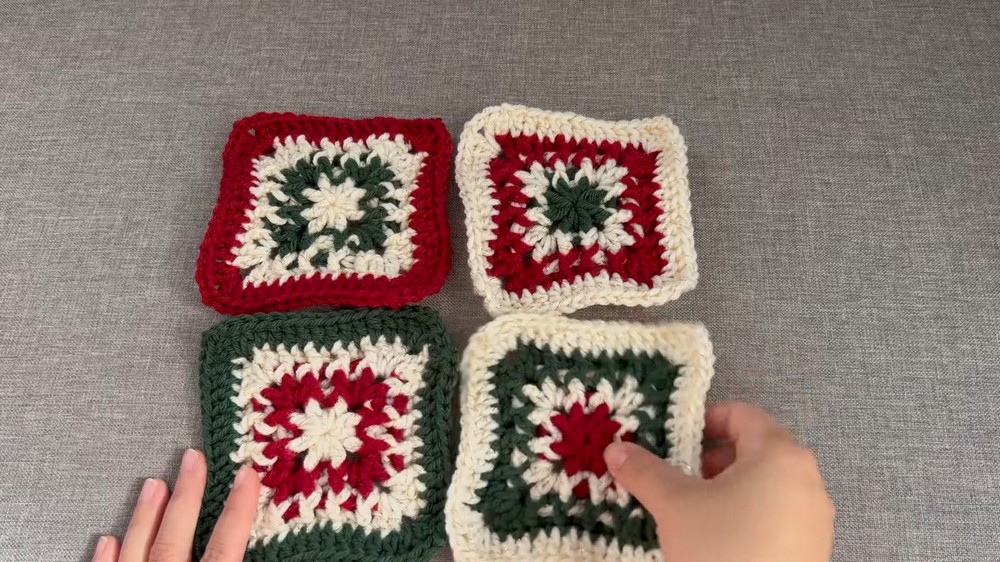
- Worsted weight yarn in three colors (cranberry red, dark green, ivory with gold)
- 6 mm crochet hook
- Scissors
- Tapestry needle
Abbreviations:
- ch: chain
- dc: double crochet
- sl st: slip stitch
- fpdc: front post double crochet
- bpdc: back post double crochet

Instructions:
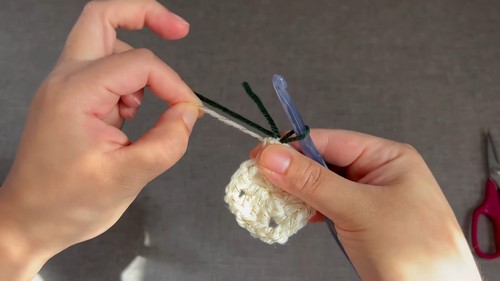
Round 1:
- Start with a Magic Ring.
- Ch 3 (counts as the first dc).
- 2 dc into the ring.
- Ch 2.
- 3 dc into the ring.
- Ch 2.
- 3 dc into the ring.
- Ch 2.
- 3 dc into the ring.
- Tighten the magic ring.
- Ch 2 and join to the top of the beginning ch 3.
- Slip stitch into the next 2 stitches and into the ch 2 space to position for the next color.
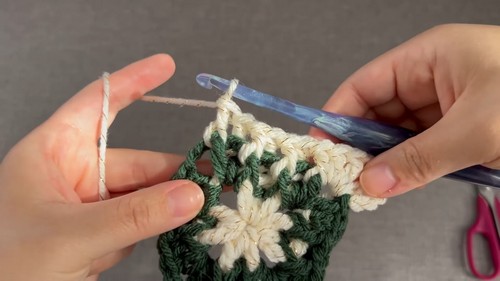
Round 2:
- Change to the next color.
- In the ch 2 corner space, ch 3 (counts as a dc).
- 1 dc, ch 2, 2 dc in the same corner space.
- For the sides, alternate fpdc and bpdc stitches:
- fpdc in the next st.
- bpdc in the following st.
- fpdc in the last st on the side.
- Repeat for all corners and sides:
- In each corner ch 2 space: 2 dc, ch 2, 2 dc.
- For the side stitches: fpdc, bpdc, fpdc.
- Join to the top of the beginning ch 3.
- Slip stitch into the next 2 stitches and into the corner ch 2 space for the next color change.

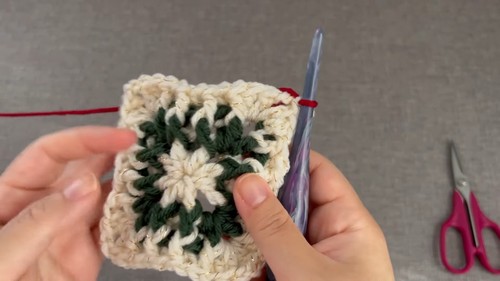
Round 3:
- Change to the next color.
- In the ch 2 corner space, ch 3 (counts as a dc).
- 1 dc, ch 2, 2 dc in the same corner space.
- For the sides, continue alternating fpdc and bpdc stitches:
- Start each side with a fpdc.
- Alternate bpdc and fpdc.
- In each corner ch 2 space: 2 dc, ch 2, 2 dc.
- Join to the top of the beginning ch 3.
- Slip stitch into the next 2 stitches and into the corner ch 2 space for the final color change.
Round 4:
- Change to the last color.
- In the ch 2 corner space, ch 3 (counts as a dc).
- 1 dc, ch 2, 2 dc in the same corner space.
- Dc in each stitch across the sides.
- In each corner ch 2 space: 2 dc, ch 2, 2 dc.
- Join to the top of the beginning ch 3.
- Fasten off and weave in ends.
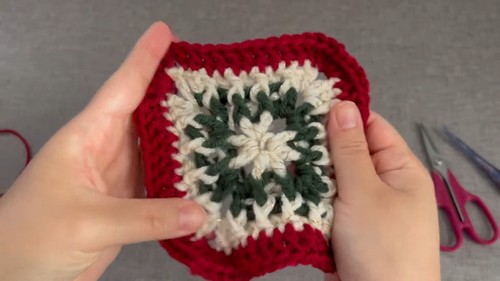
Final Steps:
- Ensure the center is secure: Use a tapestry needle to make a knot around a nearby stitch to prevent the magic ring from coming loose.
- Weave in all ends securely.
I hope this helps! If you need more crochet tutorials, be sure to subscribe to the provided channel.