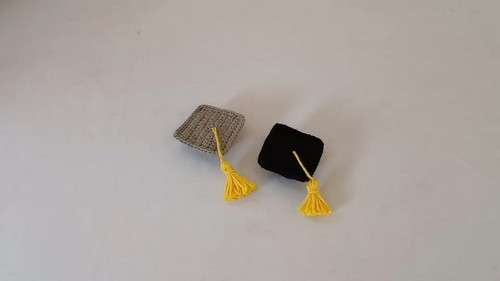
Crochet Graduation Cap For Keychain Pattern For Gifting
For your friend who just graduated, here is the perfect pattern: the Crochet Graduation Cap For Keychain! This delightful project captures the excitement and accomplishment of graduation. Crafted with cotton yarn, the mini cap features a square top and a vibrant yellow tassel. The design includes two connected pieces: a flat square and a round base, seamlessly joined for a polished appearance. Ideal for gifts or personal keepsakes, this tiny cap transforms into a charming keychain with the addition of a chain ring. Celebrate achievements creatively and customize with different yarn colors to match any graduate’s style.

Why Love This Pattern?
How To Crochet Graduation Cap For Keychain
Materials Required:
- 100% cotton yarn for crochet of 2.00 to 3.00 mm in black and yellow (or colors of your choice)
- 2.00 mm crochet hook
- Scissors
- Needle
- Stitch marker or clip (optional)
- A ring with a chain for a keychain and some clips to attach it to the cap (optional)
Steps:
Part 1: Crochet the Square Piece
- Starting Chain:
- Make a slip knot and chain 13.
- Row 1:
- Skip the first chain from the hook.
- Crochet a single crochet in each chain until the end.
- You should have 12 single crochets in total.
- Begin hiding the thread left over from the slip knot while crocheting.
- Rows 2 to 11:
- Chain 1, turn the piece.
- Crochet a single crochet in each stitch (12 single crochets per row).
- Write down a line on a piece of paper each time you finish a row for easier counting.
- Edge:
- Chain 1. Crochet 12 single crochets along each side of the square (4 sides total).
- You should have 48 stitches around the square.
- Join the first single crochet with a slip stitch and chain 1.
- Cut the thread, slide, and tighten.
- Hide the thread between the strands of the fabric and cut it.
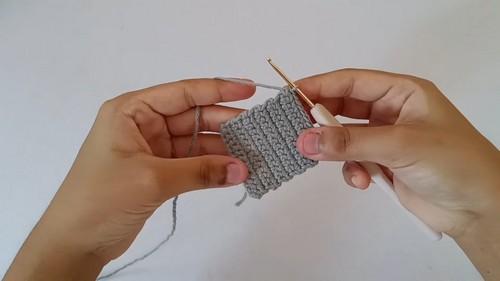
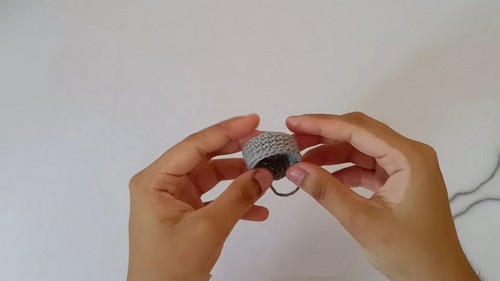
Part 2: Crochet the Circular Piece
- Magic Ring:
- With gray yarn, make a magic ring and crochet 6 single crochets in it.
- Round 2:
- Make an increase in each stitch (12 stitches in total).
- Round 3:
- Crochet 1 single crochet, 1 increase, and so on (18 stitches in total).
- Round 4:
- Crochet 2 single crochets, 1 increase, and so on (24 stitches in total).
- Round 5:
- Crochet using only the back loop of the stitch (Back Loop Only). Single crochet in each back strand (24 stitches).
- Rounds 6 to 8:
- Crochet normally, taking the complete stitch. Single crochet in each stitch for 3 consecutive rows (24 stitches each round).
- Finish:
- Slip stitch in the next stitch, chain 1.
- Cut the thread, slide, and tighten.
- Cut the thread that was left over from the magic ring.
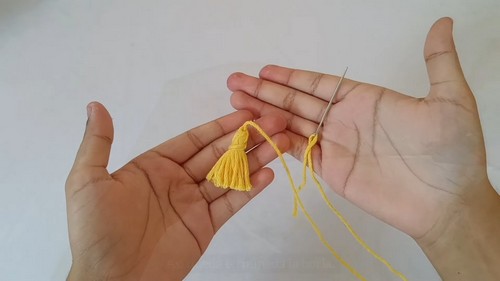
Part 3: Making the Tassel
- Wrap Yarn:
- With yellow yarn, wrap the thread around your index and middle fingers (15 laps).
- Shape Tassel:
- Cut the thread.
- Pass the thread through the center and tie a knot.
- Remove the tassel from your fingers.
- Wrap Tassel:
- Make about 4 turns around the tassel above the middle.
- Pass the needle underneath and tie a knot.
- Pass the thread to the top, through the center, and tie a knot.
- Finish Tassel:
- Cut the strands at the bottom.
- Trim the strands to make them even.
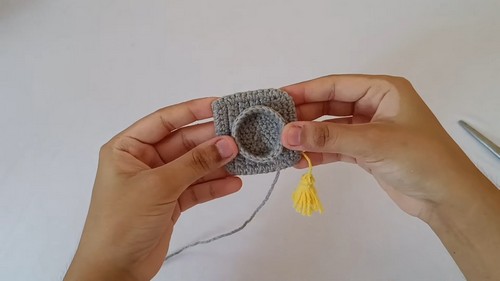
Part 4: Assembling the Graduation Cap
- Attach Tassel:
- Insert the needle at a point between rows 7 and 8 of the square piece.
- Pull the thread until the tassel hangs at the desired height.
- Pass the needle between the strands and tie knots to secure the tassel.
- Cut the thread to hide it.
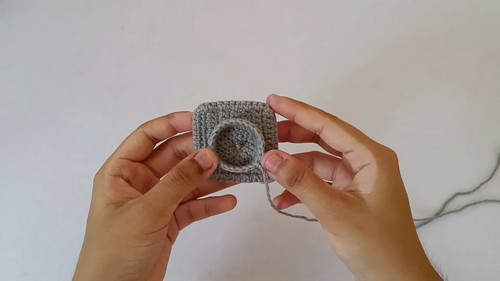
- Join Pieces:
- Place the circular piece below the square piece, right in the middle.
- Use the threads sticking out from both pieces to sew them together.
- Hide the thread between both pieces after sewing.
Optional: Adding the Keychain
- Attach Keychain:
- You can place the ring with the chain in a corner of the square or in the middle where the thread comes out of the tassel.
Finishing Touches:
- Make sure all threads are securely hidden and cut.
- Enjoy your crochet graduation cap or attach it to a keychain for a personal touch!