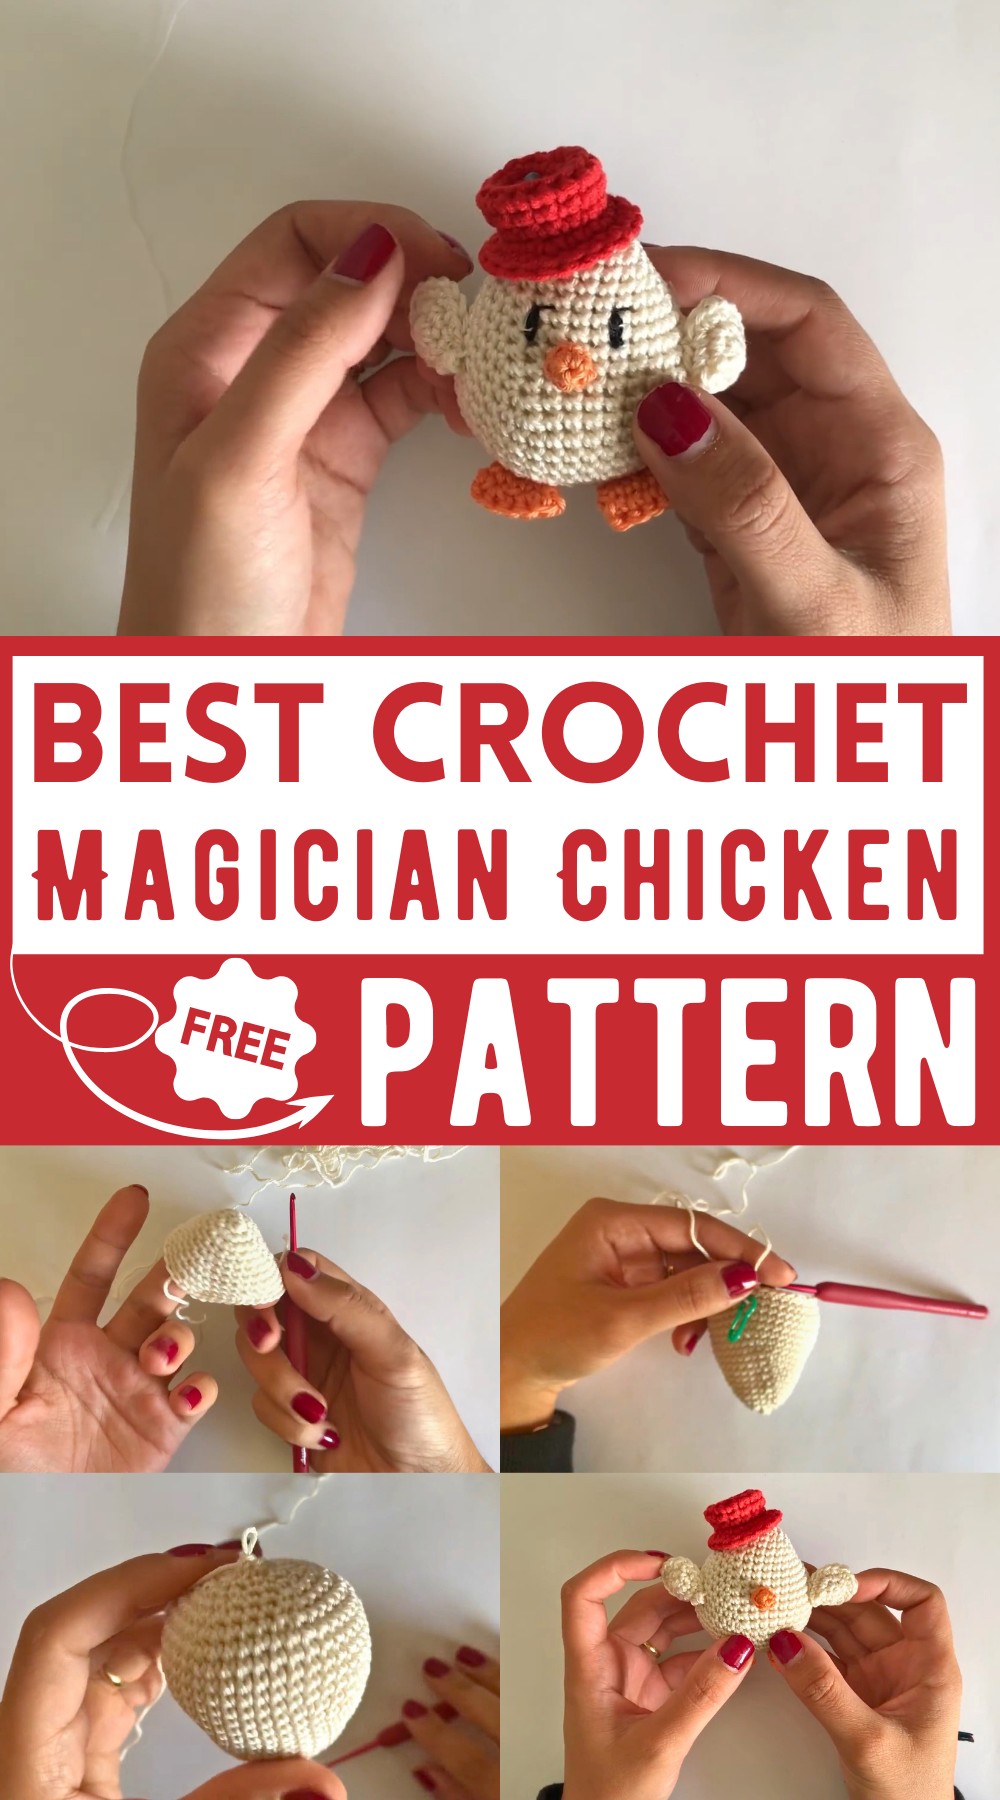
Crochet Amigurumi Magician Chicken Pattern
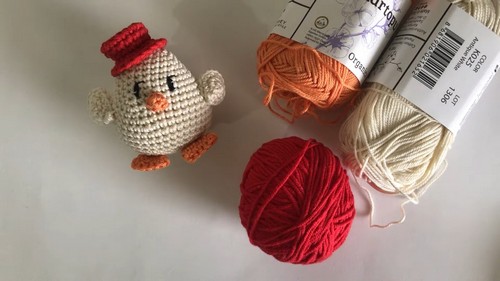
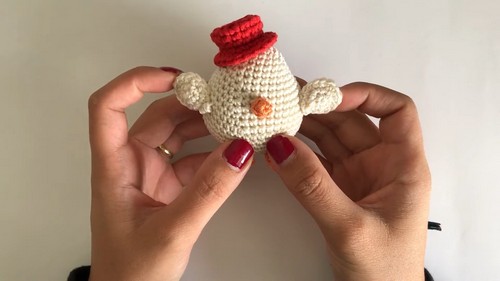
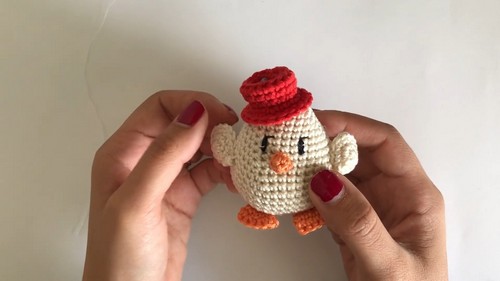
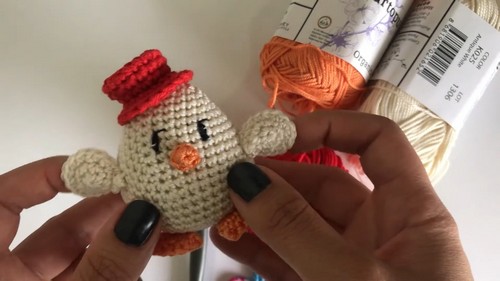
Ever seen a chicken perform magical tricks? Probably not, but now you can with this Crochet Amigurumi Magician Chicken Pattern! The charming pattern brings to life a cute, cream-colored chicken with adorable orange and red accents. The chicken’s enchanting look is completed with a tiny red magician hat, making it perfect for both play and display. It has clear instructions on increasing and decreasing to shape the body, wings, feet, and cute beak. Create this delightful soft toy to add a little magic to your crochet collection!
Best Yarn To Choose?
- Yarn Type: Look for yarns of similar fineness to the Snowball Organic yarn, especially if it’s not available to you.
- Fiber Content: Organic yarns are a great choice due to their softness and suitability for crocheted toys (amigurumi).
- Color Choice: Choose colors based on your personal preference. The video uses cream, orange, and red, which give a vibrant and playful appearance to the chicken.
- Substitutes: Other brands offer comparable yarns in terms of weight and texture, so do not hesitate to experiment with them.
- Accessories: Ensure you have the necessary accessories like sewing needles, fiberfill, and optionally, safety eyes if desired.
How To Crochet Amigurumi Chicken
Materials:
- Yarn: Organic Snowball yarn in cream, orange, and red colors (or yarns of similar fineness from other brands)
- Crochet hook size: Number 2
- Needle for sewing
- Fiberfill for stuffing
- Optionally, safety eyes or black thread for embroidering eyes
Abbreviations:
- sc: single crochet
- inc: increase (2 sc in the same stitch)
- dec: decrease (sc2tog)
Pattern:
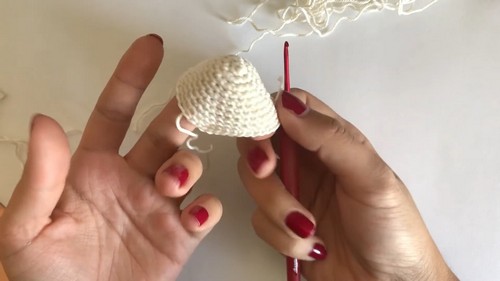
Body:
- Magic Circle:
- Create a magic circle.
- 6 sc into the magic ring. (6)
- Round 1:
- 2 sc in each st around. (12)
- Round 2:
- [1 sc in next 3 st, inc] repeat around. (15)
- Round 3:
- [1 sc in next 4 st, inc] repeat around. (18)
- Rounds 4-7:
- Continue increasing by 1 stitch between increases until you have 36 stitches in round 7.
- Rounds 8-11:
- 1 sc in each st around. (36)
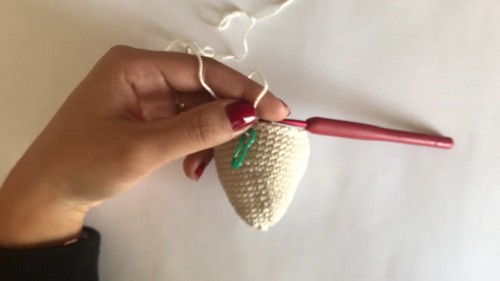
- Round 12:
- [1 sc in next 11 st, inc] repeat around. (39)
- Rounds 13-16:
- 1 sc in each st around. (39)
- Round 17:
- [1 sc in next 12 st, inc] repeat around. (42)
- Rounds 18-21:
- 1 sc in each st around. (42)
- Round 22:
- [1 sc in next 5 st, dec] repeat around. (36)
- Round 23:
- [1 sc in next 4 st, dec] repeat around. (30)
- Round 24:
- [1 sc in next 3 st, dec] repeat around. (24)
- Round 25:
- [1 sc in next 2 st, dec] repeat around. (18)
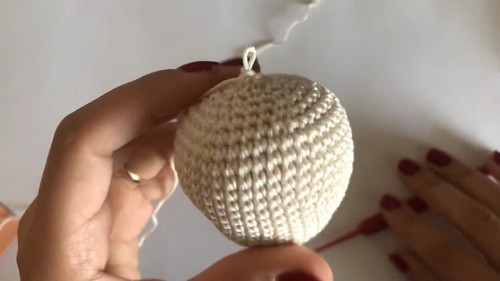
- Round 26:
- [1 sc in next st, dec] repeat around. (12)
Stuff the body with fiberfill
- Round 27:
- Dec all around until closed. Fasten off and weave in the ends.
Wings (Make 2):
- Magic Circle:
- Create a magic circle.
- 6 sc into the magic ring. (6)
- Round 1:
- 2 sc in each st around. (12)
- Round 2:
- [1 sc, inc] repeat around. (18)
- Fasten off and leave a long tail for sewing.
Beak:
- Magic Circle:
- Create a magic circle.
- 5 sc into the magic ring. (5)
- Round 1:
- 1 sc in each st around. (5)
- Round 2:
- 1 sc in each st around. (5)
- Fasten off and leave a long tail for sewing.
Feet (Make 2):
- Magic Circle:
- Create a magic circle.
- 3 sc into the magic ring. (3)
- Round 1:
- 2 sc in each st around. (6)
- Round 2:
- [1 sc, inc] repeat around. (9)
- Round 3:
- [1 sc in next 2 st, inc] repeat around. (12)
- Round 4:
- Fold the piece in half and sc through both layers to form a triangle.
- Fasten off and leave a long tail for sewing.
Tail:
- Create a small tail using the leftover orange yarn.
- Attach to the back of the chicken body.
Assembly:
- Sew Wings:
- Sew the wings to the sides of the body.
- Sew Beak:
- Attach the beak to the front of the body.
- Sew Feet:
- Sew the feet at the bottom of the body.
- Embroider Eyes:
- Use black thread to embroider eyes or attach safety eyes.
Hat (Optional):
- Magic Circle:
- Create a magic circle.
- 6 sc into the magic ring. (6)
- Round 1:
- 2 sc in each st around. (12)
- Round 2:
- [1 sc, inc] repeat around. (18)
- Rounds 3-5:
- Sc in the back loop only of each st around. (18)
- Round 6:
- [1 sc in next 2 st, inc] repeat around. (24)
- Round 7:
- 1 sc in each st around. (24)
- Fasten off and leave a long tail for sewing.
Attach the hat to the head of the chicken.
Finish:
- Ensure all pieces are securely sewn.
- Make sure the chicken is stuffed enough to hold its shape.
- Add any additional decorations as desired.