Cozy Crochet Reindeer Ornament for Seasonal Accents
Enhance your holiday décor with a Crochet Reindeer Ornament Pattern, offering playful charm and a joyful festive spirit.
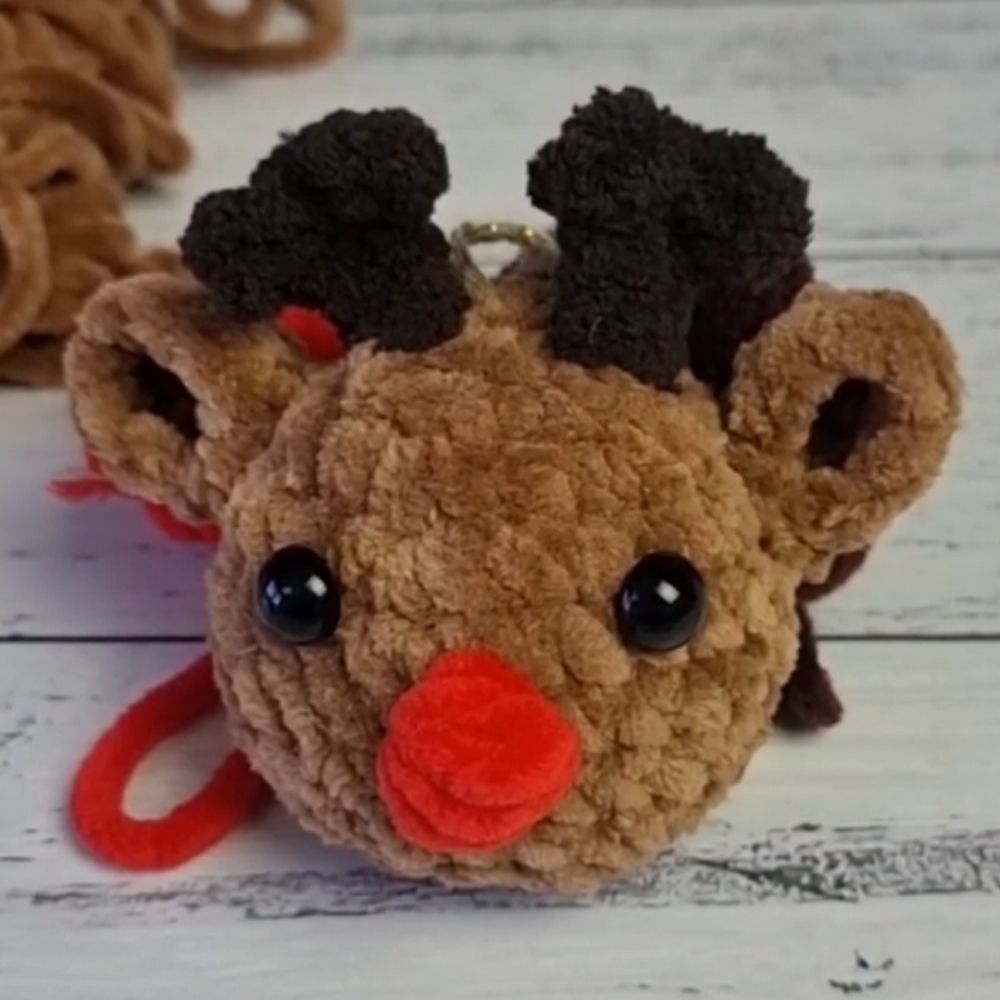
Winter holidays have long been celebrated with ornaments that capture the magic and warmth of the season, each piece carrying memories and festive cheer. The reindeer, with its graceful antlers and gentle demeanor, has become an iconic symbol of holiday spirit. The Crochet Reindeer Ornament Pattern brings this beloved figure to life in a handmade form, offering a charming accent that enhances any Christmas tree, wreath, or mantel display.
Playful Crochet Reindeer Ornament with Radiant Sparkle

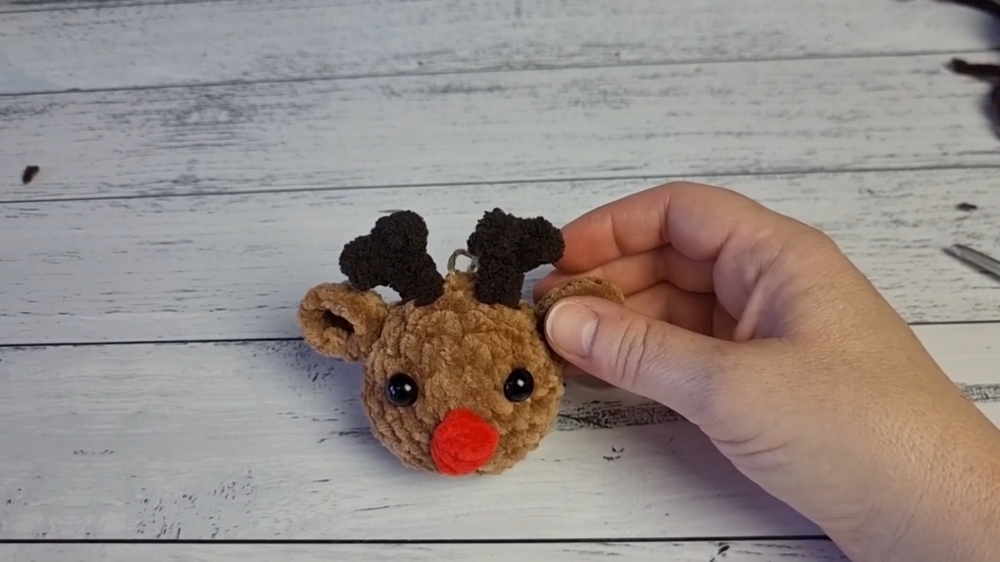
The creation begins with forming a sturdy yet soft body, carefully proportioned to reflect the reindeer’s elegance. Antlers, tiny hooves, and a sweet face are added with attention to detail, giving the figure personality and charm. Lightweight and durable, it hangs gracefully from branches or hooks, maintaining shape while adding a touch of handmade warmth to seasonal décor. The textured stitches provide subtle depth, making the ornament visually engaging from every angle.
The Crochet Reindeer Ornament Pattern is versatile in color and style, allowing customization to match traditional reds and greens or more modern holiday palettes. Beyond decorative appeal, it embodies patience, creativity, and holiday cheer, making it a meaningful gift or keepsake. Each stitch turns yarn into a small, enduring symbol of festive joy, ready to brighten homes and hearts during the most wonderful time of the year.
Materials Needed
To make the reindeer, you will need:
- Yarn:
- Light brown for the face and ears
- Dark brown for the antlers
- Red for the nose
- Safety Eyes: A pair with backings
- Other Tools:
- A 4.5mm crochet hook
- Darning needle
- Scissors
Special Features
- Quick to Make: This cute ornament can be completed in just 15 minutes with practice.
- Beginner-Friendly: Accessible for all skill levels, though some familiarity with basic crochet techniques (e.g., magic circles, single crochet, and increases/decreases) is recommended.
- Creative No-Sew Techniques: Minimal sewing is required; ears and antlers are attached with a quick stitch, while the nose is done using a no-sew method.
- Versatile Use: Ideal as a Christmas tree decoration, stocking stuffer, or holiday market item.
Level of Difficulty
The project is beginner-level, requiring basic amigurumi skills. While creating a magic circle and managing small stitches may be challenging for absolute novices, the video explains each step very clearly.
Step-by-Step Instructions
1. Making the Reindeer Head
- Magic Circle with Increments:
- Start with a magic circle and make 6 single crochets into the loop. Pull the circle tight.
- Work in spiral rounds from here.
- Increase Rounds:
- Round 2: Make 2 single crochets in each stitch (result: 12 stitches).
- Round 3: Work a pattern of 1 single crochet and 1 increase, repeating all the way around (result: 18 stitches).
- Round 4: Work 2 single crochets and then 1 increase, repeating the pattern around (result: 24 stitches).
- Neutral Rounds (Building the Shape):
- Rounds 5-6: Do 1 single crochet into each of the 24 stitches.
- Decrease Rounds:
- Round 7: Crochet 2 single crochets followed by 1 decrease. Repeat the pattern around (result: 18 stitches).
- Round 8: Crochet 1 single crochet followed by 1 decrease, repeating to the end (result: 12 stitches).
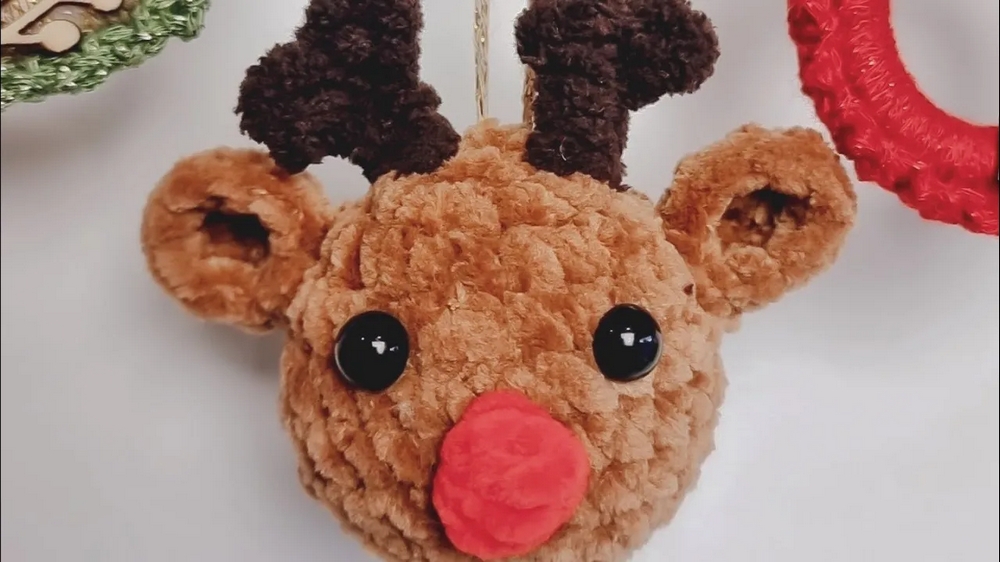
2. Adding Eyes and Stuffing the Head
- Place the safety eyes between rounds 5 and 6, leaving 4 stitches between them. Attach the backings securely.
- Stuff the head firmly but not overstuffed.
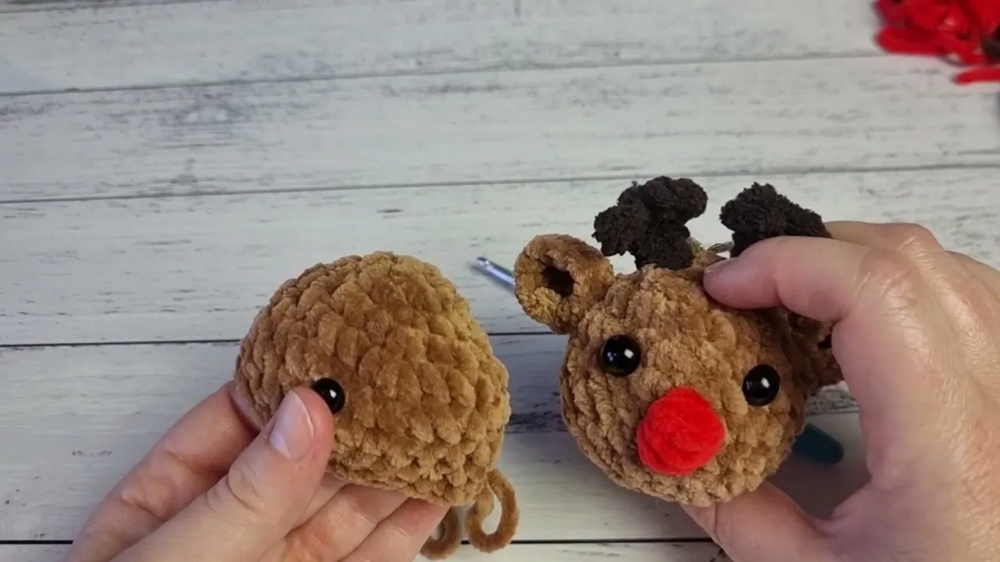
3. Completing the Head
- Round 9: Decrease in every stitch until only 6 stitches remain.
- Using a darning needle, go through the front loop of each of the last stitches to cinch the hole shut. Weave in any loose ends.
4. Creating the Nose (No-Sew Technique)
- Attach the red yarn to the middle stitch between the eyes (one row down).
- Work multiple yarn-over loops into the stitch to make it “bobble,” creating a small, rounded nose.
- Secure the yarn and weave in the ends.
5. Making the Antlers
- Using dark brown yarn, chain 6.
- Sl st into the first chain, sl st into the second chain, and chain 2 to form the first branch.
- Sl st back into the original chain and sl st into the remaining chains.
- Repeat for the second antler.
6. Making the Ears
- Create a magic circle using light brown yarn. Work 5 single crochets into the circle and pull it tight.
- In the next round, increase in every stitch (result: 10 stitches).
- Round 3: Work 1 single crochet into each of the 10 stitches.
- Flatten the ear, scrunch it gently, and stitch it closed at the base to hold its shape.
7. Attaching Features to the Head
- Position the antlers slightly toward the back of the head and sew them securely into place.
- Attach the ears on either side of the head, slightly below the antlers.
8. Adding the Hanging Loop (Optional)
- Use a length of yarn or decorative thread to create a hanging loop at the top of the head. Sew it securely.
Tutor’s Suggestions
- Safety Eyes: Use larger safety eyes (size 10 or 12mm) for a cuter effect.
- Nose Size: You can enlarge the nose by adding additional loops to the stitch while creating a bobble.
- Antler Placement: Adjust the antlers carefully to ensure proper symmetry.
- Avoid Over-Stuffing: While adding the filling, ensure the head is firm but not overly stretched.
Uses of the Ornament
- Christmas Tree Decoration: Add a festive and handmade touch to your tree.
- Gifts or Stocking Stuffers: Make these reindeer as delightful holiday presents.
- Craft Markets: An adorable and quick item to sell during holiday events.
Conclusion
This crocheted Christmas Tree Reindeer Ornament combines charm and simplicity into a festive craft that spreads holiday cheer. Whether you’re a beginner looking for an easy project or an experienced crocheter preparing for holiday markets, this little reindeer is a delightful choice. With its quick assembly and customizable features, it’s guaranteed to add a touch of magic to any Christmas setting.
Tip
To prevent your magic circle from loosening over time, make sure to knot the starting tail securely and weave it in thoroughly before trimming.