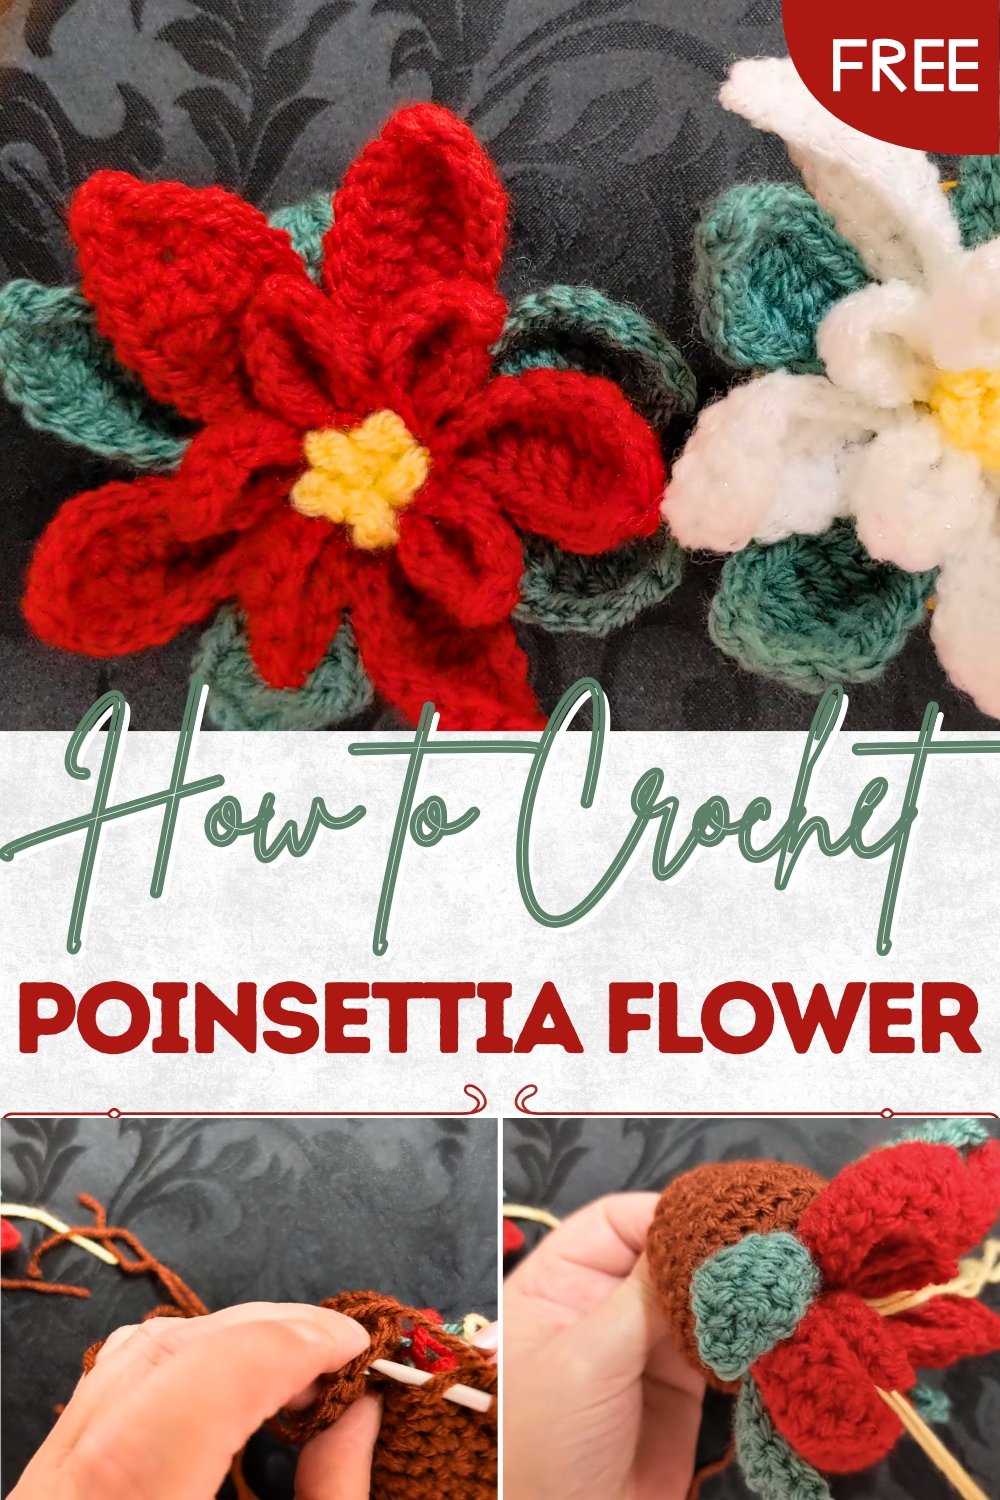
Charming Crochet Poinsettia Flower Pattern Step by Step
Brighten the season with this Crochet Poinsettia Flower Pattern for a festive, elegant accessory that adds charm to holiday décor.
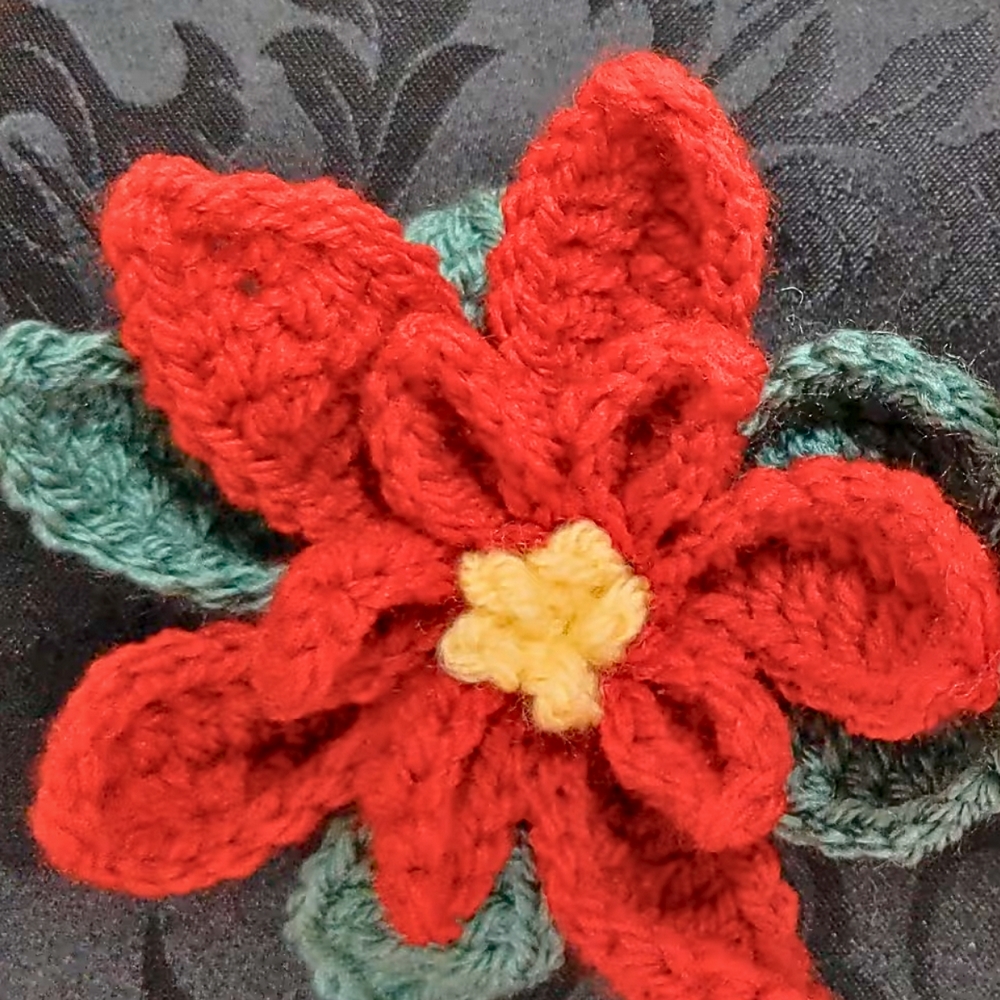
Elegant blooms have always captured attention, and the poinsettia stands out as a symbol of festive sophistication and charm. The crochet poinsettia flower pattern transforms this iconic flower into a handmade piece that radiates beauty, texture, and lasting appeal. Each flower is meticulously stitched to highlight the layered petals and subtle details that make poinsettias so captivating, resulting in a durable yet delicate decoration. Versatile in use, these crochet flowers can enhance wreaths, table centerpieces, gift packaging, or be displayed individually to brighten any corner with seasonal cheer.
Fresh Crochet Poinsettia Flower for Mantels That Shine
Vibrant yarn choices, from traditional reds and greens to modern, unexpected hues, allow personalization to suit any décor or theme. Beyond visual appeal, they serve as thoughtful gifts, keepsakes, or creative accents, carrying a personal touch that reflects care and attention. The handmade nature ensures every flower possesses individuality, making each piece unique and meaningful.
Combining elegance, practicality, and charm, the crochet poinsettia flower pattern turns simple yarn into a timeless symbol of celebration. Each stitch contributes to a piece that spreads joy, festive warmth, and artistic beauty, adding a sophisticated, handcrafted accent to homes, gatherings, and holiday traditions alike.
Materials Needed
- Yarn: Karen uses leftover yarn to crochet each section of the poinsettia. You can choose traditional poinsettia colors (red, green, and yellow) or be creative with your color scheme.
- Crochet Hook: A 4 mm crochet hook.
- Darning Needle: For sewing and weaving in ends.
- Scissors: To trim yarn tails.
- Small Plant Pot: To hold the finished poinsettia.

Special Features
- Realistic Design: Includes large and small leaves, a central cluster, and a textured soil base to make the poinsettia stand upright.
- Customizable Colors: While Karen traditionally uses red and green, you can create poinsettias with white, pink, or other colors.
- Self-Supporting Base: The “soil” feature allows the plant to stand without additional support, making it a versatile display piece.
- Festive Appeal: The finished poinsettia is perfect for holiday decorations or gifts.
- Designed for Various Skill Levels: The step-by-step instructions ensure that beginners and experienced crocheters alike can follow along easily.
Skill Level
Intermediate
While Karen demonstrates simple stitches, the assembly of multiple pieces requires attention to detail and patience. The project is great for crocheters who are comfortable with basic stitches and are looking for something more creative.
Step-by-Step Instructions
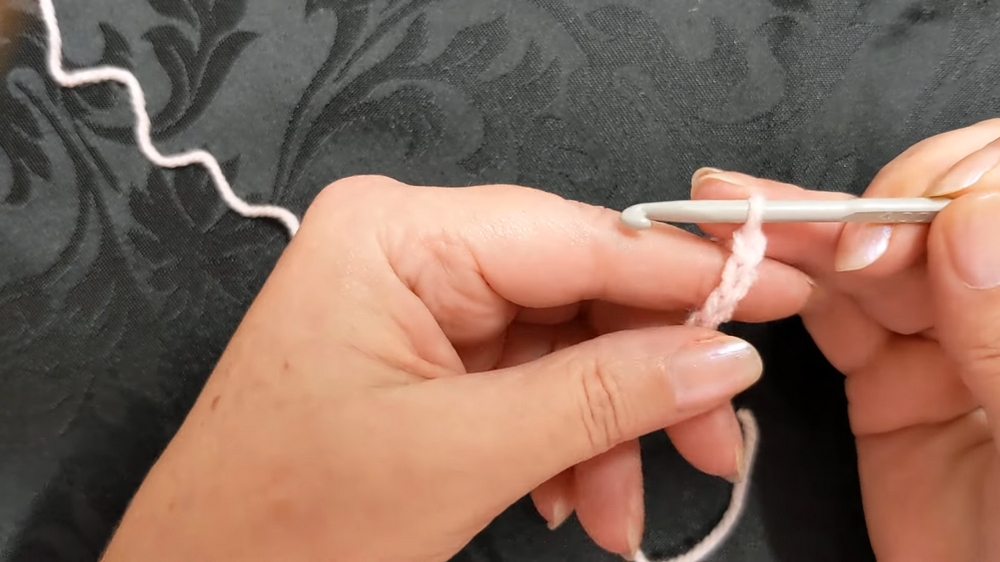
Step 1: Crocheting the Large Leaves
- Start with a long yarn tail about the length of your crochet hook (for sewing later).
- Chain 12.
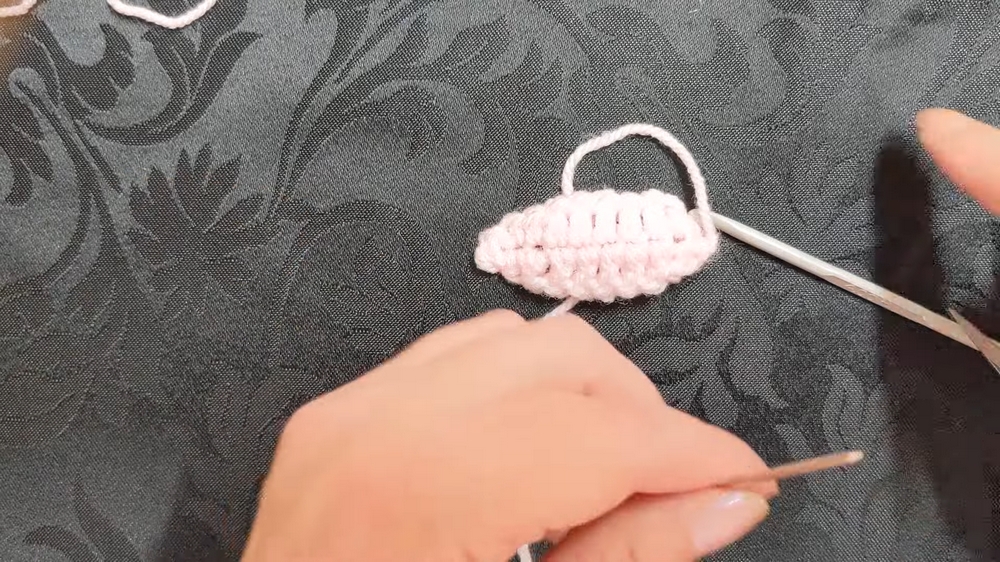
- Follow these stitches along the chain:
- Slip Stitch (US) / Single Crochet (UK).
- Single Crochet (US) / Double Crochet (UK).
- Half Double Crochet (US) / Half Treble Crochet (UK).
- Work 5 Double Crochets (US) / 5 Treble Crochets (UK) in the next stitches to create the curve of the leaf.
- Mirror the stitches as you move back down: Half Double, Single Crochet, Slip Stitch.
- Repeat the same stitches on the opposite side of the chain. Skip the end stitch and move to the next available chain to complete the second half of the leaf.
- Sew in the tail ends carefully, ensuring the leaf maintains its curve. Avoid pulling too tightly to preserve the leaf’s shape.
Make 5 large leaves in red and 5 large leaves in green.
2: Crocheting the Small Leaves
- Chain 8 to begin.
- Repeat the same stitch process as for the large leaves, but adjust the count to fit the smaller size:
- Slip Stitch, Single Crochet, Half Double Crochet.
- Work 3 Double Crochets (US) / 3 Treble Crochets (UK) for the curve.
- Mirror the stitches back down: Half Double, Single Crochet, Slip Stitch.
- Sew in the tail ends.
Make 5 small leaves in red.
3: Creating the Yellow Center Cluster
- Chain 4 to start.
- In the first chain, work 9 Triple Crochets (US) / 9 Double Crochets (UK) to form a circular cluster.
- Slip stitch into the third chain to join.
- Leave a small hole at the center for sewing later.
Make 2 yellow center clusters.
Step 4: Creating the Very Center
- Chain 3.
- Slip stitch into the first chain.
- Chain 3 and slip stitch into the newly formed chain. Continue this process until you have 5 center loops.
- Sew the loops together to form the central piece.
5: Making the Soil Base
- Chain 4.
- Work 9 Stitches (Triple Crochets or Double, depending on preference) in the first chain for a circular base.
- Slip stitch into the third chain.
- In the next round, work 2 Stitches per Loop around to increase the diameter (up to 20 stitches). Adjust based on the size of your pot.
- For the next rows, work into back loops to build a curved base resembling the soil in the pot. Decrease stitches to shape the base further.
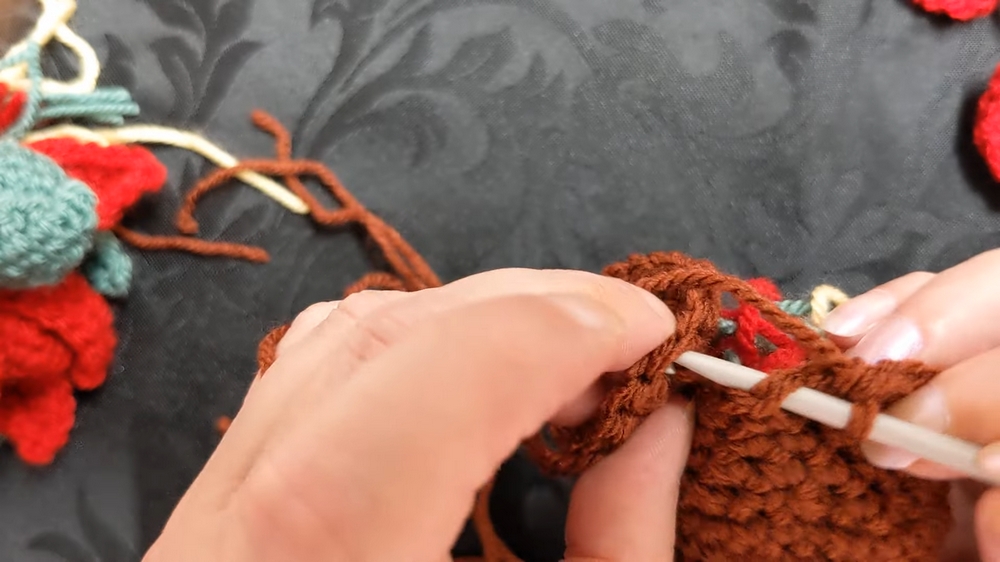
6: Assembling the Poinsettia
- Start by assembling the red section:
- Alternate large and small red leaves.
- Use the tail ends to tie the leaves together loosely, positioning them evenly around the yellow center cluster.
- Once positioned, tighten the tail ends with double knots to secure the arrangement.
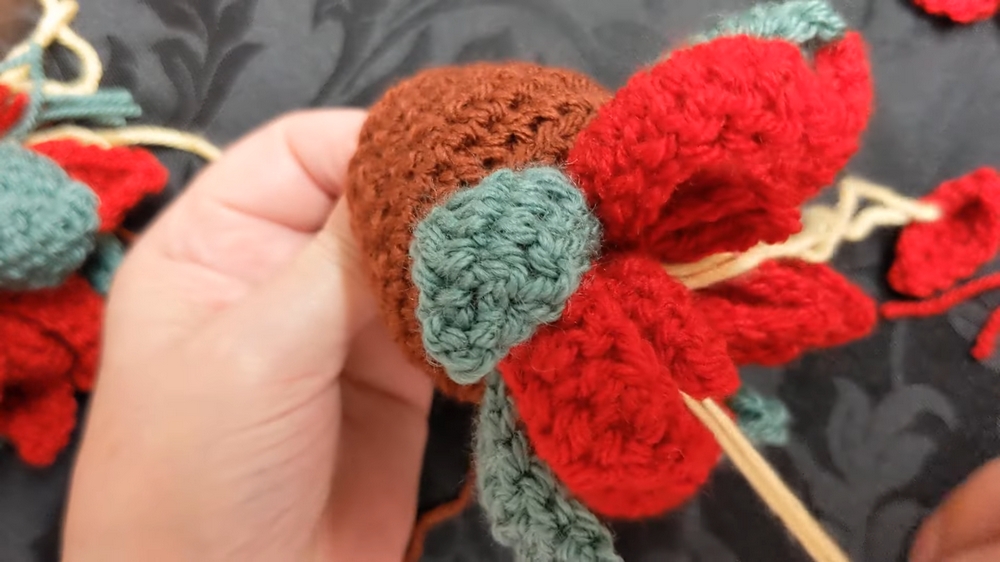
- Add the green leaves around the red section. Position them in the gaps between the red leaves, using a similar knot-tightening technique.
- Attach the yellow center clusters and tuck all tail ends inside.
- Place the assembled poinsettia into the soil base, ensuring everything is tight and secure.
Tutor’s Suggestions
- Tail Ends: Save and use yarn tail ends for assembly instead of cutting them off early.
- Loose Tie First: Keep pieces loosely tied during assembly to adjust their position before securing with tight knots.
- Custom Sizes: Adjust the stitch count for the soil base depending on the size of your pot.
- Decorative Options: Create several poinsettias to fill a larger pot or use them as individual decorations or gifts.
Tip
When assembling the poinsettia, work from the back to the front for a neater finish. Secure each component tightly to ensure the plant stands upright and maintains its shape.
Conclusion
Karen’s tutorial on the crocheted poinsettia plant is an excellent way to create a festive and handmade decoration for the holidays. Offering versatility in color and design, this project is both fun and rewarding. The combination of careful stitching and assembly techniques results in a striking floral creation that’s perfect for decoration or gifting. This step-by-step guide ensures that crocheters of various levels can bring a touch of holiday magic into their homes!