Casual & Classy Crochet Blossom Top Pattern
This Crochet Blossom Top Pattern offers a stylish and breezy design perfect for casual outings or sunny days, featuring intricate floral details.
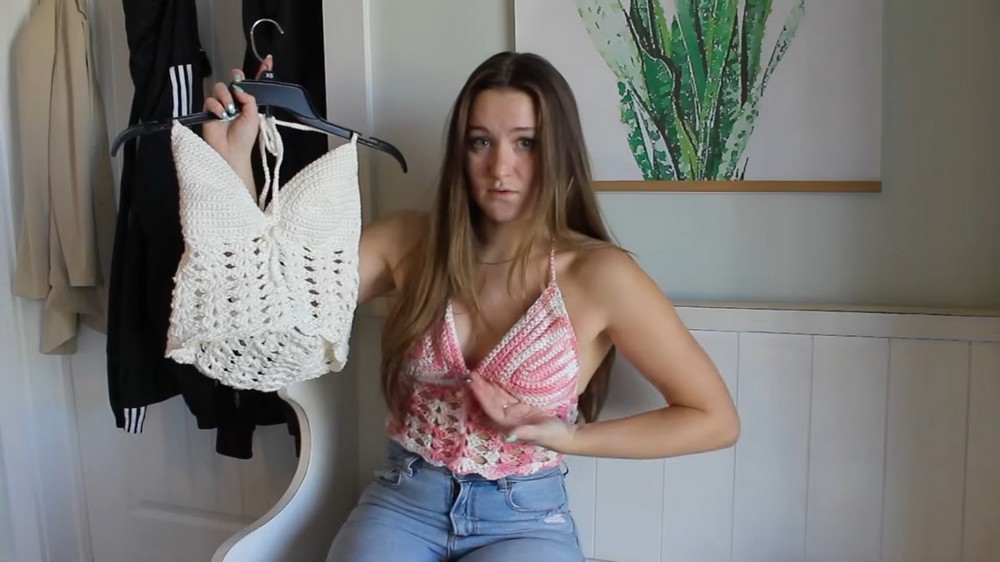
A unique halter top design is here to redefine comfort and versatility for summer fashion. Unlike traditional corset-style crochet tops that crisscross at the back, this pattern shifts the focus to the front, offering better bust support while putting comfort first. With its tight-knit center cups and a free-flowing bottom adorned with the elegant Blossom Stitch, the top strikes the perfect balance between style and practicality. Its lightweight cotton yarn construction keeps you cool and confident throughout warm days, whether you’re relaxing by the beach or attending a casual outing.
Casual & Classy Crochet Blossom Top Pattern
Blossom Top Crochet Pattern: Detailed Step-by-Step Guide
The Blossom Top is a stylish, highly customizable summer crochet halter top designed with comfort and practicality in mind. It features two cups sewn together, a tie-down middle closure, and a blooming bottom pattern perfect for warm weather. This step-by-step guide will walk you through creating this popular crochet top, ideal for both beginners and experienced crocheters.
Materials Needed
- Yarn: Cotton yarn is recommended for its lightweight, breathable, and washable properties. (Suggested: Lily Sugar ‘n Cream cone. One cone makes 2 tops, or use three small skeins for one top.)
- Hooks:
- 5mm crochet hook (for the foundation and open bottom portions)
- 4mm crochet hook (for tighter stitches in the middle of the cups)
- Other Tools:
- Tapestry needle (to sew in tails)
- Scissors
- Optional: Stitch markers (for beginner crocheters to mark tops of rows)
Abbreviations
- CH: Chain
- SC: Single Crochet
- DC: Double Crochet
- SLST: Slip Stitch
- ST: Stitch
- BL: Back Loop
Pattern Instructions
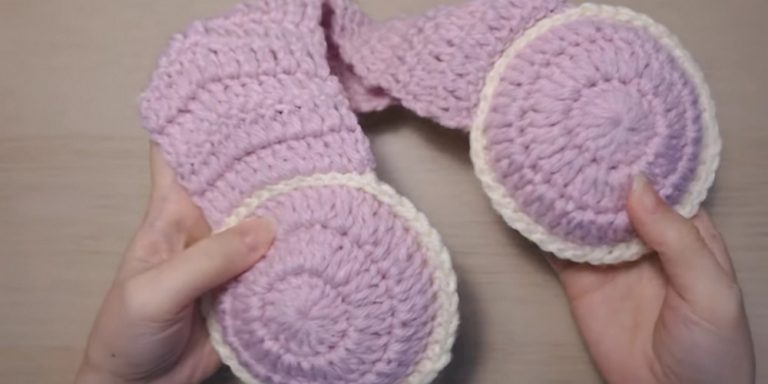
Step 1: Create the Cups
The top starts with two triangular cups.
- Cup’s Foundation Chain:
- Medium Size: CH 14 plus 1 extra for turning (15 total).
- Small Size: CH 12 + 1 (13 total).
- Large Size: CH 18 + 1 (19 total).
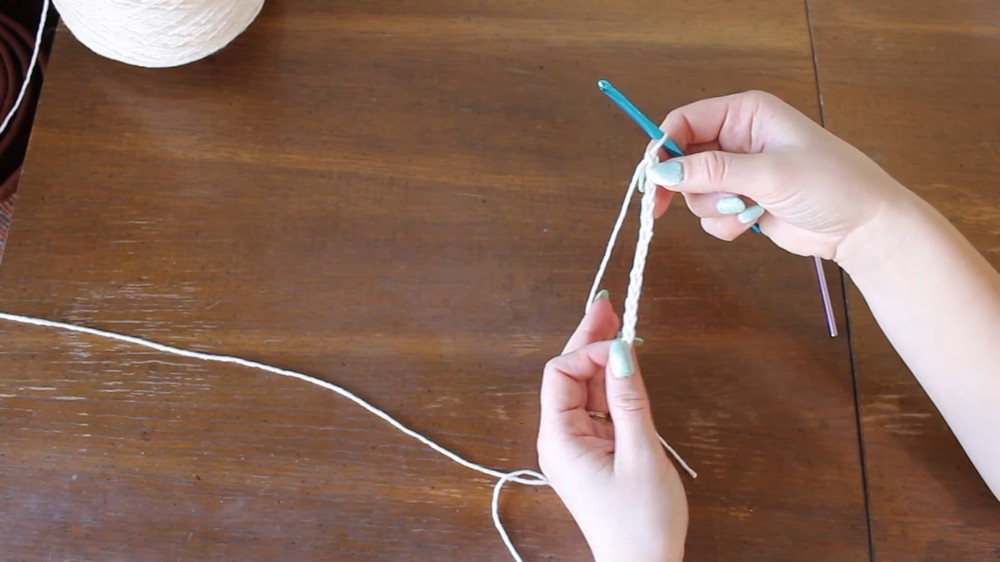
- Create Row 1:
- Insert the 5mm hook, single crochet into the 2nd CH from the hook, change to the 4mm hook, and continue working SC in the back loop only.
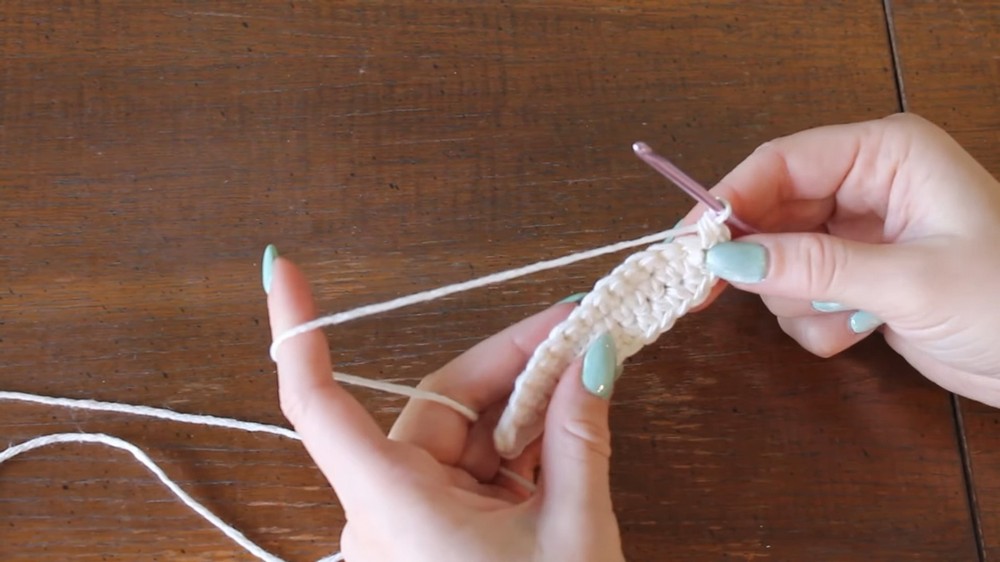
- At the last stitch, add 3 SC stitches to the turning point (forming the curve). Continue down the other side of the chain.
- Rows 2-4 Using 4mm Hook:
- Turn your work, crochet in the first stitch, and evenly SC to the curve. Add 3 SC into the middle stitch of the turning point. SC down the other side.
- After 4 rows, switch to your 5mm hook.
- Rows 5-Onward Using 5mm Hook:
- Repeat the process until you have a total of:
- 11 rows for Medium size
- 10 rows for Small size
- 12 rows for Large size
- Repeat the process until you have a total of:
- Finish the Cups:
- Fasten off and repeat the above process to make a second, identical cup. Ensure both cups are the same size.
Step 2: Join the Cups
- Place both cups together with the “wrong sides” facing up, ensuring the tails are on one side.
- Use your yarn to crochet along the bottom edges (joining them into one piece).
- Start from one end, working SC across the bottom of the first cup.
- SLST the middle points of both cups together.
- Continue SC across the bottom of the second.
- Turn the work and SC up the sides until the top point of each cup is reached.
Step 3: Add the Halter Straps
- Starting at the top of one cup:
- CH 80 for the halter straps (adjust as needed).
- SLST back down the chain for added stability.
- Attach the strap by SLST into the base stitch where the chain began.
- Repeat this process for the second strap on the second cup.

Step 4: Create the Bottom Band
- Determine CH Size:
- CH a multiple of 7 (this is required for the “blossom stitch” to work). For Medium, CH 63. (Adjust by adding 7 if you prefer a ruffled flare.)
- Attach the Chain & First Row:
- Attach the chain to the bottom of the cups, forming the band. Start a CH-1, SC row by skipping every other ST:
- SC, CH 1, skip one ST, repeat.
- Attach the chain to the bottom of the cups, forming the band. Start a CH-1, SC row by skipping every other ST:
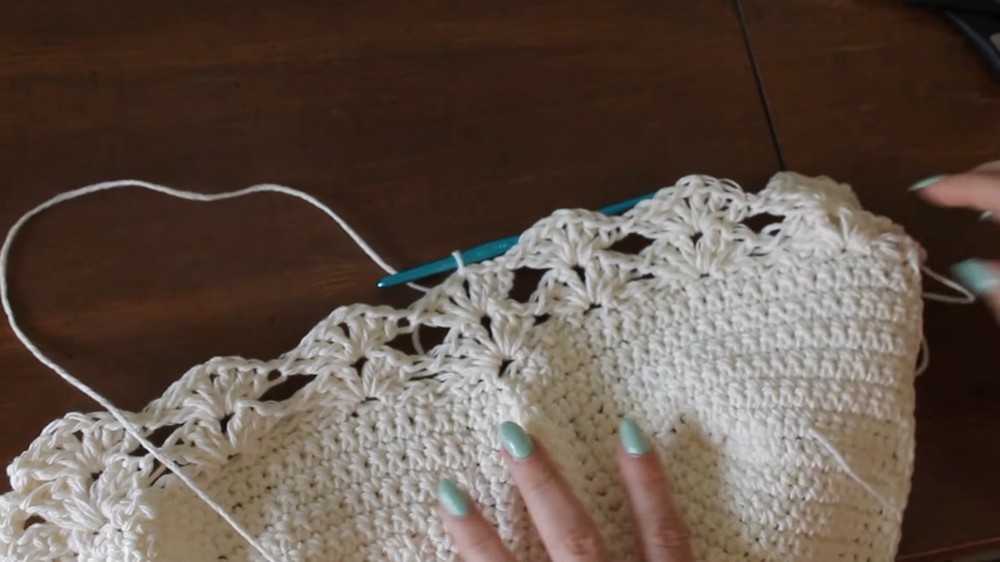
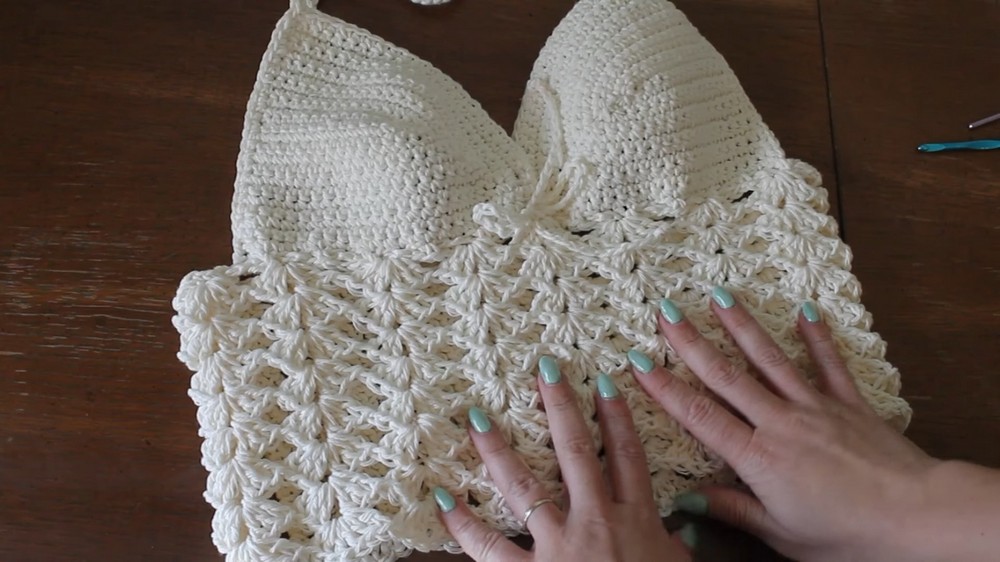
Step 5: Blossom Stitch Section
This beautiful stitch gives the blooming effect.
- Row 1:
- Start at the center front. In the CH-1 space:
- 3 DC, CH 1, 3 DC (shell clusters).
- Skip the next 7 CH spaces and repeat the sequence (3 DC, CH 1, 3 DC).
- Start at the center front. In the CH-1 space:
- Row 2-Onward:
- Slip stitch into the top of the cluster to move into the CH-1 space of the previous row.
- CH 3, and repeat the shell stitch (3 DC, CH 1, 3 DC) into previous-row CH-1 spaces.
- Continue this pattern, stacking shells into CH-1 spaces, for 8 rows (Medium size or adjust for your desired length).
- Fasten Off:
- Secure off with a CH 1 and cut the yarn tail.
- Secure off with a CH 1 and cut the yarn tail.
Step 6: Create Front Tie
- Chain a cord long enough to wrap around and tie a bow in the front.
- Thread this cord through the spaces created in Step 4’s bottom row.
Conclusion
Congratulations! Your Blossom Top is complete. This adjustable and trendy top is perfect for summer adventures, festivals, or a cute beach day. The tie in the front allows you to customize the fit even more, while the halter straps ensure support and comfort.