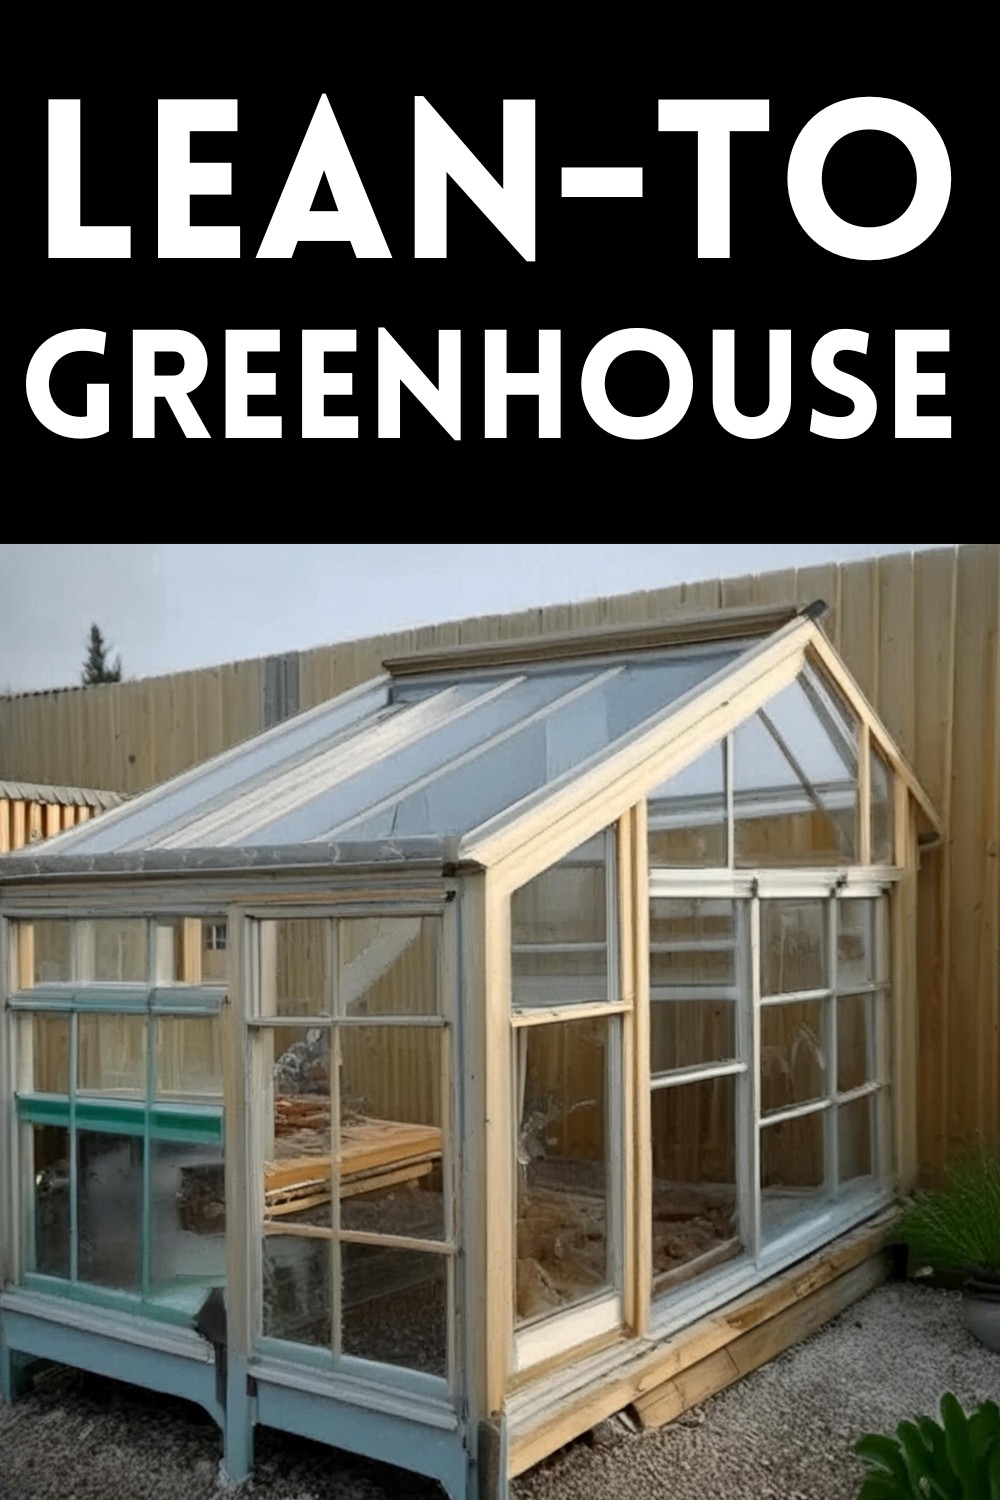
Build a Lean-to Greenhouse For Year-Round Gardening
Imagine a cozy spot where your plants can thrive, even when it’s chilly outside. That’s exactly what a lean-to greenhouse provides. For under $100, you can create a warm, sunlight-filled home for your seedlings using simple materials like old windows and spare lumber. This DIY project isn’t just budget-friendly; it’s a homage to creativity and making the most of what you have. Whether you’re an avid gardener or looking for a new challenge, building your lean-to greenhouse is a practical and rewarding endeavour that extends your growing season without breaking the bank.
Lean-to Greenhouse
Materials List
To get started, you’ll need:
- A collection of old windows (sourced from garage sales or perhaps already lying around in your attic)
- Approximately seven 8-foot 2x4s (some might be leftovers from past endeavours)
- A bunch of spare lumber for frames and supports
- A box of 3″ exterior decking screws
- A box of exterior framing nails
Tools Required
Arm yourself with:
- A hammer or nail gun for those framing nails
- A drill with Torx bit for secure screwing
- A saw (table saw or hand saw) for sizing lumber to your needs
- An air compressor and pin nailer if available, for precision work
- A staple gun for attaching plastic, if needed
Step-by-Step Guide
Step 1: Design Blueprint
Though you might not sketch it out, envision a lean-to greenhouse structure that can be realized with your window and wood collection.

Step 2: Building the Walls
Start by assembling the walls. Lay out the windows and doors, framing them with 2x4s until you obtain the desired shape for each wall. Ensure the back wall aligns in height with the tallest part of the side walls, and similarly, the front wall should match the lowest part of the side.
Step 3: Binding the Walls Together
With the walls shaped, use your decking screws to fasten them securely, creating a sturdy skeleton for your greenhouse.
Step 4: Setting in the Windows
Fixed and hinged windows come next. Start by framing each opening with strips of wood to act as jambs. For hinged windows or doors, ensure the jamb allows for outward opening without hindrance from inside objects like shelves.
Step 5: Filling the Gaps
Not all spaces will be filled by windows. Use greenhouse plastic to cover these gaps, securing it tightly with your staple gun. Remember, greenhouse plastic is both effective and economical.
Step 6: The Roof
This could be a bit tricky. If using a large window like the creators did, it will need a fixed frame. Alternatively, construct a frame suited for plastic sheeting or lightweight material if that’s what you have.
Step 7: Internal Arrangements
Add shelving inside for your plant trays. Utilizing materials like cedar crates can provide a removable solution for transplantation needs. Also, consider installing gutters on the exterior for additional planting space – a novel approach to maximizing your gardening area.
The Final Touches
Voilà, your greenhouse is structurally complete! From here, you might add personal touches like paint or decorative elements. But the true beauty lies in its function – providing a warm, sunlight-filled space for your plants to thrive at minimal cost.