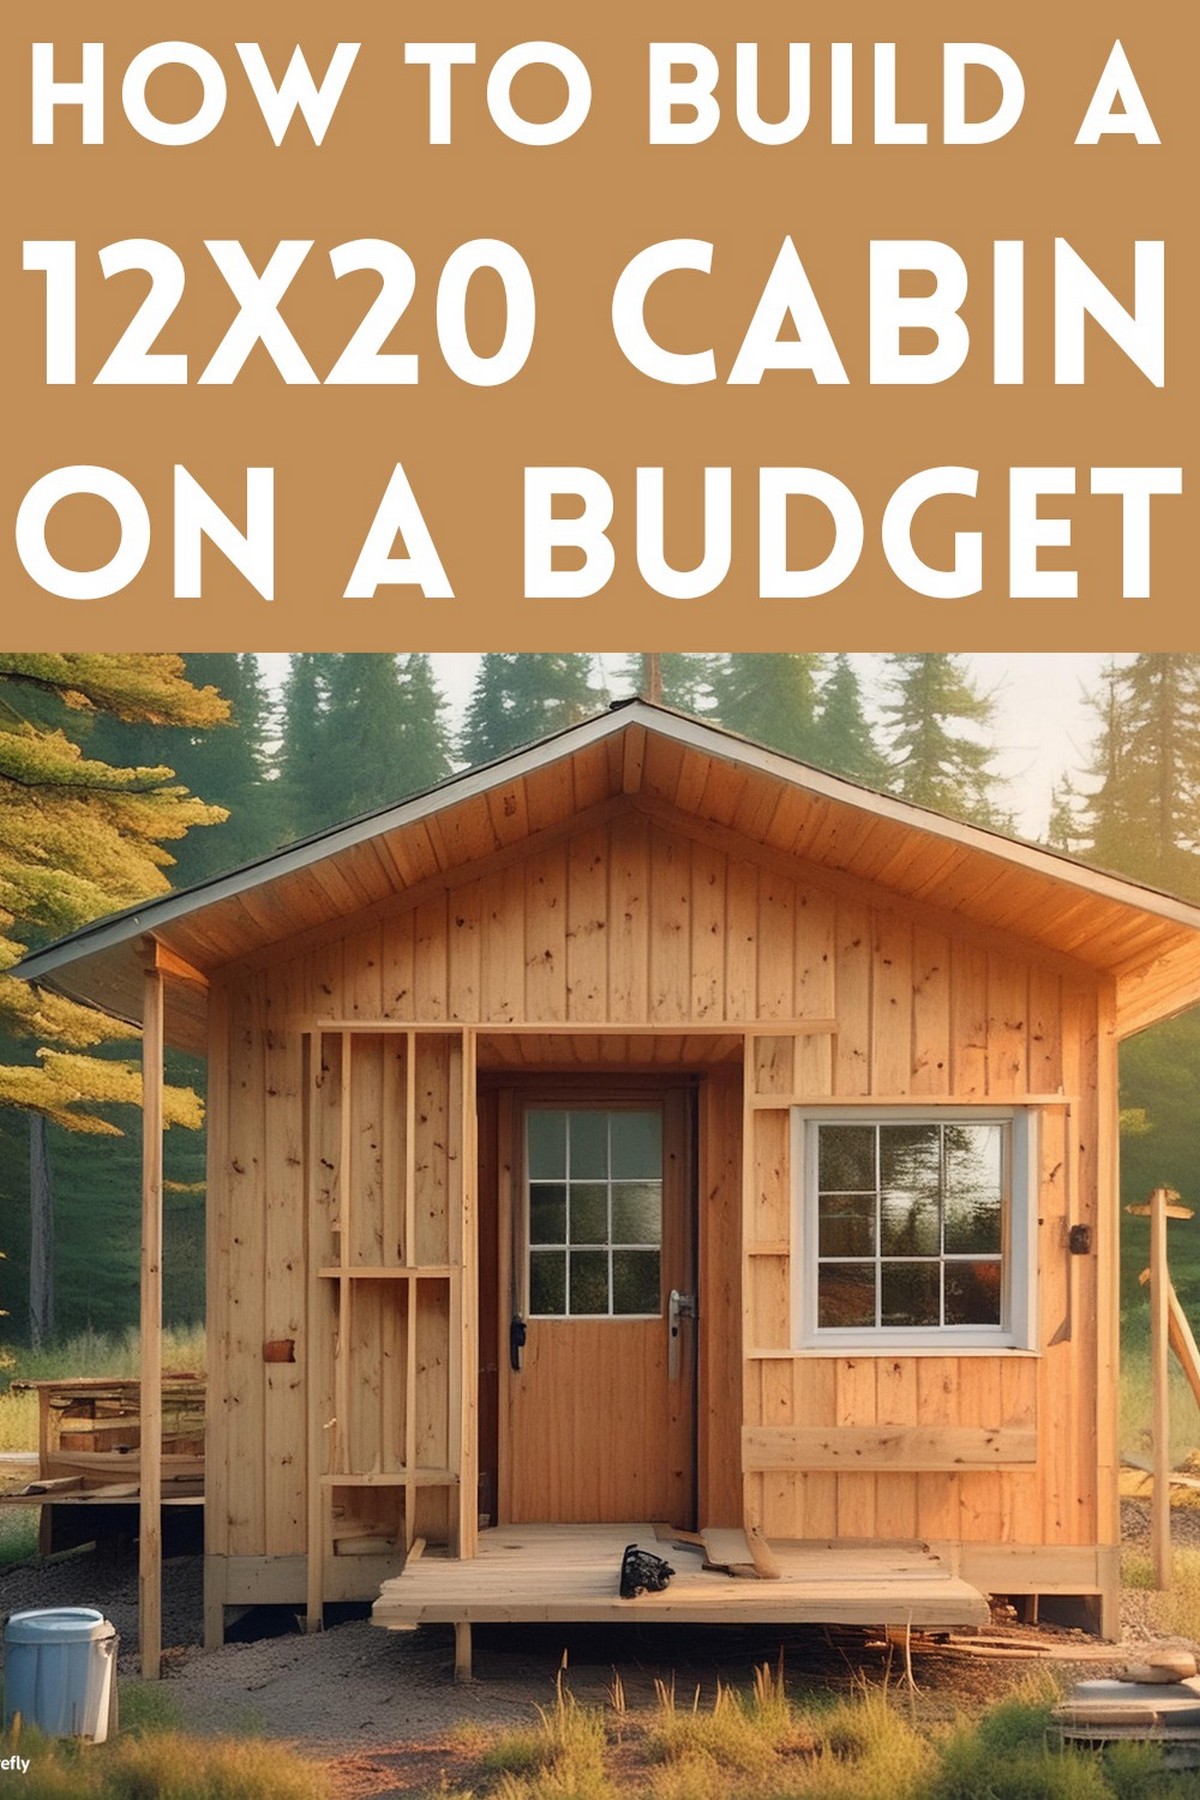
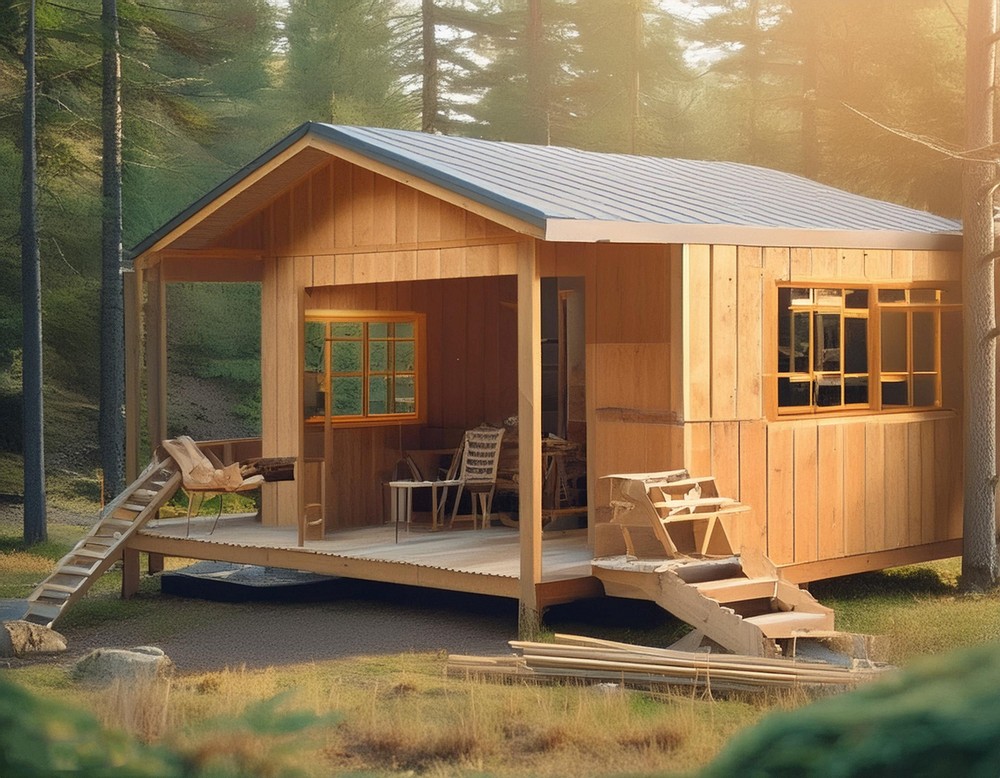
DIY 12×20 Cabin Project On A Budget
Crafting your 12×20 cabin can be a budget-friendly project that doesn’t compromise on charm or space. This DIY build allows you to enjoy crafting from floor joists to rustic board and batten siding, creating a perfect personal retreat or functional addition to your property. Plus, it’s a rewarding venture where you can involve friends and family, or enjoy some tranquil solo-building time. Get ready to transform standard materials into your cozy, customized cabin.
Build a 12×20 Cabin on a Budget
Building The 12×20 Cabin on a Budget
Materials List for the Cabin
- 4×4 posts (for the foundation)
- 2×10 stringers and joists
- 1-inch insulation boards
- Plywood for the flooring
- Rough sawn lumber for 8-inch board and batten siding
- Metal roofing
- Nails, screws, and other fasteners
- Lag bolts (3×3/8 inch)
- Hurricane studs, pre-cut to the project specifications
Necessary Tools
- Post hole digger
- Hammer
- Drill
- Circular saw
- Quick square
- Tape measure
Step-by-Step Guide
Step 1: Foundation and Floor Setup
Begin by outlining the 12×20 floor area, indicating where the 4×4 foundation posts will go. Use a post hole digger to set the foundation securely.
Step 2: Constructing the Frame
Continue by installing the bottom and upper stringers at a height of 7 feet 8 inches. This creates a raised platform for the rest of the structure.
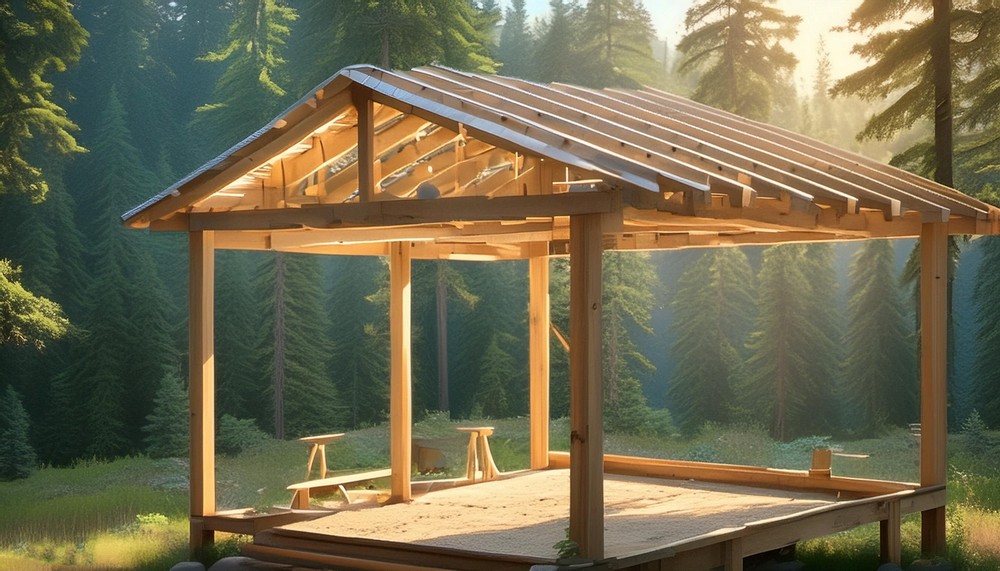
Step 3: Center Rafter Installation
Measure and set the center rafter board to support the roof. You’ll ensure this central piece is placed precisely to prepare for a symmetrical roof installation.
Step 4: Roofing Rafters
Cut the angles for both the top and the bottom of each rafter using a quick square and ensure the seat cut is accurate for stability.
Step 5: Rafter Setting and Roof Support
Position all rafters, maintaining uniform spacing between them. Begin installing purlins atop the rafters to provide a base for the metal roofing.
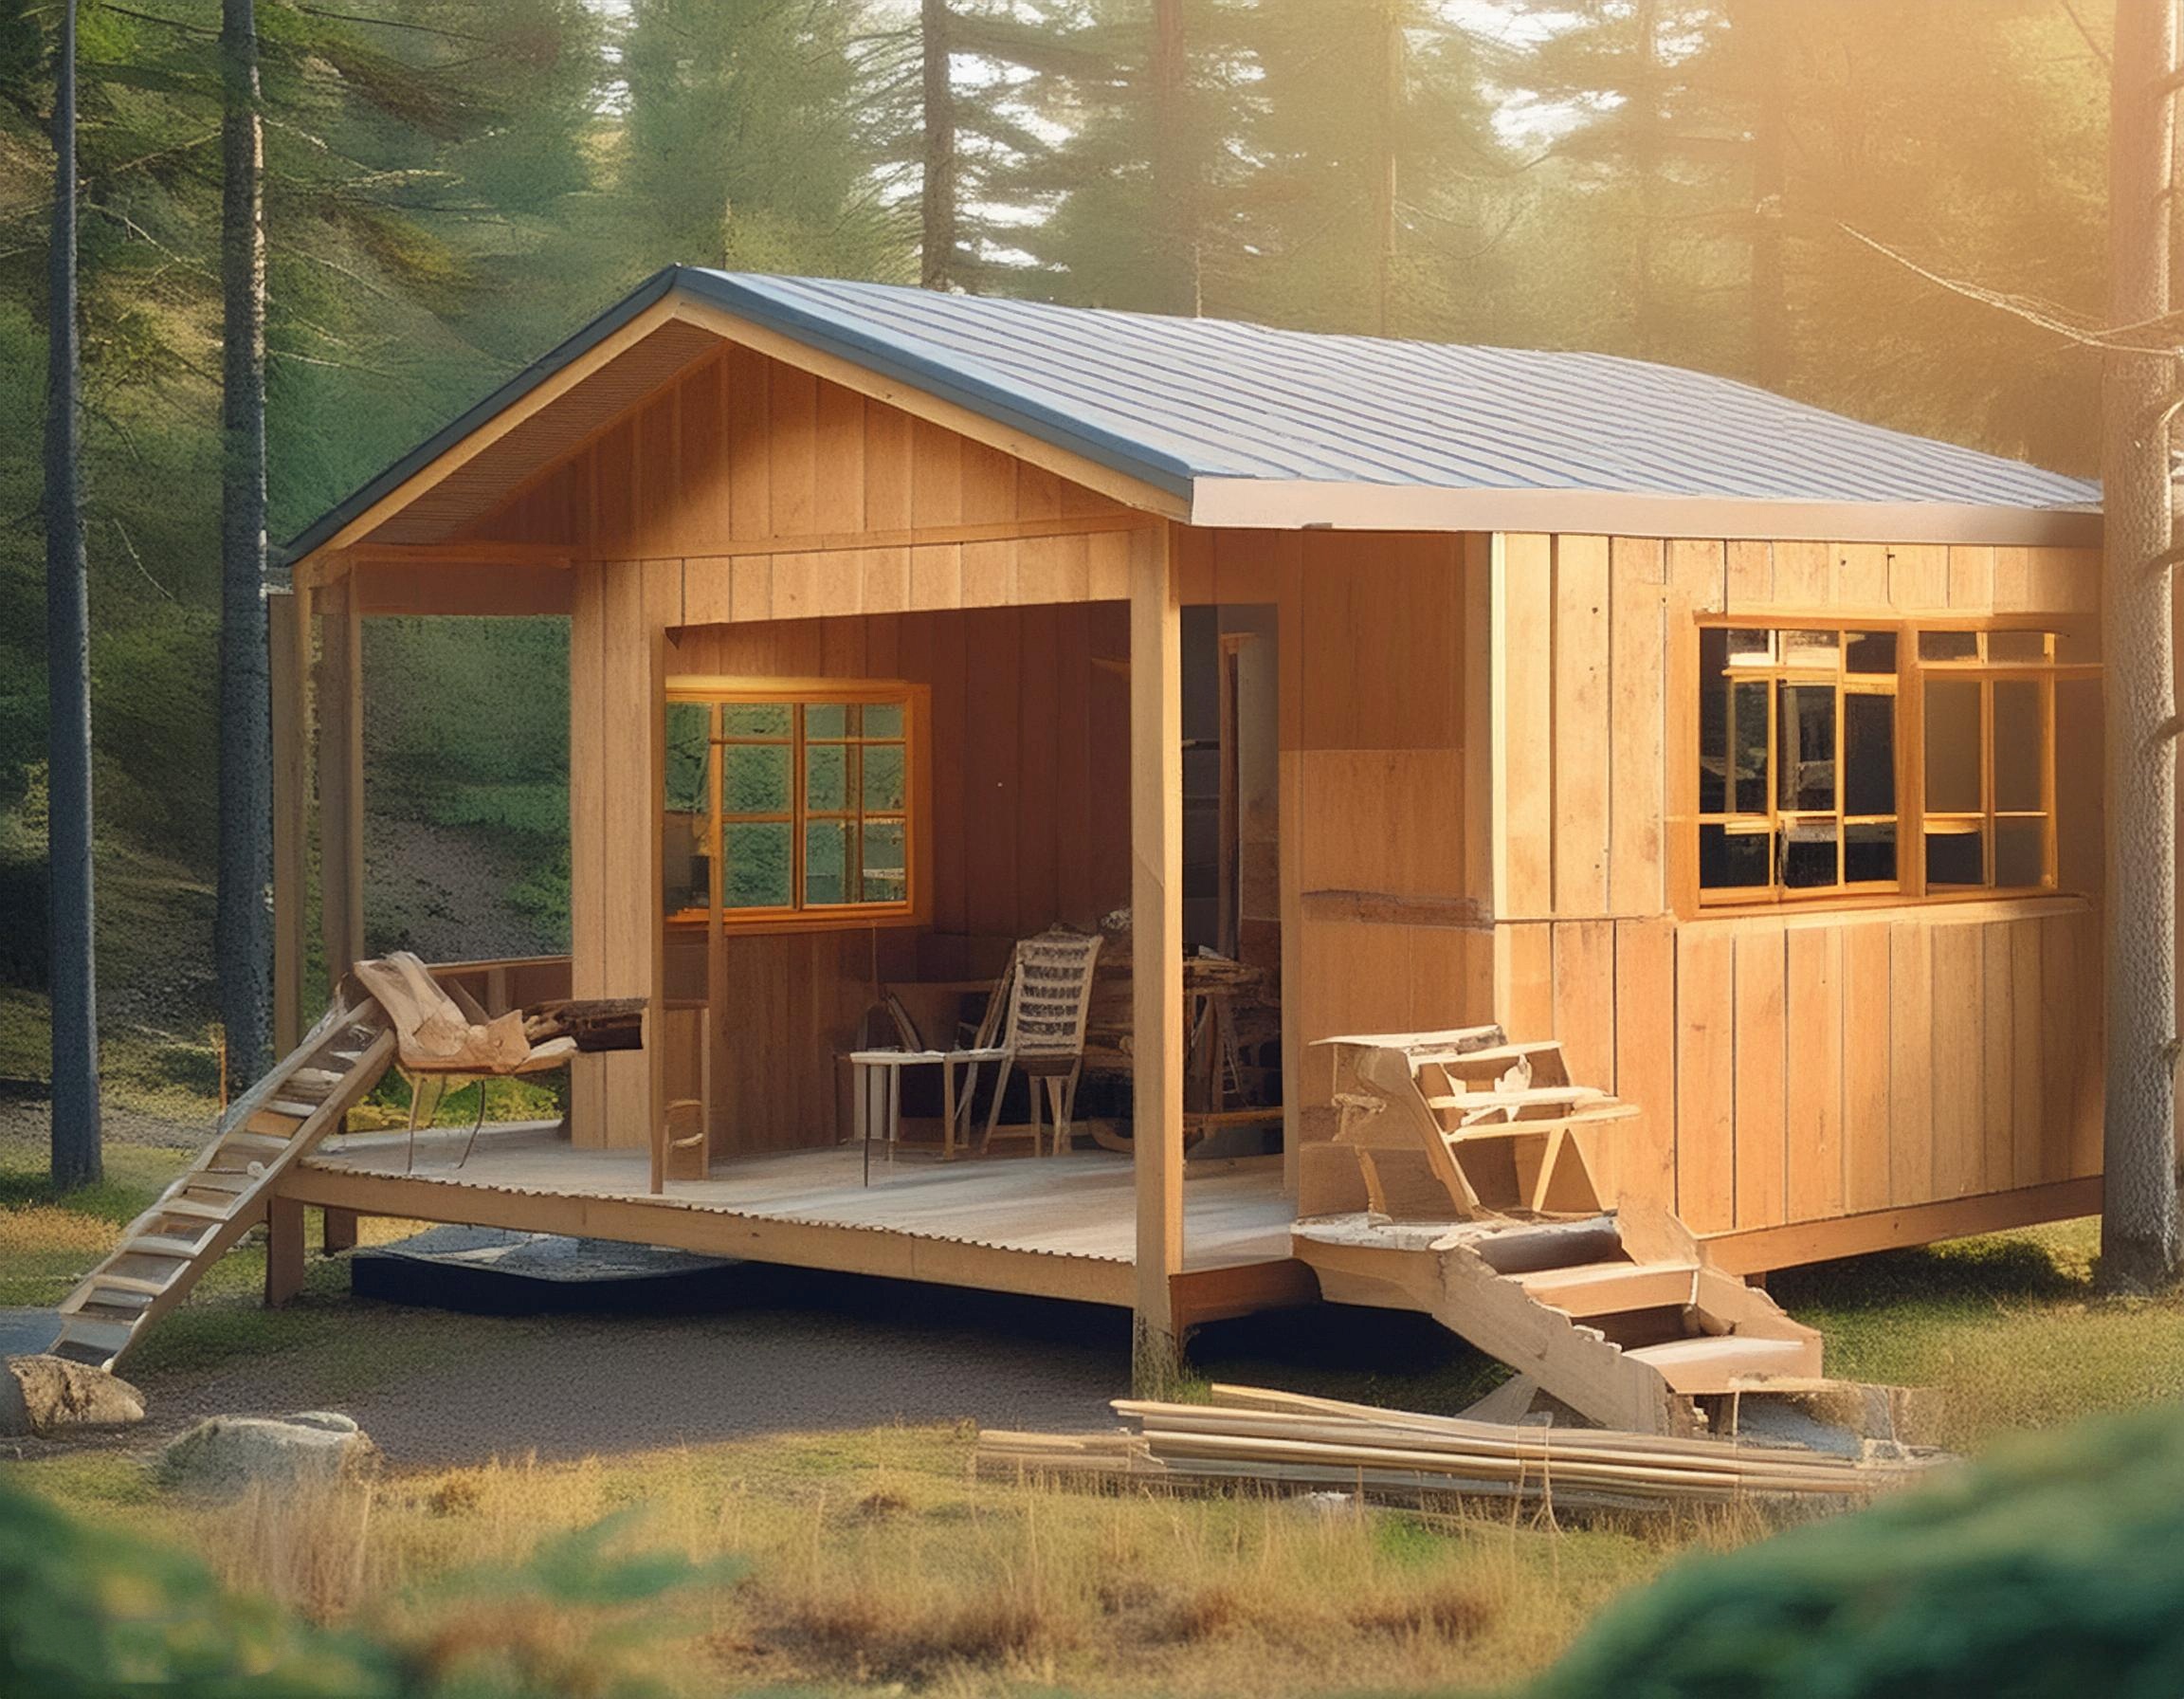
Step 6: Extending with a Porch
To maximize indoor space, decide to add a 4-foot porch. This gives a lovely frontal extension that enhances both the aesthetics and practical usage of the cabin.
Step 7: Ensuring Structural Integrity
Secure the outer joists to the 4×4 foundation poles using lag bolts for stability against environmental forces.
Step 8: Hurricane Studs Installation
Install the hurricane studs. These are essential for reinforcing the structure against windy conditions, ensuring the longevity of your cabin.
Step 9: Laying the Floor
Fit the floor joists in place, add insulation between them, and then install the plywood flooring securely.
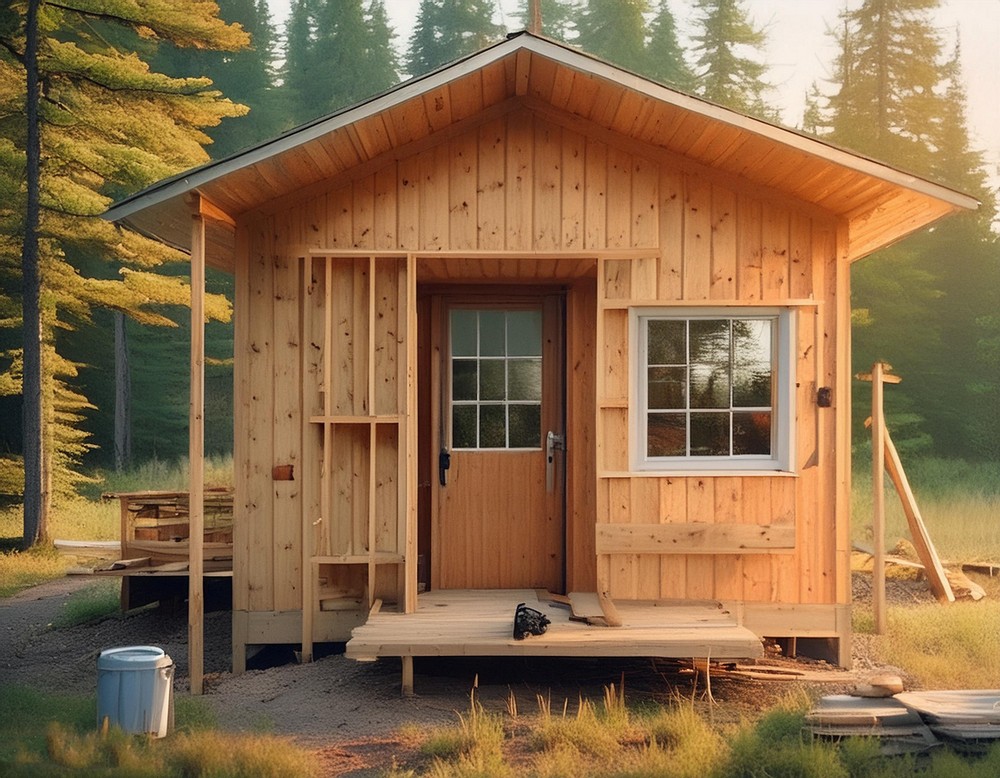
Step 10: Wall Siding and Enclosures
Use the rough sawn lumber to create an 8-inch board and batten siding that not only protects the walls but also gives a rustic aesthetic to the cabin.
Step 11: Finishing Touches
Stud in the porch ceiling and front wall. Install the door frame and finish up the gable ends with vents, ensuring proper ventilation.
Building this cabin involves careful planning and execution with basic building materials and tools, but the result is a fully customized space that fits your needs. Whether it’s a creative studio, a workshop, or a quiet retreat spot, your new cabin on a budget is ready to serve you for years to come.