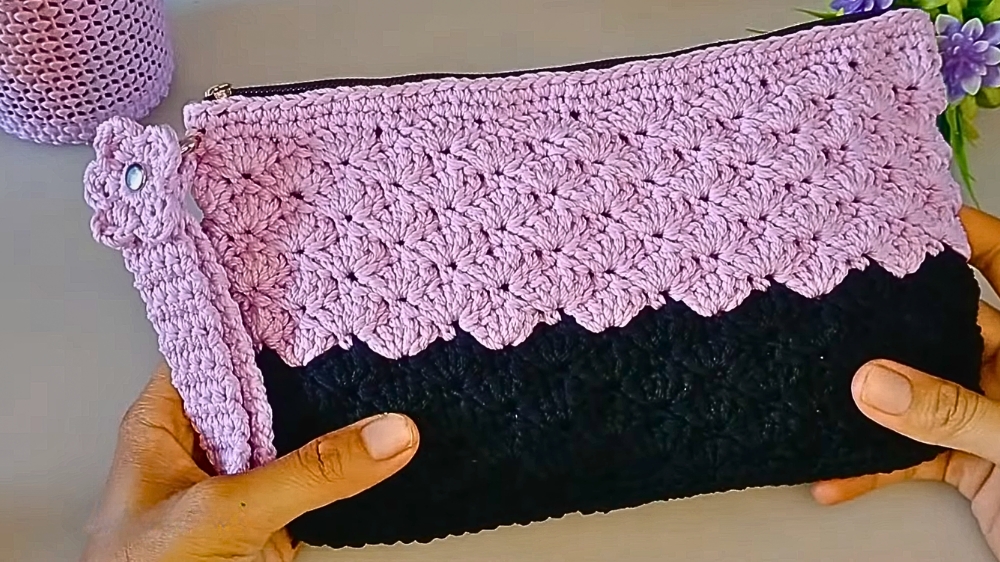
Bold Crochet Two-Tone Purse with Statement Charm
Vibrant style pops with this Crochet Two-Tone Purse Pattern that blends colors and charm into a chic, must-have accessory for any outfit.
In the midst of a bustling morning, a carefully chosen purse can transform an ordinary day into one of style and organization. The Crochet Two-Tone Purse Pattern captures this idea by combining functionality with visual appeal, turning simple yarn into a striking accessory. By skillfully alternating colors, the purse offers a refined contrast that highlights the texture and structure of the stitches, resulting in a piece that is both elegant and practical.
Charming Crochet Two-Tone Purse for Everyday Joy

Its compact yet roomy interior provides space for essentials such as cards, cash, keys, and small personal items, while maintaining a sleek silhouette that fits comfortably in hand or over the shoulder. The sturdy construction ensures durability, and the smooth finish of the stitches allows for effortless handling and longevity.
Beyond its everyday utility, this purse is a showcase of versatility, enabling makers to experiment with bold or subtle color combinations to suit personal taste or seasonal trends. Lightweight, durable, and adaptable, the Crochet Two-Tone Purse Pattern transforms leftover yarn into a purposeful accessory, adding a touch of handmade sophistication to any outfit. Its combination of practicality, elegance, and creative potential makes it a rewarding project for anyone seeking both beauty and function in a single handmade item.
Materials Needed
- Yarn:
- The same type as used in previous tutorials by the creator, referred to as Poeri yarn.
- Two colors: one darker shade (e.g., black) and one lighter shade (e.g., red or purple).
- Crochet Hook:
- A size suitable for the yarn, ensuring that the wallet has a uniform and firm structure.
- Markers:
- To mark specific points such as the start of rows or corners.
- Zipper:
- For added functionality.
- Ring:
- A small metal or plastic ring to attach the strap.
- Scissors and Lighter:
- For trimming excess yarn and sealing ends for a polished look.
- Optional Sewing Machine or Hand Sewing Tools:
- To add an inner lining (if required; not demonstrated in the video).
Special Features
- Fan Motif Design: The wallet features an elegant fan motif made using multiples of six stitches. This provides a stylish and eye-catching texture.
- Two-Color Customization: You can combine two contrasting or complementary colors to personalize the wallet.
- Adjustable Size: The dimensions of the wallet (approx. 23 cm x 13.5 cm in the example) can easily be modified by adjusting the number of chains and rows.
- Incorporates Practical Elements: Zippers and straps are added to make the wallet functional and easy to carry, with additional options for customization.
- Beginner-Friendly Techniques: Techniques like single crochet, chaining, and double crochet stitches serve as the foundation of this project.
Level of Difficulty
Beginner-Friendly to Intermediate:
Though basic stitches like single crochet (SC) and double crochet (DC) are used, the pattern may require attention to detail in turning corners, creating fan motifs, and changing colors. Understanding how to read patterns and maintain stitch counts is essential, especially when working with the fan motif and transitioning between colors.
Step-by-Step Instructions
1. Starting with the Base
- Create a slip knot and chain 40 + 1 as the foundation chain (40 for the wallet width, 1 as a turning chain).
- Work single crochet (SC) stitches beginning from the second chain. Continue until the end of the row (40 stitches in total).
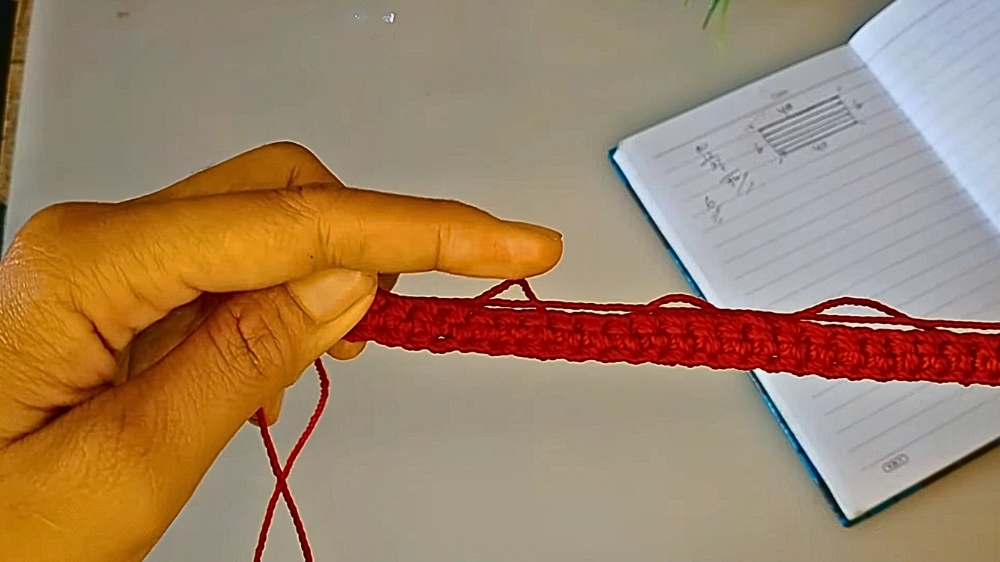
- Turn the work, chain 1, and continue creating single crochet rows.
- Repeat this process to create 5 rows of single crochet stitches, forming the base of the wallet.
- Total: 1 chain foundation + 5 SC rows.
2. Edging the Base and Setting Foundations for the Fan Motif
- After completing the 5 SC rows, begin creating an edge by working single crochets around the base piece:
- On the long sides: Place one SC per stitch.
- At the corners: Add 3 SC in each corner stitch to ensure smooth transitions.
- Once the piece is edged, count the total stitches across:
- The long sides: 40 stitches each.
- Short sides: Adjust to maintain a total stitch count that is a multiple of 6 plus any additional corner stitches.
- Total example: 96 stitches.
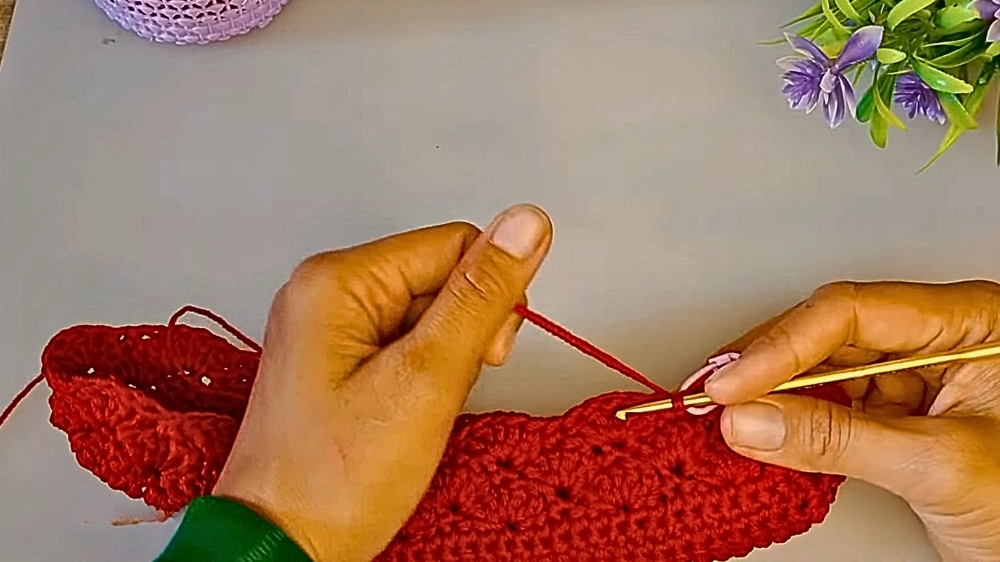
3. Creating the Fan Motif
- Place a marker to identify the starting point of the motif round. Begin with a slip stitch to join the first stitch.
- Skip 2 stitches and work 5 double crochets (DC) into the third stitch.
- Skip 2 more stitches, then make a single crochet (SC) in the next stitch.
- Continue this pattern of:
- Skip 2 stitches → 5 DC stitches in the next → Skip 2 stitches → 1 SC.
- Repeat until the end of the round.
- After completing the first round, slip stitch into the marked starting stitch to close the round.
4. Building Additional Rounds
- To begin a new round, slip stitch twice to move to the top of the first fan motif.
- Begin with 1 SC above the center of the fan motif from the previous round.
- Skip 2 stitches and create a new fan motif (5 DCs) in the gap between the fan motifs of the previous round.
- Continue this pattern, ensuring the fans align consistently.
- Each round alternates SC stitches and fan motifs.
- Repeat the process for a total of 6 rows (rounds) of fan motifs in the first color.
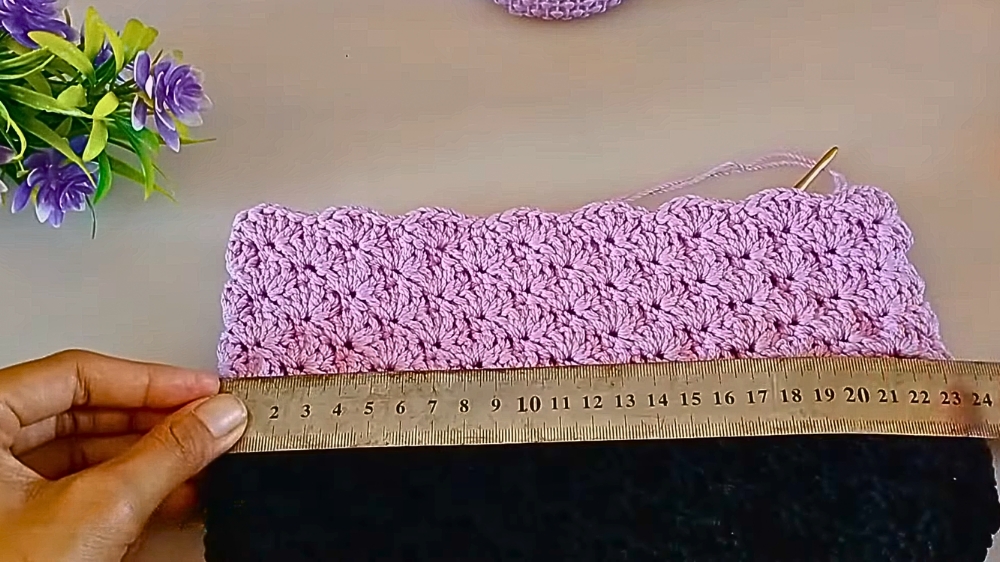
5. Changing the Color
- At the end of the 6th row, slip stitch to secure the last round.
- Introduce the second color (e.g., purple) by holding both the new and old yarns to prevent unraveling.
- Continue in the established fan motif pattern for an additional 8 rows in the new color.
6. Adding Finishing Touches
- Create a border with 2 rows of single crochet stitches:
- Work SC stitches around the edges of the wallet, maintaining consistent tension.
- Attach a ring to one side of the wallet to allow for a strap.
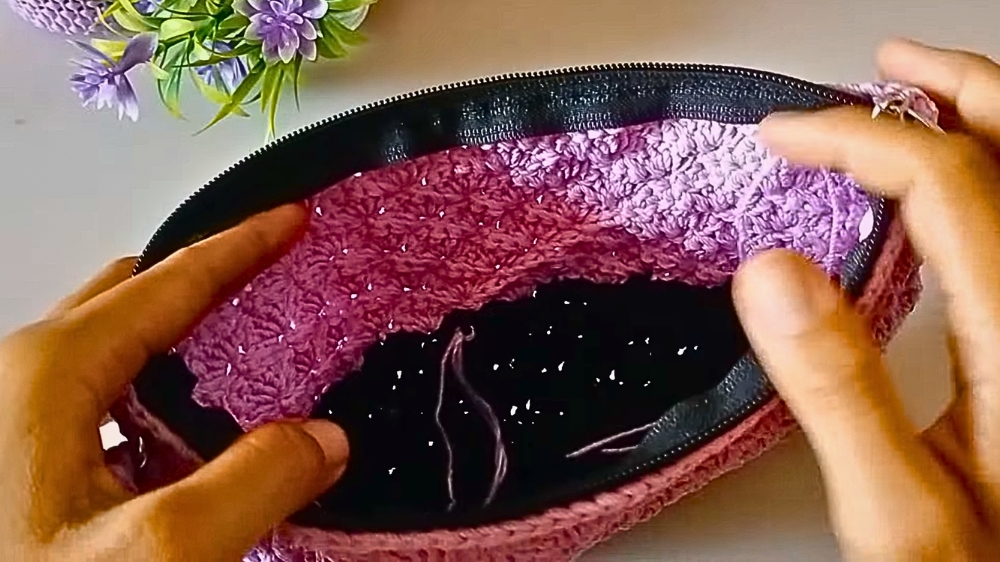
7. Final Assembly
- Install a zipper (by hand or sewing machine). Ensure it is securely attached to the wallet opening.
- Optionally, add an inner lining for a professional finish.
- Create a strap:
- Chain 4 + 1.
- Work SC stitches back and forth until the strap reaches the desired length.
- Sew the strap onto the wallet and attach it to the ring.
Tutor’s Suggestions
- Adjust Video Speed: If the instructions feel too fast or slow, use the playback speed controls to better follow along.
- Use a Marker: Always use markers to keep track of the beginning and end of rows or motifs.
- Practice the Fan Motif: Beginners might find it challenging to align the fan motifs. Practice on a small swatch before starting the wallet.
- Lighter for Sealing: A lighter can help seal trimmed yarn ends to prevent fraying.
Uses
- Everyday Purse: Use it as a wallet, clutch, or cosmetic pouch.
- Gifting: A beautiful handmade wallet makes an excellent gift.
- Practice Project: Good for building confidence in stitches like single crochet, double crochet, and creating patterns.
- Custom Accessory: Add lining, beads, or embroidery to make it more personal.
Tip
Before changing colors, ensure the last stitch of the previous color is a slip stitch. This will give a seamless transition and prevent visible gaps between the two colors.
Conclusion
This two-color knitted wallet pattern is a fun, creative way to practice both basic and intermediate crochet techniques. The fan motif, adjustable dimensions, and personalized color scheme make it highly customizable while being functional and stylish. With the addition of details like straps and zippers, this project is beautifully practical.