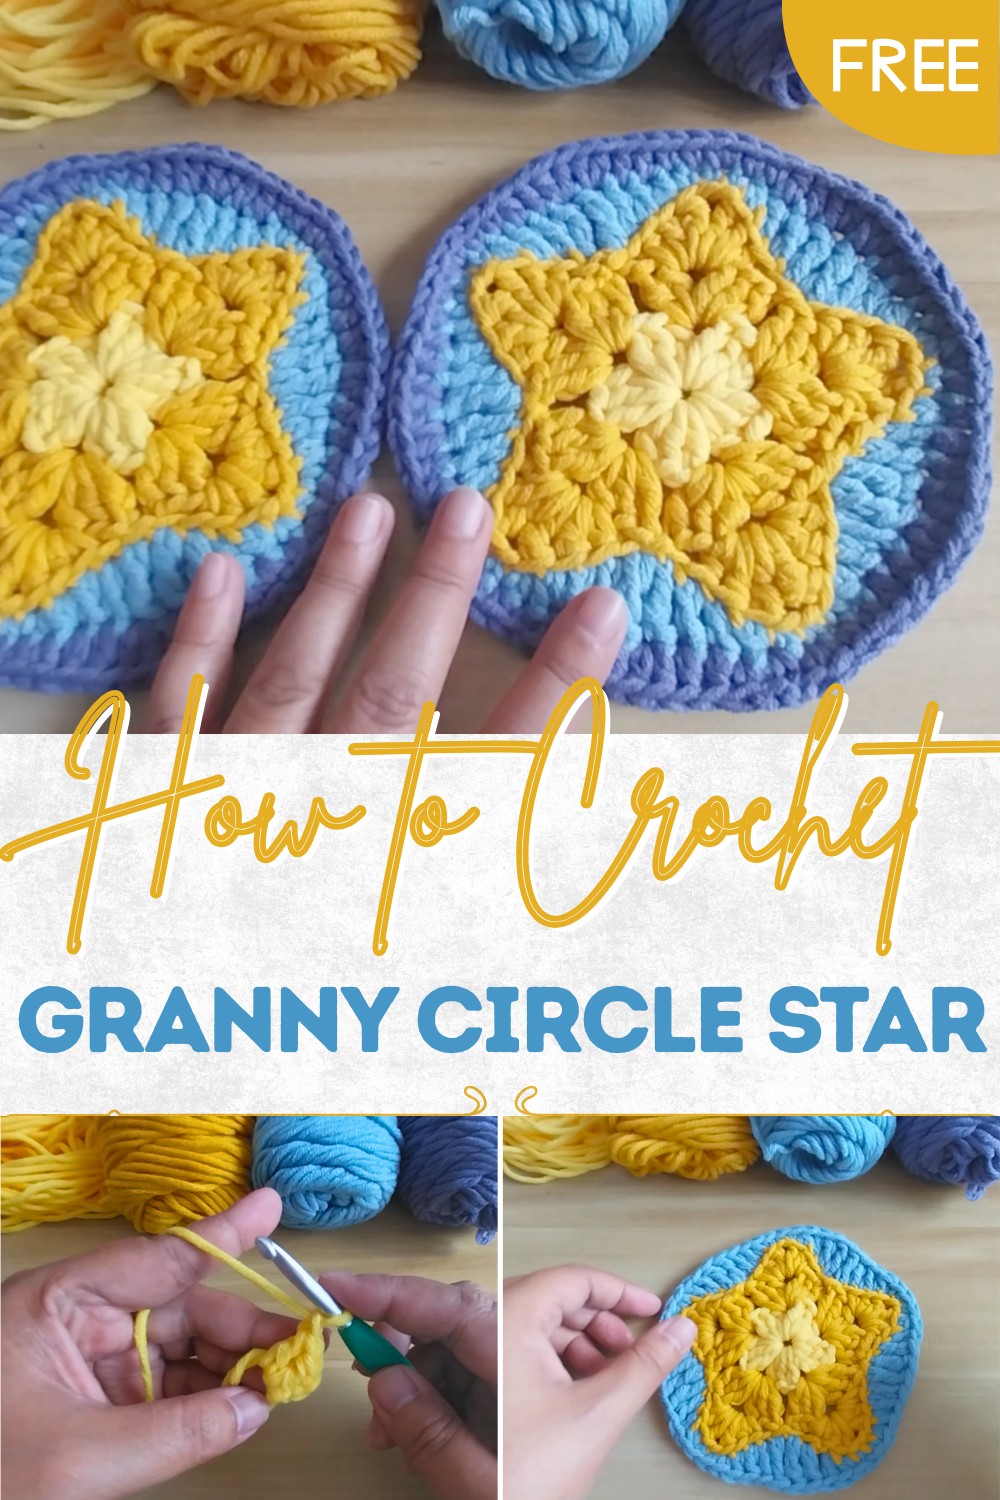
Artistic Crochet Granny Circle Star with Playful Glow
Spark cozy delight with Crochet Granny Circle Star Pattern, featuring playful textures, vibrant details, and a whimsical handmade touch.
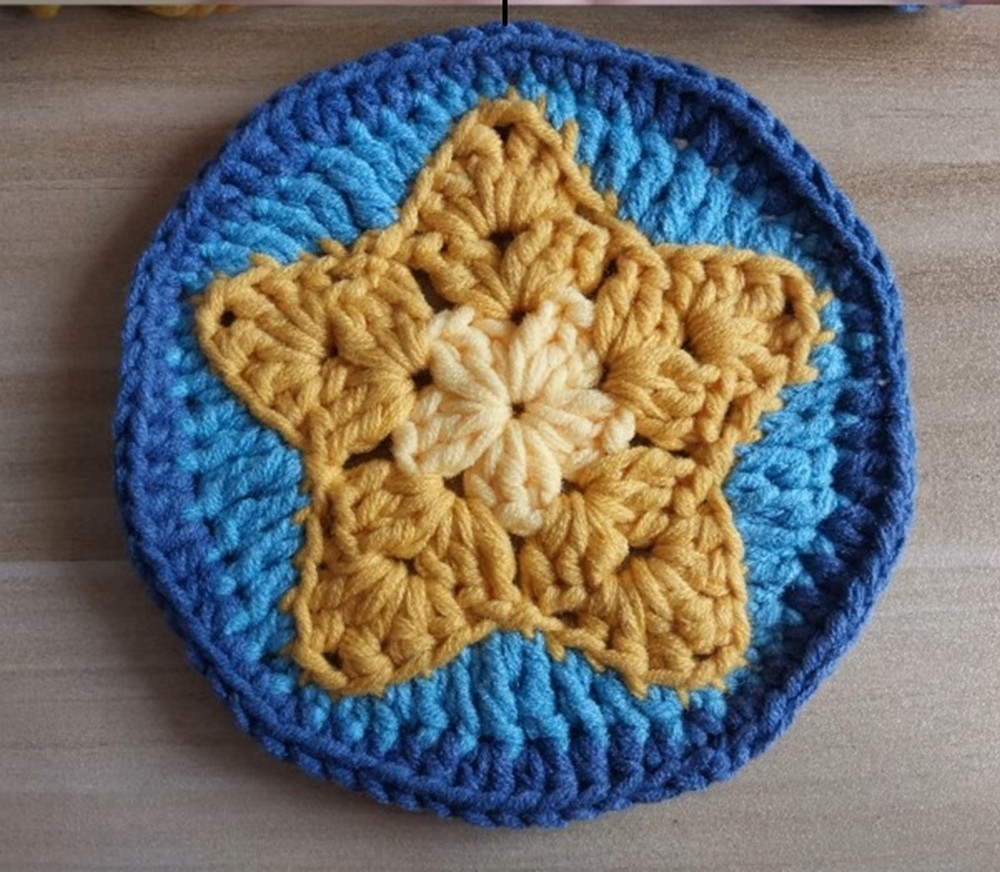
Stars have long captured human fascination, symbolizing guidance, hope, and wonder, and translating that celestial charm into crochet brings both artistry and warmth into everyday life. The Crochet Granny Circle Star Pattern transforms simple yarn into a radiant motif that can enhance home décor, be combined into blankets, or serve as unique coasters and table accents. Its intricate yet approachable structure offers both visual appeal and practical versatility, making it a treasured addition to any handmade collection.
Bold Crochet Granny Circle Star with Handmade Charm
Construction begins at the center with a circular foundation, where stitches radiate outward to form the star’s points with precision and balance. Each arm of the star is carefully shaped, creating symmetry while adding texture and depth. The pattern allows for creative color combinations, highlighting the star’s geometry and offering endless options to suit personal taste or seasonal décor.
Lightweight, durable, and full of character, the Crochet Granny Circle Star Pattern combines functionality with aesthetic charm. It can be used individually or joined into larger projects, serving both decorative and practical purposes. Beyond its visual beauty, it embodies the care and patience of handmade artistry, transforming yarn into a motif that radiates warmth, joy, and handcrafted elegance in every stitch.
Materials Needed
- Yarn: Four colors in gradient shades (two yellows and two blues are used in the video).
- Crochet Hook: Size suitable for the yarn you are using (not specified in the video, but likely 3.5 mm–5.0 mm).
- Scissors: To cut the yarn.
- Yarn Needle: To weave in the ends.
Step-by-Step Details
Step 1: Round 1 – Creating the Magic Circle
- Start with a Magic Circle: Form a magic circle and chain 3 (this counts as the first double crochet).
- Make Double Crochets:
- Inside the magic circle, create 11 additional double crochets (for a total of 12, including the initial chain).
- Chain 1 space between each set of 3 double crochets.
- Tighten the Circle: Pull the yarn tail to tighten the magic circle, forming a neat and secure center.
- Complete the Round: Connect to the first stitch with a slip stitch.
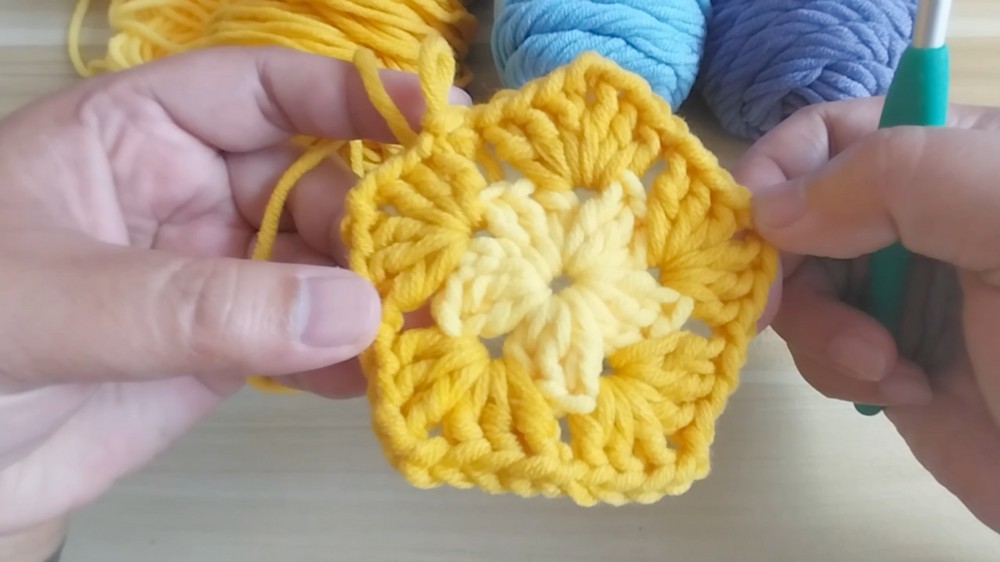
2: Round 2 – Introducing a Gradient Color
- Switch to a Darker Yellow Yarn: Replace the initial color with the darker yellow gradient. Cut the previous color and weave in the end for a clean look.

- Work in Chain 1 Spaces:
- In each chain 1 space of the previous round, crochet 3 double crochets, chain 2 (forming the star points), and then crochet 3 more double crochets in the same space.
- Between each shell, chain 1.
- Repeat: Continue this pattern to create five star points along the round.
- Close the Round: Connect to the first stitch with a slip stitch.
3: Round 3 – Shaping the Star
- Continue with the Same Color: If you didn’t cut the yarn, slip stitch your way into the chain 2 space of the first shell.
- Work the Star Points:
- In the chain 2 space, crochet the following: 1 single crochet, 1 half double crochet, and 1 double crochet.
- Chain 2 at the tip of the star point. Mirror the previous stitches by crocheting 1 double crochet, 1 half double crochet, and 1 single crochet back in the same space.
- Chain and Slip Stitch: Chain 1, slip stitch into the next chain 1 space, and repeat the star point pattern for all five points.
- Finish the Round: After completing the last point, connect with a slip stitch and cut the yarn.
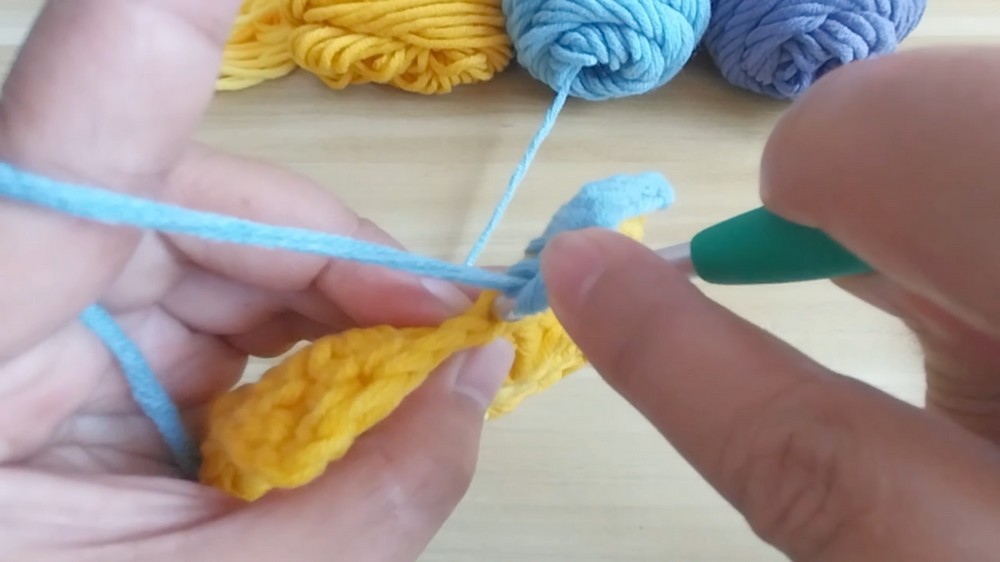
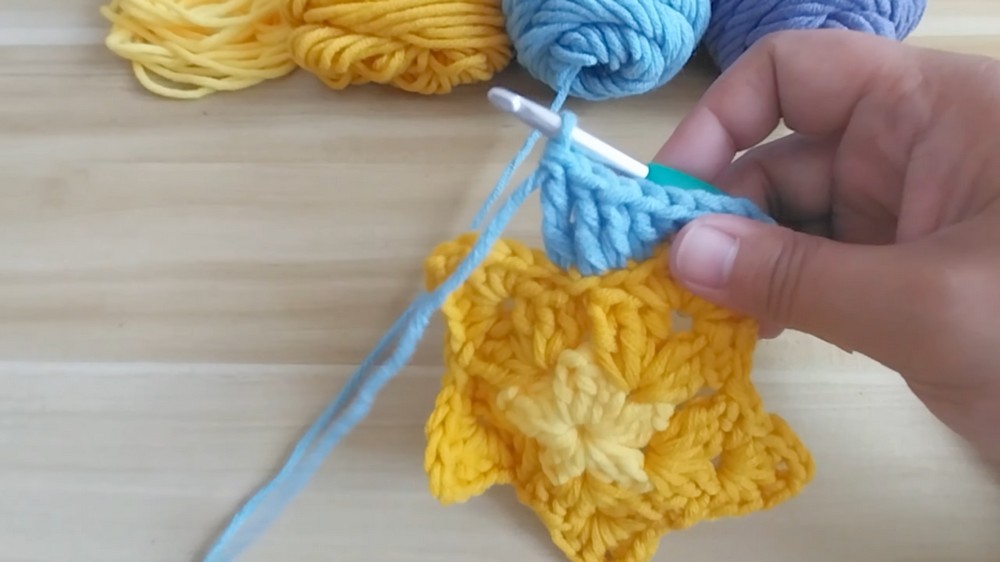
4: Round 4 – Adding the Background (Light Blue)
- Change to Light Blue Yarn: Introduce the gradient blue color and fasten it securely.
- Work in the Points: Start adding single crochets in the three middle stitches of each point (working only into the back loop):
- Single crochet in the last stitch before the chain 2 space, then single crochet into the chain 2 itself, and again into the first stitch after the chain 2 space.
- Single crochet in the last stitch before the chain 2 space, then single crochet into the chain 2 itself, and again into the first stitch after the chain 2 space.
- Mirror the Stitches: Crochet a half double crochet, followed by two double crochets in the next two stitches, then 2 trebles in the two stitches at the center of the edges.
- Complete the Round: Mirror the stitches back down to the single crochets. Repeat this process for all sides. Slip stitch to close the round and cut the yarn.
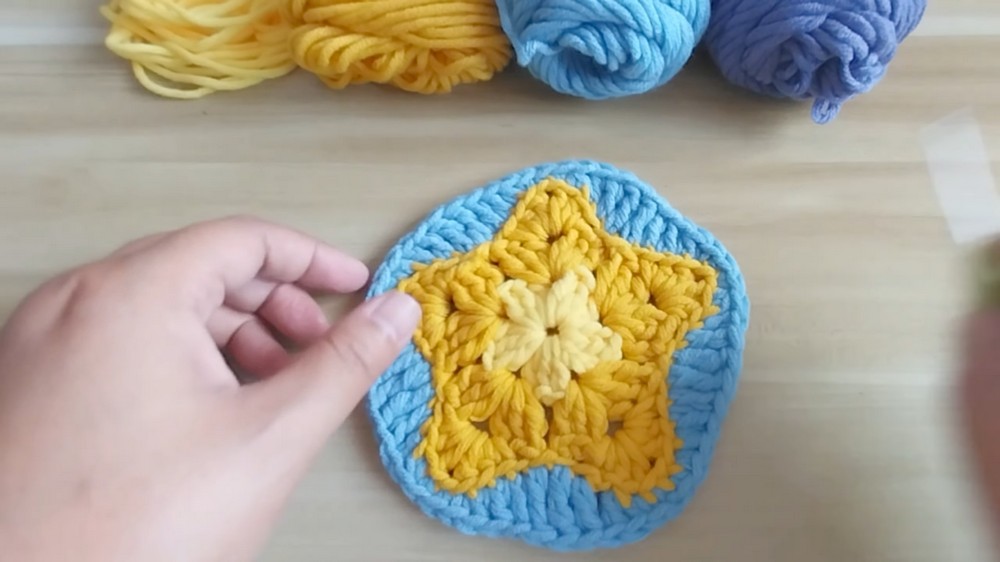
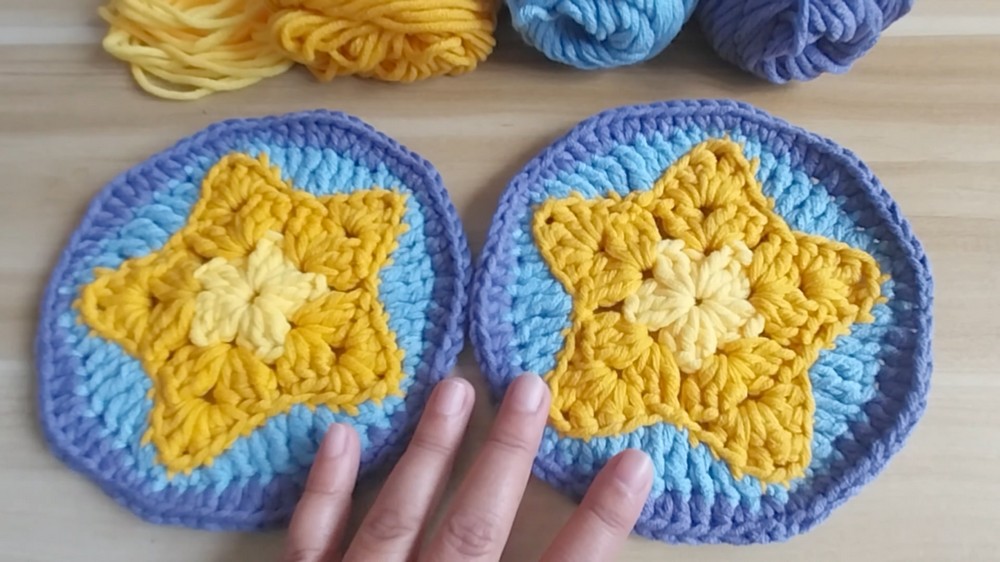
5: Round 5 – Finishing with Darker Blue Yarn
- Switch to the Final Yarn Shade: Use the darker blue color to complete the star.
- Add Additional Stitches: In this round, work additional single crochets and half-double crochets into each side to provide a consistent and smooth appearance to the design.
- Maintain the Star Shape: Work the stitches in a mirrored pattern to preserve the outline of the star while forming the background.
- Close and Clean Up: Finish by slip stitching the last stitch, cutting the yarn, and weaving in all loose ends.
Special Features
- Gradient Effect: The combination of two shades of yellow and two shades of blue creates a striking gradient that enhances the aesthetic appeal of the star.
- Versatile Star Sizes: You can stop at earlier rounds for smaller stars or proceed to the end for larger stars with a background.
- Dimensional Details: Working in the back loops in Round 4 emphasizes the star’s sharp edges, making the outline more pronounced.
Level of Difficulty
The project is easy to intermediate, as it involves simple stitches (single crochet, half double crochet, double crochet, and treble crochet) but requires some experience with techniques like slip stitching, color changes, and crocheting in the back loops.
Tutor’s Suggestions
- Color Choices: Follow the gradient pattern for a professional look or experiment with vibrant contrasting colors for different aesthetics.
- Check Your Tension: Maintain consistent tension throughout the project; uneven tension may distort the star shape.
- Weaving Ends: Take time to weave in the ends neatly, especially with multicolor projects.
- Experiment with Sizes: Test with chunkier yarn for larger stars or finer yarn for more delicate stars.
Uses and Applications
- Coasters: Use these stars as decorative coasters for your home.
- Ornaments: They can work as Christmas ornaments with a festive color palette.
- Blanket Patterns: Combine multiple stars to create unique and colorful blankets.
- Accessories: Use two stars to create small pouches or repurpose them into keychains or appliqués.
Bonus Tip
When working on Round 4, crocheting through the back loops only helps to maintain the sharp outline of the star. Avoid using both loops, as this may reduce the clarity of the star’s shape.
Conclusion
The Granny Circle Star is a fun and versatile crochet project, perfect for practicing different stitches and color changes. This project showcases a unique gradient effect that makes the star visually stunning and adaptable for various uses. Whether you’re creating coasters, Christmas ornaments, or assembling these stars for larger projects like blankets, the Granny Circle Star is sure to brighten up your crocheting repertoire.